Table of contents
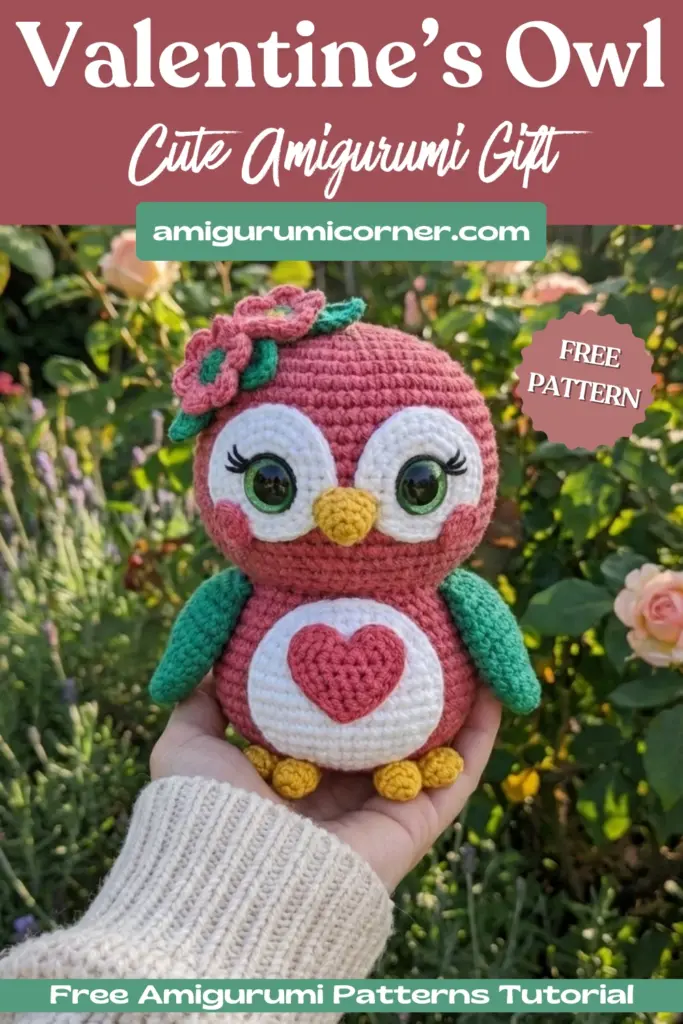
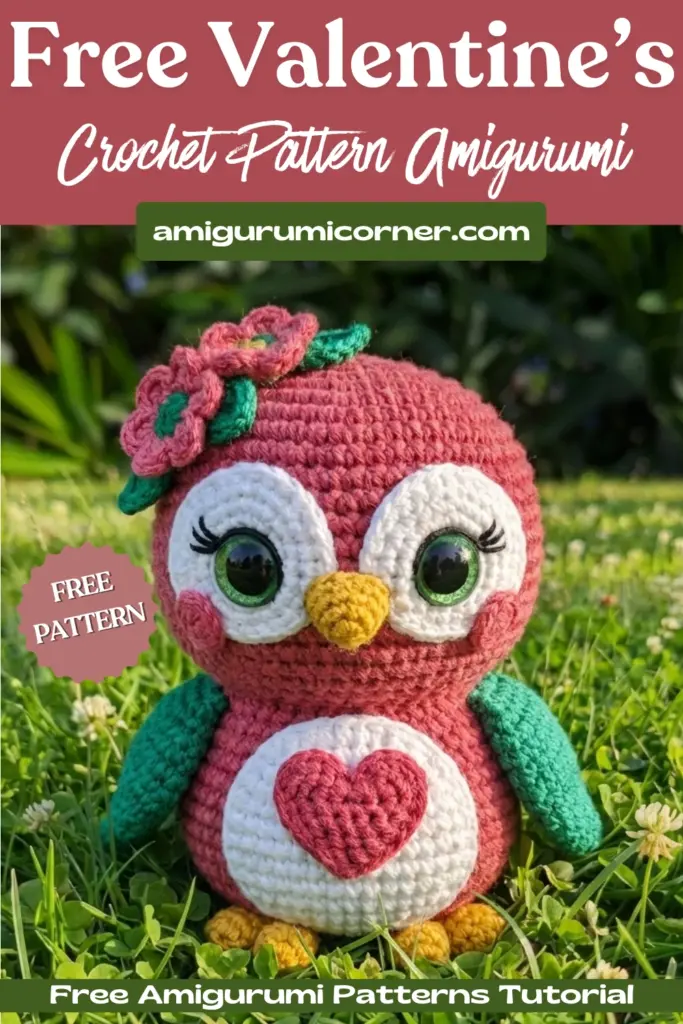
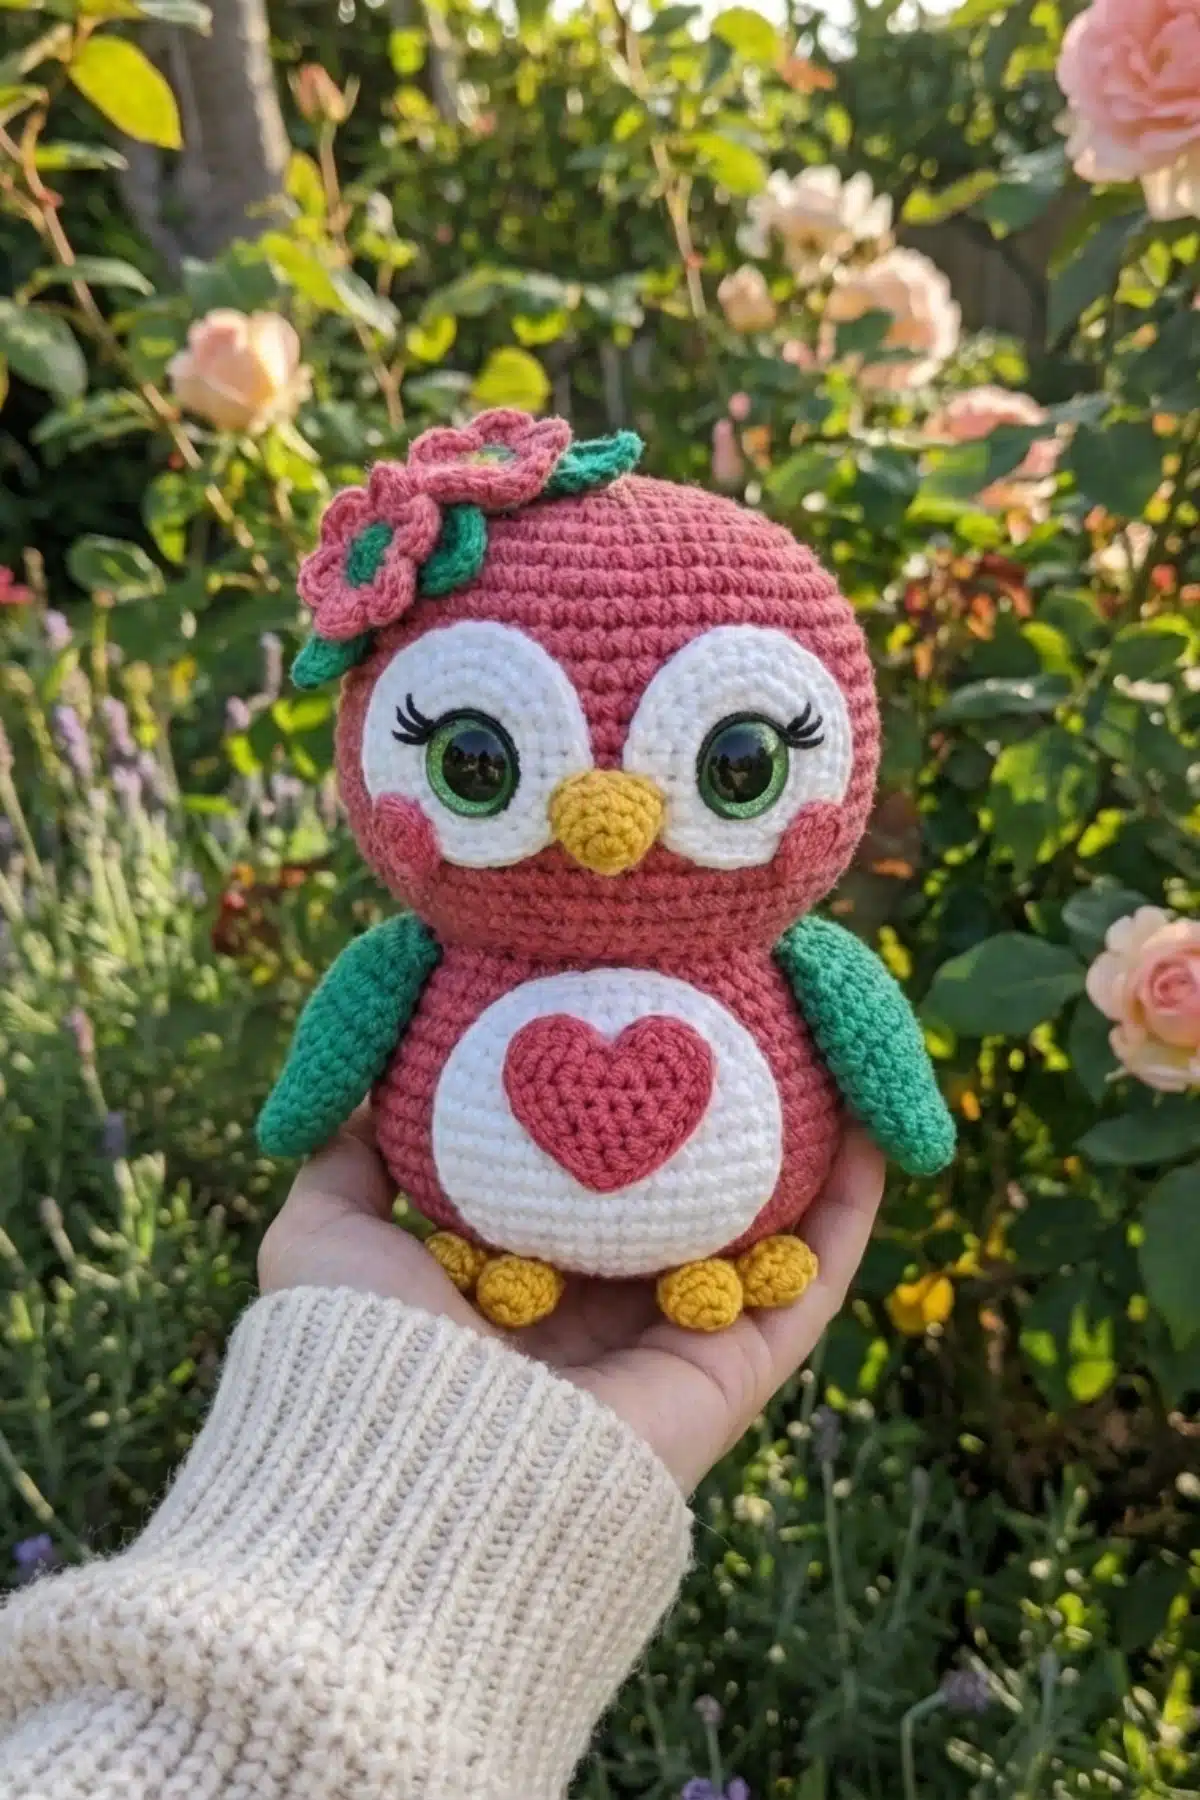
Looking for the perfect handmade gift to express your love? This charming Valentine’s Owl crochet pattern creates an adorable 15cm amigurumi that’s perfect for Valentine’s Day, anniversaries, or any occasion that calls for a sweet handmade gesture. With its heart-shaped details and loving expression, this cuddly owl is sure to capture hearts!
What You’ll Need
Materials
- Yarn: Cotton Light weight yarn in Pink, Green, White, and Yellow
- Crochet Hook: US 2.75 mm
- Safety Eyes: 14 mm Green eyes
- Fiber Filling: 100% polyester
- Notions:
- Tapestry needle for assembly
- Sharp scissors
- Universal glue
- 6-7 decorative beads
- Small piece of fake eyelash (for under eyes)
- Stitch marker or leftover yarn
Skill Level
Beginner
Finished Size
15 cm (approximately 6 inches)
Abbreviations (US Terms)
- mr: Magic Ring
- st(s): stitch(es)
- ch: chain
- sc: single crochet stitch
- inc: 2 sts in indicated stitch
- dec: crochet next 2 stitches together
- slst: slip stitch
- hdc: half double crochet
- dc: double crochet stitch
- trc: treble crochet stitch
- tog: together
- blo: Back loops only
- flo: Front loops only
- rnd(s): round(s)
- cc: Color Change
- PICOT: ch3, slst on first ch
- (…)x: repeat instructions between parentheses times indicated
- *…*: all instructions between asterisks have to be worked into the same stitch
Remember it later!
Planning to try this soon? Pin it for a quick find later!

Important Tips Before You Begin
- Start crocheting from the bottom (joining legs) to the top
- Crochet tightly to avoid holes, especially when using dark colors with white filling
- Work in continuous spiral rounds unless otherwise stated
- Always mark the first stitch of each round using a stitch marker to avoid losing track
- Stuff the toys as indicated—some parts don’t need stuffing
- Use invisible decrease technique to avoid holes in your work
- The owl head and body are crocheted in one continuous piece
Heart-Shaped Assembly Technique
Several parts of this Valentine’s Owl Crochet Pattern (Face, Wings, Feet, and Hearts) use a special heart-shaped technique where you crochet two parts separately and then join them together. Here’s how it works:
- Start with instructions for Part A (cut yarn and set aside)
- Continue with instructions for Part B (don’t cut yarn)
- Join Part B to Part A and continue working them as one piece
- Move your stitch marker to the new first stitch of the round as indicated in the pattern
Valentine’s Owl Crochet Pattern Instructions
HEAD (Start with Pink)
Rnd: sts
- (sc) x6 in mr [6]
- (inc) x6 [12]
- (sc, inc) x6 [18]
- (sc2, inc) x6 [24]
- (sc3, inc) x6 [30]
- (sc4, inc) x6 [36]
- (sc5, inc) x6 [42]
- (sc6, inc) x6 [48]
- (sc7, inc) x6 [54]
- (sc8, inc) x6 [60]
- sc60 [60]
- (sc9, inc) x6 [66]
- to 19 sc66 (x 7 rounds) [66]
- (sc9, dec) x6 [60]
- (sc8, dec) x6 [54]
- (sc7, dec) x6 [48]
- (sc6, dec) x6 [42]
- (sc5, dec) x6 [36]
- (sc4, dec) x6 [30]
- (sc3, dec) x6 [24]
Stuff the head very firmly and continue with the body. Don’t cut the yarn.
BODY (Continue with Pink)
Rnd: sts
- (Inc) x24 [48]
- (sc5, inc) x3 [51]
- to 8 sc51 (x6 rounds) [51]
- (sc5, dec) x3 [48]
- (sc6, dec) x 6 [42]
- (sc5, dec) x 6 [36]
- (sc4, dec) x 6 [30]
- (sc3, dec) x6 Start stuffing the body [24]
- (sc2, dec) x 6 [18]
- (sc, dec) x 6 [12]
- (dec) x 6 [6]
Fasten off and close the gap with tapestry needle.
BELLY (White)
Rnd: sts
- (sc) x6 in mr [6]
- (inc) x 6 [12]
- (sc, inc) x 6 [18]
- (sc2, inc) x 6 [24]
- (sc3, Inc) x 6 [30]
- to 9 sc30 (x 4 rounds) [30]
- (sc8, dec) x 3 [27]
- (sc7, dec) x 3 [24]
- (sc6, dec) x 3 [21]
- (sc5, dec) x 3 [18]
- (sc4, dec) x 3 [15]
Fasten off leaving a long tail to sew. Flatten to the body. Don’t stuff.
BEAK (Yellow)
Rnd: sts
- (sc) x4 in mr [4]
- (inc, sc) x2 [6]
- (sc2, inc) x2 [8]
WINGS (Green) – Make 2
PART A:
Rnd: sts
- (sc) x6 in mr [6]
- (inc) x 6 [12]
- to 5 sc12 (x 3 rounds) [12]
Cut the yarn, leaving this part on hold.
PART B:
Rnd: sts
- (sc) x6 in mr [6]
- (inc) x 6 [12]
- to 6 sc12 (x 4 rounds) [12]
Don’t cut the yarn, continue joining with part A:
- Holding the last st of part B on hook, insert hook on last st of Part A and sl st
- sc12 of part A
- The last st would be the new end of the round
- Start the new round as follows:
Rnd: sts
- sc24 (12 sc from B + 12 sc from A) [24]
- sc4, (dec) x2, sc4, (dec) x2, sc4 [20]
- sc4, dec, sc8, dec, sc4 [18]
- sc3, dec, sc7, dec, sc4 [16]
- sc3, dec, sc6, dec, sc3 [14]
- sc2, dec, sc5, dec, sc3 [12]
- (sc, dec) x 3 stuff a little bit [9]
Fasten off, leaving a long tail to sew to the body.
HEARTS – Crochet One in Pink and Two in Pink
PART A:
Rnd: sts
- (sc) x4 in mr [4]
- (inc) x 4 [8]
- sc8 [8]
Cut the yarn, leaving this part on hold.
PART B:
Rnd: sts
- (sc) x4 in mr [4]
- (inc) x 4 [8]
- to 4 sc8 (x 2 rounds) [8]
Don’t cut the yarn, continue joining with part A:
- Holding the last st of part B on hook, insert hook on last st of Part A and sl st
- sc8 of part A
- The last st would be the new end of the round
- Start the new round as follows (put your mark here):
Rnd: sts
- sc16 (8 sc from B + 8 sc from A) [16]
- sc3, dec, sc6, dec, sc3 [14]
- sc2, dec, sc5, dec, sc3 [12]
- sc2, dec, sc4, dec, sc2 [10]
- sc1, dec, sc3, dec, sc2 stuff a bit [8]
- (dec) x4 [4]
Fasten off, leaving a long tail on Pink heart to sew later to the belly.
FACE (White)
PART A:
Rnd: sts
- (sc) x8 in mr [8]
- (inc, sc2) x 4 [12]
- (inc, sc) x 6 [18]
- (inc, sc2) x 6 [24]
- to 7 sc24 (x3 rounds) [24]
Cut the yarn, leaving this part on hold.
PART B:
Rnd: sts
- (sc) x8 in mr [8]
- (inc, sc2) x 4 [12]
- (inc, sc) x 6 [18]
- (inc, sc2) x 6 [24]
- to 8 sc24 (x4 rounds) [24]
Don’t cut the yarn, continue joining with part A:
- Holding the last st of part B on hook, insert hook on last st of Part A and sl st
- sc24 of part A
- The last st would be the new end of the round
- Start the new round as follows (put your mark here):
Rnd: sts
- sc48 (24sc from B + 24sc from A) [48]
- to 11 sc48 (x 2 rounds) [48]
- sc11, dec, sc10, dec, sc10, dec, sc11 [45]
- sc10, dec, sc11, dec, sc9, dec, sc10 [42]
- (sc5, dec) x6 [36]
- (sc4, dec) x6 [30]
Fasten off, leaving a long tail to sew to the face. Insert safety eyes during assembly.
FEET (Yellow) – Make 2
PART A:
Rnd: sts
- (sc) x4 in mr [4]
- (inc) x 4 [8]
- to 4 sc8 (x 2 rounds) [8]
Cut the yarn, leaving this part on hold.
PART B:
Rnd: sts
- (sc) x4 in mr [4]
- (inc) x 4 [8]
- to 4 sc8 (x 2 rounds) [8]
Don’t cut the yarn, continue joining with part A:
- Holding the last st of part B on hook, insert hook on last st of Part A and sl st
- sc8 of part A
- The last st would be the new end of the round
- Start the new round as follows (put your mark here):
Rnd: sts
- sc16 (8 sc from B + 8 sc from A) [16]
- (sc2, dec) x 4 [12]
- (sc2, dec) x 3 [9]
- (sc, dec) x 3 [6]
Fasten off, leaving a long tail to sew later to the body.
FLOWERS (Pink) – Make 2
- Ch16
- Starting on 2nd Ch from hook: * at same st [sc, hdc, dc2, hdc, sc], slst on next st *
- Repeat * * x 7 more times
- Total of 8 petals
- Roll the petals in a spiral way and glue
- Glue some beads on the center as decoration
LEAVES (Green) – Make 3
- Ch10
- Starting on 2nd Ch from hook: (slst) x2sc, sc, hdc, dc, trc, dc, hdc, (3hdctog)
- Continue working the other side of the Ch: hdc, dc, trc, dc, hdc, sc, Sl st
- Fasten off. Leave a long tail to sew to the head
CHEEKS (Pink)
Rnd: sts
- sc6 in Mr [6]
Fasten off.
Valentine’s Owl Crochet Pattern Assembly Instructions

Face and Beak Assembly
- Sew the white face part over the head
- Position and insert the safety eyes before completing the face attachment
- Sew the beak centered between the eyes
- With white yarn, crochet a chain long enough to cover all around the face part, then glue it in place
- Sew or glue cheeks in position (see pattern images as guidance)
- Glue a small piece of fake eyelash under each eye for a sweet, feminine look
Belly Assembly
- Sew the belly (flattened, no stuffing inside) centered below the face and over the body
- Create a white chain border around the belly (same technique as the face border)
- Glue the Pink heart centered on the belly
Feet and Wings Assembly
- Sew the feet to the bottom of the body using the tapestry needle (refer to images for placement)
- Attach wings below the face border on each side of the body
Final Decorative Touches
- Position and sew the leaves to the top of the head
- Attach the pink flowers to the head, using the leaves as a base
- Make any final adjustments to ensure all parts are securely attached
Frequently Asked Questions
Yes, you can use different yarn weights, but keep in mind that this will change the finished size of your owl. If you use a heavier weight yarn with a larger hook, your owl will be bigger than 15cm. Make sure to adjust your hook size accordingly and use safety eyes that are proportional to your new size.
The heart-shaped technique involves crocheting two separate parts (Part A and Part B) and then joining them together to create a heart shape. You complete Part A and set it aside, then crochet Part B without cutting the yarn. Finally, you slip stitch Part B to Part A and continue working them as one piece to form the distinctive heart shape used for the face, wings, feet, and decorative hearts.
To prevent holes, crochet tightly throughout the project, especially when working with white filling and darker colored yarn. Use the invisible decrease method instead of regular decreases, and stuff firmly but not so tightly that it stretches the stitches apart. Working with a smaller hook than recommended for your yarn weight can also help create tighter stitches.
Absolutely! While the pattern uses pink, Green, white, and Yellow for a Valentine’s theme, you can customize the colors to suit any occasion. Try pastel colors for spring, autumn colors for fall, or even your favorite team colors. The heart-shaped features make this owl perfect for expressing love in any color scheme.
Conclusion
Congratulations! You’ve created an adorable Valentine’s Owl Crochet Pattern that’s perfect for gifting or decorating. This charming amigurumi combines classic crochet techniques with unique heart-shaped construction methods to create a truly special handmade treasure. Whether you’re making it for Valentine’s Day, an anniversary, or just because, this sweet owl is sure to bring smiles and warm hearts. Don’t forget to share your finished creation with fellow crafters and inspire others to spread love through handmade gifts!
Remember it later!
Planning to try this soon? Pin it for a quick find later!