Table of contents
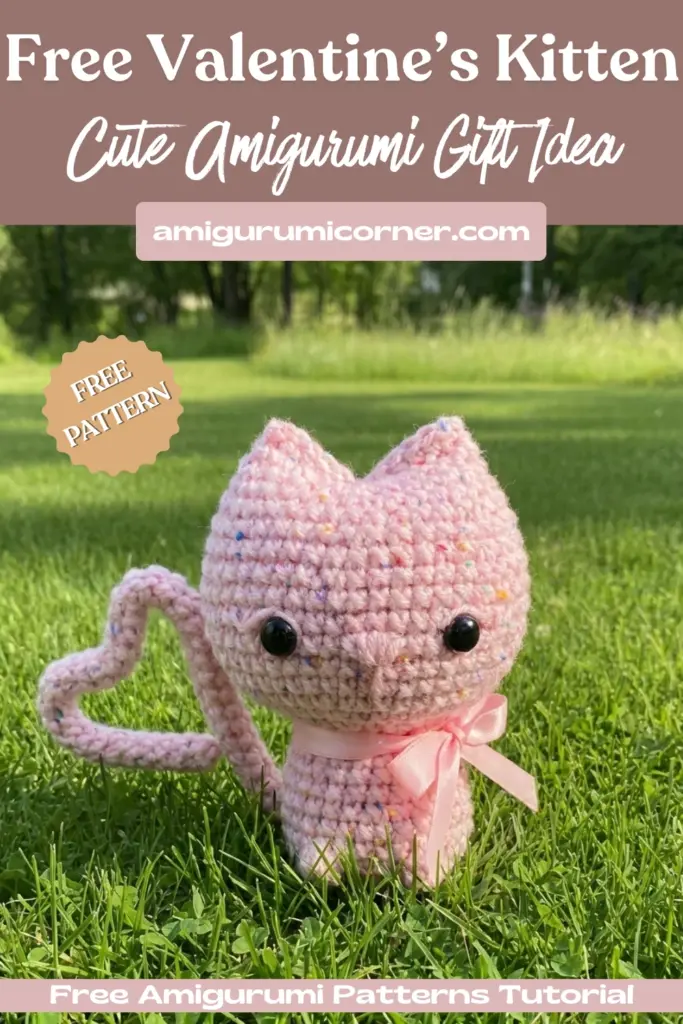
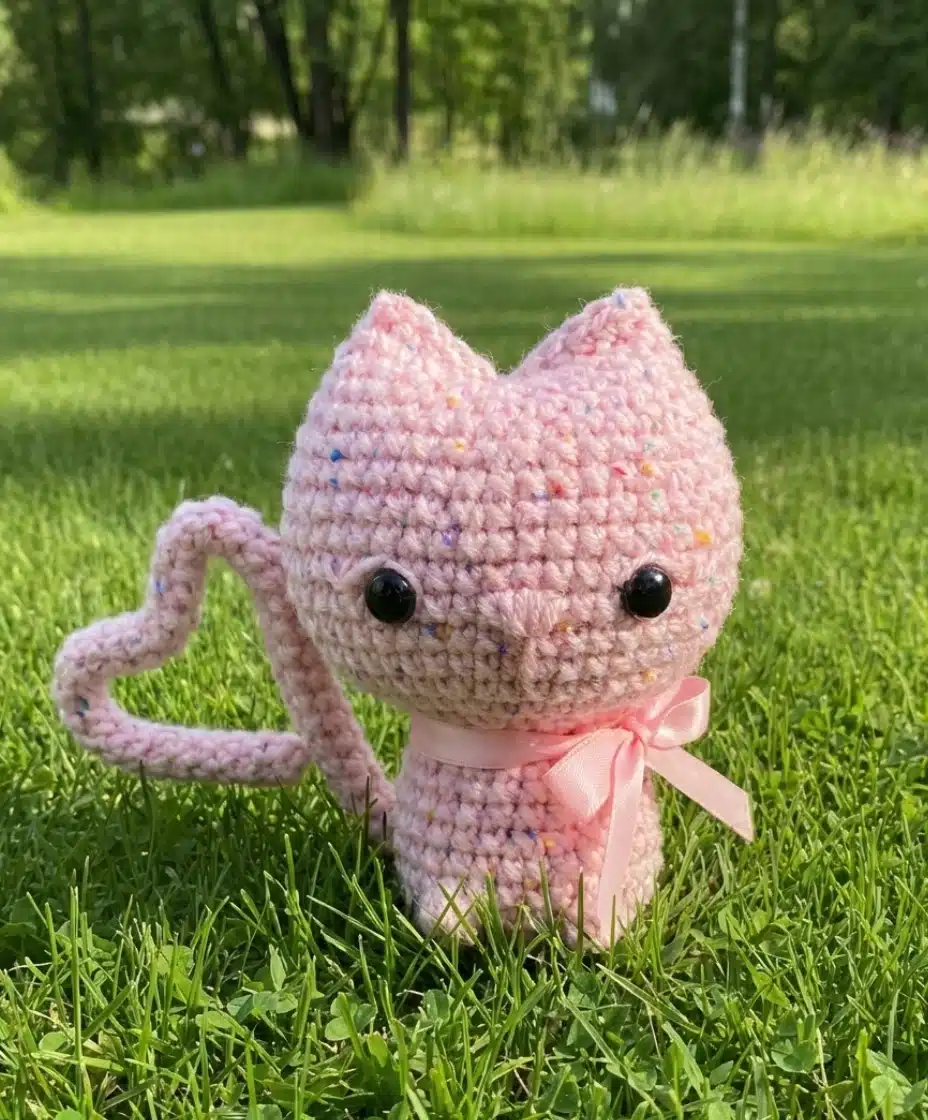
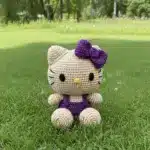
Looking for the perfect handmade Valentine’s Day gift? This charming valentine’s kitten crochet amigurumi pattern is just what you need! This free crochet pattern creates an adorable pink kitten that stands approximately 3.5 inches (9.5 cm) tall, complete with sweet embroidered features and a romantic ribbon bow. Whether you’re an experienced crocheter or just starting your amigurumi journey, this delightful project will steal your heart.
Remember it later!
Planning to try this soon? Pin it for a quick find later!
Materials You’ll Need For Valentine’s Kitten Crochet
Before you begin crocheting your Valentine’s Kitten Crochet, gather these essential supplies:
- 2 mm crochet hook (size B)
- Cotton yarn:
- Fuchsia: 15g / 45m (49 yards)
- Small amount of pink
- Polyfill stuffing
- A pair of 8mm safety eyes
- Tapestry needle
- Wire 0.8 mm: approximately 25cm
- Pink ribbon
This sample is made with Alize Cotton Gold Tweed (semi cotton yarn) in fuchsia #149, resulting in a finished toy measuring 3.5 inches (9.5 cm) tall.

Crochet Abbreviations Guide
To help you follow this pattern seamlessly, here are the abbreviations used:
- ch: chain
- sc: single crochet
- slst: slip stitch
- dc: double crochet
- inc: increase (2 sc in indicated stitch)
- dec: 2 sc together (decrease)
- bo: bobble stitch (5 dc cluster)
- (__st): total amount of stitches in a round
- ( ) Nx: repeat between ( ) N times
- rnd: round
- st: stitch
Body Instructions
- Round 01: 8sc in magic ring — 8 st
- Round 02: (inc) 8x — 16 st
- Round 03: (sc, inc) 8x — 24 st
- Round 04: (2sc, inc) 8x — 32 st
- Round 05: This rnd work with back loops only: 32sc — 32 st
- Round 06: 6sc, dec, 5sc, bo, 4sc, bo, 5sc, dec, 6sc — 30 st
- Rounds 07-08: sc in each st around — 30 st
- Round 09: 4sc, (dec, 8sc) 2x, dec, 4sc — 27 st
- Round 10: sc in each st around — 27 st
- Round 11: (7sc, dec) 3x — 24 st
- Round 12: 3sc, (dec, 6sc) 2x, dec, 3sc — 21 st
- Round 13: (5sc, dec) 3x — 18 st
- Round 14: sc in each st around — 18 st
- Round 15: (inc) 18x — 36 st
- Round 16: (5sc, inc) 6x — 42 st
- Round 17: (6sc, inc) 6x — 48 st
Stuffing and Shaping
Start stuffing with filling material
- Rounds 18-22: sc in each st around — 48 st
- Round 23: 7sc, (dec, 14sc) 2x, dec, 7sc — 45 st
- Round 24: (13sc, dec) 3x — 42 st
- Round 25: 6sc, (dec, 12sc) 2x, dec, 6sc — 39 st
- Round 26: (11sc, dec) 3x — 36 st
- Round 27: 5sc, (dec, 10sc) 2x, dec, 5sc — 33 st
If you use safety eyes, it is the best moment to place them between rounds 20 and 21, leaving 9sc between them.
Stuff it again
- Round 28: (9sc, dec) 3x — 30 st
- Round 29: 4sc, (dec, 8sc) 2x, dec, 4sc — 27 st
- Round 30: (7sc, dec) 3x — 24 st
- Round 31: 11sc (you should reach the left side of a cat), flatten the detail and make 12sc through both sides to the end
Fasten off, cut the yarn, weave in end.
Adding Facial Features
Go back to round 5 and crochet in front loops of it: ch1, slst in each st around, slst in the 1st ch of a rnd. Fasten off, cut the yarn, hide an end.
Take a piece of main yarn and tapestry needle. Insert needle in the bottom of a body between rounds 1 and 2 and bring it out in the top of a head, then insert it back from the opposite side of the last rnd. Bring out the needle in the bottom of body, 2 stitches from the entry. Lightly pull both yarn ends and, keeping the yarn tension, tie a knot of both yarn ends. Hide the yarn ends inside of a body.
Take a piece of pink yarn and embroider a nose in round 20, centering it regarding to the eyes. The height of a nose is 1sc, the width of a bottom part is 1sc, top part is 3sc. Make a line under the nose. With the same yarn embroider the eyelashes.
Tail Instructions
- Round 01: 6sc in magic ring — 6 st
- Rounds 02-45: sc in each st around — 6 st
Fasten off, cut the yarn, leaving a yarn tail for sewing.

Assembling the Tail
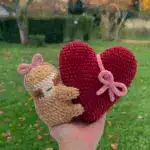
Take a piece of wire and make a loop from one side. Another side of a wire attach to the back between rounds 6 and 7. Insert the wire inside a tail. Then sew the tail to the body.
Twist the wire into a heart shape.
Tie a ribbon around the neck.
Frequently Asked Questions
This pattern is suitable for intermediate crocheters who are familiar with basic amigurumi techniques including working in the round, increases, decreases, and bobble stitches. Beginners with some crochet experience can also attempt this project by following the instructions carefully.
Yes, you can use different yarn weights, but keep in mind that this will change the final size of your kitten. If you use thicker yarn with a larger hook, your kitten will be bigger, and thinner yarn with a smaller hook will create a smaller toy. Adjust your hook size accordingly to match your yarn weight.
The pattern recommends placing the 8mm safety eyes between rounds 20 and 21, with 9 single crochet stitches between them. This is the optimal time because you need to insert them before stuffing the head completely, ensuring they’re securely attached.
Create a loop on one end of the 0.8mm wire for safety, then attach the other end to the body between rounds 6 and 7. Insert the wire through the length of the crocheted tail before sewing it to the body. This allows you to bend and shape the tail into a heart or any position you prefer.
Conclusion
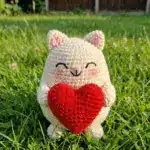
Congratulations! Your Valentine’s Kitten Crochet is now complete and ready to bring joy to someone special. This charming amigurumi makes a wonderful handmade gift for Valentine’s Day, birthdays, or just to show someone you care. The poseable wire tail adds a playful touch, allowing you to shape it into a heart or any cute position you desire.
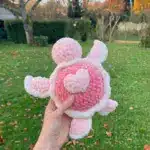
Don’t forget to experiment with different colors and ribbon styles to create your own unique version of this adorable kitten. Whether you’re making it for yourself or as a gift, this sweet little companion is sure to be treasured. Happy crocheting, and enjoy creating your beautiful handmade Valentine’s Kitten!
Remember it later!
Planning to try this soon? Pin it for a quick find later!