Table of contents
- Why the Strawberry Cow Pattern is Perfect for You
- Gathering Your Materials and Tools
- Understanding Pattern Abbreviations and Structure
- Building Your Strawberry Cow: Component by Component
- Assembly and Finishing for Lasting Quality
- Making It Uniquely Yours: Customization Ideas
- The Perfect Handmade Gift
- Your Strawberry Cow Awaits
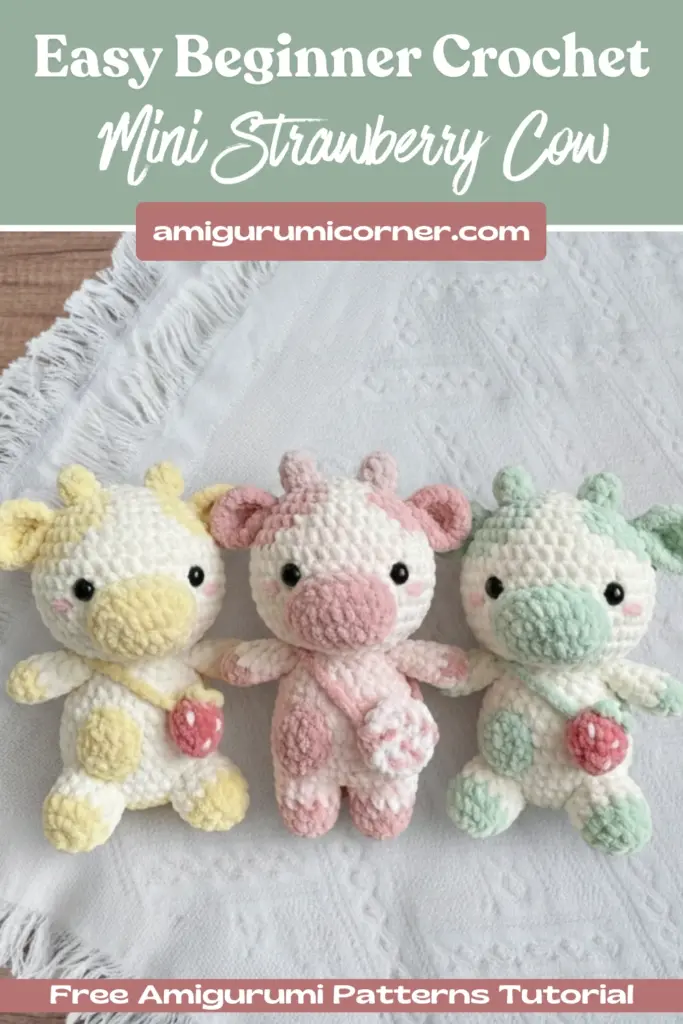
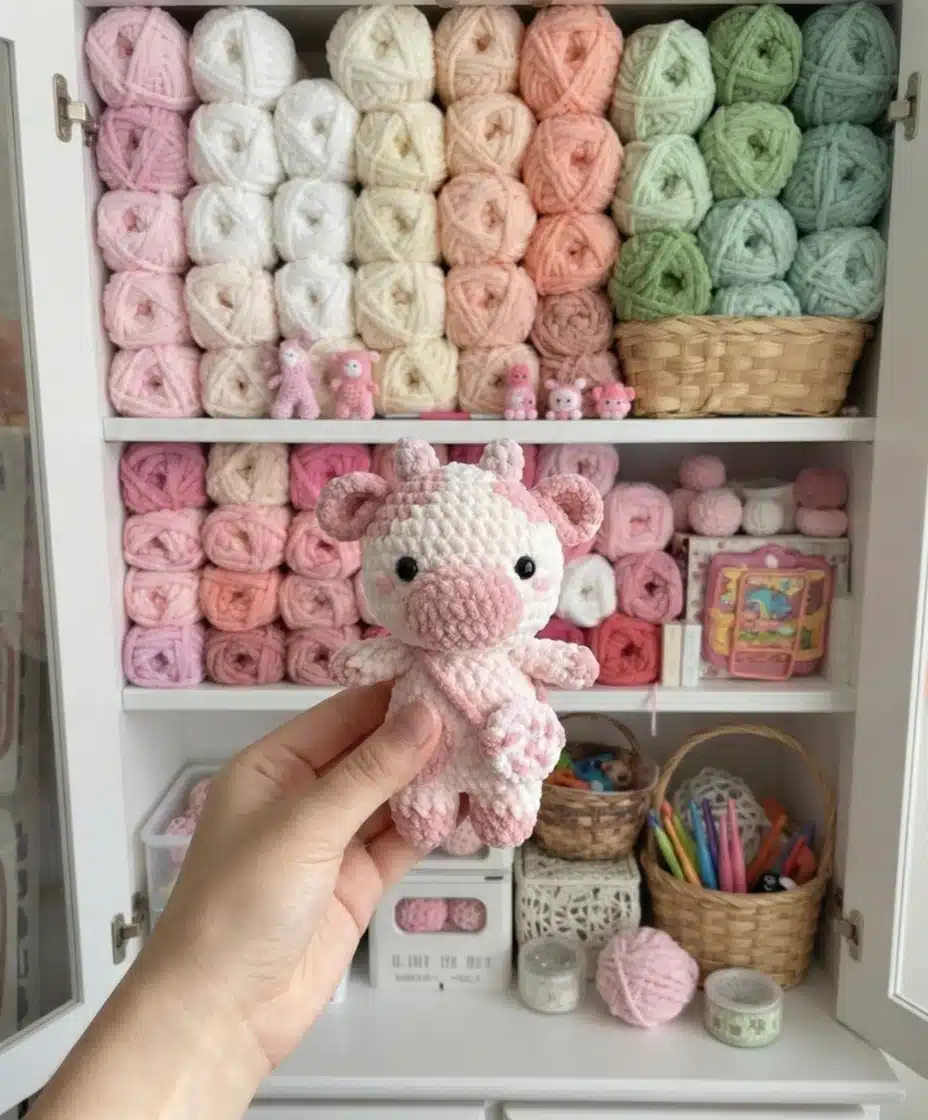
Ready to hook your next favorite craft project? Learn how to create an irresistible strawberry cow amigurumi that combines the sweetness of fruit-inspired design with the charm of a handmade plush toy. This comprehensive guide walks you through every step of bringing this delightful character to life, whether you’re picking up a crochet hook for the first time or expanding your amigurumi collection.
Remember it later!
Planning to try this soon? Pin it for a quick find later!
Why the Strawberry Cow Pattern is Perfect for You
The strawberry cow stands out as a beginner-friendly masterpiece that doesn’t sacrifice charm for simplicity. This pattern delivers several compelling advantages that make it worth your time and yarn investment.
The detailed step-by-step instructions paired with helpful visual guides mean you won’t feel lost during construction. Unlike intimidating amigurumi patterns, this design breaks down each component into manageable, sequential rounds. You’ll also enjoy complete creative control—customize the colors however you imagine, experiment with different yarn shades, or stick with the classic pink strawberry aesthetic. As a bonus, the pattern includes instructions for crafting a coordinating decorative bag that turns your finished cow into a complete gift set.

Gathering Your Materials and Tools
Before you start stitching, assemble everything you’ll need for a smooth crafting experience.
Yarn Selection: Pink and white or cream yarn form the foundation of your strawberry cow design. Himalaya Dolphin Baby yarn is the recommended choice for its softness and workability. You’ll also want beige yarn on hand for the hooves, horns, and other details that bring dimension to your creation.
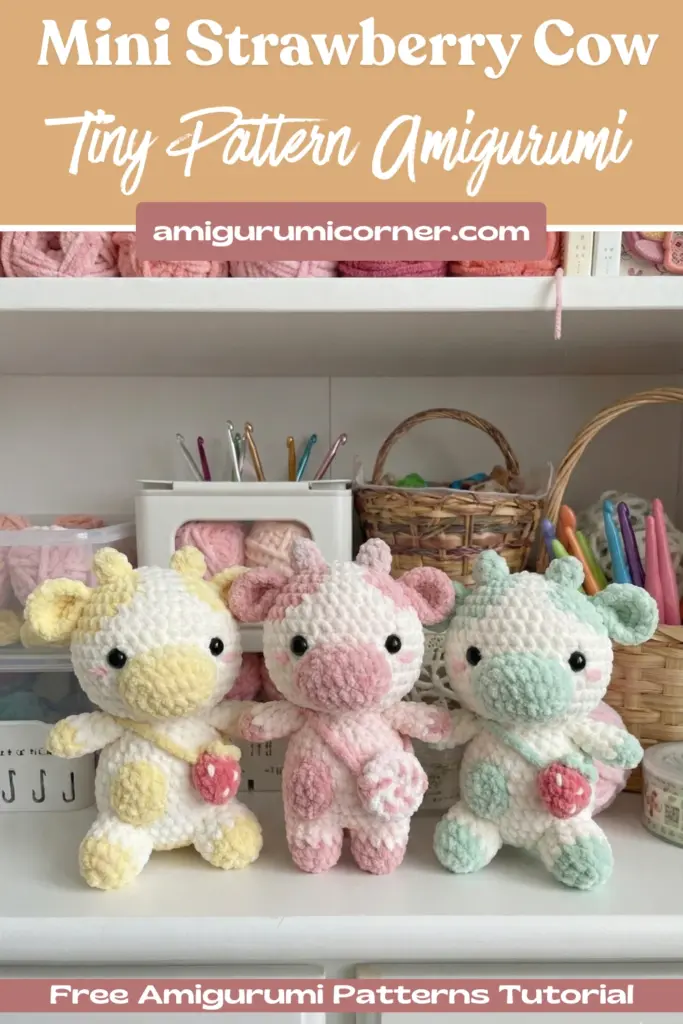
Color Customization Options: While the classic strawberry cow features a soft pink body, you have complete freedom to create variations. Consider these charming alternatives:
- Soft pink and white for a traditional strawberry look
- Pastel yellow and white for a buttercream-inspired design
- Soft green and white for a kiwi-themed companion
- Blush rose and cream for a romantic aesthetic
Essential Tools and Supplies: A 4mm crochet hook pairs perfectly with your chosen yarn weight. You’ll need 12mm safety eyes to bring your cow’s personality to life—though embroidered eyes or felt alternatives work equally well if you prefer. Round out your toolkit with a darning needle for assembly, polyester stuffing to give your creation dimension and weight, and sharp scissors for clean finishing.
Understanding Pattern Abbreviations and Structure
Familiarizing yourself with standard crochet abbreviations ensures smooth reading and execution:
- MR: Magic ring—the foundation technique for starting amigurumi pieces
- Ch: Chain—the basic foundation stitch
- Sc: Single crochet—the primary building block for amigurumi
- Inc: Increase—adding stitches to expand your work
- Dec: Decrease—removing stitches to shape and finish
- Slst: Slip stitch—a joining stitch used for transitions
The pattern uses color-coding to indicate when you should switch between your chosen main color and beige yarn, making color transitions seamless and your finished cow beautifully patterned.
Building Your Strawberry Cow: Component by Component
Constructing the Head
The head serves as the heart of your strawberry cow and requires thoughtful attention to shaping for the best results. This gradual expansion creates the rounded, bulbous shape characteristic of your cow’s head, with strategic color changes building the strawberry pattern detail.
Round-by-Round Instructions:
Rnd 1. 7 sc in MR (7)
Rnd 2. 7 inc (14)
Rnd 3. (1sc,inc)*7 (21)
Rnd 4. (2sc,inc)*7 (28)
Rnd 5. (3sc,inc)*7 (35)
Rnd 6-7. sc in each (35)
Rnd 8. 18sc, 3sc, 14sc (35)
Rnd 9. 17sc, 6sc, 12sc (35)
Rnd 10. 17sc, 10sc, 8sc (35)
Rnd 11. 18sc, 7sc, 10sc (35)
Rnd 12. 20sc, 4sc, 11sc (35)
Rnd 13. sc in each (35)
Add safety eyes between rounds 10 and 11, 8-9st apart.
Rnd 14. (3sc,dec)*7 (28)
Rnd 15. 2sc, (1sc,2dec)*5, 1sc (18)
Slst and fasten off, stuffing.
Key Notes: The strawberry pattern detail is created through rounds 8-12 where you work the colored sections strategically. Position your safety eyes between rounds 10 and 11, spacing them 8-9 stitches apart for balanced, natural-looking placement. Stuff the head firmly as you fasten off.
Crafting Expressive Ears
Your cow’s personality emerges through thoughtful ear construction. Create two identical ears using these instructions. This placement sits naturally between the horns and the face, giving your cow an endearing expression.
Round-by-Round Instructions (Make 2):
Rnd 1. 7 sc in MR (7)
Rnd 2. 7 inc (14)
Rnd 3. sc in each (14)
Slst and fasten off, leave a long tail to sew.
Sew each ears between round 6 and 7 of the head.
Adding Distinctive Character Features
Horns: Create two small horns in beige yarn to establish that authentic bovine appearance. Position them above the ears on your cow’s head.
Round-by-Round Instructions (In Beige):
Rnd 1. 8 sc in MR (8)
Rnd 2-3. sc in each (8)
Slst and fasten off, leave long tail to sew the head above ears.
Nose: Fashion an oval-shaped nose using a chain foundation, then working in rounds to create the characteristic cow snout shape. Position this component between rounds nine and twelve of the head, centered for maximum charm and character.
Round-by-Round Instructions:
Ch 6.
Start in 2nd ch from hook.
Rnd 1. 4sc, 3sc in ch, 3sc, inc (12)
Rnd 2. inc, 3sc, inc, sc, inc, 5sc, inc (17)
Slst and fasten off, leave long tail to sew the head.
Sew nose to round 9 of 12 of the head.
Shaping the Body and Limbs
Arms (Make 2): Create two arms in beige yarn for adorable hoof details that transition to your main color. Lightly stuff each arm, then sew between rounds seventeen and eighteen of the body.
Round-by-Round Instructions (In Beige):
Rnd 1. 5 sc in MR (5)
Rnd 2. 5 inc (10)
Rnd 3. sc in each (10)
Change color.
Rnd 4-9. sc in each (10)
Slst and fasten off, leave long tail to sew, stuff.
Sew each arm between round 17 and 18 of the body.
Body—Creating the Legs and Foundation:
The body starts by creating two separate legs that join together, creating a sturdy foundation for your cow. This joining technique creates a seamless transition from individual legs to the unified body, which you then build upward with strategic decreases and color changes.
First Leg (In Beige):
Rnd 1. 6 sc in MR (6)
Rnd 2. 6 inc (12)
Rnd 3. sc in each (12)
Change color.
Rnd 4-6. sc in each (12)
Slst and fasten off.
Second Leg (In Beige):
Rnd 1. 6 sc in MR (6)
Rnd 2. 6 inc (12)
Rnd 3. sc in each (12)
Change color.
Rnd 4-6. 12 sc. ch 2 at the end of 6 round.
Joining the Legs and Building the Body:
Rnd 7. Join to first leg with a sc, 11sc, 2sc in ch 2, 12sc, 2 sc in ch 2 (28)
Stuff legs.
Rnd 8. (13sc,inc)*2 (30)
Rnd 9. 2sc, 4sc, 24sc (30)
Rnd 10. 1sc, 6sc, 23sc (30)
Rnd 11. 2sc, 4sc, 24sc (30)
Rnd 12. 3sc, 3sc, 24sc (30)
Rnd 13. (13sc,dec)*2 (28)
Rnd 14. sc in each (28)
Rnd 15. (5sc,dec)*4 (24)
Stuff.
Rnd 16-17. sc in each (24)
Rnd 18. (2sc,dec)*6 (18)
Stuff some more.
Slst and fasten off, leave long tail to sew head.
The spot should be on the front left side.
Pro Tip: Ensure the strawberry pattern spot lands on the front left side for visual balance and authentic design.
Final Details
Tail: Create a charming tail in your main color with these simple steps. Position the tail between rounds ten and eleven of the body for perfect placement.
Round-by-Round Instructions (Pink Color):
Ch 6.
Sc in 2nd ch from hook, 4sc.
Fasten off, leave long tail to sew the body, between rounds 10 and 11.
Decorative Bag: Complete your gift set with a matching bag that perfectly complements your finished cow. This charming accessory adds functionality and charm to your creation.
Round-by-Round Instructions (Make 2 Circles):
Rnd 1. 8 sc in MR (8)
Rnd 2. 8 inc (16)
Slst and fasten off, in one circle leave a long tail.
Sew the two parts together but leave a small opening.
Make a purse strap out of a separate piece of yarn.
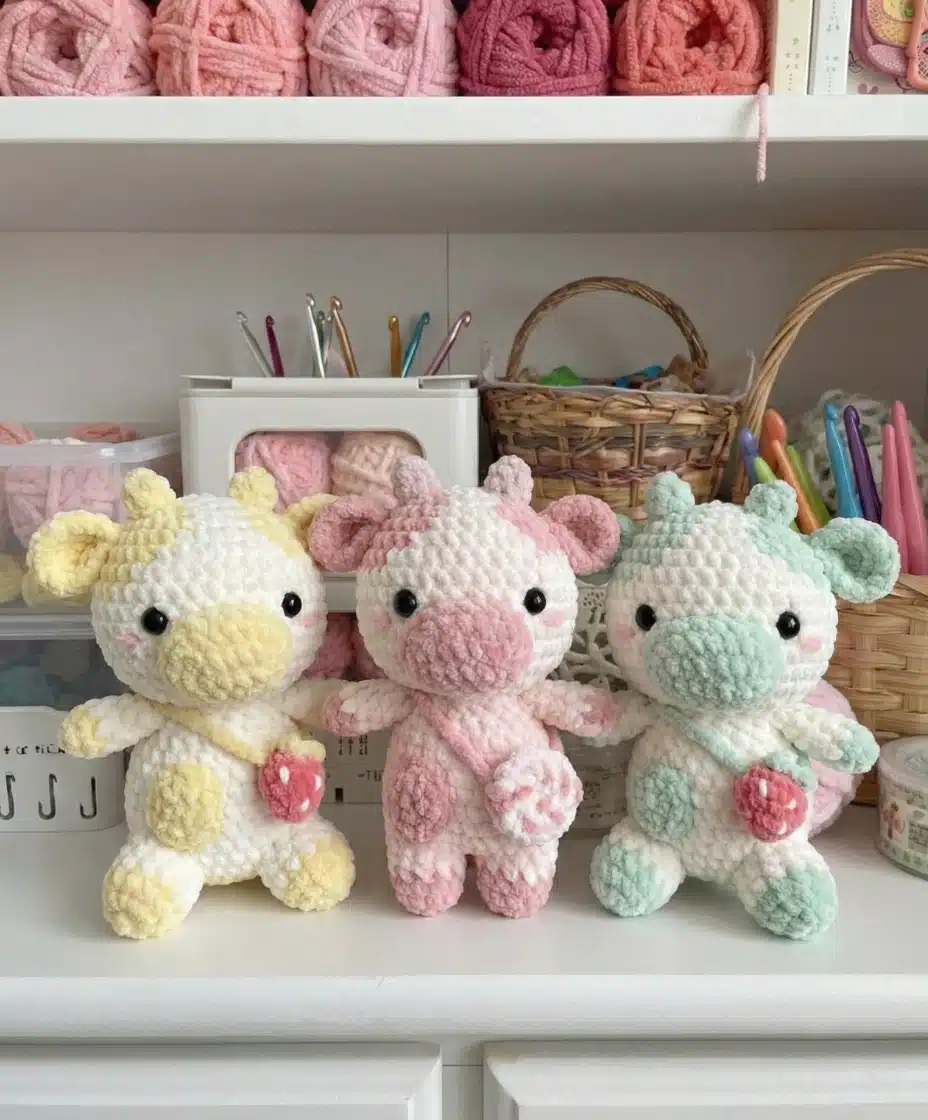
Your strawberry cow crochet amigurumi toy is ready!
Rnd 1. 8 sc in MR (8)
Rnd 2. 8 inc (16)
Slst and fasten off, in one circle leave a long tail.
Sew the two parts together but leave a small opening.
Make a purse strap out of a separate piece of yarn.
Your strawberry cow crochet amigurumi toy is ready!
Assembly and Finishing for Lasting Quality
Proper assembly ensures your strawberry cow maintains its shape, appeal, and durability for years of enjoyment.
Fill each component firmly with polyester stuffing, but exercise restraint—overstuffing distorts the shape and compromises the delicate proportions that make your cow irresistible. Use strong stitches when joining body parts together, ensuring durability whether your creation becomes a cherished keepsake or an active playmate. Pay careful attention to the color pattern throughout assembly to achieve that authentic strawberry cow aesthetic.
When sewing the ears, position them between rounds 6 and 7 of the head. Attach the arms between rounds 17 and 18 of the body for balanced proportions. The nose sits between rounds 9 and 12 of the head. These precise placements ensure your cow has the signature adorable appearance that makes this pattern so beloved.
Making It Uniquely Yours: Customization Ideas
The true beauty of amigurumi crafting lies in the creative freedom to adapt patterns to your vision. Consider these inspiring variations:
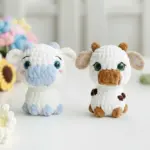
Transform your strawberry cow into other fruit-themed companions—try a blueberry cow with blue and white colors, or a cherry cow featuring deep red and white combinations. You can also create a sunny version with buttercream yellow and white, or a refreshing kiwi-inspired design with soft green and cream. Adjust your hook size to create larger or smaller versions, scaling the pattern to your preference. Expand your creation into a complete gift set by adding matching accessories like a tiny farmer’s hat, a miniature milk bucket, or themed clothing. Experiment with different eye placements to give your cow varied expressions and personalities.
The Perfect Handmade Gift
This strawberry cow makes an exceptional present for practically any occasion. Its undeniable cuteness appeals equally to children and adults, while the handmade nature transforms it into a treasured keepsake that mass-produced toys simply cannot match. Pair your finished cow with the included bag pattern to create a complete, functional gift set that’s both decorative and practical.
Your Strawberry Cow Awaits
Crafting a strawberry cow crochet amigurumi delivers a rewarding creative experience that builds your skills while allowing genuine artistic expression. The detailed round-by-round instructions provide a safety net for beginners, while the customization possibilities keep experienced crafters engaged and inspired. Whether you’re creating this charming toy for yourself, a loved one, or as part of a larger amigurumi collection, this pattern guarantees both joy in the making and delight in the finished product. Pick up your crochet hook, choose your favorite color palette, and discover the satisfaction of bringing this sweet, lovable character to life through the timeless art of crochet.

Remember it later!
Planning to try this soon? Pin it for a quick find later!