Table of contents
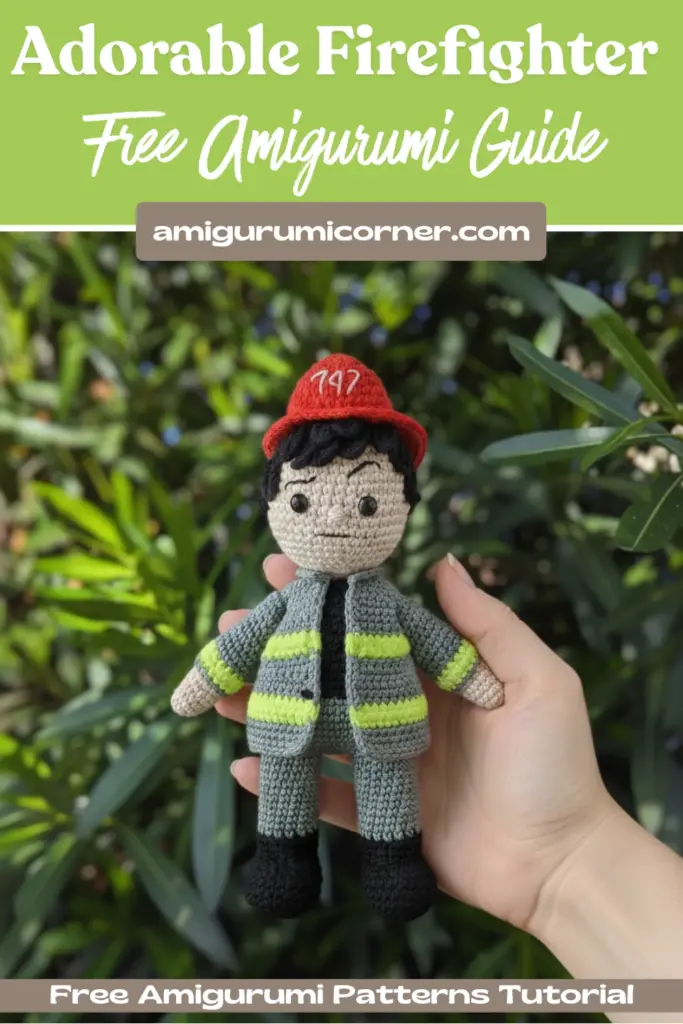
Hello everyone! Are you ready to embark on a charming crochet adventure? Today, I’m thrilled to share a delightful amigurumi fireman pattern that is not only fun to make but also incredibly rewarding. This step-by-step guide is designed to be very easy to follow, making it perfect for crocheters looking for a new project or a heartfelt gift idea.
Remember it later!
Planning to try this soon? Pin it for a quick find later!
Why Crochet This Adorable Fireman?
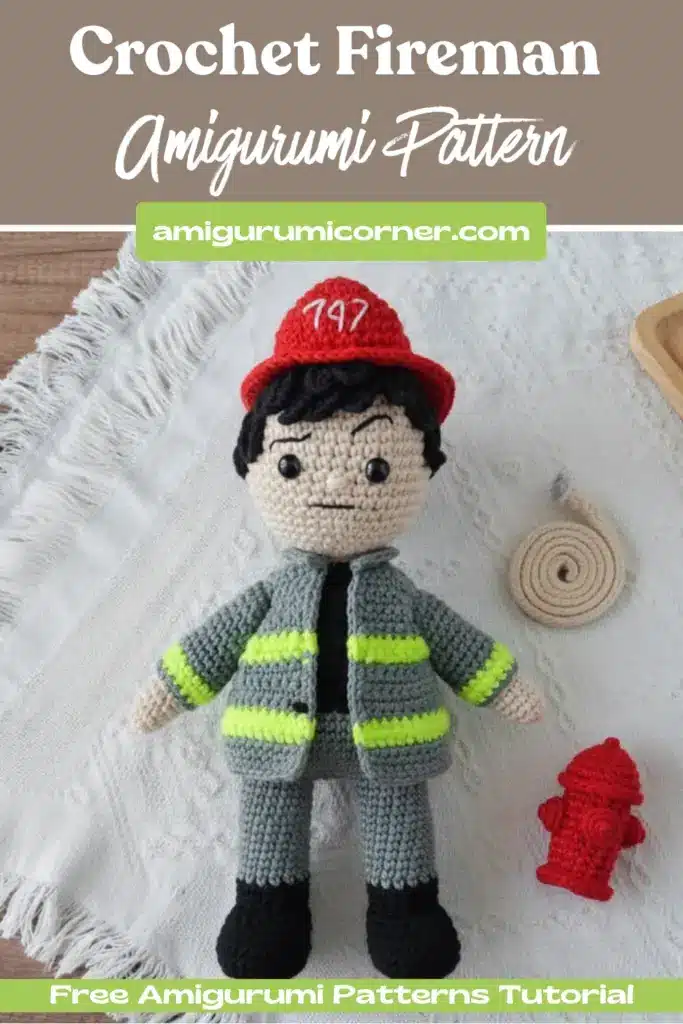
This amigurumi fireman is more than just a toy; he’s a tiny hero in yarn form! Here are a few reasons why you’ll love making him:
- A Perfect Gift for Children: Imagine the joy on a child’s face receiving their very own brave fireman doll. These handmade companions quickly become cherished playmates.
- Charming Home Decor: Beyond playtime, this little fireman makes a fantastic decorative piece for a child’s room, a nursery, or even a craft corner.
- Utilize Your Yarn Stash: It’s an excellent opportunity to use up leftover yarn from your collection, giving new life to those colorful scraps.
- Thoughtful Handmade Presents: Surprise your loved ones with a unique, handmade gift that shows you care.
We will crochet all parts of this amigurumi fireman separately, from his iconic red hat to his protective jacket. His eyes are typically made using plastic accessories, while his eyebrows and mouth can be neatly stitched with black yarn. Don’t forget to save this pattern to your favorites, so you can easily find it later!

Essential Crochet Abbreviations
Before we dive into the pattern, let’s quickly review the abbreviations used:
- Sc – single crochet
- MR – magic ring
- Inc – increase
- Dec – decrease
- Hdc – half double crochet
- Slst – slip stitch
Step-by-Step Fireman Amigurumi Pattern
The Head
We begin with skin tone yarn for the head.
- Rnd 1: 6 sc in MR
- Rnd 2: 6 inc (12)
- Rnd 3: (1sc, inc) x6 (18)
- Rnd 4: (2sc, inc) x6 (24)
- Rnd 5: (3sc, inc) x6 (30)
- Rnd 6: (4sc, inc) x6 (36)
- Rnd 7: 36 sc
- Rnd 8: 5sc, inc x6 (42)
- Rnd 9-16: 42sc
- Rnd 17: (5sc, dec) x6 (36)
- Rnd 18: 36sc
- Rnd 19: (4sc, dec) x6 (30)
- Rnd 20: (3sc, dec) x6 (24)
- Rnd 21: (2sc, dec) x6 (18)
- Rnd 22: (1sc, dec) x6 (12)
- Rnd 23-24: 12sc
We have completed the head. Now, let’s crochet the hair!
Crafting the Hair
- Rnd 1: 6 sc in MR
- Rnd 2: 6 inc (12)
- Rnd 3: (1sc, inc)x6 (18)
- Rnd 4: (2sc, inc)x6 (24)
- Rnd 5: (3sc, inc)x6 (30)
- Rnd 6: (4sc, inc)x6 (36)
Attention: After each round, join with a slip stitch (slst), then chain up, and start the new row in the same stitch.
- Rnd 7: Chain up, turn your crochet. Make a sc in the last chain, then continue with 24sc.
- Rnd 8: Chain up, turn your crochet, and make 24sc.
- Rnd 9: Chain up, turn your crochet, (4sc, inc)x5 (30)
- Rnd 10-14: 30 sc
Short Fringe
- Chain 11.
- Start from the third chain from the hook and continue: 9sc, slst, and cut thread.
Long Fringe
- Chain 13.
- Start from the third chain from the hook and continue: 11sc, slst, and cut thread.
When joining the head with the neck, use pins to fix it well before sewing. Place the fringe to your liking, observing the final result before securing.
Body and Legs
For the body, we start by making two legs. Use black yarn to begin.
- Rnd 1: 6sc in MR
- Rnd 2: 6 inc (12)
- Rnd 3: (1sc, inc) x6 (18)
- Rnd 4: 18sc
- Rnd 5: 3 dec, 12sc (15)
- Rnd 6: Triple dec (decrease with three front loops), 12sc (13)
- Rnd 7-9: 13sc
- Rnd 10: Change color to green, grabbing only the back loop of the stitch: 13sc
- Rnd 11: Change to a vibrant yellow: 13sc
- Rnd 12-15: With green: 13sc
Cut the thread for the first leg. Now, make the second leg following rounds 1-15. When you finish the second leg, do not cut the thread and continue weaving to join the legs for the body.
- Rnd 16: 6sc, make 2 chains, join with a sc to the other leg, continue with 12sc, make another two chains to join both legs, and finish the round with 6 sc (30)
- Rnd 17-18: 30 sc
- Rnd 19: Change to black: 30sc
- Rnd 20-27: 30sc
- Rnd 28: (8sc, dec) x3 (27)
- Rnd 29: 27sc
- Rnd 30: (7sc, dec) x3 (24)
- Rnd 31: (2sc, dec) x6 (18)
- Rnd 32: (1sc, dec) x6 (12)
After completing the body, let’s move on to the arms.

Amigurumi Arms
Start with skin tone yarn for the arms.
- Rnd 1: 8sc in MR (skin tone)
- Rnd 2-12: 8sc
- Rnd 13-14: Change to black, 8sc
- Rnd 15: Chain up 2, turn your crochet. In the last sc, continue to make 5hdc, inc
- Rnd 16: Make a chain, turn your crochet: 10 hdc, slst, and cut thread.
The Fireman’s Hat
Use red yarn for the hat.
- Rnd 1: 6sc in MR
- Rnd 2: 6 inc (12)
- Rnd 3: (1sc, inc) x6 (18)
- Rnd 4: (2sc, inc) x6 (24)
- Rnd 5: (3sc, inc) x6 (30)
- Rnd 6: (4sc, inc) x6 (36)
- Rnd 7-10: 36 sc
- Rnd 11: Grabbing only the front loop of the hat: (1sc, inc) x13
- Rnd 12: 49sc
Hat Front Part: Triangle
- Rnd 1: 6sc in MR
- Rnd 2: (sc, inc) x3 (9)
- Rnd 3: (2sc, inc) x3 (12)
- Rnd 4: (3sc, inc) x3 (15)
- Rnd 5: (sc, inc) x7, sc (22)
- Rnd 6-8: 22sc
The Fireman’s Outfit
Sleeves
Start with green yarn, making 15 chains.
- Join the ends with a slst, and at the same stitch start with:
- Rnd 1-10: 16sc
- Rnd 11-12: With vibrant yellow: 16sc
- Rnd 13: 16sc
Front Piece
Start with green yarn, making 13 chains. From the second chain from the hook, begin:
- Rnd 1: 12sc, chain up, turn knitting.
- Rnd 2: 12sc
- Rnd 3-4: Vibrant yellow: 12sc
- Rnd 5-8: Change to green: 12sc
- Rnd 9: 10sc, dec (11)
- Rnd 10: Change to vibrant yellow: dec, 9sc (10)
- Rnd 11: 8sc, dec (9)
- Rnd 12: Change to green: dec, 7sc (8)
- Rnd 13: 6sc, dec (7)
- Rnd 14: Dec, 5sc (6)
- Rnd 15: 6sc
- Rnd 16: 4sc, dec (5)
- Rnd 17-20: 5sc
- Rnd 21: Dec, 3sc (4)
- Rnd 22-23: 4sc
Back Piece
Start with green yarn, making 21 chains.
- Rnd 1-2: 20sc
- Rnd 3: Change to vibrant yellow: 20sc
- Rnd 4: 20sc
- Rnd 5-9: Military green: 20sc
- Rnd 10-11: With vibrant yellow yarn: 20sc
- Rnd 12: Triple dec (grab front loops three sc in a row), 14sc, triple dec (16)
- Rnd 13: Triple dec, 10 sc, triple dec (12)
- Rnd 14-23: 12sc
Finishing the Neck
- Rnd 1: 9 chains. From the second chain from the hook, make 18 hdc.
- Rnd 2: Inc, 16sc, inc.
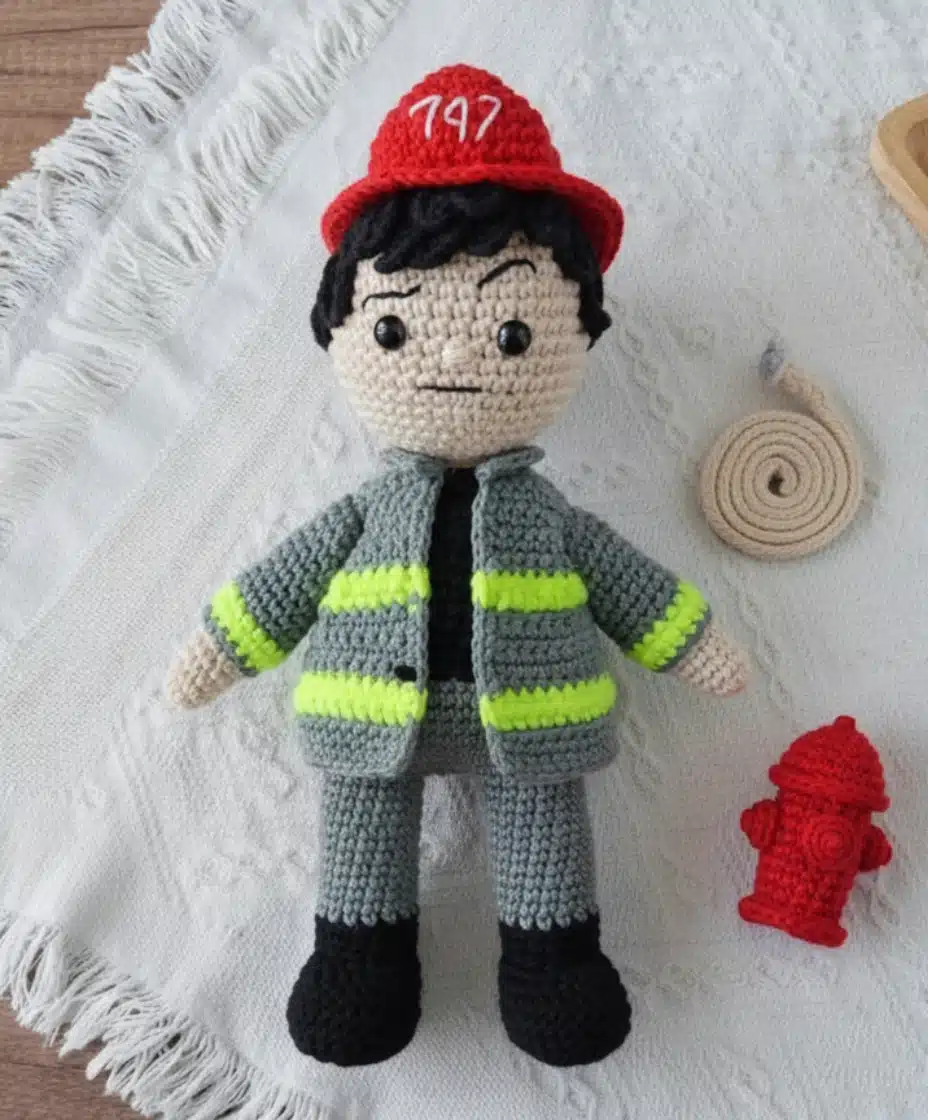
How to Assemble Your Fireman Amigurumi
Once you have crocheted all the individual parts—the head, body, arms, hat, and all components of the outfit (sleeves, front, and back)—it’s time for assembly! Carefully join the body, head, and arms. Then, attach all the parts of the coat. If you notice any irregularity or instability in the fireman’s neck after assembly, consider crocheting a simple


Remember it later!
Planning to try this soon? Pin it for a quick find later!