Table of contents
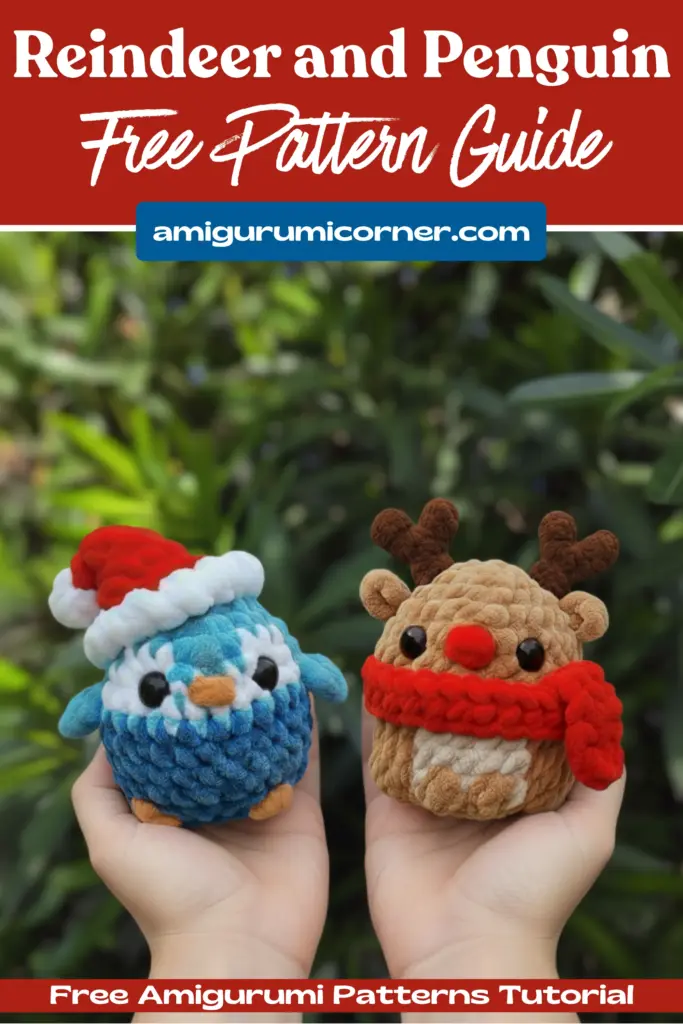
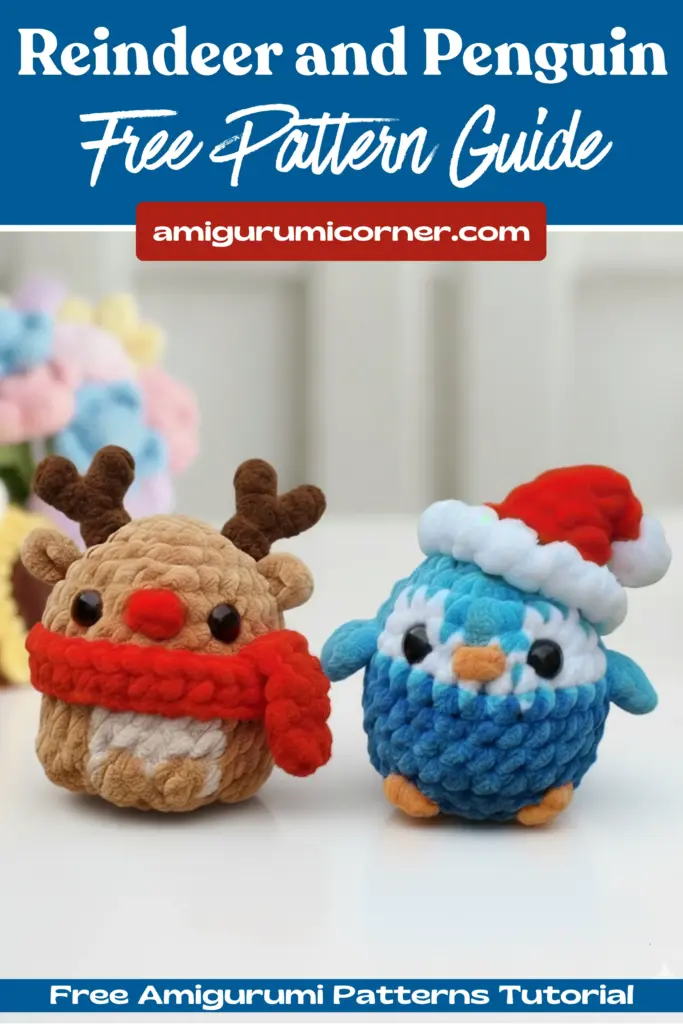
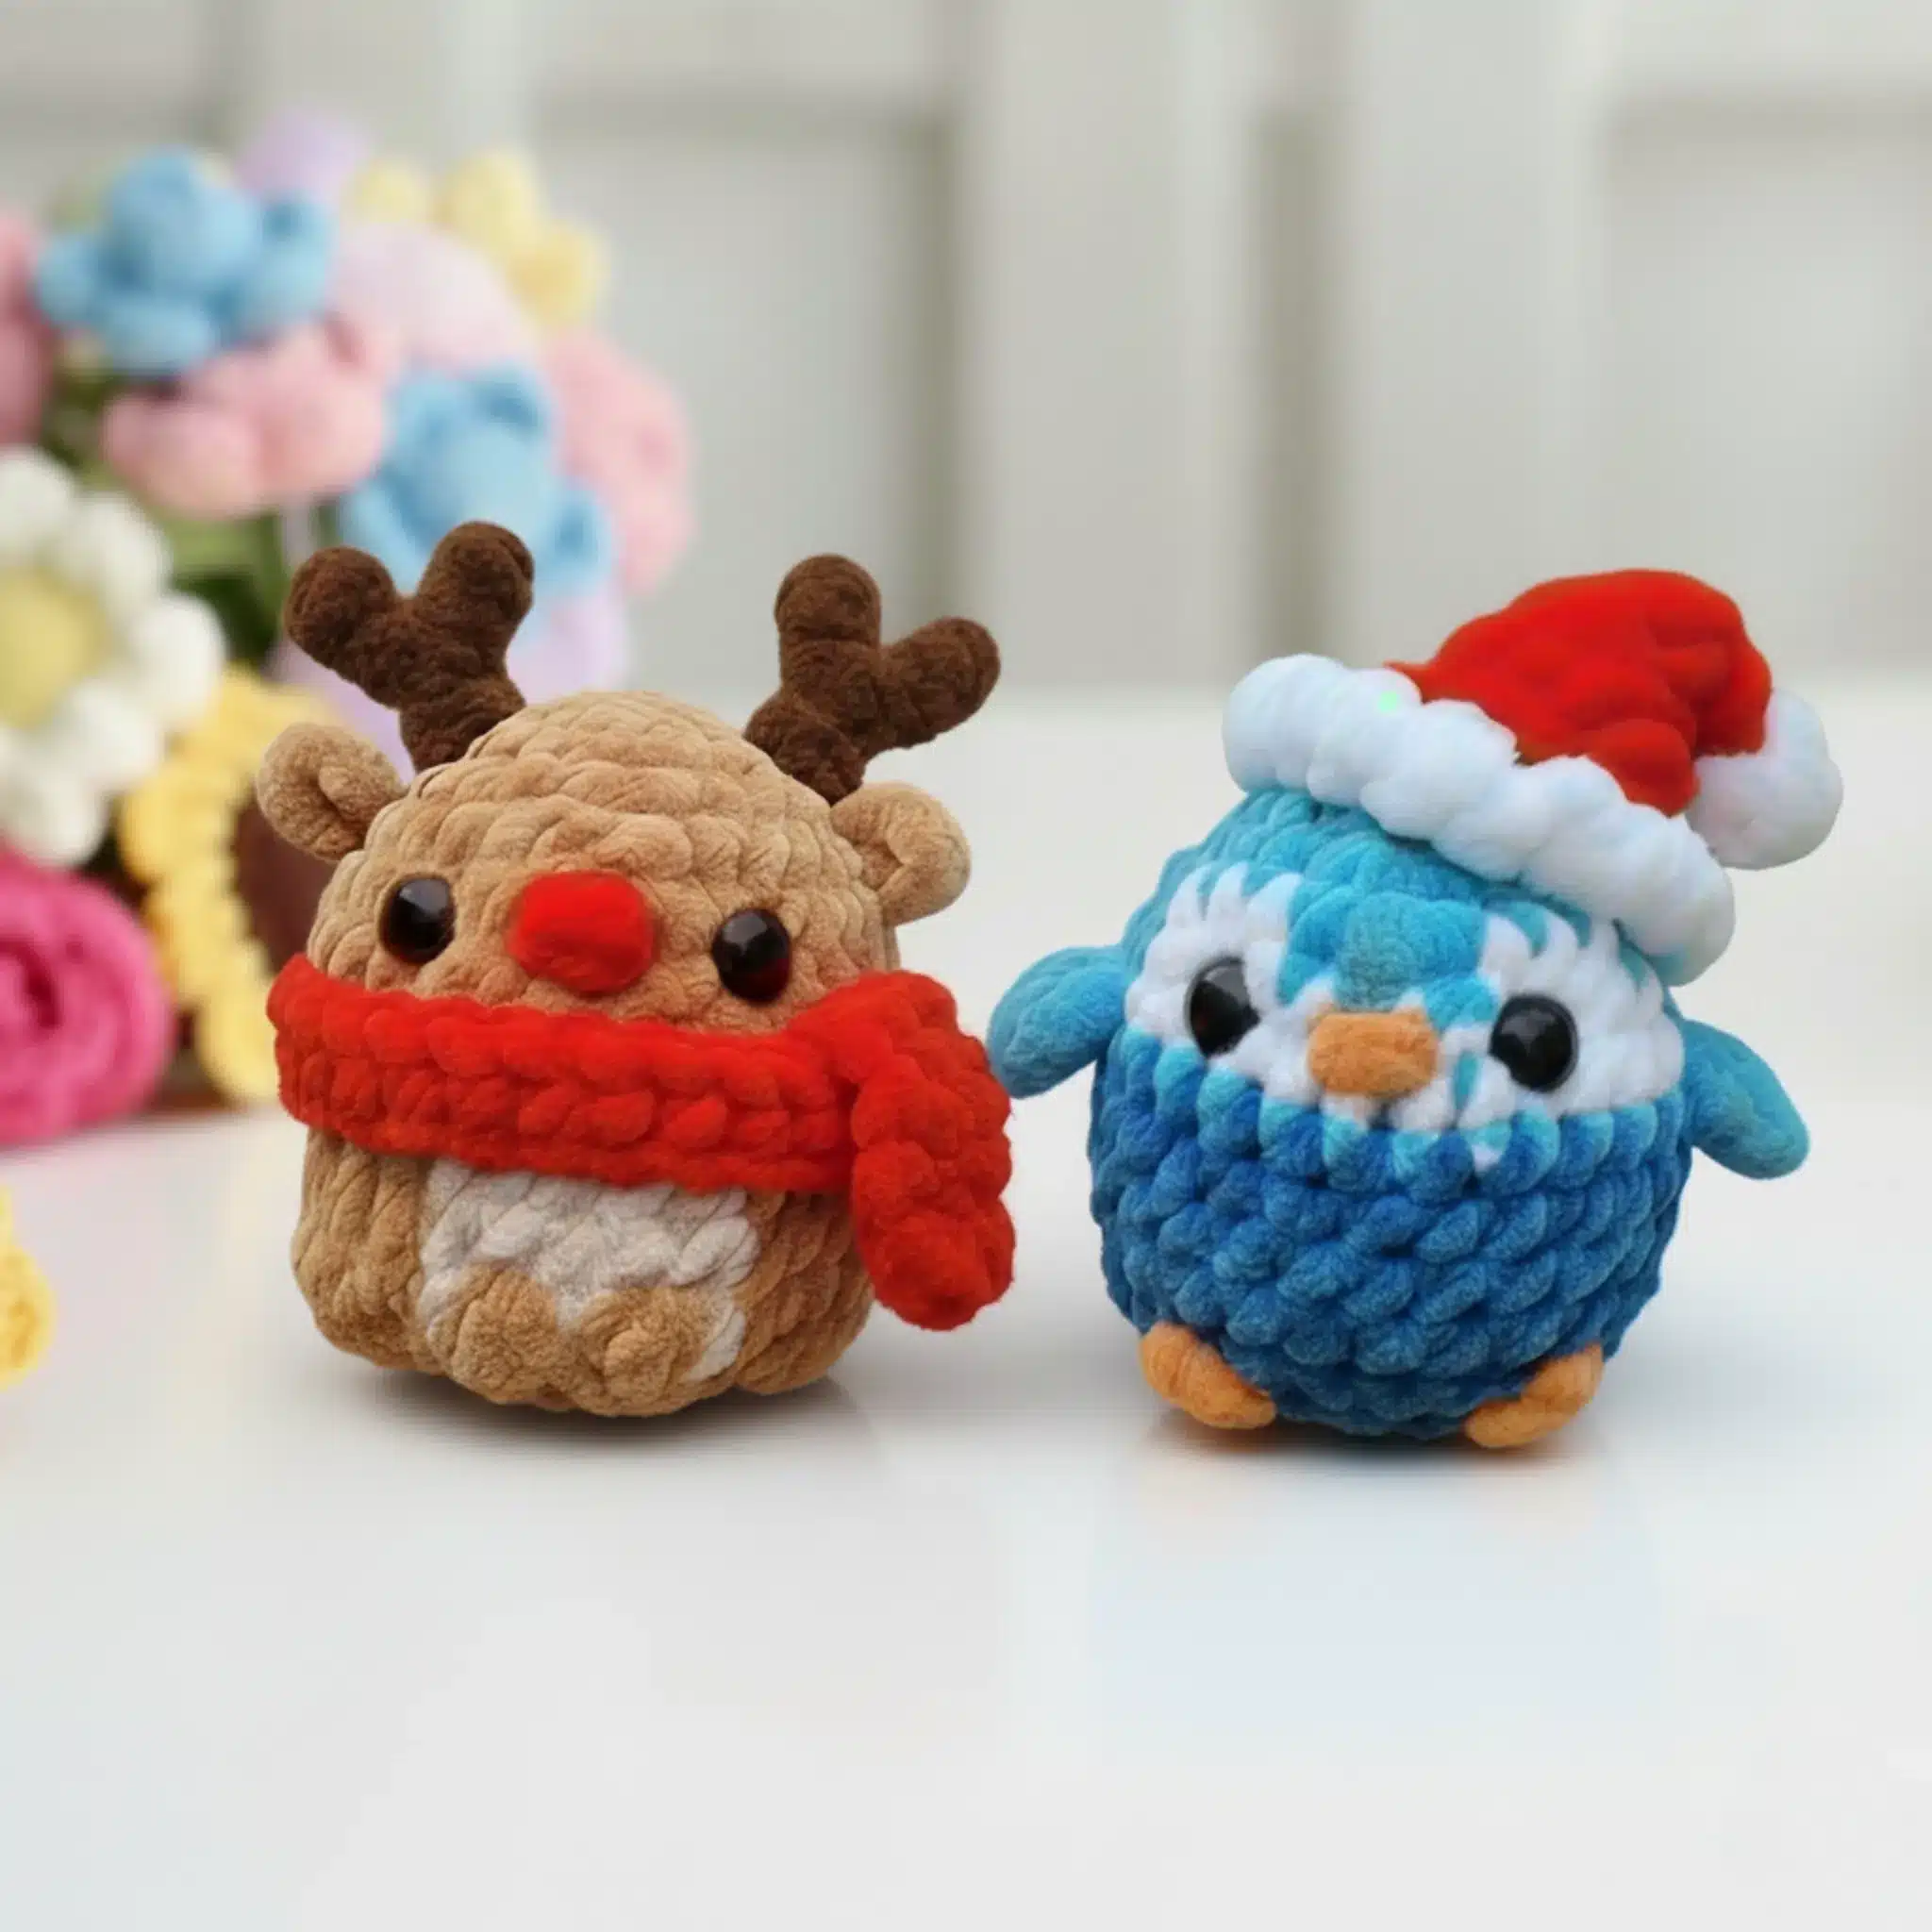
Looking for a charming winter crochet project? These delightful chenille amigurumi characters – Orion the Reindeer and Glen the Penguin – are perfect for the holiday season or year-round cuddles. This comprehensive guide will walk you through creating both of these adorable plush toys using soft chenille yarn and simple crochet techniques.
Designer: Eliyarnart
What You’ll Need
Materials for Both Projects
Before you begin, gather these essential supplies:
- Safety eyes: 12mm for a sweet, expressive look
- Stuffing: High-loft polyester fiberfill works best
- Tapestry needle: For seamless assembly
- Stitch marker: To track your rounds
- Scissors: Sharp fabric scissors
- Crochet hook: 5mm
Yarn Requirements
For Orion the Reindeer:
- Brown chenille yarn (size 4 medium weight)
- Beige chenille yarn (size 4 medium weight)
- White chenille yarn (size 4 medium weight)
- Red chenille yarn (size 4 medium weight)
For Glen the Penguin:
- Light blue chenille yarn (size 4 medium weight)
- Blue chenille yarn (size 4 medium weight)
- White chenille yarn (size 4 medium weight)
- Red chenille yarn (size 4 medium weight)
- Orange chenille yarn (size 4 medium weight)
Understanding the Abbreviations
To make following the pattern easier, familiarize yourself with these common crochet terms:
- R: Round
- st: Stitch
- mr: Magic ring
- ch: Chain
- sc: Single crochet
- hdc: Half double crochet
- sl st: Slip stitch
- inc: Increase
- dec: Decrease
- BO: Bobble stitch
- FO: Fasten off
- cc: Change color
- BLO: Back loop only
Crafting Orion the Reindeer

Making the Head
Start your reindeer with brown yarn, following this progression:
- Round 1: Create 6 single crochet in a magic ring (6 stitches total)
- Round 2: Work 6 increases (12 stitches)
- Round 3: Alternate single crochet and increase 6 times (18 stitches)
- Round 4: Work 2 single crochet, then increase; repeat 6 times (24 stitches)
- Round 5: Work 3 single crochet, then increase; repeat 6 times (30 stitches)
- Rounds 6-7: Work 30 single crochet for 2 rounds
Color Work Section:
- Round 8: Switch to beige for the facial area – 14sc in brown, 3sc in beige, 13sc in brown
- Rounds 9-11: Continue the color pattern – 13sc brown, 5sc beige, 12sc brown (repeat for 3 rounds)
Round 12 introduces decorative bobble stitches for texture. Follow the detailed stitch counts and bobble placements as specified in the pattern.
Adding Facial Features
- Insert safety eyes between rounds 6-7, spacing them 4 visible stitches apart
- At round 13, begin decreasing: work 3 single crochet, then decrease; repeat 6 times (24 stitches)
- Stuff the head generously with fiberfill before continuing
- Round 14: Alternate single crochet and decrease 8 times (16 stitches)
- Round 15: Work 8 decreases (8 stitches)
- Cut yarn and sew the opening closed
Creating the Horns
Make two horns using beige yarn:
Start with a slip knot and chain 4. Beginning from the second chain from the hook, work 2 slip stitches. Chain 2, then starting from the second chain, work a slip stitch, followed by another slip stitch in the base. Leave a long tail for sewing.
Crafting the Ears
Using brown yarn, chain 3. Starting from the second chain from the hook, make a half double crochet and a slip stitch. Leave a long tail for sewing.
The Festive Scarf
Create a striped scarf using red and white yarn:
Chain 46. Starting from the second chain from the hook, alternate colors: work 3 half double crochet in red, change to white for 3 half double crochet. Continue this pattern to the end and slip stitch in the last stitch.
Assembly Tips for the Reindeer
- Attach horns at rounds 3-4 of the head
- Sew ears just below each horn
- Create the nose by wrapping red yarn through the same spot 6 times to achieve a puffy, rounded shape (the nose should be 2 stitches wide)
- Wrap the scarf around the reindeer’s neck
Creating Glen the Penguin

Building the Penguin Head
Begin with light blue yarn:
- Round 1: Work 6 single crochet in a magic ring (6 stitches)
- Round 2: Work 6 increases (12 stitches)
- Round 3: Alternate single crochet and increase 6 times (18 stitches)
- Round 4: Work 2 single crochet, then increase; repeat 6 times (24 stitches)
Round 5 creates the penguin’s distinctive white belly. Follow the color changes carefully, working in both light blue and white as specified.
Continue following the pattern through rounds 6-7, incorporating the wings at round 7 by creating small chain loops with half double crochet details.
Rounds 8-11: Work 30 single crochet for 4 rounds
Round 12 adds textural bobble stitches similar to the reindeer pattern.
Finishing the Penguin Head
- Place safety eyes between rounds 6-7, 4 visible stitches apart
- Round 13: Work 3 single crochet, then decrease; repeat 6 times (24 stitches)
- Stuff firmly with fiberfill
- Round 14: Alternate single crochet and decrease 8 times (16 stitches)
- Round 15: Work 8 decreases (8 stitches)
- Close the opening securely
Making the Santa Hat
Create an adorable festive hat using white and red yarn:
Rounds 1-2: Start with 4 single crochet in a magic ring and continue for one more round
Round 3: Change to red and work back loop only for 4 single crochet
Rounds 4-9: Follow the increase pattern to gradually shape the hat
Finish with a white decorative edge in round 10 by creating chain loops around the brim.
Final Penguin Assembly
- Securely attach the hat to the head
- Connect the hat’s tip to the body by carefully stitching from round 3 to round 4
- Sew the beak using orange chenille yarn in the designated facial area
Pro Tips for Success
Working with Chenille Yarn:
- Chenille yarn is wonderfully soft but can be challenging to work with due to its fuzzy texture
- Use a larger hook size to avoid splitting the yarn
- Work in good lighting to see your stitches clearly
- Take your time and be patient with this delicate material
Stuffing Techniques:
- Stuff firmly but not too tightly to maintain the rounded shape
- Add stuffing gradually as you decrease rounds
- Use a chopstick or stuffing tool to push fiberfill into corners
Bobble Stitch Guidance:
- Bobble stitches add wonderful texture and dimension
- For a 4-hdc bobble, you’ll have 5 loops on your hook
- For a 3-hdc bobble, you’ll have 4 loops on your hook
- Pull through all loops at once for a uniform bobble
Caring for Your Creations
These chenille amigurumi pieces are perfect handmade gifts or decorative items. To keep them looking their best:
- Spot clean with mild soap and water
- Air dry completely
- Avoid machine washing, as chenille yarn can lose its texture
- Store in a cool, dry place away from direct sunlight

Sharing Your Work
Once you’ve completed your adorable reindeer and penguin, consider sharing your creations with the crochet community! These patterns are designed for personal use, allowing you to create cherished handmade gifts or items to sell at craft fairs and online shops.
Whether you’re crafting for the holidays, creating nursery decorations, or simply enjoying the meditative art of crochet, Orion and Glen are sure to bring smiles to everyone who sees them. The combination of soft chenille yarn and charming details makes these projects perfect for crocheters looking to expand their amigurumi skills while creating something truly special.
Happy crocheting, and enjoy bringing these delightful characters to life with your own creative touch!
You’ll Love Also This