Table of contents
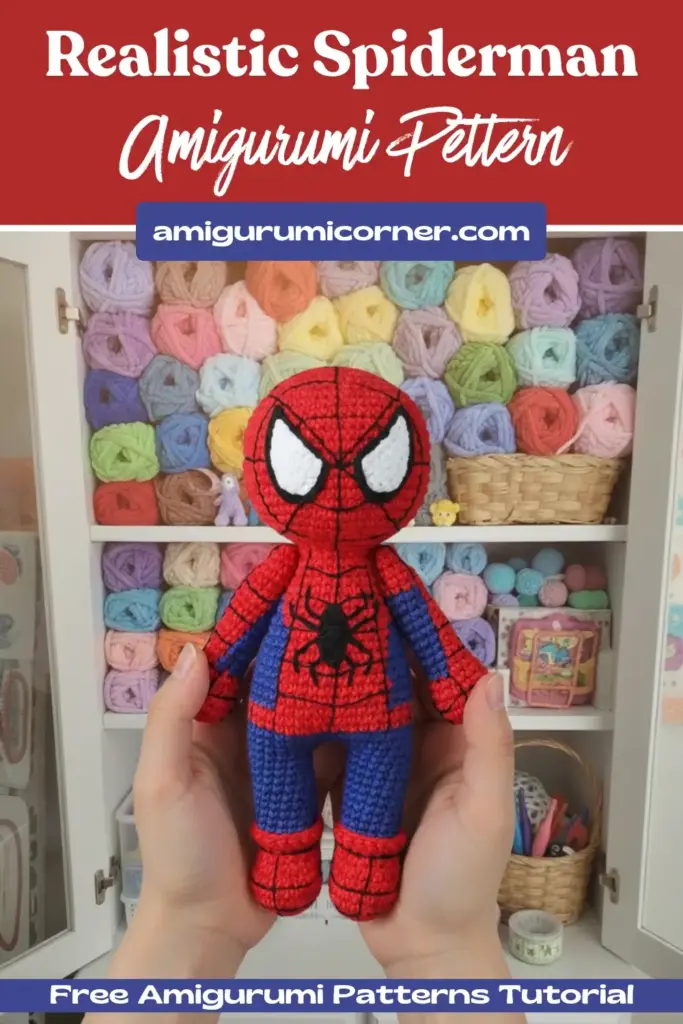
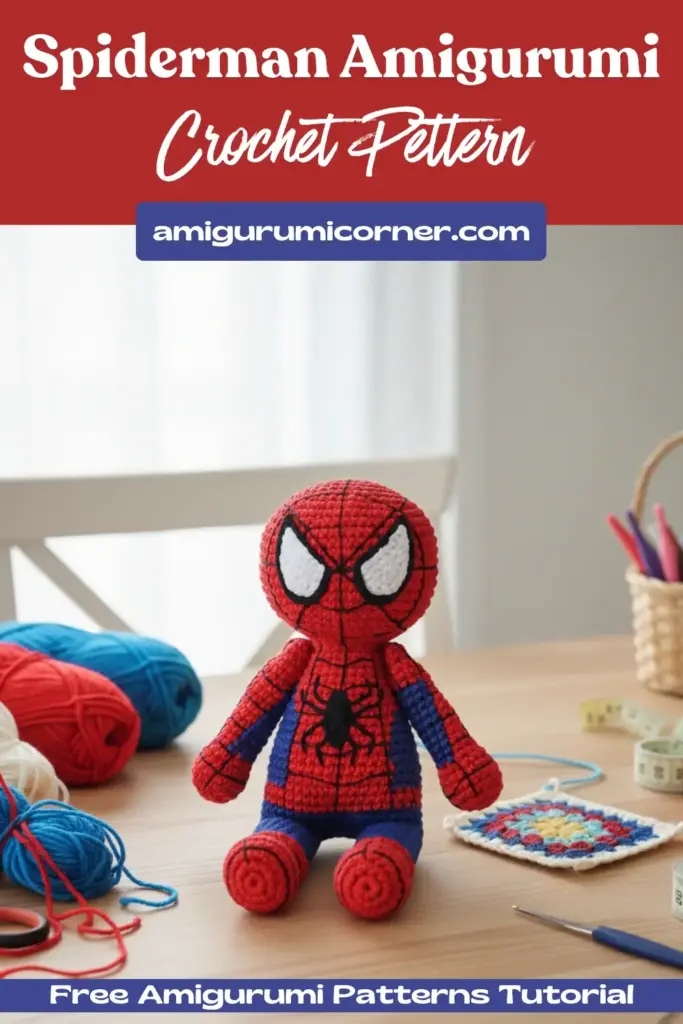
If you’re a fan of superheroes and amigurumi, you’re in for a treat! This detailed guide will walk you through creating your very own crocheted Spiderman character. Standing approximately 15-20 cm tall (depending on your yarn choice), this realistic pattern is easier than you might think and perfect for anyone looking to expand their amigurumi repertoire beyond traditional animals and dolls.
Remember it later!
Planning to try this soon? Pin it for a quick find later!
What Makes This Pattern Special
This Spiderman amigurumi pattern offers a refreshingly realistic take on the beloved Marvel character. While it might seem intimidating at first, the construction is surprisingly straightforward. The most crucial aspect is accurately recreating Spiderman’s iconic web pattern – take your time with this detail, and you’ll achieve professional-looking results.

Materials You’ll Need
Yarn
- Red Yarn Art Jeans (Color 26)
- Black Yarn Art Jeans (Color 53)
- Blue Yarn Art Jeans (Color 47)
Tools and Accessories
- Crochet hook size 1.75mm
- Felt or foamiran for eye details
- Stuffing material
- Thin black yarn for embroidery (or split your black yarn)
- Hot glue or needle and thread for assembly
Understanding the Abbreviations
Before we begin, familiarize yourself with these common crochet terms:
- MR: Magic Ring
- sc: Single Crochet
- inc: Increase
- dec: Decrease
- dc: Double Crochet
- hdc: Half Double Crochet
- slst: Slip Stitch
- ch: Chain
- FLO: Front Loops Only
- BLO: Back Loops Only
- st: Stitch
Construction Process
Starting with the Legs
The pattern begins from the feet and works upward, ensuring stability and proper proportions.
First Leg (Red yarn):
- Round 1: Chain 5, and starting from the second loop from the hook: inc, 2sc, 4sc in 1 loop, 2sc, inc
- Round 2: inc, 4sc, 2inc, 4sc, inc
- Round 3: 1sc, inc, 5sc, inc, 1sc, inc, 5sc, inc
- Round 4: 2sc, inc, 6sc, inc, 2sc, inc, 6sc, inc
- Rounds 5-6: 24sc with 1sc forward displacement
- Round 7: 7sc, 5dec, 7sc
- Round 8: 6sc, 3dec, 7sc
- Round 9: 16sc
- Round 10: Switch to blue, work BLO 16sc
- Rounds 11-18: 16sc
After completing Round 10, work in FLO with 16dc in the same manner. Repeat for the second leg, then connect both legs with 3 chain stitches.
Building the Body and Head
- Round 19: Work 16sc on the first leg, 3sc along the connecting chain, 16sc on the second leg, 3sc along the chain
- Round 20: 16sc, inc, 1sc, inc, 16sc, inc, 1sc, inc
- Rounds 21-22: 42sc
- Rounds 23-24: Continue with red, 42sc
Color Work Section (Rounds 25-34):
Now begins the distinctive two-color pattern. Blue portions are indicated in the following instructions:
- Rounds 25-26: 4sc (red), 10sc (blue), 11sc (red), 10sc (blue), 7sc (red)
- Round 27: 4sc, (3sc, dec, 5sc), 11sc, (4sc, dec, 4sc), 7sc
- Round 28: 4sc, (3sc, dec, 5sc), 10sc, (3sc, dec, 5sc), 6sc
- Round 29: 4sc, 9sc, 10sc, 9sc, 6sc
- Round 30: 4sc, (3sc, dec, 4sc), 10sc, (3sc, dec, 4sc), 6sc
- Round 31: 4sc, 8sc, 10sc, 8sc, 6sc
- Round 32: 4sc, (3sc, dec, 3sc), 10sc, (3sc, dec, 3sc), 6sc
- Round 33: 5sc, 5sc, 12sc, 5sc, 7sc
- Round 34: 6sc, (dec, 1sc), 14sc, (1sc, dec), 8sc
Continuing with Red Only:
- Round 35: 6sc, dec, 14sc, dec, 8sc
- Round 36: 30sc
- Round 37: 6sc, dec, 13sc, dec, 7sc
- Round 38: 6sc, dec, 12sc, dec, 6sc
- Round 39: 5sc, dec, 11sc, dec, 6sc
- Round 40: (2sc, dec) around
- Round 41: 18sc
- Round 42: 18inc
- Round 43: (5sc, inc) repeat 6 times
- Round 44: (6sc, inc) repeat 6 times
- Round 45: (7sc, inc) repeat 6 times
- Round 46: (8sc, inc) repeat 6 times
- Rounds 47-55: 60sc
- Round 56: (8sc, dec) repeat 6 times
- Round 57: (7sc, dec) repeat 6 times
- Round 58: (6sc, dec) repeat 6 times
- Round 59: (5sc, dec) repeat 6 times
- Round 60: (4sc, dec) repeat 6 times
- Round 61: (3sc, dec) repeat 6 times
- Round 62: (2sc, dec) repeat 6 times
- Round 63: (1sc, dec) repeat 6 times
- Round 64: 6dec
Creating the Arms (Make 2)
Start with red yarn:
- Round 1: 6sc in Magic Ring
- Round 2: 6inc
- Round 3: (1sc, inc) around
- Rounds 4-5: 18sc
- Round 6: (4sc, dec) around
- Round 7: (3sc, dec) around
Add blue yarn for color work:
- Rounds 8-17: 3sc red, 6sc blue, 3sc red
- Rounds 18-21: Continue in red only, 12sc
- Round 22: 6dec

Assembly and Finishing Touches
Creating the Eyes
- Cut four felt or foamiran pieces: two black (larger) and two white (smaller)
- Use an overcasting seam around the edges to prevent sagging
- Sew the white pieces onto the black pieces
- If drawing is challenging, print a reference image or trace from your screen
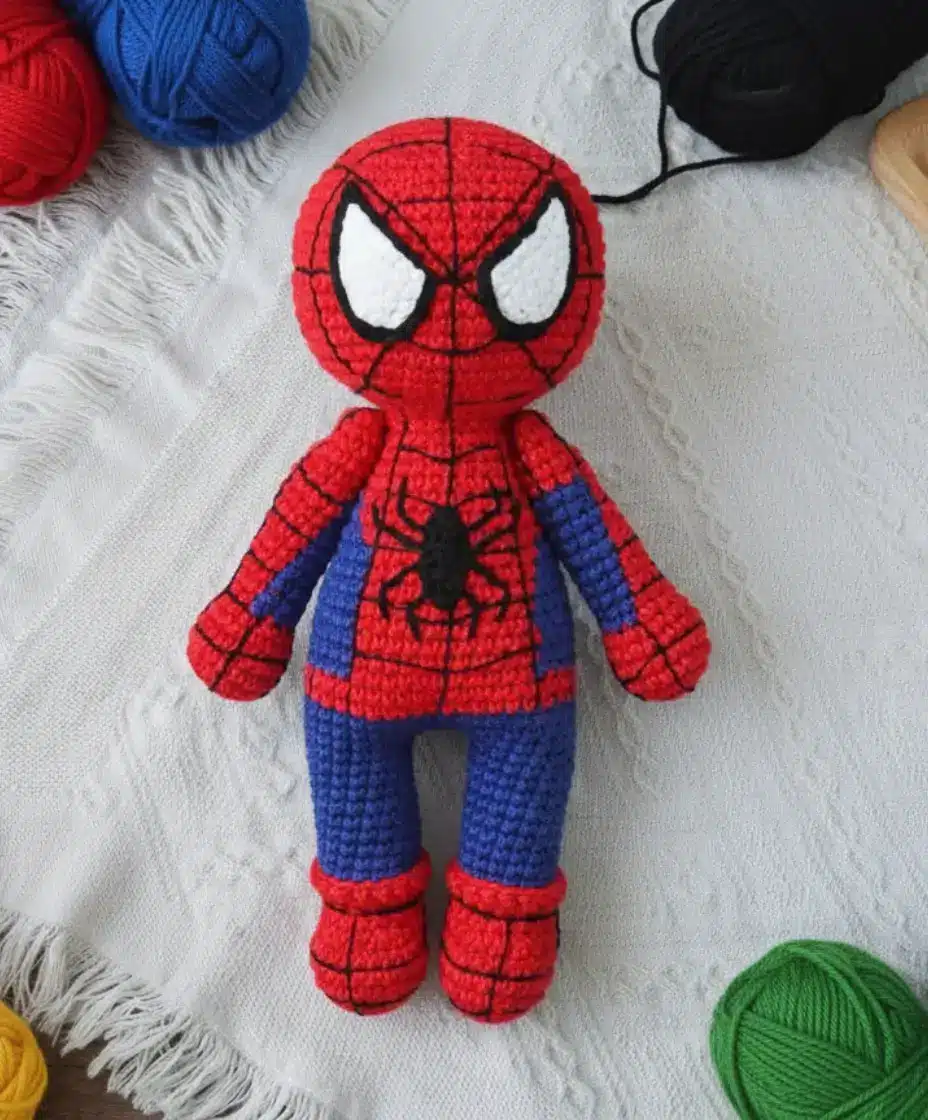
Adding the Iconic Webbing
Using thin black yarn (or split your regular black yarn), carefully embroider the web pattern across Spiderman’s face and body. This detail work is what brings the character to life, so take your time and follow reference images for accuracy.
The Spider Emblem
Embroider or sew the spider symbol on the chest using black yarn. This iconic detail is essential for that authentic Spiderman look.
Final Assembly for Your Spiderman Amigurumi
Attach the eyes using hot glue or sew them securely in place. Ensure all parts are firmly stuffed before closing, and weave in all loose ends for a professional finish.
Success Tips for Beginners Making a Spiderman Amigurumi
- Maintain consistent tension throughout your work for even stitching
- Stuff firmly but not too tightly to maintain the character’s shape
- Take breaks during the web embroidery to avoid eye strain and maintain precision
- Use stitch markers to keep track of round beginnings
- Block your finished piece gently if needed for a polished appearance
Conclusion
Your friendly neighborhood Spiderman is now ready to swing into action! This pattern demonstrates that creating detailed character amigurumi is achievable with patience and attention to detail. Whether you’re making this as a gift for a Marvel fan or adding to your own collection, this Spiderman amigurumi is sure to impress.
The key to success lies in taking your time with the color changes and the web embroidery. Don’t rush these steps, and you’ll be rewarded with a professional-looking result that captures the essence of this beloved superhero. Happy crocheting, and may your stitches be as strong as spider silk!
Remember it later!
Planning to try this soon? Pin it for a quick find later!