Table of contents
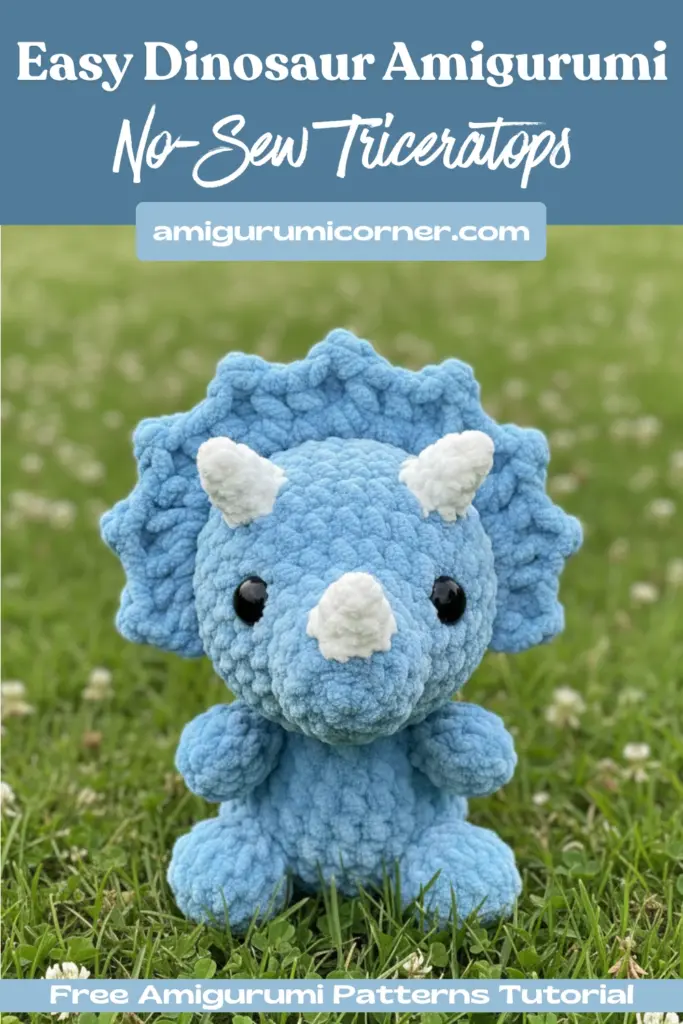
Are you ready to bring a prehistoric friend to life with your crochet hook? This charming No-Sew Triceratops pattern combines the joy of amigurumi with a clever no-sew construction technique, making it perfect for both beginners looking to expand their skills and experienced crocheters seeking a fun, quick project.
Remember it later!
Planning to try this soon? Pin it for a quick find later!
What Makes This Pattern Special
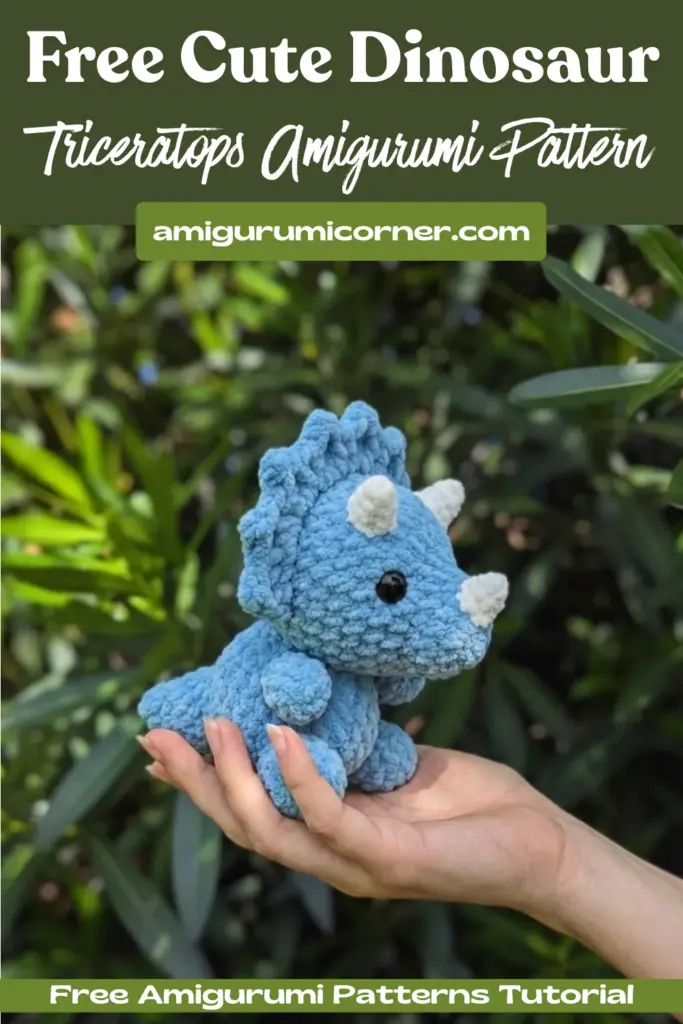
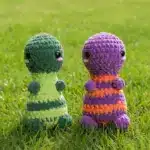
This No-Sew Triceratops pattern stands out for its innovative no-sew approach, meaning you’ll crochet continuously from the body up to the head without having to attach separate pieces later. The finished dinosaur measures approximately 18cm (7.1 inches) tall, making it the perfect size for cuddling, displaying, or gifting to dinosaur enthusiasts of any age.
Materials You’ll Need
Before diving into this prehistoric adventure, gather the following supplies:
Yarn:
- Bulky weight yarn (Category 5) in white and Blue
- One roll of each color recommended
Tools and Notions:
- 3.5mm (E) crochet hook
- Stitch marker
- Sewing needle
- Scissors
- 8mm plastic safety eyes
- Fiberfill stuffing
Understanding the Pattern
This No-Sew Triceratops pattern uses US crochet terminology and is worked in continuous rounds. Using a stitch marker to mark the first stitch of each round is highly recommended to keep track of your progress.

Key Abbreviations:
- MR: Magic Ring
- SC: Single crochet
- INC: Increase
- DEC: Decrease
- HDC: Half double crochet
- DC: Double crochet
- BO: Bobble stitch
- FLO: Front loop only
- BLO: Back loop only
- SLST: Slip stitch
- CH: Chain
The finished size may vary based on your yarn choice and stitch tension, so don’t worry if your Triceratops is slightly larger or smaller than the stated measurements.
Step-by-Step Construction Guide
Starting with Blue Yarn
- Round 1: Create a magic ring and work 2 SC, 2 DC, 2 SC into the ring (6 stitches total)
- Round 2: Work (SC, INC) 3 times around (9 stitches)
- Round 3: 2 SC, then work 7 INC (16 stitches)
- Round 4: 2 SC, then (3 SC, INC) 3 times, finish with 2 SC (19 stitches)
- Round 5: Work (INC, 4 SC) 3 times, then INC, 3 SC (23 stitches)
- Round 6: 6 SC, then in front loops only: (SLST, 3 CH, turn: 2 SC), 7 SC, repeat front loop only section: (SLST, 3 CH, turn: 2 SC), finish with 8 SC (23 stitches)
Adding the Distinctive Features
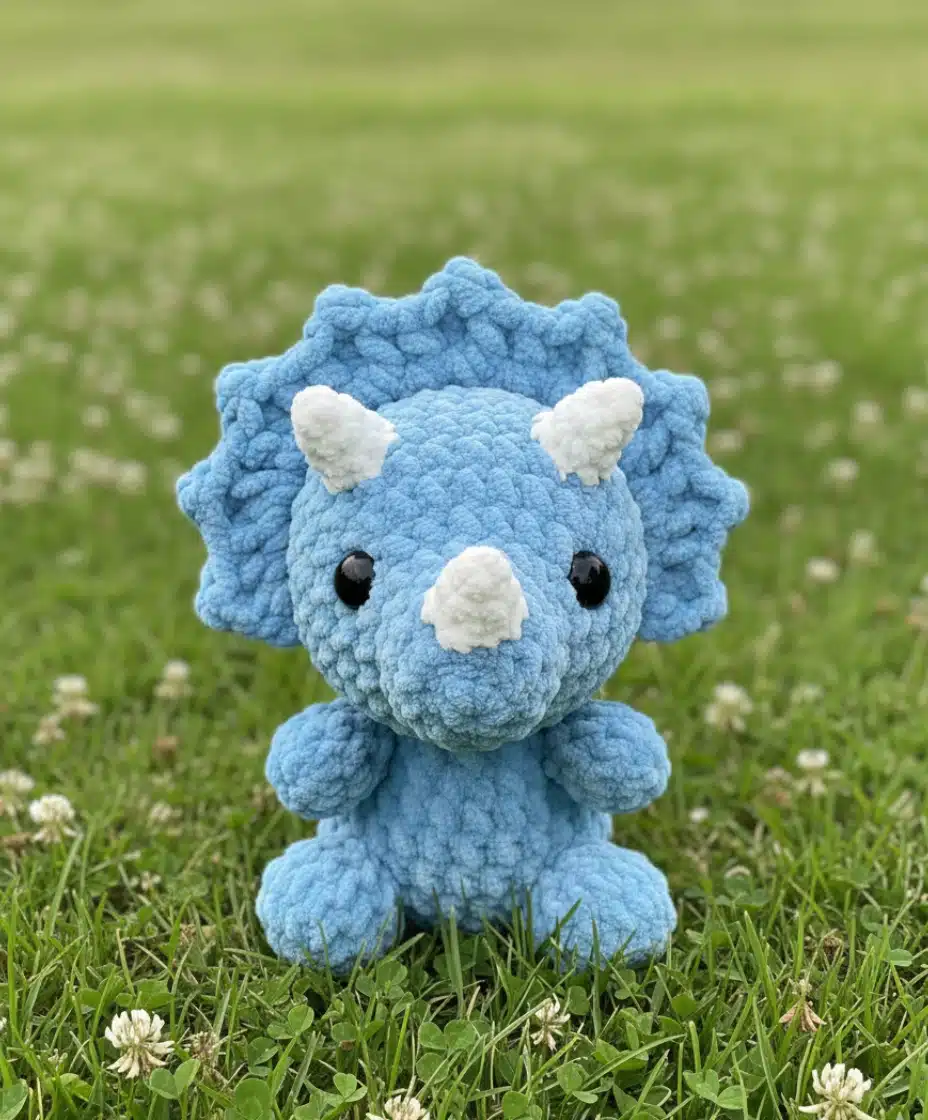
Round 7: This round creates the characteristic frill of the Triceratops with picot stitches. Work 2 SC, INC, then alternate between front and back loop only sections with picot stitches as directed in the pattern, creating the decorative edge. Finish with 2 SC, INC, 2 SC (25 stitches)
Important: Place safety eyes between rounds 4 and 5, spacing them 6 stitches apart.
Switching to White Yarn
- Round 8: Begin shaping the body by working 4 SC, then in back loops only: 3 SC. Insert your needle into the slip stitch from round 6, then continue with back loop only increases and standard stitches as directed (28 stitches)
- Round 9: Create texture with bobble stitches: SC, BO, 3 SC, (INC, 2 SC) 6 times, SC, BO, 3 SC (34 stitches)
- Round 10: SC into the bobble stitch, 28 SC, SC into the bobble stitch, 3 SC (34 stitches)
- Rounds 11-14: Work 34 SC for each round to establish the body length (34 stitches)
Shaping the Head
- Round 15: Add texture again with SC, BO, 28 SC, BO, 3 SC (34 stitches)
- Round 16: Begin decreasing to shape the head and neck (28 stitches)
- Round 17: Continue decreasing with (2 SC, DEC) 7 times (21 stitches)
- Round 18: Work 6 SC, 4 DEC, 7 SC (17 stitches)
Stuffing Time: Add fiberfill stuffing before the opening becomes too small.
Finishing the Head
- Round 19: 15 SC, DEC (16 stitches)
- Round 20: (2 SC, DEC) 4 times (12 stitches)
- Round 21: 12 SC (12 stitches)
- Round 22: (SC, DEC) 4 times (8 stitches)
Additional Stuffing: Add more fiberfill to ensure a firm, well-shaped head.
- Round 23: 8 SC (8 stitches)
- Round 24: 4 DEC (4 stitches)
- Round 25: 4 SC (4 stitches)
Weave in your yarn end and cut, closing the small opening at the top.

Tips for Success
Eye Placement: The pattern specifies placing eyes between rounds 5 and 6, spaced 6 stitches apart. Take your time with this step, as proper eye placement brings personality to your Triceratops.
Consistent Tension: Maintaining consistent tension throughout your work ensures even stitches and a professional-looking finish. The bulky yarn is forgiving and hides minor imperfections beautifully.
Stuffing Strategy: Stuff your Triceratops firmly but not so tightly that the fabric stretches. You want a cuddly feel while maintaining the dinosaur’s shape.
Color Transitions: When switching from Blue to white yarn, carry the unused color along the inside of your work if you plan to switch back, or weave in the end securely.
What Makes This Pattern Beginner-Friendly
Despite creating a three-dimensional dinosaur, this No-Sew Triceratops pattern is accessible to crocheters with basic skills. The no-sew construction eliminates the sometimes-frustrating task of attaching limbs and other pieces. Working in continuous rounds is straightforward once you get the hang of it, and the stitch marker helps you stay on track.
The bulky yarn works up quickly, meaning you can complete your Triceratops in an afternoon or evening, making it perfect for last-minute gifts or when you want the satisfaction of finishing a project quickly.
Customization Ideas
While the No-Sew Triceratops pattern calls for blue and white, feel free to experiment with other color combinations:
- Traditional dinosaur colors like green and tan
- Bright, playful colors for a more whimsical look
- Pastel shades for a softer, nursery-friendly version
- Realistic earth tones for dinosaur enthusiasts who appreciate accuracy
Important Usage Notes
This No-Sew Triceratops pattern is designed for personal use only. While you’re welcome to sell finished items made from this pattern, please do not distribute or share the pattern itself on social media or other platforms. Supporting pattern designers helps ensure they can continue creating wonderful designs for the crochet community.
Troubleshooting Common Issues
Stitch Count Off? Use your stitch marker religiously and count at the end of each round. It’s much easier to fix mistakes early than to unravel multiple rounds.
Bobble Stitches Looking Uneven? Bobble stitches can be tricky. Make sure you’re completing all the required yarn overs and pulls consistently.
Stuffing Showing Through? This usually means your tension is too loose. Try going down a hook size or tightening your stitches slightly.
The Joy of Amigurumi
Creating amigurumi like this No-Sew Triceratops offers unique satisfaction. Watching your work transform from a simple magic ring into a recognizable, adorable creature is genuinely magical. The tactile pleasure of working with bulky yarn, the meditative rhythm of continuous rounds, and the creative expression involved in bringing a pattern to life all contribute to why crochet enthusiasts love projects like this.
Conclusion
This no-sew Triceratops crochet pattern offers an excellent opportunity to create something special with minimal frustration and maximum enjoyment. Whether you’re crafting for yourself, making gifts for dinosaur-loving children, or building your amigurumi skills, this charming prehistoric creature is sure to bring smiles.
The combination of straightforward construction, clever no-sew design, and adorable results makes this pattern a must-try for anyone who loves both crochet and dinosaurs. So grab your hook, choose your favorite colors, and get ready to create your very own Triceratops companion. Happy crocheting!


Remember it later!
Planning to try this soon? Pin it for a quick find later!