Table of contents
- What Makes This No-Sew Crochet Cat Pattern Special
- Materials You’ll Need To Make No-Sew Crochet Cat
- Understanding the Abbreviations
- Step-by-Step Instructions To Make a No-Sew Crochet Cat
- Tips for Success
- Why This No-Sew Crochet Cat Pattern Works for Beginners
- Customization Ideas For This No-Sew Crochet Cat Pattern
- Common Troubleshooting
- Care Instructions
- The Joy of No-Sew Construction
- Final Thoughts
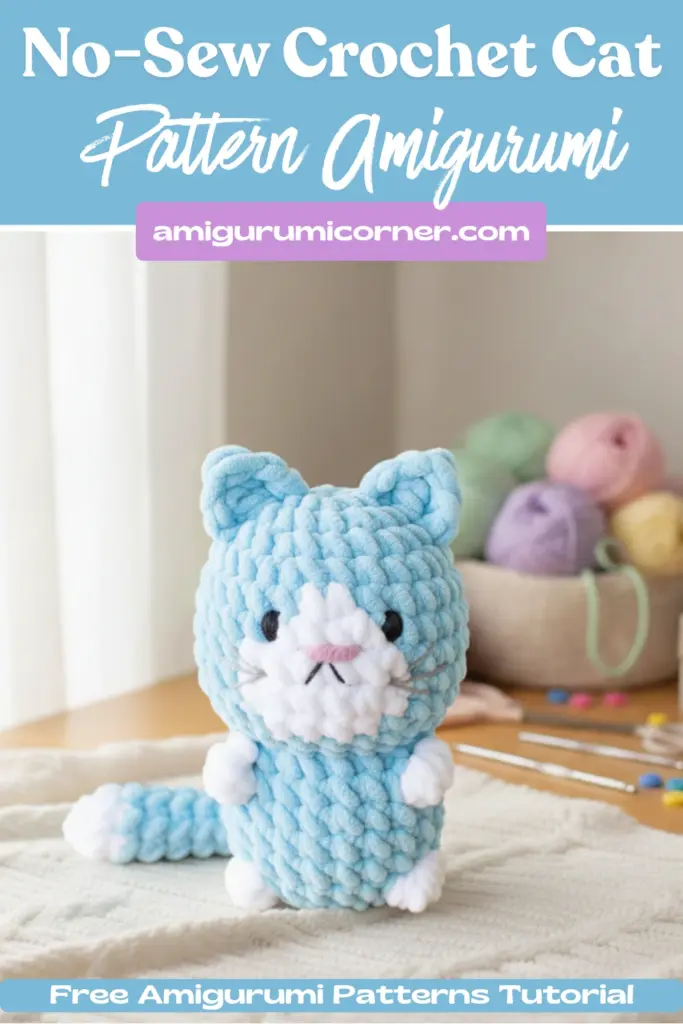
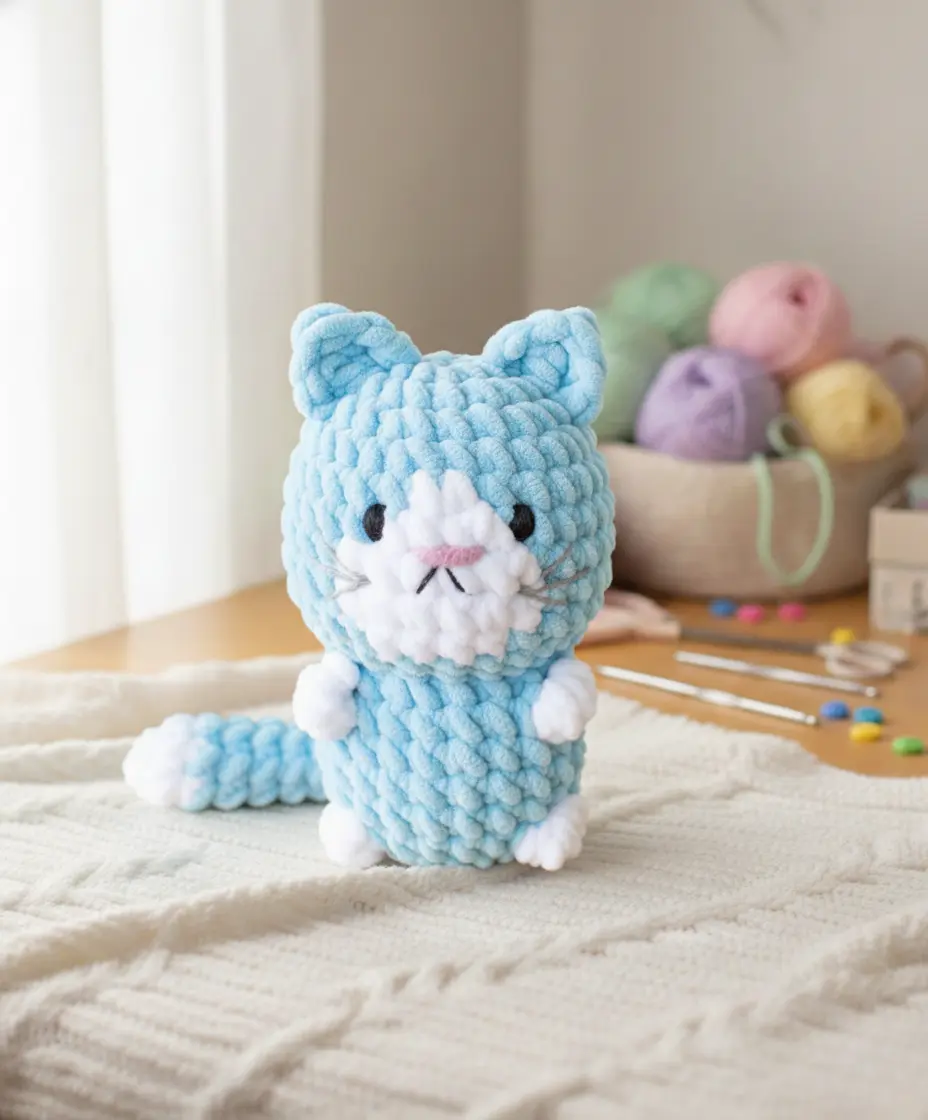
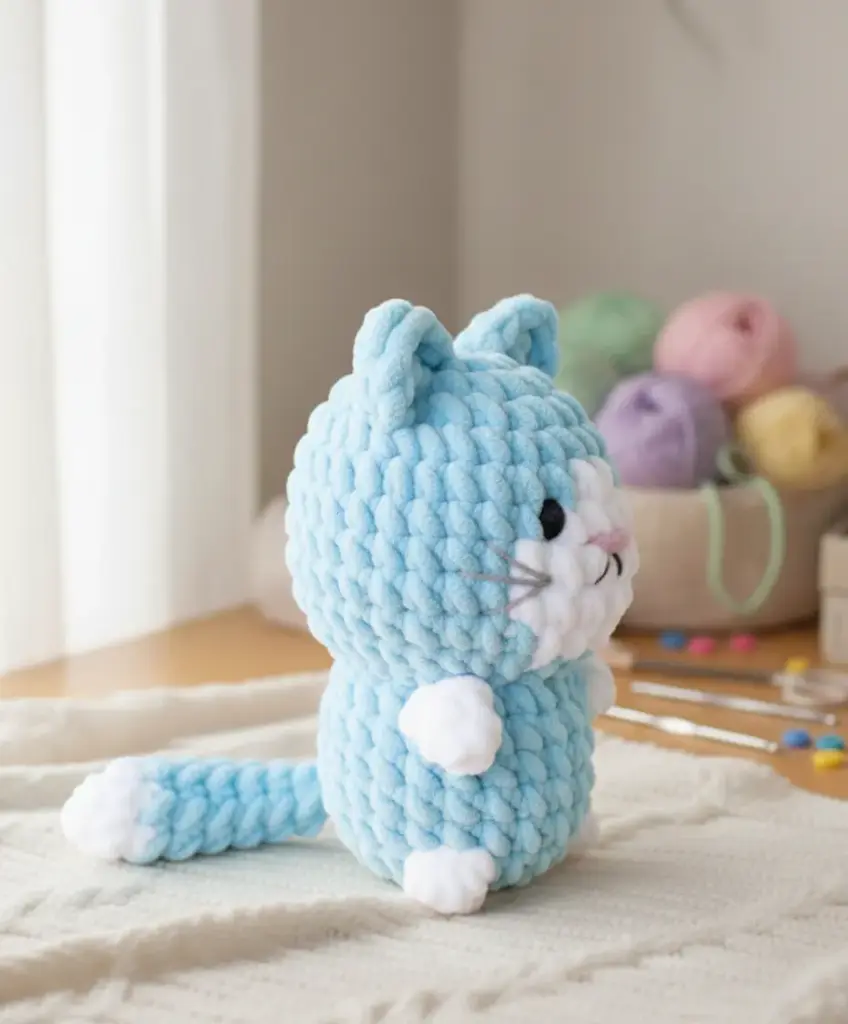
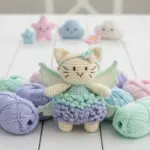
If you’ve been looking for a quick, charming crochet project that requires minimal finishing work, this no-sew cat pattern is exactly what you need. Perfect for beginners and experienced crocheters alike, this delightful amigurumi cat comes together in just a few hours and requires no tedious sewing of limbs or parts.
Remember it later!
Planning to try this soon? Pin it for a quick find later!
What Makes This No-Sew Crochet Cat Pattern Special
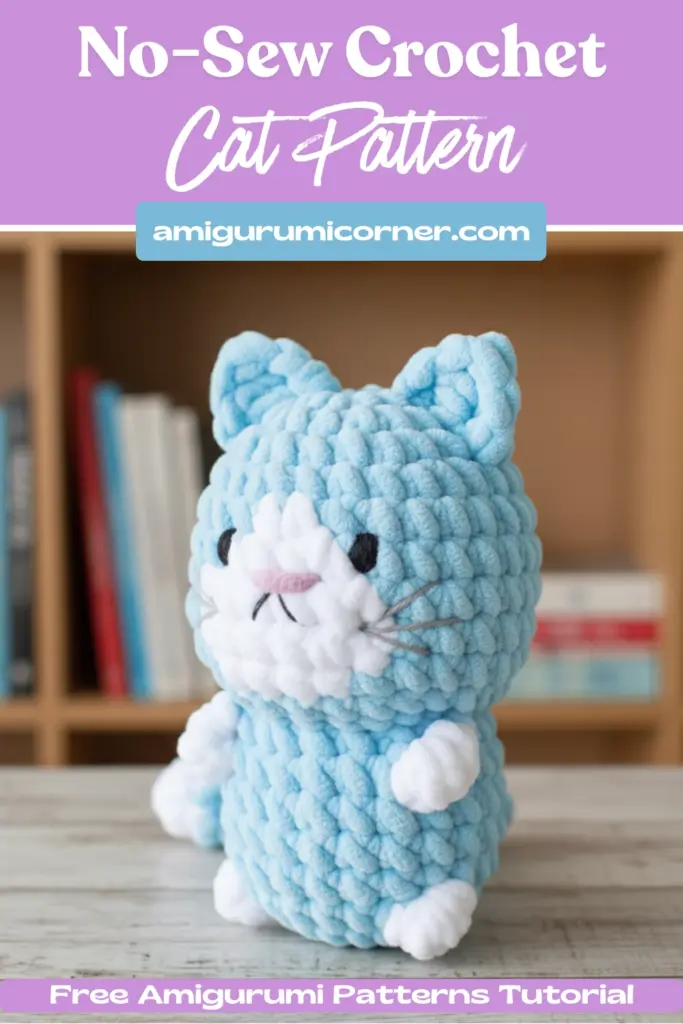
Traditional amigurumi patterns often involve crocheting separate pieces and then sewing them together—a process that can be time-consuming and sometimes frustrating. This innovative no-sew approach integrates all the elements as you crochet, creating a seamless finished toy that’s just as adorable as its sewn counterparts.
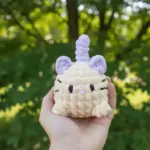
The finished cat stands approximately 2.6 inches (7 cm) high, with an overall height of about 5 inches (12 cm) when the tail is curved upward. It’s the perfect size for little hands, decoration, or as a thoughtful handmade gift.
Materials You’ll Need To Make No-Sew Crochet Cat
Yarn
- Super bulky chenille yarn (approximately 50g): White and Light blue colors
- Light pink yarn: Small amount for the nose
- Black sport weight yarn: For embroidering facial features
Tools and Supplies
- 6mm crochet hook
- Tapestry needle
- Hypoallergenic polyester stuffing
- Scissors
- Stitch marker

Understanding the Abbreviations
Before diving into the pattern, familiarize yourself with these common crochet terms:
- Sc: Single crochet
- Hdc: Half double crochet
- Bo: Bobble stitch (5dc)
- Blsc: Back loop single crochet
- Blsl: Back loop slip stitch
- Fl: Front loop
- Inc: Increase
- Dec: Decrease
Step-by-Step Instructions To Make a No-Sew Crochet Cat
Creating the Body
The body begins with a classic magic ring technique and gradually increases to form the cat’s rounded shape.
Rounds 1-4:
- Start with 6 single crochets in a magic ring
- Work 6 increases for a total of 12 stitches
- Continue with (1sc, 1inc) repeated 6 times for 18 stitches
- Work (2sc, 1inc) repeated 6 times for 24 stitches
Rounds 5-6:
These rounds create the opening where the tail will be integrated:
- Chain 2, skip 2 stitches, work 22 single crochets
- On the next round, work 2 single crochets on the chains, then 22 single crochets
At this point, you’ll have a small hole of 4 stitches total. This is intentional and perfectly normal. Place a stitch marker here and pause your work on the body.
Crafting the Integrated Tail
Now comes the clever part: crocheting the tail directly into the body opening.
- Attach Light blue yarn to one of the remaining stitches
- Work 8 rounds of 4 single crochets
- Leave a long tail of yarn before fastening off—you’ll use this later
Completing the Body
Rounds 7-8:
Return to the body and work 24 single crochets around.
Round 9 – Adding the Paws:
This is where the bobble stitch creates adorable little paws:
- Work 3sc, then (1 front loop bobble, 5sc) repeated 3 times, 1 bobble, 2sc
- Remember: Insert your hook through the front loop only for bobbles, but work regular single crochets through both loops
Rounds 10-11:
Begin decreasing to close the body:
- (2sc, 1dec) repeated 6 times for 18 stitches
- (1sc, 1dec) repeated 6 times for 12 stitches
- Stuff firmly before closing completely
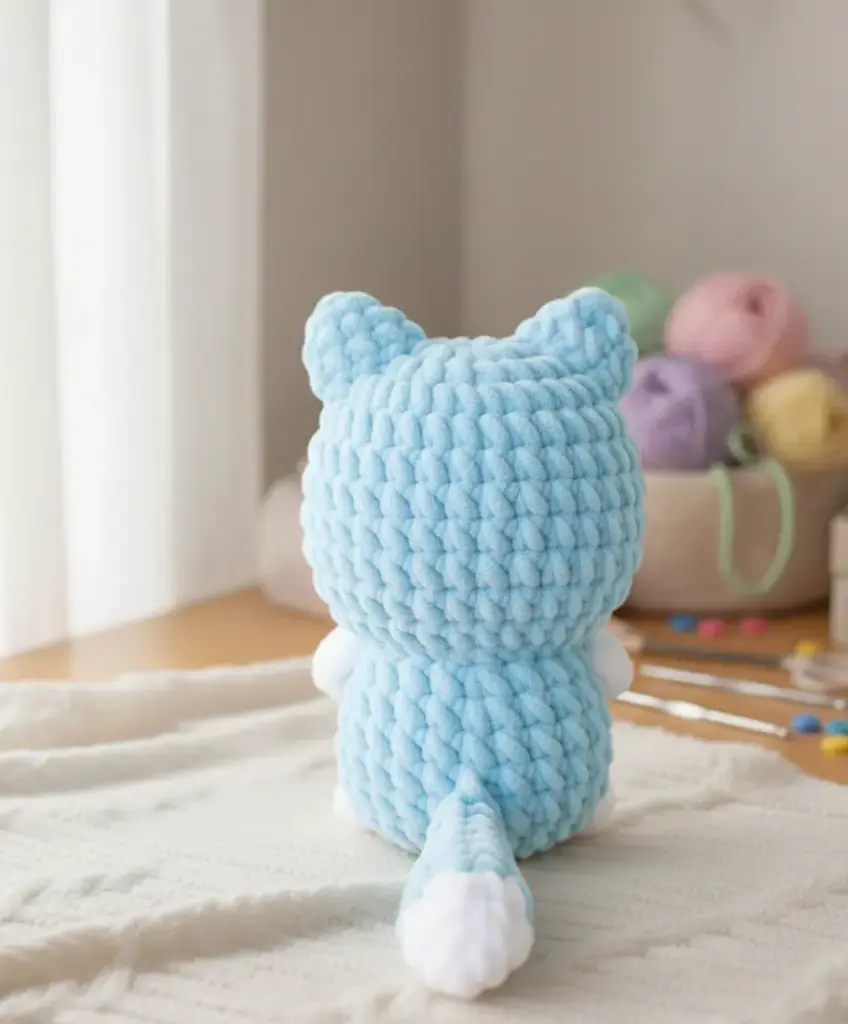
Creating the Ears
The ears are worked directly into the head, continuing the no-sew theme:
- Attach Light blue yarn to a stitch in the 3rd round of the head
- Chain 3, skip the first chain
- Work 1 single crochet and 1 half double crochet
- Fasten off by bringing the yarn through to the inside
- Repeat on the opposite side
- Leave a small tail of yarn outside—this will help secure the tail later
Shaping the Tail Curve
To give your cat’s tail that characteristic upward curve:
- Thread the leftover yarn from the tail onto a tapestry needle
- Bring the yarn from the top of the tail down to approximately round 4 in the center
- Return the needle back through the tail and out through the top of the body
- Gently pull to create a natural curve
- Secure by tying together with the leftover yarn from the ear
Adding Facial Features
The face brings your cat to life with just a few simple embroidered details:
Eyes:
- Using black thread, embroider two eyes in round 5
- Leave 3 stitches between them for proper spacing
Whiskers:
- With the same black thread, add two whiskers on each side
- Position them two stitches to the side of each eye
Nose:
- Using light pink yarn, embroider a small nose with just 1 stitch in length
- Center it below the eyes
Tips for Success
Tension Matters
Maintain consistent tension throughout your work. Too loose, and the stuffing will show through; too tight, and your stitches will be difficult to work into.
Stuffing Technique
Stuff gradually as you work the decreasing rounds. This makes it easier to achieve a smooth, even finish and prevents lumps.
Color Changes
When switching between white and Light blue yarn, weave in ends as you go to minimize finishing work later.
Bobble Stitch Perfection
The bobble stitches create dimension for the paws. Make sure they’re all worked to the same height for uniform-looking feet.
Why This No-Sew Crochet Cat Pattern Works for Beginners
This pattern is specifically designed with beginners in mind for several reasons:
- No Complex Shaping: The body is essentially a sphere with integrated features
- Minimal Color Changes: Just two main colors keep things simple
- No Sewing Required: All parts are worked directly into the body
- Quick Project: Can be completed in 2-3 hours
- Clear Instructions: Step-by-step guidance for each element
Customization Ideas For This No-Sew Crochet Cat Pattern
Once you’ve mastered the basic pattern, try these variations:
- Different Color Combinations: Try grey and white for a tabby look, or all black for a sleek silhouette
- Striped Patterns: Alternate colors every few rounds on the body
- Size Variations: Use different yarn weights and hook sizes to create a family of cats
- Add Accessories: Crochet a tiny collar or bow
- Expression Changes: Experiment with different eye placements for varied personalities
Common Troubleshooting
Hole Around the Tail:
If the connection between the tail and body looks loose, use the tail yarn to weave around the opening and tighten it before securing.
Uneven Ears:
Count your stitches carefully and make sure you’re working into the same round on both sides of the head.
Floppy Tail:
If the tail won’t hold its curve, you may need to pull the securing yarn a bit tighter or add a second anchoring stitch.
Visible Stuffing:
Work with tighter tension or use a smaller hook size. You can also line the inside with a scrap of fabric before stuffing.
Care Instructions
To keep your crocheted cat looking its best:
- Spot clean only with mild soap and water
- Avoid machine washing, which can damage the chenille yarn
- Store in a cool, dry place away from direct sunlight
- Gently reshape if compressed during storage
The Joy of No-Sew Construction
The beauty of this pattern lies in its efficiency. By eliminating the sewing step, you can:
- Complete projects faster
- Avoid the frustration of attaching limbs securely
- Create a seamless, professional-looking finish
- Focus more on the creative aspects and less on assembly
Final Thoughts
This No-Sew Crochet Cat Pattern proves that amigurumi doesn’t have to be complicated or time-consuming. With just basic crochet skills and a few hours of your time, you can create an adorable toy that’s perfect for gifting or keeping for yourself.
The integrated construction method not only saves time but also creates a sturdier toy, as there are no seams that might come apart with play or handling. Whether you’re making your first amigurumi or your hundredth, this little cat is sure to bring a smile to your face and warmth to your heart.
So grab your hook, choose your favorite colors, and start creating your own adorable no-sew crochet cat today. Happy crocheting!
Remember it later!
Planning to try this soon? Pin it for a quick find later!