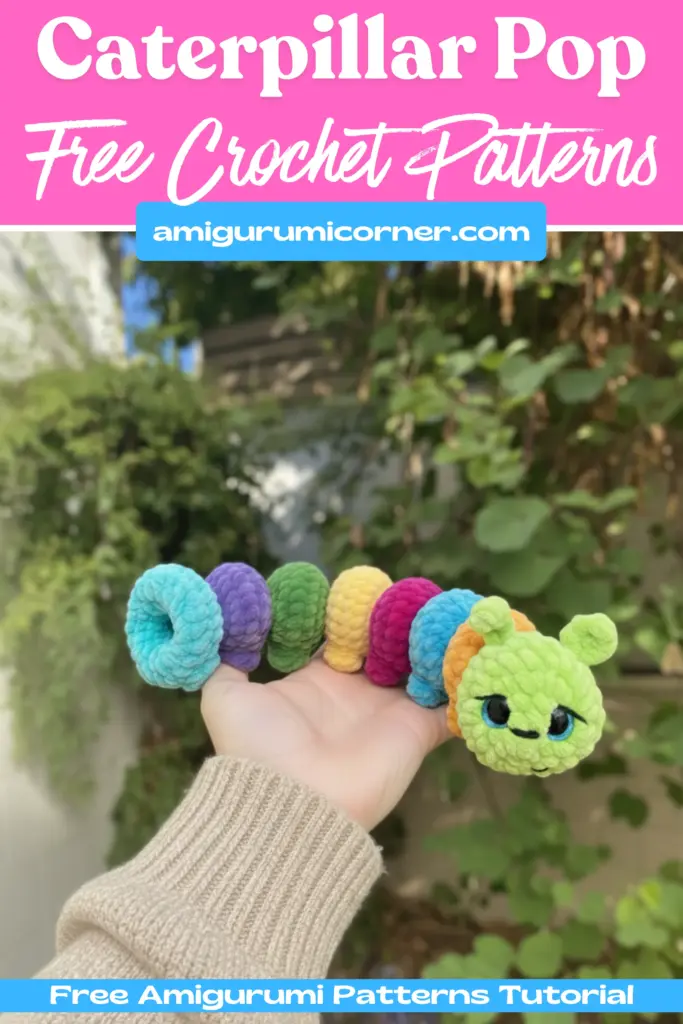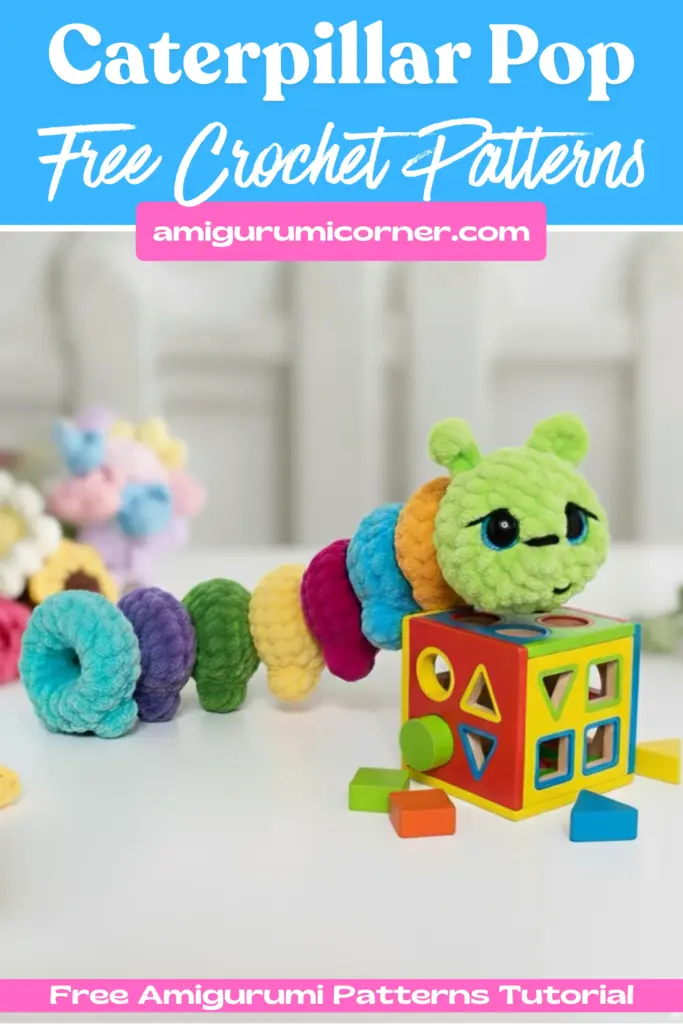
Looking for a fun and easy crochet project that requires no sewing? This delightful no-sew caterpillar pop is the perfect pattern for beginners and experienced crocheters alike. This charming toy features a segmented body that you can customize to any length, making it an excellent sensory fidget toy or a cute gift for kids and adults.
What Makes This Pattern Special
This caterpillar pop pattern stands out for several reasons. First, it’s completely no-sew, meaning you won’t need to attach separate pieces at the end. The entire project is worked in continuous rounds, creating a seamless finish that’s both sturdy and adorable. Plus, you can make your caterpillar as long or as short as you’d like by simply adding more body segments.
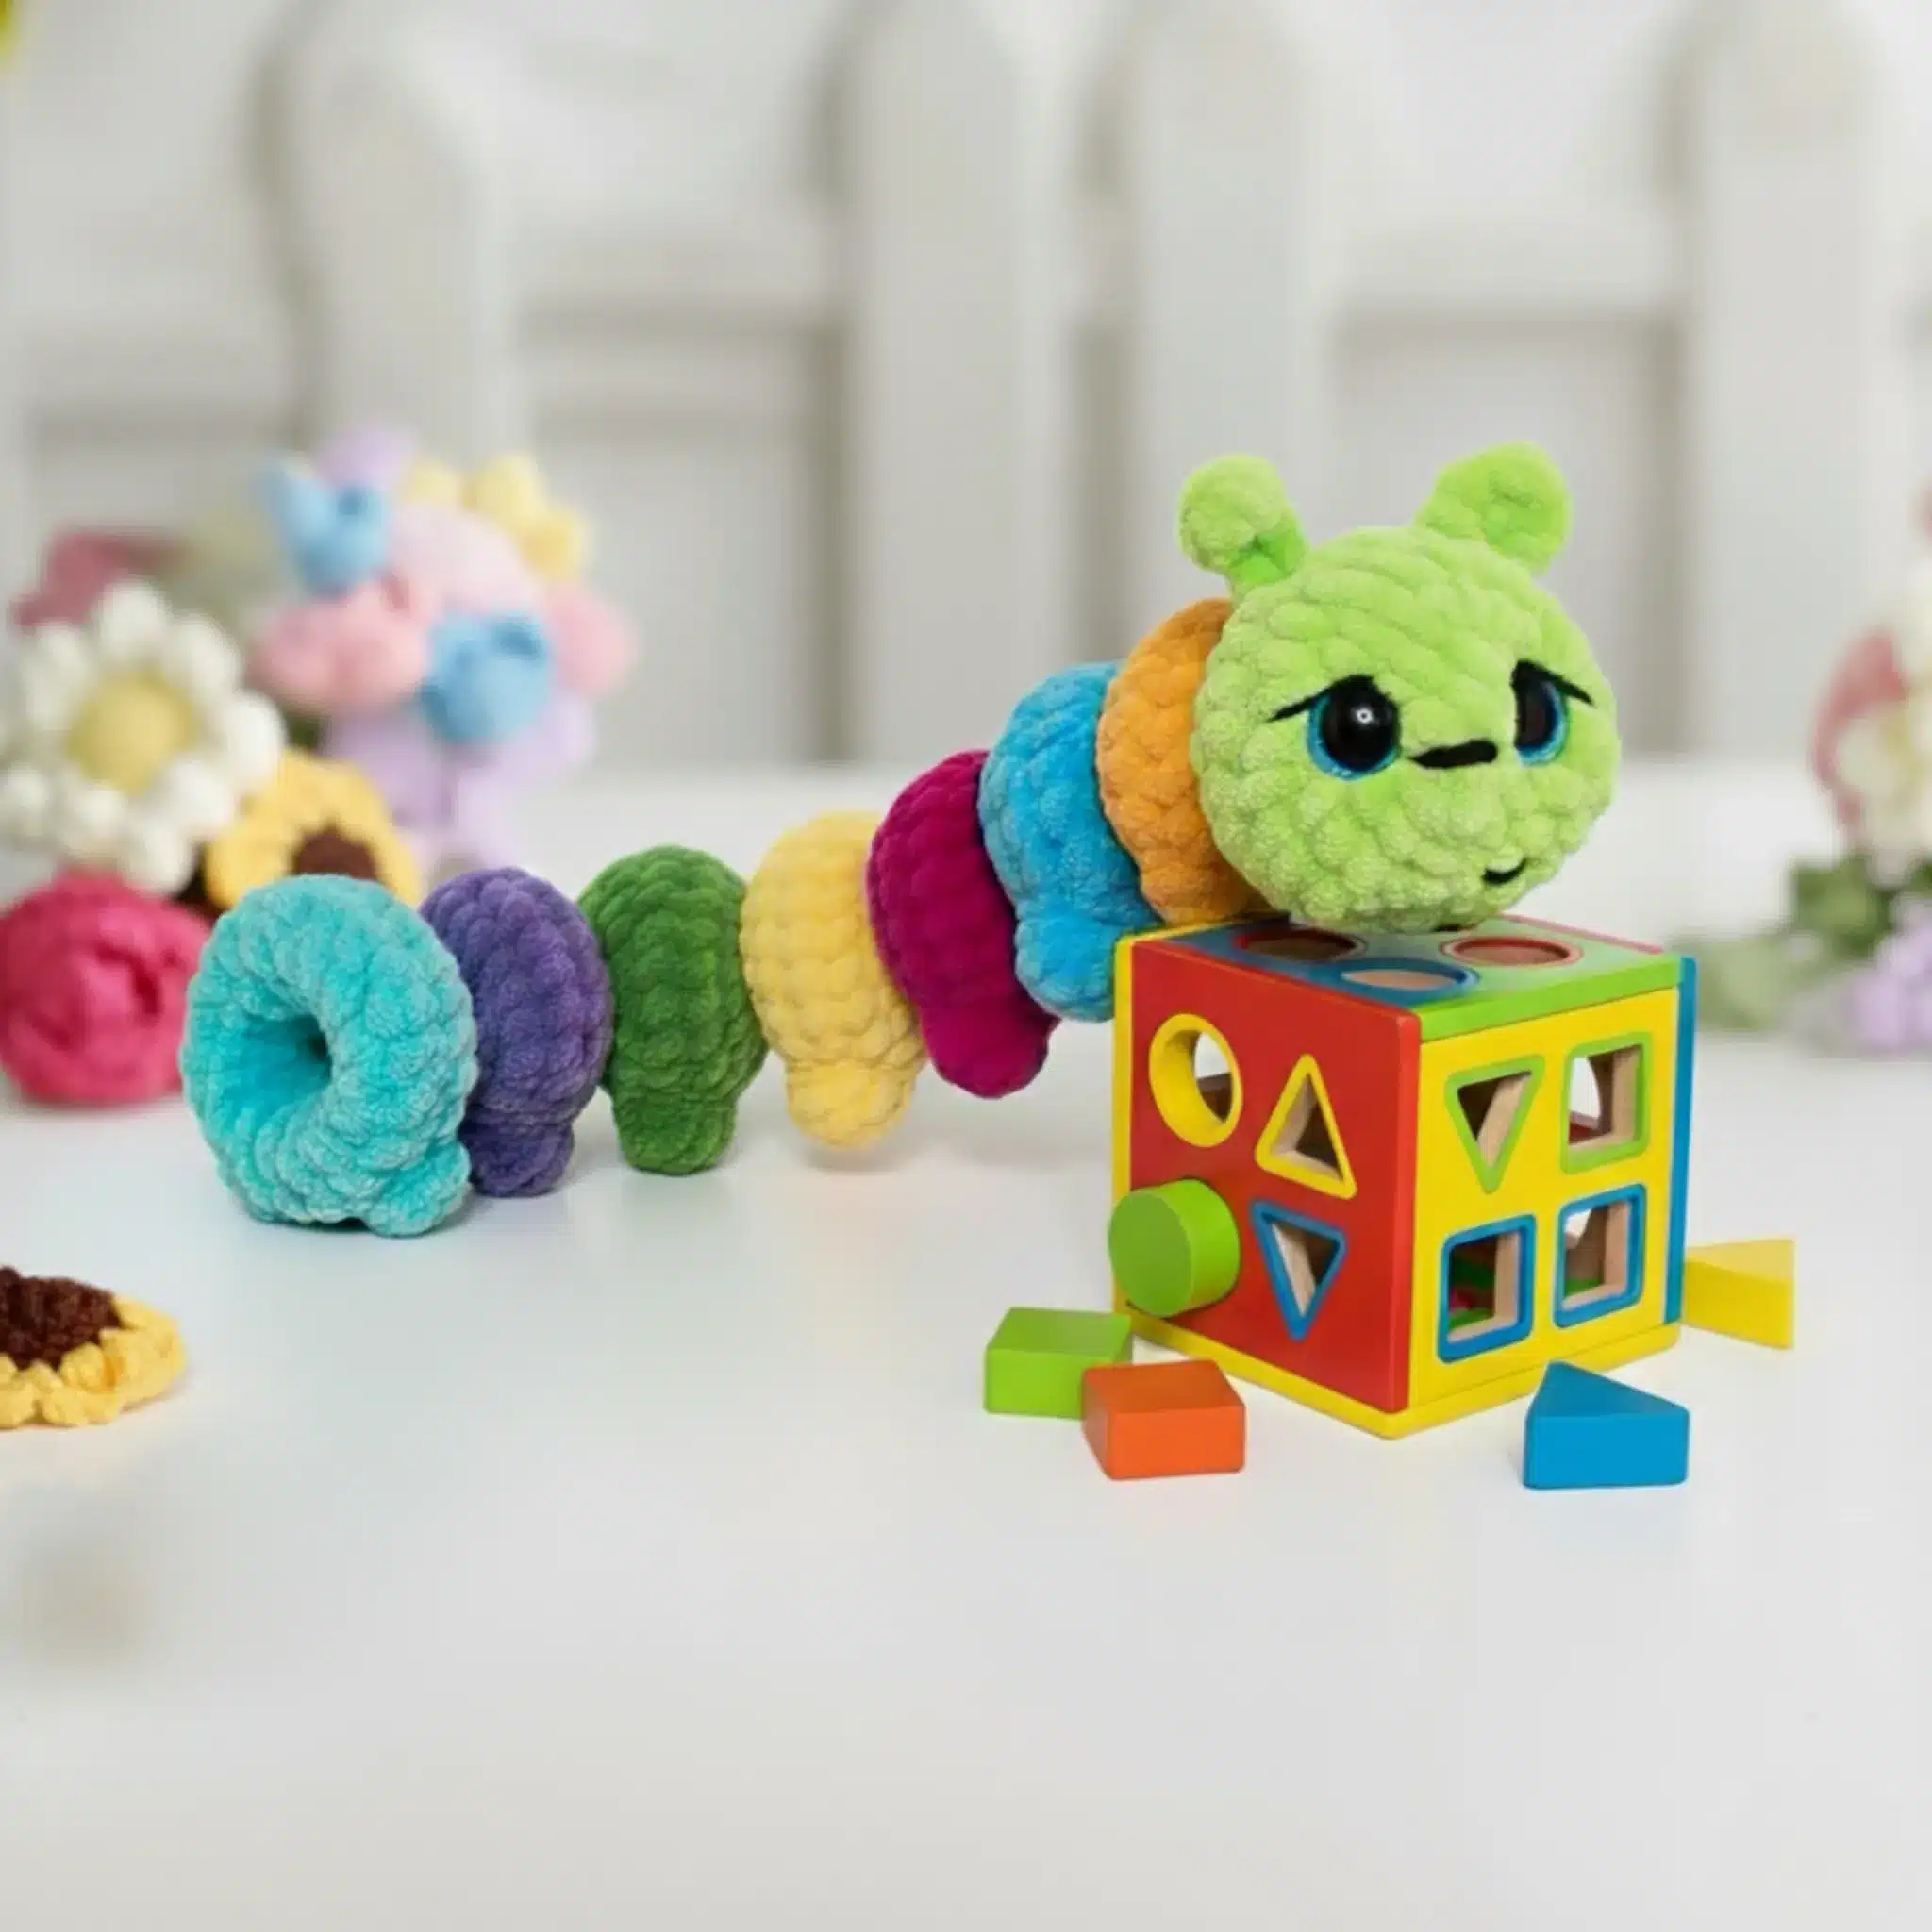
The pattern incorporates fun bobble stitches to create little legs on each segment, and includes adorable antennae worked right into the head. The result is a squishy, colorful caterpillar that’s perfect for fidgeting, playing, or displaying.

Materials You’ll Need
Before you begin, gather these essential supplies:
- Chenille yarn (the original design uses Wolans Bunny Baby or Himalaya Dolphin Baby, but any yarn weight works)
- Cotton yarn for face embroidery
- 4mm crochet hook
- Safety eyes in two sizes (8mm and 14mm)
- Yarn needle
- Scissors
- Stitch marker
Understanding the Pattern Notes
A few important things to keep in mind before starting:
- Do not stuff the caterpillar – this keeps it flexible and fun to pop
- Maintain tight tension – avoid crocheting loosely to prevent the safety eyes from falling out
- Customize the length – make as many body segments as you desire
- Rainbow option – for a rainbow caterpillar, change colors in this order: red, orange, yellow, green, blue, indigo, purple
Abbreviations Guide
- MR: Magic ring
- sc: Single crochet
- ch: Chain
- st: Stitch
- inc: Increase (2 sc into one stitch)
- dec: Decrease (1 sc into 2 stitches)
- FLO: Front loop only
- BLO: Back loop only
- FO: Fasten off
- slst: Slip stitch
- DC: Double crochet
- BO: Bobble stitch (5dc bobble)
- dc2tog: 2 dc all in one stitch
Crocheting the Head
The head is where you’ll create the caterpillar’s charming face and antennae.
- Round 1: 8 sc in magic ring (8)
- Round 2: 8 inc (16)
- Round 3: (sc, inc) × 8 (24)
- Round 4: 24 sc (24)
- Round 5: 9 sc, sc in FLO (4 ch, in the 2nd ch from your hook dc2tog, 2 slst), 3 sc, sc in FLO (4 ch, in the 2nd ch from your hook dc2tog, 2 slst), 10 sc (24) This round creates the two antennae. Place a stitch marker in each BLO for easier reference later.
- Round 6: 6 sc, dec, 1 sc, 1 sc in BLO, 3 sc, 1 sc in BLO, dec, 6 sc, dec (21)
- Round 7: (5 sc, dec) × 3 (18)
- Round 8: (4 sc, dec) × 3 (15)
- Round 9: (3 sc, dec) × 3 (12)
- Round 10: (sc, dec) × 4 (8)
Insert safety eyes between rounds 2 and 3, spacing them 6 sc apart and ensuring they’re centered. Embroider the mouth and eyebrows or eyelashes using your cotton yarn.

Creating the Body Segments
Now comes the fun part – building your caterpillar’s segmented body. Each segment follows the same basic pattern with slight variations in leg placement.
First Body Part
- Round 11: 8 inc (16)
- Round 12: (sc, inc) × 8 (24)
- Round 13: 24 sc (24)
- Round 14: 2 sc, BO, 3 sc, BO, 17 sc (24) Change color here if desired for the legs
- Round 15: (4 sc, dec) × 4 (20)
- Round 16: (3 sc, dec) × 4 (16)
- Round 17: 8 dec (8)
Additional Body Parts
For each additional segment, repeat rounds 11-17, but adjust round 14 to shift the leg placement:
- Part 2: R14: 4 sc, BO, 3 sc, BO, 15 sc (24)
- Part 3: R14: 6 sc, BO, 3 sc, BO, 13 sc (24)
- Part 4: R14: 8 sc, BO, 3 sc, BO, 11 sc (24)
- Part 5: R14: 10 sc, BO, 3 sc, BO, 9 sc (24)
Continue this pattern, adjusting the leg placement by 2 sc each time, until your caterpillar reaches your desired length.
Note: Depending on your tension, the legs might not line up perfectly. Feel free to adjust the placements as needed.
Finishing the Tail
For the very last segment, work a slightly different ending:
- Round 16: (3 sc, dec) × 4 (16)
- Round 17: (2 sc, dec) × 4 (12)
- Round 18: (sc, dec) × 4 (8)
Fasten off, leaving a long tail to sew the opening closed.
Tips for Success
To ensure your caterpillar turns out perfectly:
- Use stitch markers to keep track of your rounds
- Maintain consistent tension throughout to prevent gaps
- Don’t worry if your first bobble stitches feel awkward – they get easier with practice
- Take breaks between segments to prevent hand fatigue
- Experiment with different color combinations
Customization Ideas
The beauty of this pattern lies in its versatility. Here are some creative ways to personalize your caterpillar:
- Create a rainbow caterpillar using the suggested color order
- Make a monochromatic version in your favorite color
- Use variegated yarn for a unique, multi-toned effect
- Add different facial expressions for various emotions
- Make matching sets in different sizes

Why This Pattern Works
This caterpillar pop has become popular among crocheters for good reason. The no-sew construction makes it accessible to beginners while still offering enough detail to keep experienced crafters engaged. The continuous round method ensures durability, making it perfect for children’s toys or sensory items.
The unstuffed design creates a unique texture that’s satisfying to squeeze and manipulate, making it an excellent fidget toy for both children and adults who benefit from tactile stimulation.
Conclusion
This no-sew caterpillar pop is a delightful project that combines simplicity with charm. Whether you’re making it for yourself, as a gift, or to sell at craft fairs, this pattern offers endless possibilities for creativity and customization. The straightforward construction and flexible length make it perfect for using up yarn scraps or creating color-coordinated sets.
So grab your hook, choose your favorite yarn colors, and start creating your very own adorable caterpillar pop. With each segment you add, you’ll watch your colorful creation come to life, one bobble-stitched leg at a time. Happy crocheting!
You’ll Love Also This
Remember it later!
Planning to try this soon? Pin it for a quick find later!