Table of contents
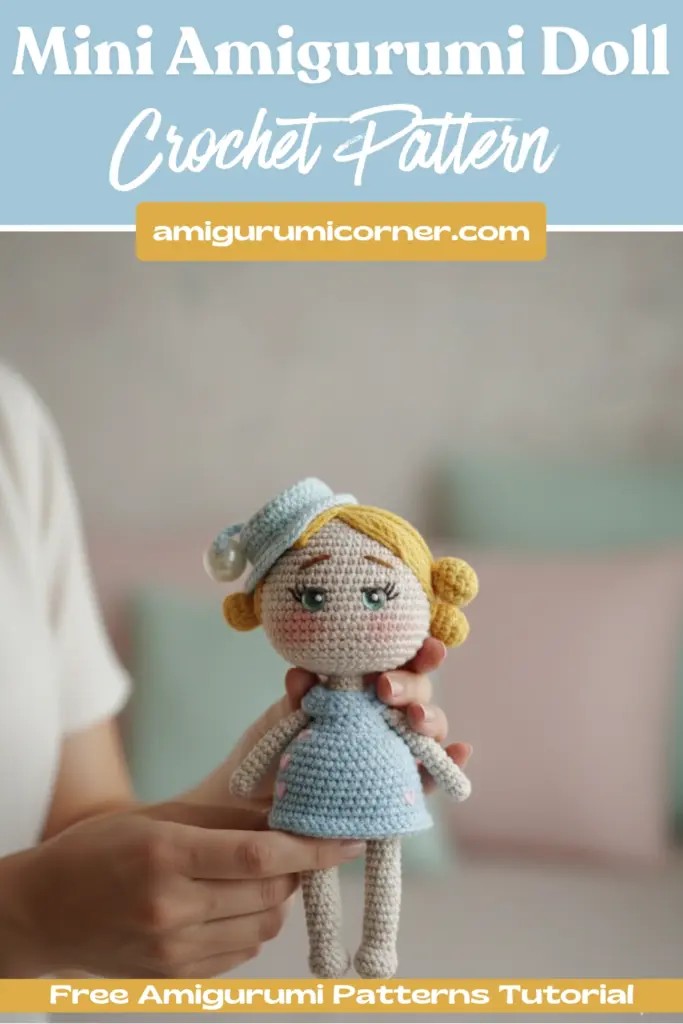
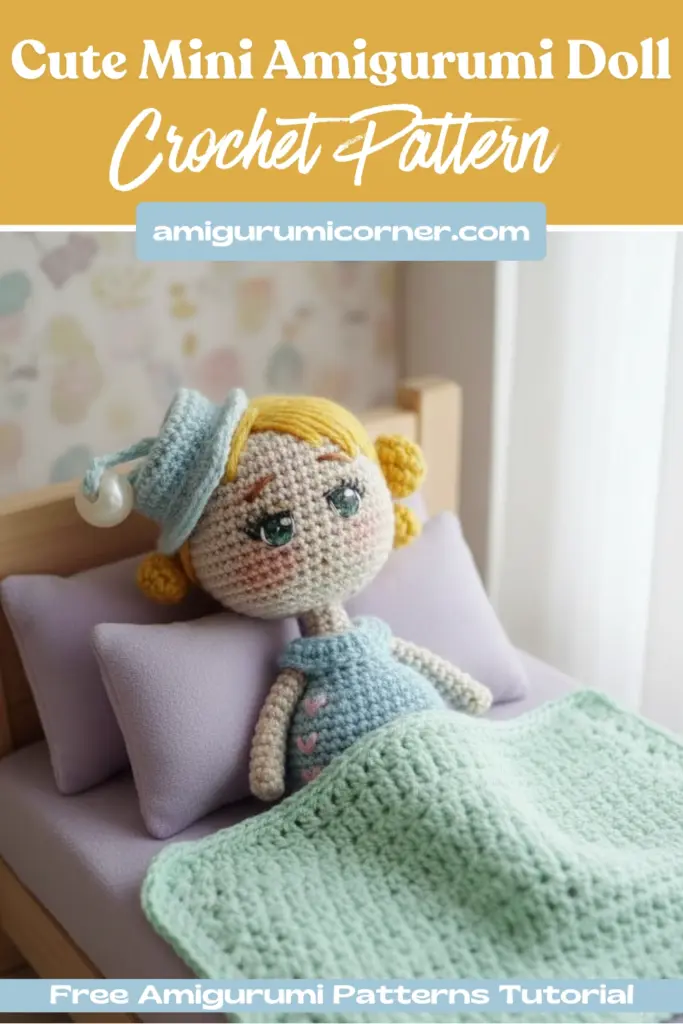
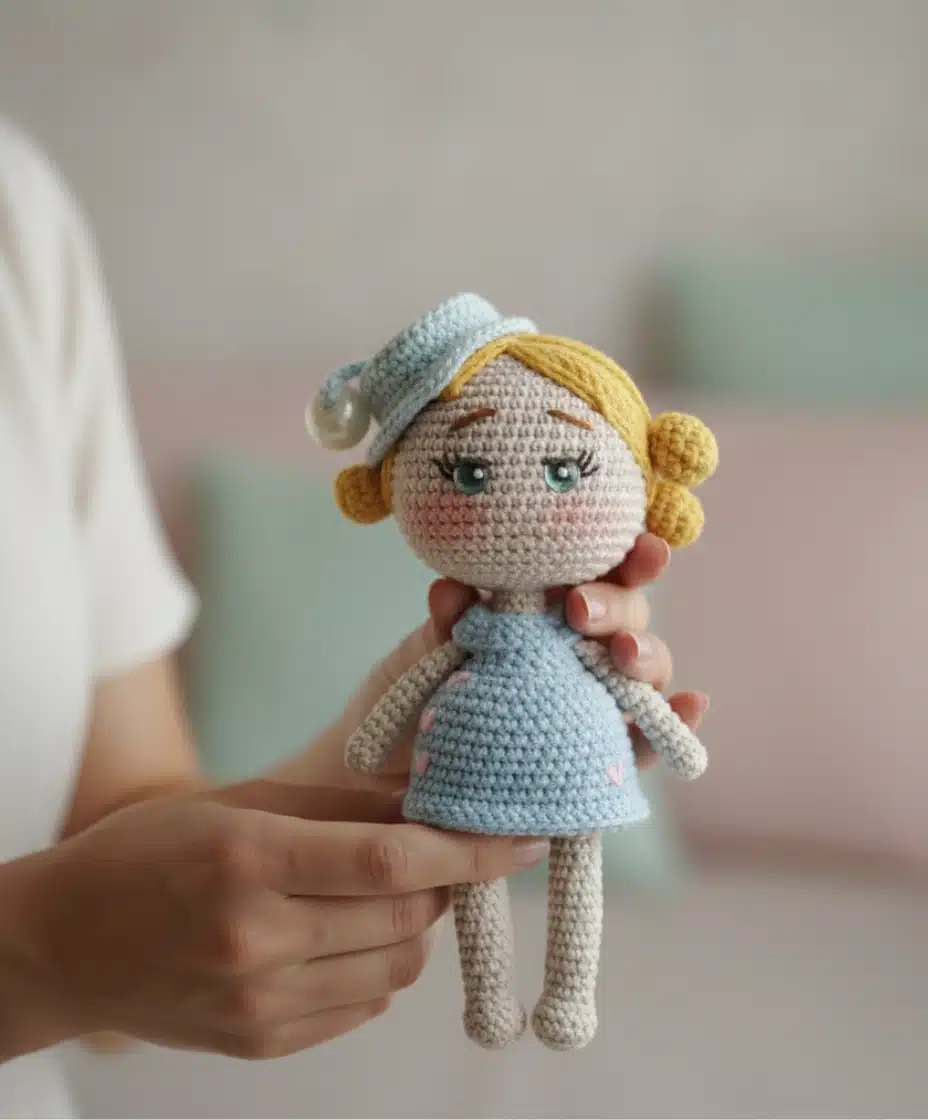
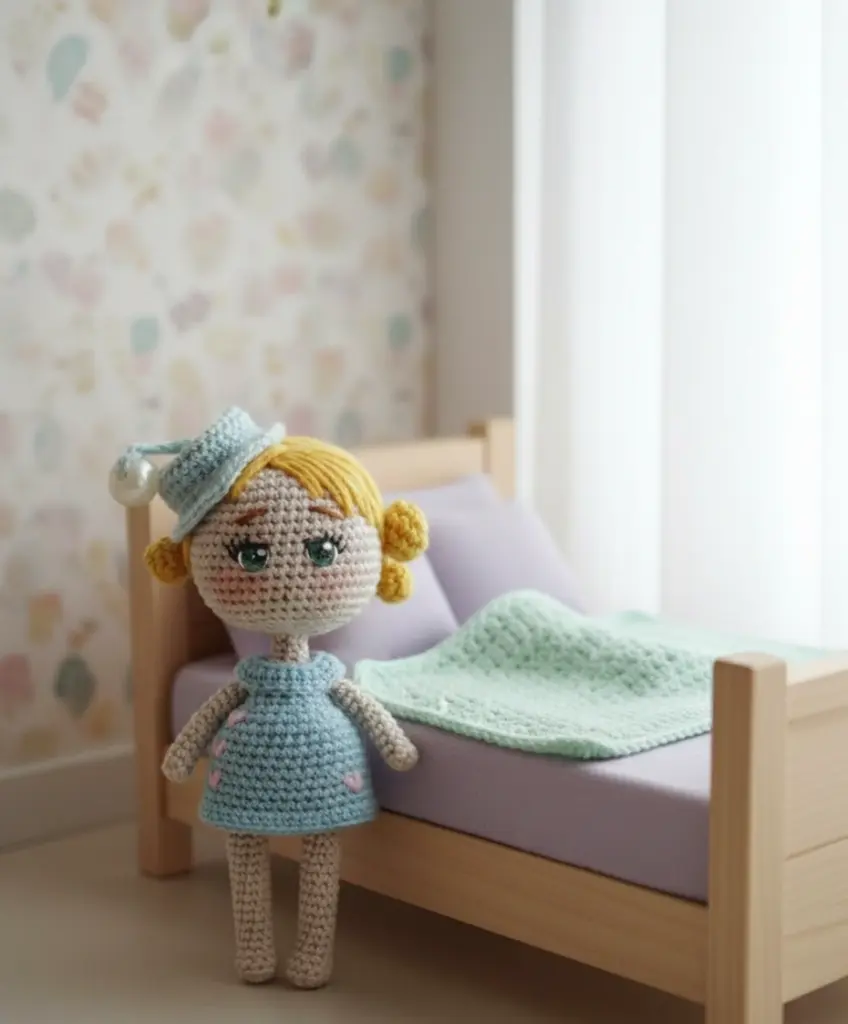
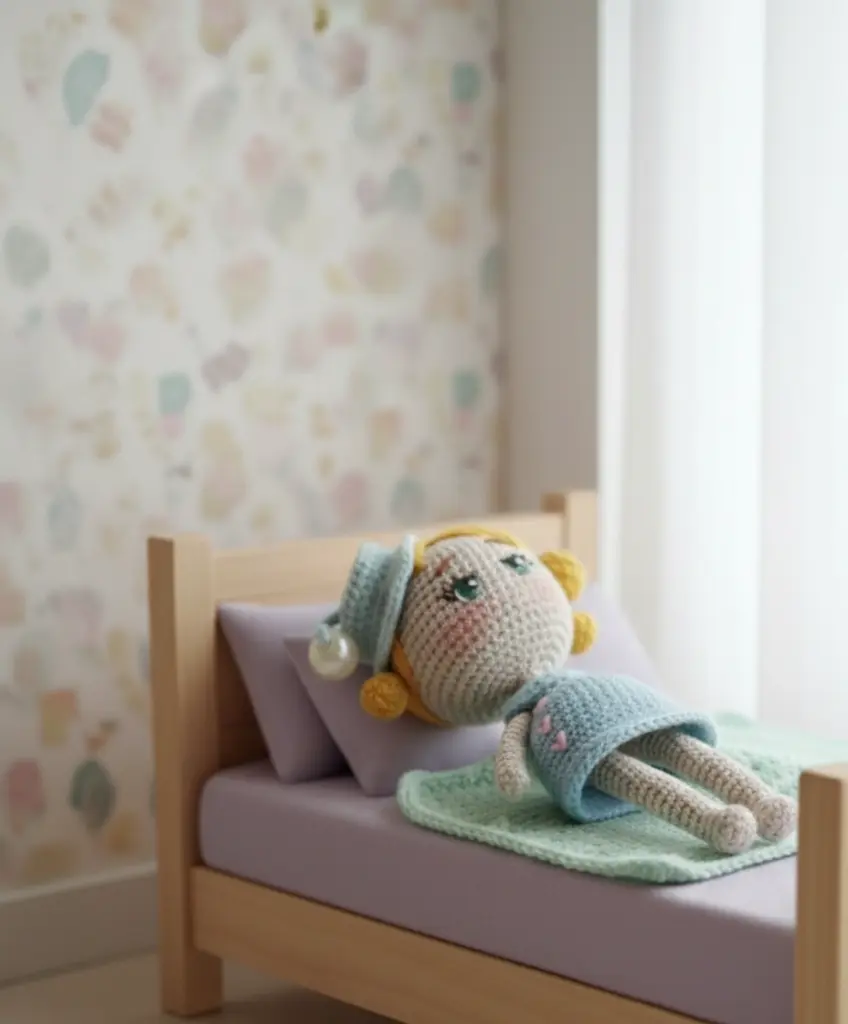
If you’ve been looking for an adorable and manageable crochet project, this mini amigurumi doll pattern is perfect for both beginners and experienced crafters. These charming little dolls make wonderful gifts, decorative pieces, or collectibles that showcase your handmade skills.
Remember it later!
Planning to try this soon? Pin it for a quick find later!
What You’ll Need
Before diving into this delightful project, gather these essential materials:
Yarn Requirements:
- Fine microfiber yarn (Alize Diva recommended, but any similar weight yarn works)
- Maintain consistent tension throughout the project for best results
Tools and Supplies:
- Size 1.5 crochet hook
- Polyester fiberfill stuffing
- Stuffing tool (chopstick or similar implement)
- Yarn needle for sewing
- Scissors

Essential Crochet Abbreviations
Familiarize yourself with these common terms used throughout the pattern:
- sc: single crochet
- dc: double crochet
- sl st: slip stitch
- inc: increase (two stitches in one stitch)
- dec: decrease (work two stitches together)
- rep: repeat
- rnd: round
Step-by-Step Construction Guide
Arms (Make 2)
Start with a magic ring and work these simple rounds:
Round 1: Create 6 single crochet stitches in a magic ring
Rounds 2-11: Work 6 single crochet stitches in each round
The arms are intentionally small and simple, giving your doll a sweet, proportioned look.
Legs (Make 2)
Round 1: 6 single crochet in magic ring
Round 2: Work the pattern (1 increase, 2 single crochet) twice for a total of 8 stitches
Rounds 3-8: Work 8 single crochet stitches around
Body Construction
The body requires careful attention as you’ll be joining the legs and incorporating the arms:
Round 1: Connect legs by working 10 single crochet on left leg, chain 4, then slip stitch to join with right leg (24 stitches total)
Rounds 2-4: Work 24 single crochet around
Round 5: Decrease pattern: (2 single crochet, 1 decrease) repeat 6 times (18 stitches)
Round 6: Work 18 single crochet around
Round 9: Make 1 decrease on each side (16 stitches)
Round 10: Make 1 decrease on each side (14 stitches)
Round 11: Join arms to body by incorporating them into your single crochet pattern (24 stitches)
Round 12: (2 single crochet, 1 decrease) repeat 6 times (18 stitches)
Round 13: (1 single crochet, 1 decrease) repeat 6 times (12 stitches)
Round 14: (4 single crochet, 1 decrease) repeat 2 times (10 stitches)
Pro Tip: Insert wire into the legs before stuffing for added stability, then stuff the body firmly as you work.
Neck Section
Create 3 rounds of 10 single crochet stitches to form the neck connection between body and head.
Head Formation
Round 1: 6 single crochet in magic ring, then increase in all 6 stitches (12 stitches)
Round 2: (1 single crochet, increase) repeat 6 times (18 stitches)
Round 3: (2 single crochet, increase) repeat 6 times (24 stitches)
Round 4: (3 single crochet, increase) repeat 6 times (30 stitches)
Round 5: (4 single crochet, increase) repeat 6 times (36 stitches)
Round 6: (5 single crochet, increase) repeat 6 times (42 stitches)
Rounds 7-16: Work 42 single crochet around
Now begin decreasing to shape the head:
Round 17: (5 single crochet, decrease) repeat 6 times
Round 18: (4 single crochet, decrease) repeat 6 times
Round 19: (3 single crochet, decrease) repeat 6 times
Round 20: (2 single crochet, decrease) repeat 6 times
Round 21: (1 single crochet, decrease) repeat 6 times
Round 22: Work 4 single crochet, 1 decrease, 4 single crochet, 1 decrease (10 stitches)
Assembly and Finishing
Important Construction Note: You can work the head from bottom to top or top to bottom – choose the method that feels most comfortable for your skill level.
Remember to stuff the head thoroughly before completing the final rounds. Once finished, carefully sew the head to the neck section of the body using a yarn needle and matching thread.
Styling Your Doll
The beauty of amigurumi mini doll lies in their customization potential. Consider these finishing touches:
- Embroider facial features with contrasting yarn
- Add hair using various yarn textures and colors
- Create miniature outfits and accessories
- Use fabric paint for detailed facial expressions
Tips for Success
Tension Consistency: Maintain even tension throughout your work to ensure all pieces fit together properly.
Stuffing Strategy: Stuff firmly but not so tight that stitches distort. Use small amounts at a time for even distribution.
Safety Considerations: If making for children, ensure all pieces are securely attached and consider child-safe embellishments.
Conclusion
Creating your own mini amigurumi doll is a rewarding project that combines basic crochet techniques with creative expression. This pattern provides a solid foundation for developing your amigurumi skills while producing a charming finished piece. Whether you’re making one doll or an entire collection, each creation will have its own unique personality and charm.
Take your time with each step, enjoy the meditative rhythm of crochet, and don’t be afraid to experiment with colors and embellishments to make your doll truly one-of-a-kind. Happy crocheting!

Remember it later!
Planning to try this soon? Pin it for a quick find later!