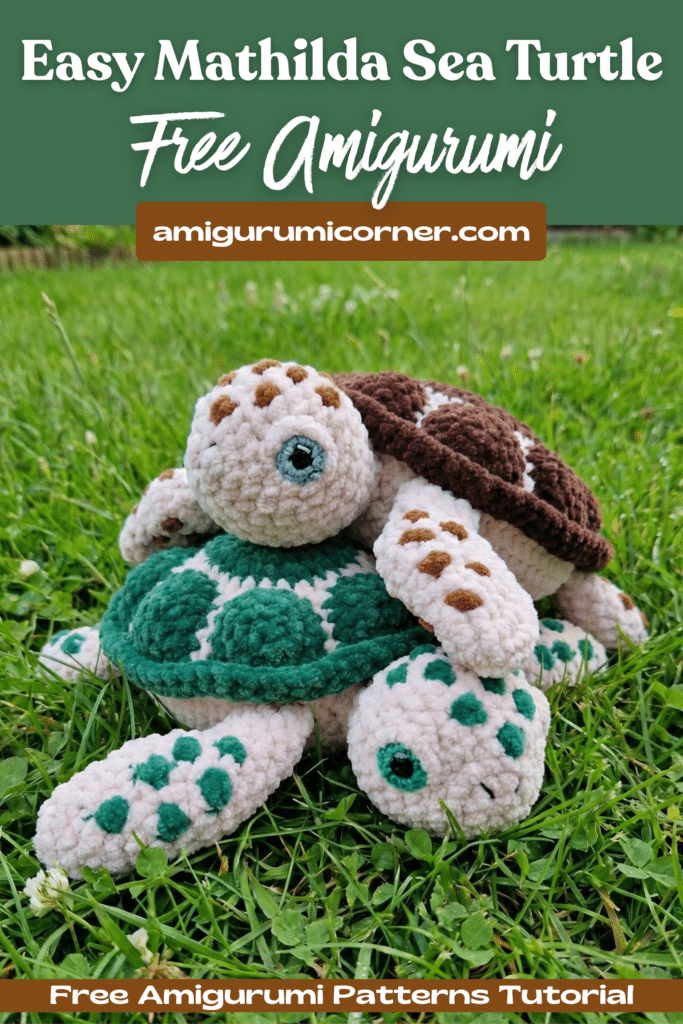
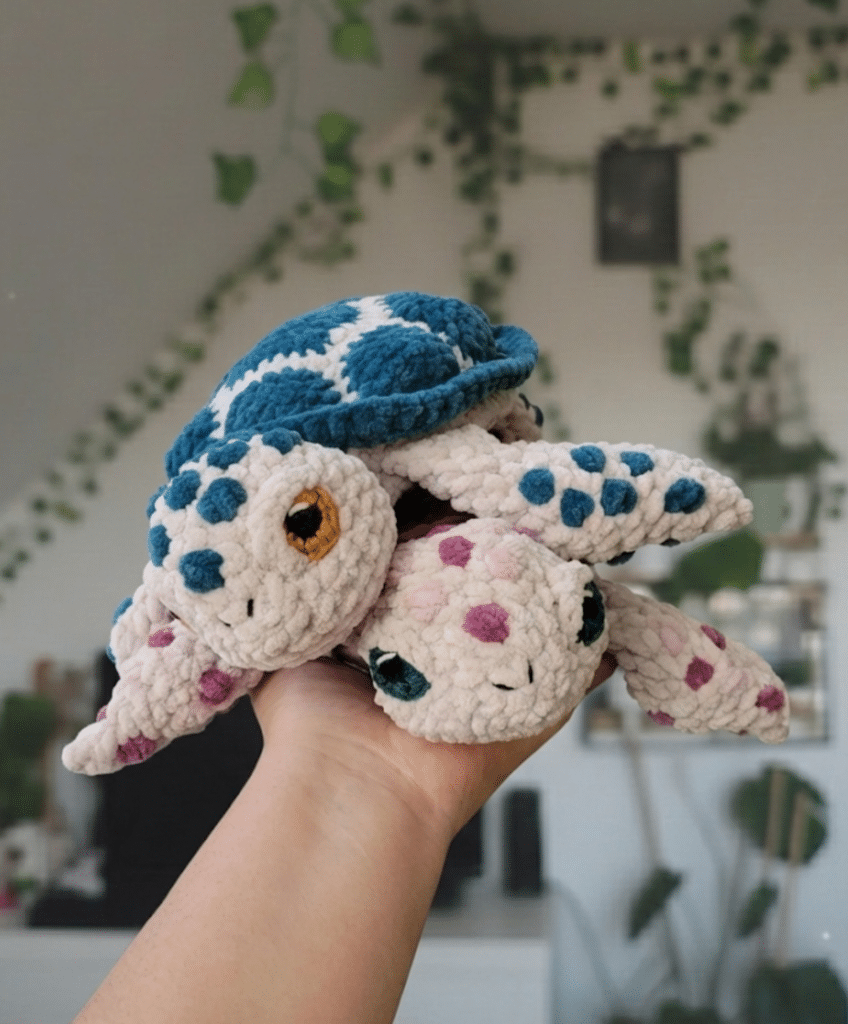
Creating adorable amigurumi sea turtles can be a delightful crafting experience, but choosing the right yarn makes all the difference. If you’ve fallen in love with the Mathilda Sea Turtle pattern but want to work with blanket yarn instead of chenille, this comprehensive guide will help you achieve beautiful results that stay true to the original design.
Table of contents
Understanding the Yarn Difference Challenge
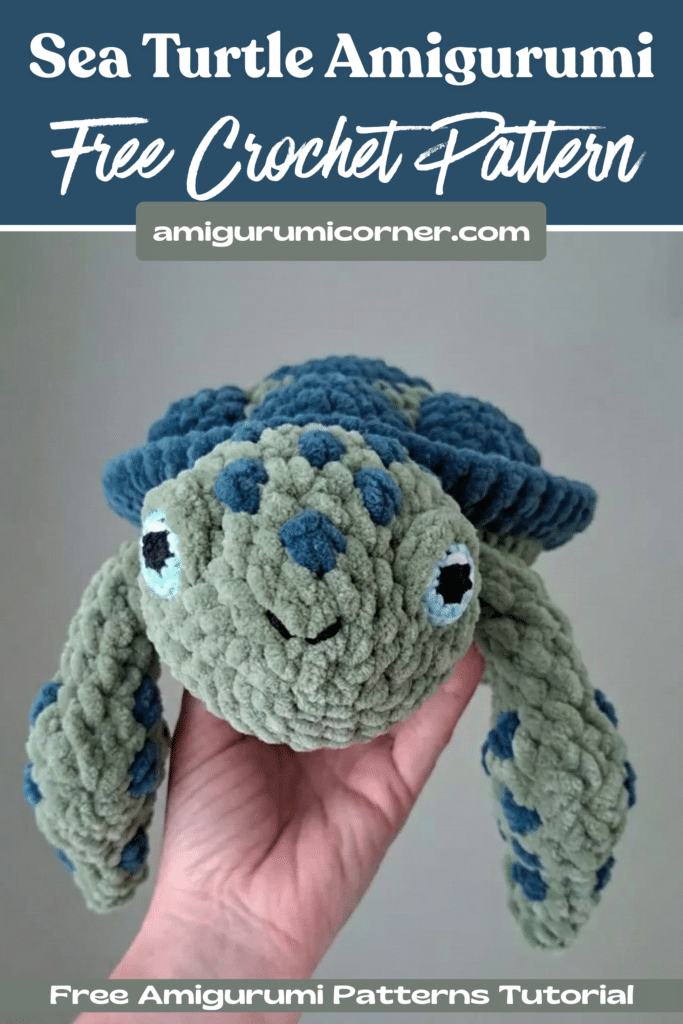
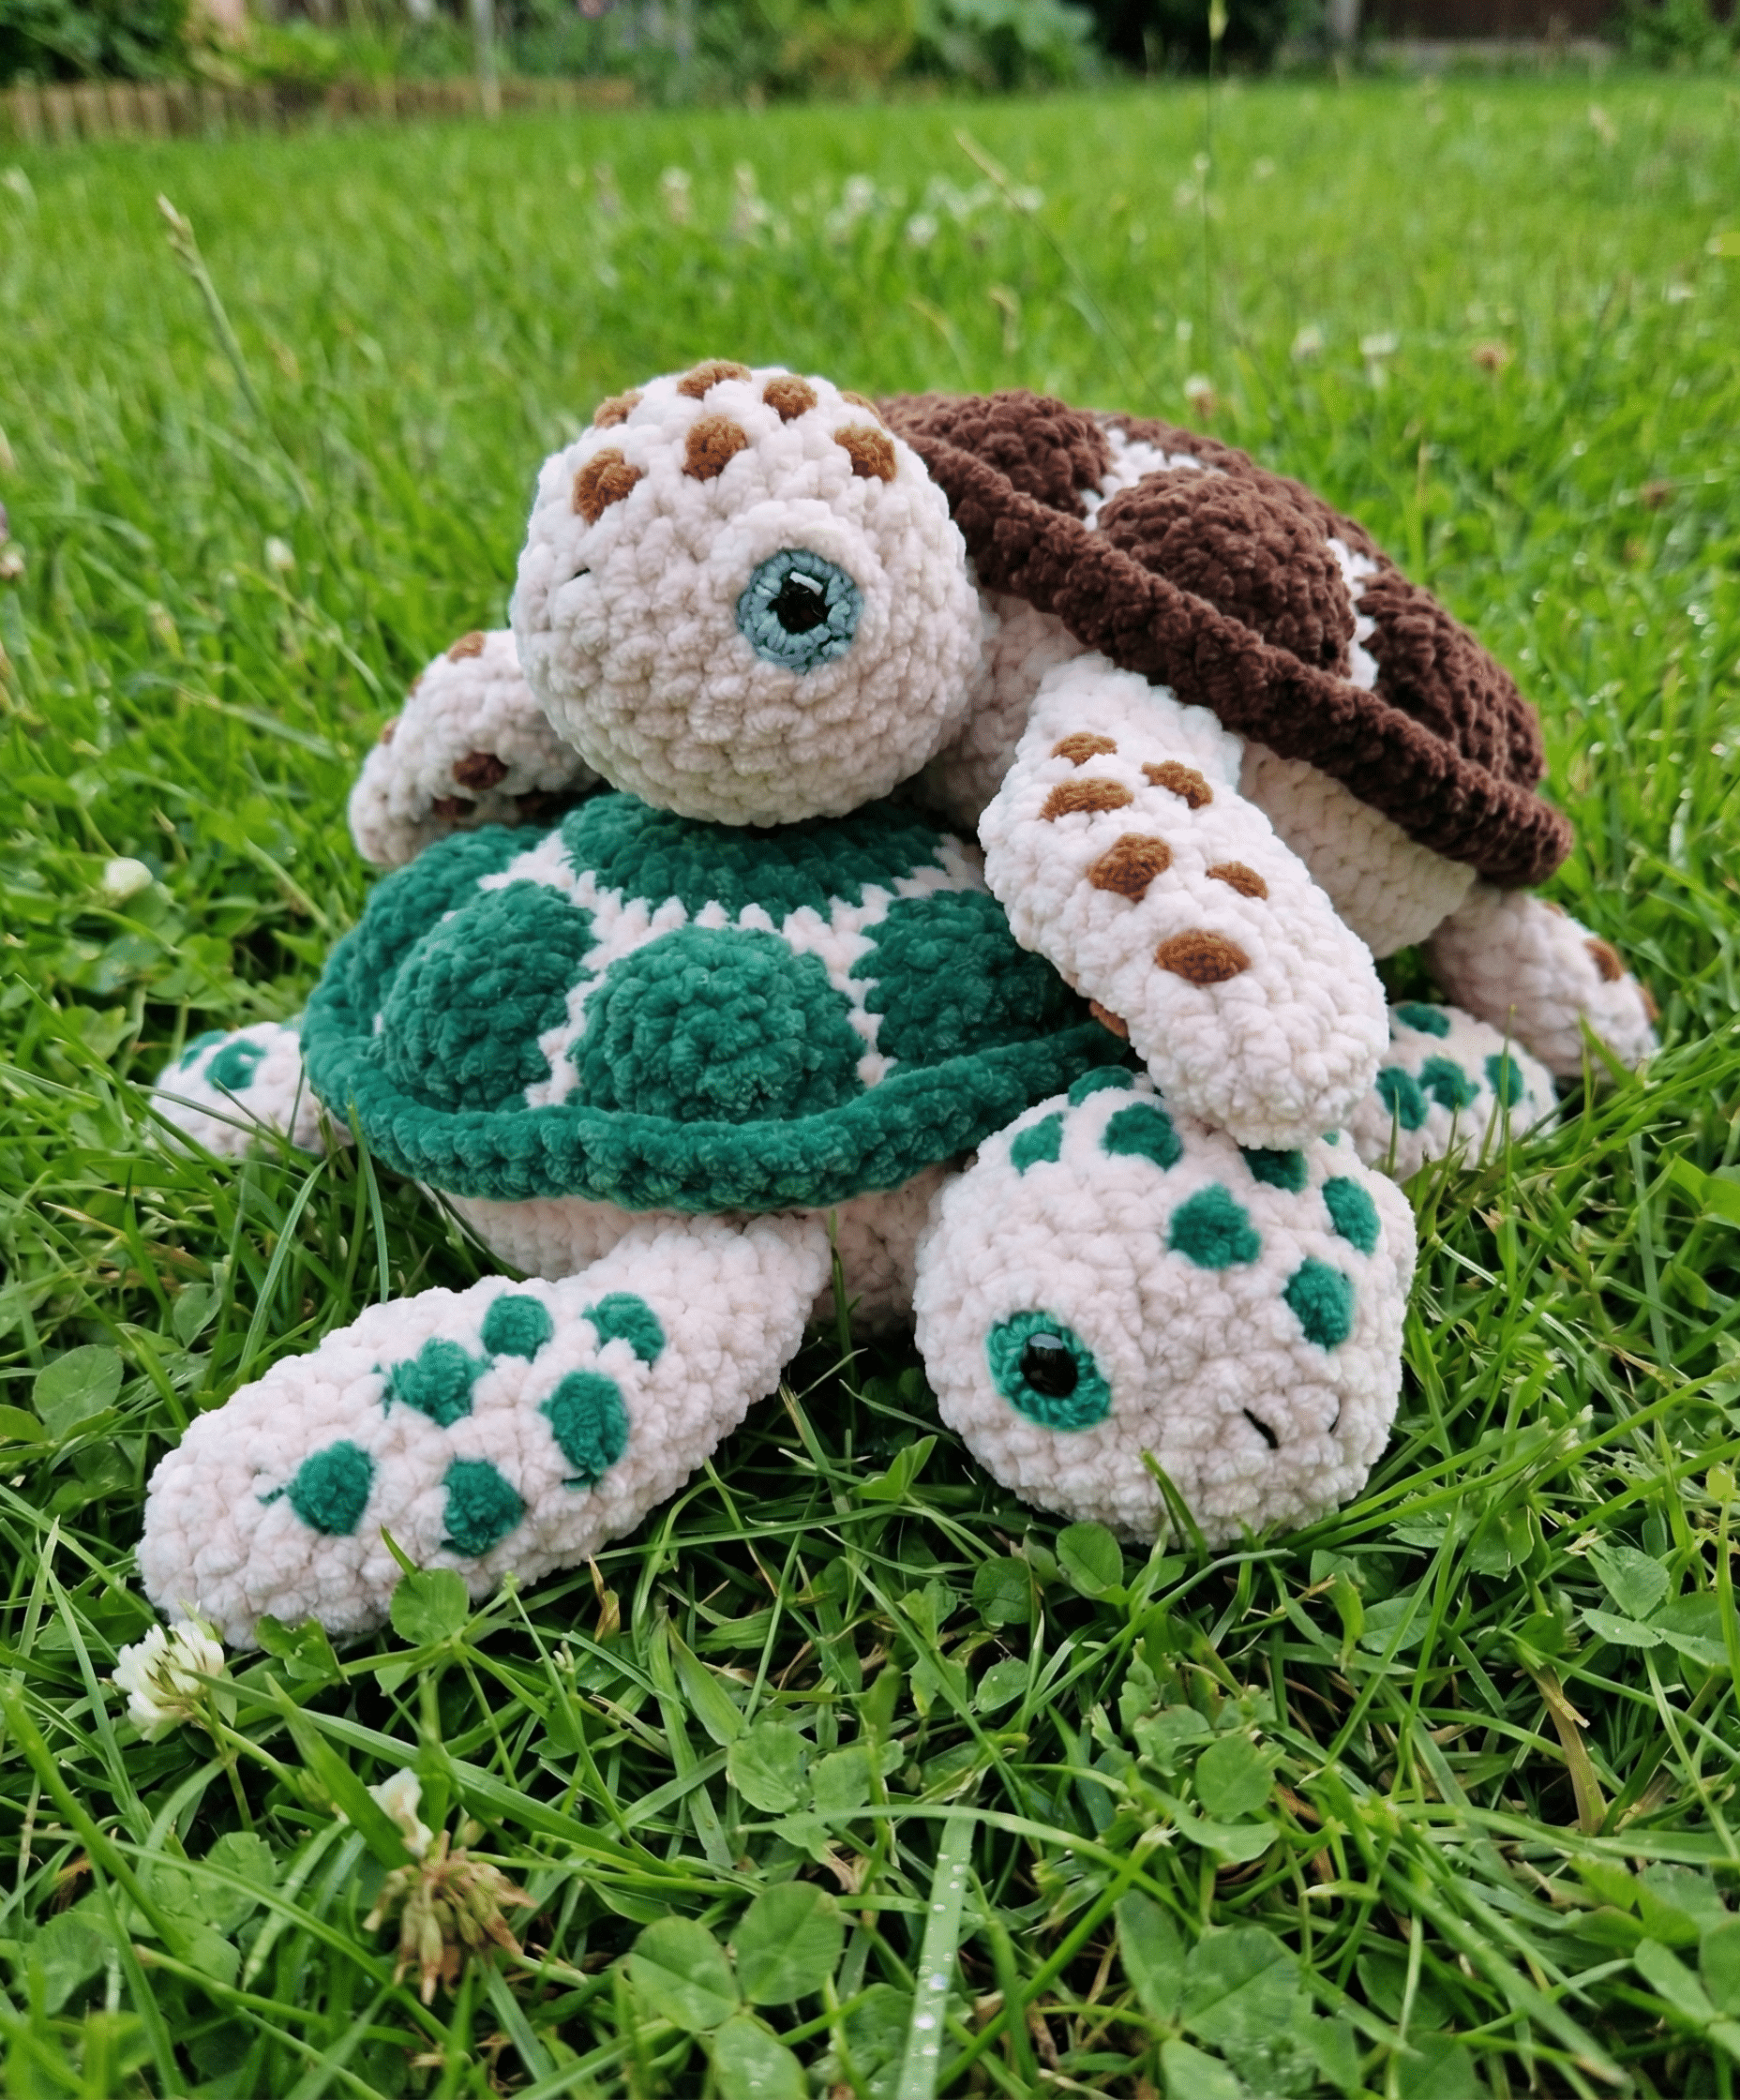
The original Mathilda Sea Turtle was designed using chenille plush yarn, which has unique properties that affect how your finished piece looks and feels. When crafters switch to blanket yarn without adjusting their technique, they often encounter unexpected results—particularly pointy shell plates and a protruding nose that doesn’t match the gentle curves of the original design.
Why does this happen? The answer lies in understanding how these two yarn types behave differently in amigurumi construction.
Key Differences Between Chenille and Blanket Yarn

Remember it later!
Planning to try this soon? Pin it for a quick find later!
Structure and Shape Characteristics
Chenille yarn offers exceptional softness and flexibility, compressing easily as you work. This natural give allows for easier shaping when stuffing your amigurumi, creating those smooth, rounded curves that make sea turtles so adorable. The yarn adjusts readily to your manipulation, resulting in gentle contours.
Blanket yarn, however, is considerably stiffer and maintains its shape more rigidly. Once stuffed, it holds a firmer structure with limited flexibility for adjustments. This often creates sharper angles rather than soft curves, which can make your turtle look more angular than intended.
Tension and Hook Size Considerations
Because blanket yarn is thicker, it requires a hook 2 to 3 sizes larger than chenille to maintain that coveted soft, plush feel. Without this adjustment, your work becomes stiff and loses the cuddly quality that makes amigurumi so appealing.
This larger hook size naturally produces a bigger gauge, meaning your finished pieces will be larger due to both the yarn’s weight and the increased hook size. For the Mathilda Sea Turtle, expect approximately 17 inches (43 cm) in length and 9 inches (23 cm) in width when using the recommended supplies with similar tension.
The Magic Ring Problem
Magic rings behave quite differently depending on your yarn choice. In chenille, magic rings with fewer stitches (less than 8) generally work well and can be compressed into a flatter shape. However, blanket yarn creates challenges with these smaller rings, often resulting in a protruding, cone-like shape rather than the intended gentle curve.
This is particularly problematic for the shell plates and head of your sea turtle, where you want flat, smooth surfaces rather than pointed protrusions.
Recommended Materials and Tools
Yarn Requirements
You’ll need super bulky blanket yarn (category 6, approximately 300g per 200m):
- Main color: 150-200 grams
- Contrasting color: 100-150 grams
Hook Size Recommendations
Your natural tension plays a crucial role in determining the right hook size:
For loose tension crocheters:
- Hook A: 6.5 mm
- Hook B: 7.0 mm
For tight tension crocheters:
- Hook A: 7.0 mm
- Hook B: 8.0 mm

Essential Modifications for Shell Plates
The shell is the star of your sea turtle, and getting those plates to lay flat is crucial for achieving the right look. Here’s how to modify your approach for different plate types.
Plates A, C, and D Modification
Using Hook A with tight or regular tension and your contrasting color:
Round 1: Work 10 single crochet stitches in a magic ring (10 stitches total)
After completing Round 1, skip Round 2 entirely and jump directly to Round 3 from the original pattern. This adjustment prevents the excess height that creates pointy plates.
Plate E Modification
These larger plates need slightly different handling:
Round 1: Work 12 single crochet stitches in a magic ring (12 stitches total)
Again, skip Round 2 and continue to Round 3 from the original pattern.
Magic Ring Tips for Blanket Yarn
Creating magic rings with 10-12 stitches in blanket yarn requires patience. Here’s a helpful technique: make your ring slightly loose initially, then tighten and adjust after completing the first 2-3 rounds when you have more structure to work with.
For those who struggle with tight magic rings containing 10-12 stitches, try using cotton or DK weight yarn for the base ring. Once your first round is complete, you can tighten it and secure it with a knot for a snug, secure finish.
Head Shape Adjustments
The turtle’s head requires different modifications depending on whether you’re right-handed or left-handed, as this affects the natural shape that emerges from your work.
For Right-Handed Crocheters
Begin with your main color and Hook A, maintaining tight or regular tension:
Round 1: Work 7 single crochet stitches in a magic ring (7 stitches total)
Round 2: Work 3 increases, followed by 4 single crochet stitches (10 stitches total)
Then continue to Round 3 from the original pattern.
For Left-Handed Crocheters
Using the same materials and tension:
Round 1: Work 7 single crochet stitches in a magic ring (7 stitches total)
Round 2: Work 4 single crochet stitches, followed by 3 increases (10 stitches total)
Continue to Round 3 from the original pattern.
These adjustments prevent the pointed nose effect and create a more rounded, natural turtle head shape.
Important Implementation Notes
Before you begin, keep these key points in mind:
- These modifications apply only to the first two rounds of the specified pieces
- After completing the modified rounds, return to the original pattern to finish each component
- These adjustments work well for other super bulky yarns or if you naturally crochet with looser tension and prefer larger hooks
- Maintain consistent tension throughout your work for the best results
Real Crafters, Real Results
The effectiveness of these modifications has been proven by numerous testers using various combinations of materials. Crafters have successfully created beautiful Mathilda Sea Turtles using different brands of blanket yarn and hook sizes ranging from 5.5mm to 8.0mm, depending on their natural tension and desired finished size.
The consistent feedback shows that these simple adjustments make a significant difference in achieving shell plates that lay flatter and head shapes that better match the original chenille version’s gentle curves.
Beyond the Basics
While these modifications focus specifically on the shell plates and head, remember that working with blanket yarn may require additional minor adjustments as you work through the pattern. Pay attention to how your stitches look and feel, and don’t hesitate to adjust your tension or hook size if needed.
The beauty of amigurumi is that each crafter brings their own unique touch to the pattern. These modifications provide a foundation, but feel free to experiment and find what works best for your individual crocheting style.
Conclusion
Adapting the Mathilda Sea Turtle pattern for blanket yarn doesn’t have to be intimidating. By understanding the fundamental differences between yarn types and implementing these targeted modifications, you can create a stunning sea turtle that captures all the charm of the original design while taking advantage of blanket yarn’s wonderful properties.
The key is starting with the right foundation—adjusting those crucial first rounds in the shell plates and head prevents the structural issues that would otherwise emerge as you continue working. These small changes at the beginning make all the difference in your finished piece.
Remember, successful amigurumi is as much about understanding your materials as it is about following patterns. With these modifications in hand, you’re ready to create your own beautiful blanket yarn Mathilda Sea Turtle. Happy crocheting, and don’t forget to have fun with your project!


Remember it later!
Planning to try this soon? Pin it for a quick find later!