Table of contents
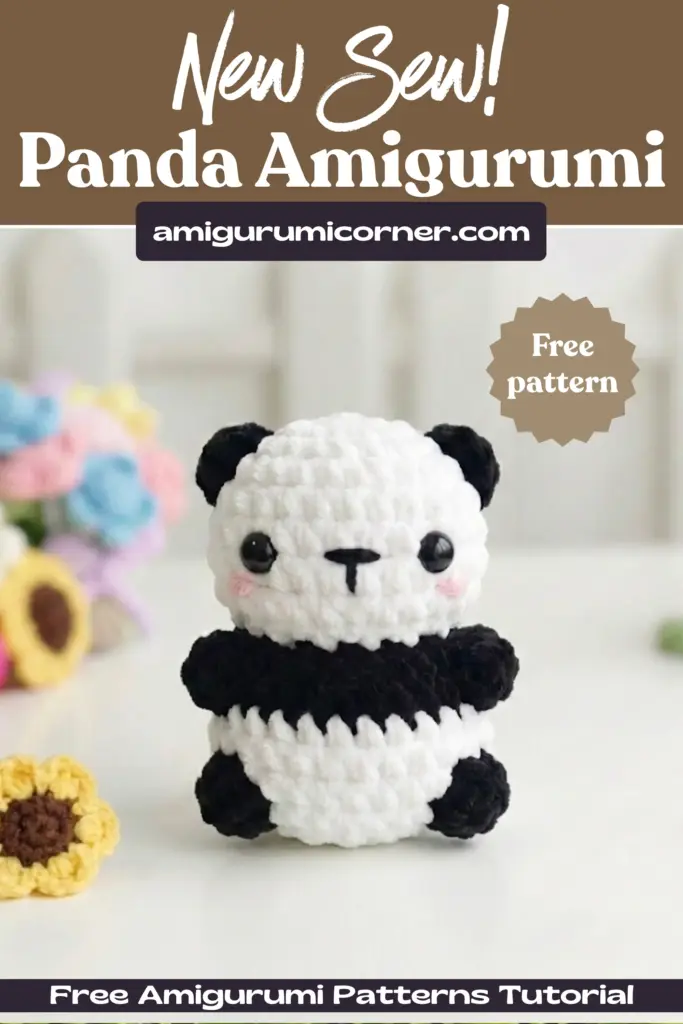
If you’re looking for an adorable and beginner-friendly crochet project, this little panda amigurumi is perfect for you. This free pattern creates a charming stuffed panda using simple stitches and chunky yarn, making it quick to work up. The best part? It’s a no-sew design, meaning the head and body are worked together in one continuous piece. Whether you’re new to amigurumi or an experienced crocheter, this delightful panda will bring a smile to anyone’s face.
Deisgned by inthecrochetcupboard
Materials You’ll Need
Before starting your panda project, gather these essential supplies:
- 5mm crochet hook
- Weight 6 chunky yarn (black and white, or your choice of two contrasting colors)
- 10mm safety eyes
- Polyester stuffing
- Yarn needle for embroidering details

Pattern Notes and Abbreviations
This pattern is written in US crochet terminology and worked in continuous rounds from head to body. You’re welcome to sell finished items made from this pattern.
Abbreviations:
- sc – single crochet
- inc – increase
- dec – decrease (invisible)
- mr – magic ring
- FO – fasten off
- sl st – slip stitch
- BBL – bobble stitch (5 loops)
Color Changing Technique
This panda uses two colors throughout the pattern. To change colors seamlessly, pull your new color through the stitch before the color change stitch. Pull the new color through 2 loops to complete the stitch. When you see white text in the pattern, work in white yarn; black text indicates working in black yarn.
Complete Pattern Instructions
- Round 1: 8 sc in a mr (8)
- Round 2: 8 inc (16)
- Round 3: 1 sc, 1 inc x6 (24)
- Round 4: 6 sc, BBL, 10 sc, BBL, 6 sc (24)
- Rounds 5 to 7: sc around (3 rounds) (24)
- Round 8: 1 sc, 1 dec x8 (16)
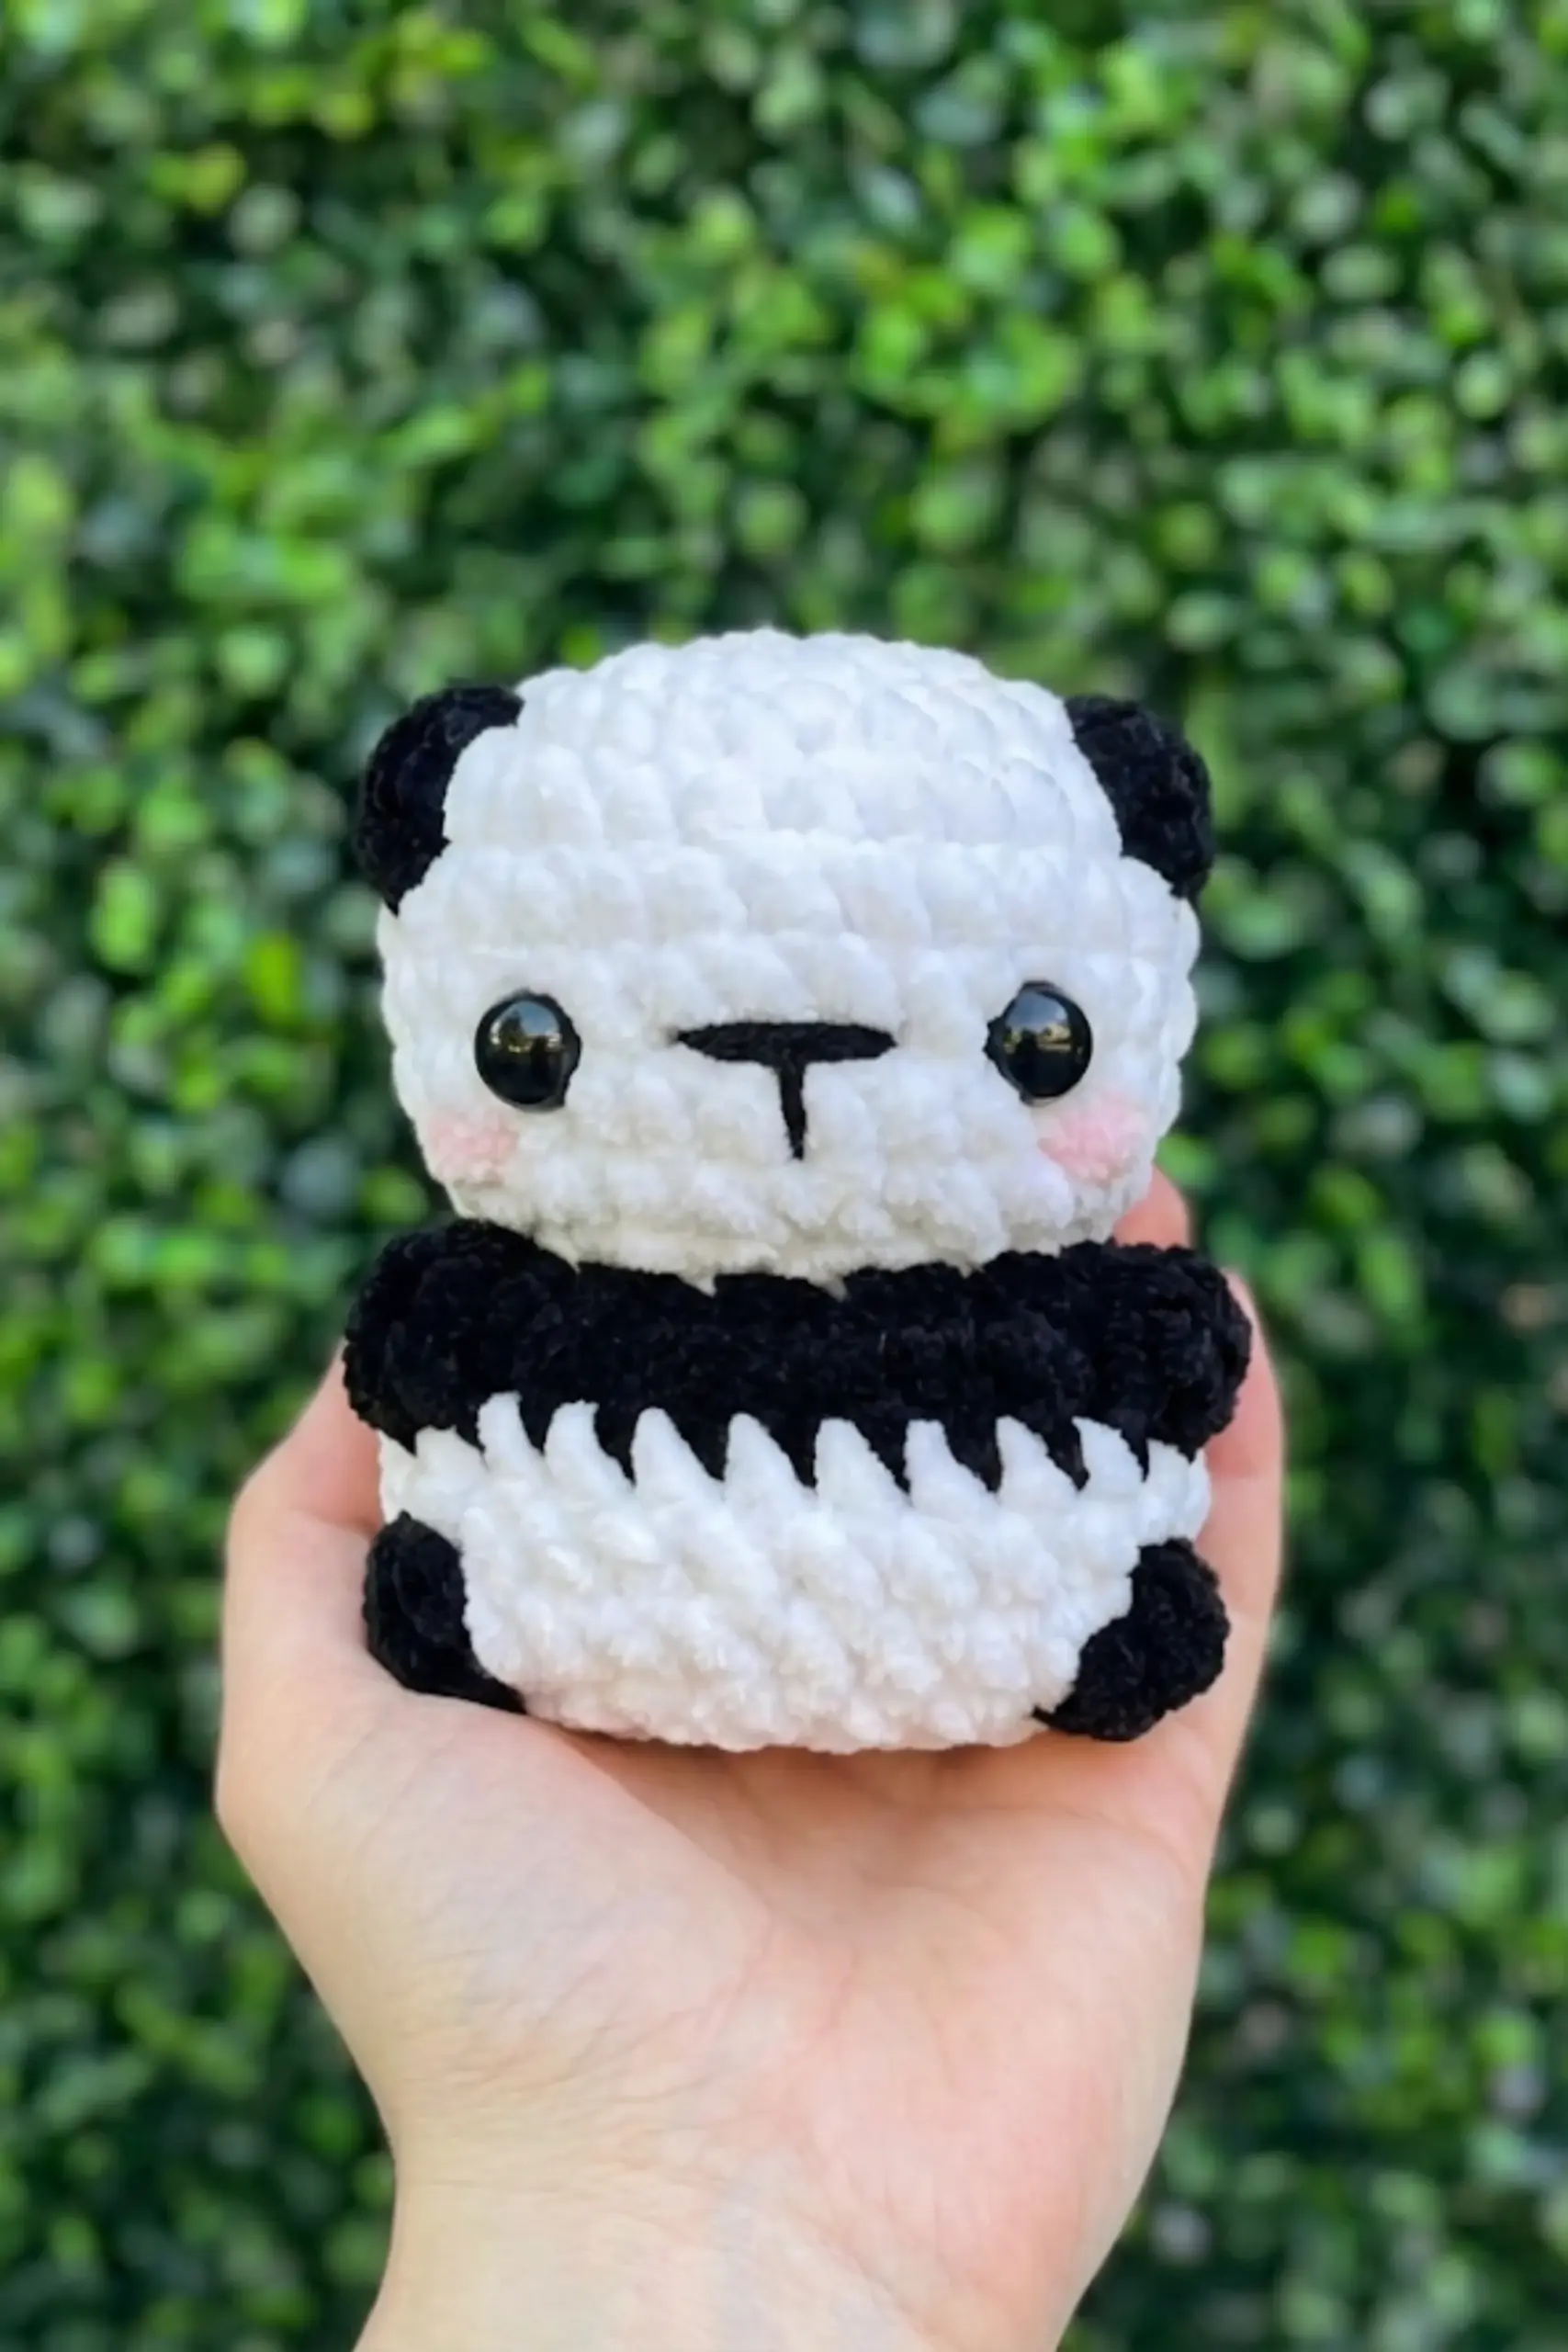
At this point, add safety eyes between rounds 6 and 7. Place them 5 stitches apart using 10mm eyes. Embroider a mouth across 3 stitches between the eyes.
- Round 9: 1 sc, 1 dec, 1 sc x4 (12)
- Round 10: inc around x12 (24) Start stuffing the head
- Round 11: 9 sc, BBL, 8 sc, BBL, 5 sc (24)
- Rounds 12 to 13: sc around (2 rounds) (24)
- Round 14: 10 sc, BBL, 7 sc, BBL, 5 sc (24)
- Round 15: 2 sc, 1 dec x6 (18)
- Round 16: 1 sc, 1 dec x6 (12)
- Round 17: dec x6 (6) Finish stuffing the body
FO and sew hole shut

Important Bobble Stitch Tip
Double check your bobble stitches after each BBL round to ensure they all line up properly. The arm BBLs should directly line up under the ears. You may need to alter the placement slightly due to different tension and yarn weight variations. This attention to detail will give your panda the perfect proportions.
Frequently Asked Questions
A bobble stitch creates a textured bump on your work. For this pattern, you’ll work 5 loops into the same stitch, yarn over, and pull through all loops at once. This creates the panda’s arms and legs.
While this pattern is designed for weight 6 chunky yarn with a 5mm hook, you can adapt it to other yarn weights. Just adjust your hook size accordingly and note that your finished panda will be smaller or larger depending on your yarn choice.
Add the 10mm safety eyes between rounds 6 and 7, placing them 5 stitches apart. It’s crucial to attach them before you finish the head, as you won’t be able to secure them properly once the opening is closed.
After completing each round with bobble stitches, pause to check their alignment. The arm bobbles should line up directly under the ears. If they don’t, you may need to adjust your tension or placement in subsequent rounds to achieve proper positioning.
Finish Your Adorable Panda
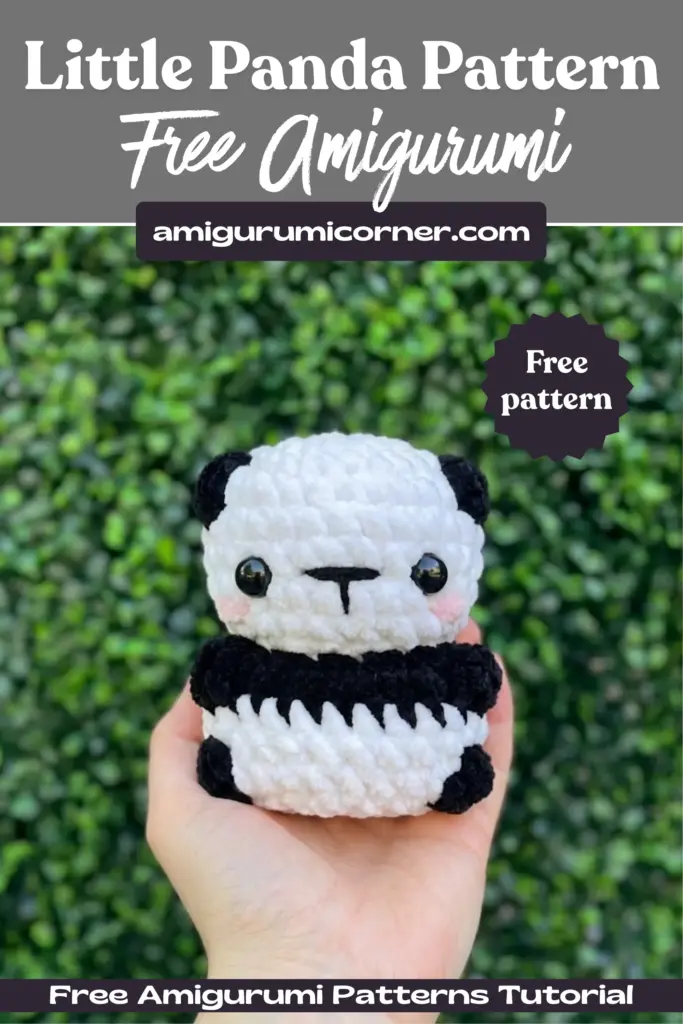
This little panda amigurumi is a delightful project that works up quickly thanks to the chunky yarn. The no-sew construction means you can complete the entire body in one go, making it perfect for gift-giving or adding to your handmade plush collection. Don’t forget to stuff your panda firmly for the best shape, and take your time with the bobble stitches to ensure those cute little arms and legs are perfectly positioned. Happy crocheting!
Remember it later!
Planning to try this soon? Pin it for a quick find later!