Table of contents
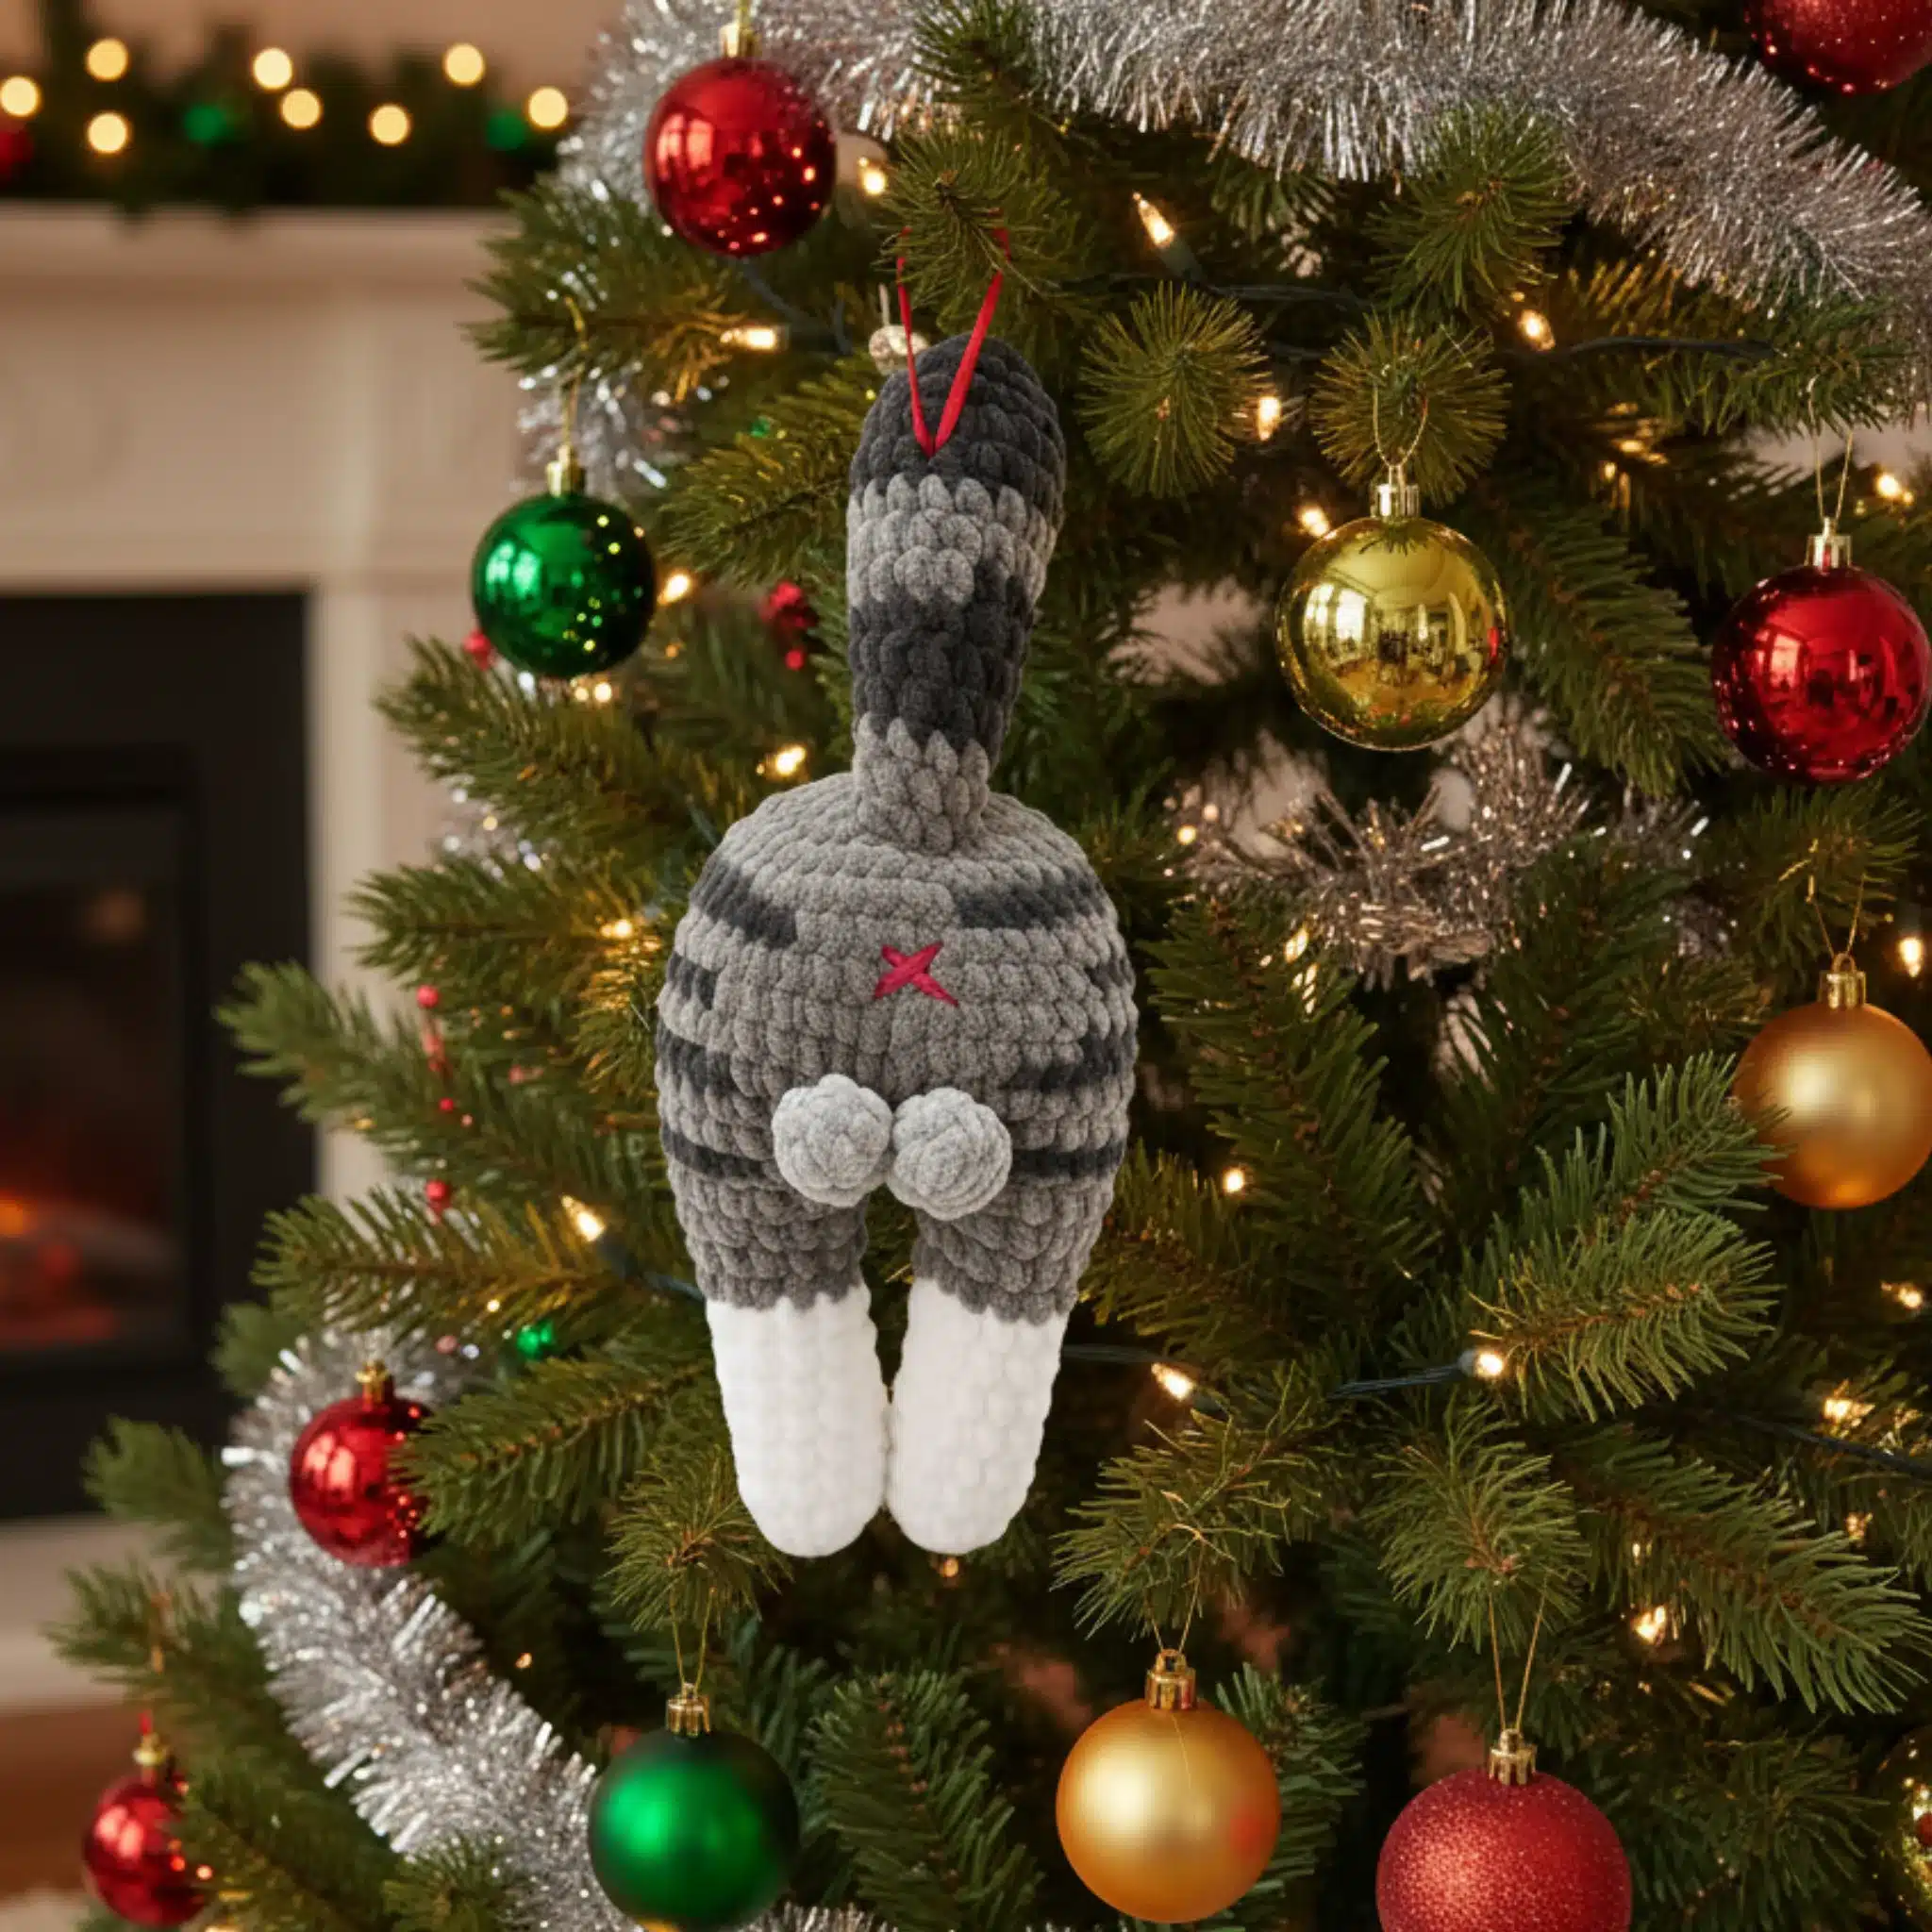
If you’re looking for a quirky, fun, and utterly charming crochet project to brighten up your holiday season, you’ve come to the right place! This delightful amigurumi pattern combines humor with holiday cheer, creating a conversation piece that’s sure to bring smiles to everyone who sees it. Whether you’re an experienced crocheter or looking to expand your amigurumi skills, this guide will walk you through creating your very own Little Christmas Butt.
Remember it later!
Planning to try this soon? Pin it for a quick find later!
What You’ll Need to Get Started
Before diving into this festive project, gather the following materials:
Yarn Requirements:
- Chunky Chenille yarn in White, Beige, and Orange
- Velvet Chenille yarn in Pink (for embroidery details)
Tools and Supplies:
- 5mm crochet hook (or size appropriate for your chosen yarn)
- Stuffing material (fiberfill or polyester stuffing)
- Yarn needle for sewing and embroidery
- Stitch markers or contrasting yarn scraps
The finished project measures approximately 11.8 inches (30 cm) when using the recommended materials, making it the perfect size for display or gifting.

Understanding the Pattern Basics
This pattern uses continuous spiral rounds without joining, which creates a seamless finish perfect for amigurumi. Here are some key techniques you’ll need:
Essential Stitches:
- Magic ring starts
- Single crochet increases and decreases
- Invisible decrease method for smooth shaping
- Color changes for decorative details
Important Tips:
- Place a stitch marker at the beginning of each round to track your progress
- Work in continuous spirals without slip stitching to join rounds
- Keep your tension consistent for even shaping
Crafting the Legs and Body
The construction begins with creating two identical legs, which are then joined to form the body in one continuous piece.
Creating the Legs
Start each leg with a magic ring of 6 single crochet stitches. The legs begin in white yarn and transition to beige, incorporating gradual increases to create proper shaping:
Rounds 1-9: Build the foundation in white, starting with 6 stitches and increasing to 12
Rounds 10-13: Switch to beige yarn and continue increasing to 18 stitches
Make two identical legs, but don’t cut the yarn from the second leg—you’ll use it to continue into the body. Keep your stitch marker in place as it will help you count stitches when joining the legs.
Joining and Building the Body
The body construction involves joining both legs with a chain stitch, then working around both legs to create the main form. This section includes strategic color changes to add visual interest:
- Join the legs with a single chain stitch
- Work around both legs for a total of 38 stitches
- Incorporate orange yarn accents in specific rounds for decorative stripes
- Gradually decrease to shape the top of the body
The body uses a combination of increases and decreases to create the characteristic rounded shape, finishing with careful decreases to close the top.
Adding Character with Details
The Testicles
These small rounded shapes add anatomical accuracy (in a cheeky way!) to your creation:
- Start with a magic ring of 6 stitches in beige
- Increase to 9 stitches, then decrease back to 6
- Position them close together on the body, starting from round 17
Embroidering the Back
This step adds dimension and character to your finished piece:
Creating the Indentation:
Using beige yarn, insert a long needle from the top of the body, emerging between rounds 19 and 20. Pull gently to create a natural-looking indentation, then secure with a knot.
Adding the Pink Detail:
With pink yarn, embroider a small X shape at the indentation point, entering and exiting at specific points to create the characteristic shape.
Crafting the Tail
The tail adds the final festive touch with its alternating orange and beige stripes:
Construction Pattern:
- Begin with 6 stitches in a magic ring using orange yarn
- Increase to 18 stitches over three rounds
- Alternate between orange and beige yarn for a striped effect
- Gradually decrease while stuffing to create a tapered shape
- Finish with 9 stitches and close with a slip stitch
The tail should be firmly stuffed before attaching to maintain its shape and provide stability when the piece is displayed.

Assembly and Finishing Touches
Once all components are complete, careful assembly brings your Little Christmas Butt to life:
- Stuff all pieces firmly but not so tightly that they lose their shape
- Attach the testicles to the body, positioning them carefully for the best visual effect
- Sew the tail securely to the back of the body
- Complete all embroidery details while the piece is fully assembled for proper positioning
- Weave in all yarn ends securely to ensure durability
Tips for Success
Tension Matters: Maintain consistent tension throughout to ensure even stitching and proper shaping. Chenille yarn can be stretchy, so avoid pulling too tightly.
Color Changes: When switching colors, carry the unused yarn along the inside of your work for cleaner color transitions and fewer ends to weave in.
Stuffing Strategy: Stuff as you go, especially in narrower sections like the legs and tail. This prevents difficulty reaching into finished sections.
Personalization Options: Consider adding a small Santa hat, a ribbon bow, or other festive accessories to make your creation uniquely yours.
Why This Pattern is Perfect for the Holidays
This whimsical amigurumi combines humor with craftsmanship, making it an ideal conversation starter for holiday gatherings. It’s a lighthearted project that showcases your crochet skills while bringing joy and laughter to the season. The relatively quick construction time means you can create several as gifts for friends who appreciate quirky, handmade items with personality.
Conclusion
Congratulations on completing your Little Christmas Butt! This charming amigurumi proves that crochet projects can be both skillful and fun. Whether you display it proudly in your home, gift it to a friend with a sense of humor, or add it to your collection of unique handmade creations, this little character is sure to bring smiles wherever it goes.
The beauty of amigurumi lies in transforming simple stitches into three-dimensional characters full of personality. This pattern demonstrates how color changes, strategic shaping, and thoughtful details combine to create something truly special. As you’ve worked through this project, you’ve practiced essential amigurumi techniques that you can apply to countless future creations.
Happy crocheting, and may your holidays be filled with creativity, laughter, and the joy of handmade treasures!


Remember it later!
Planning to try this soon? Pin it for a quick find later!