Table of contents
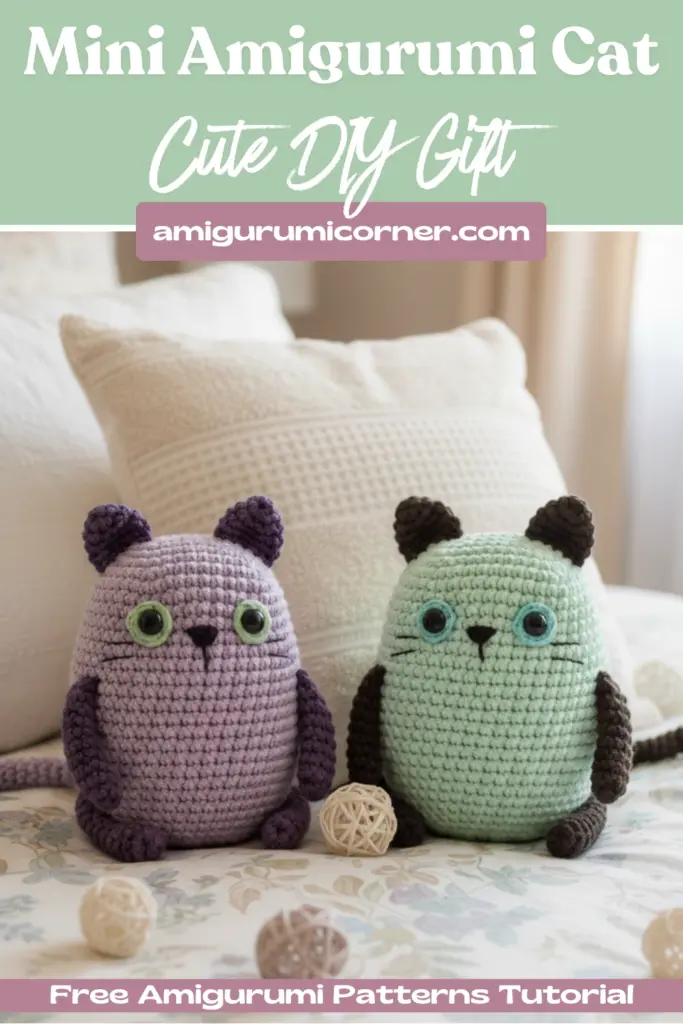
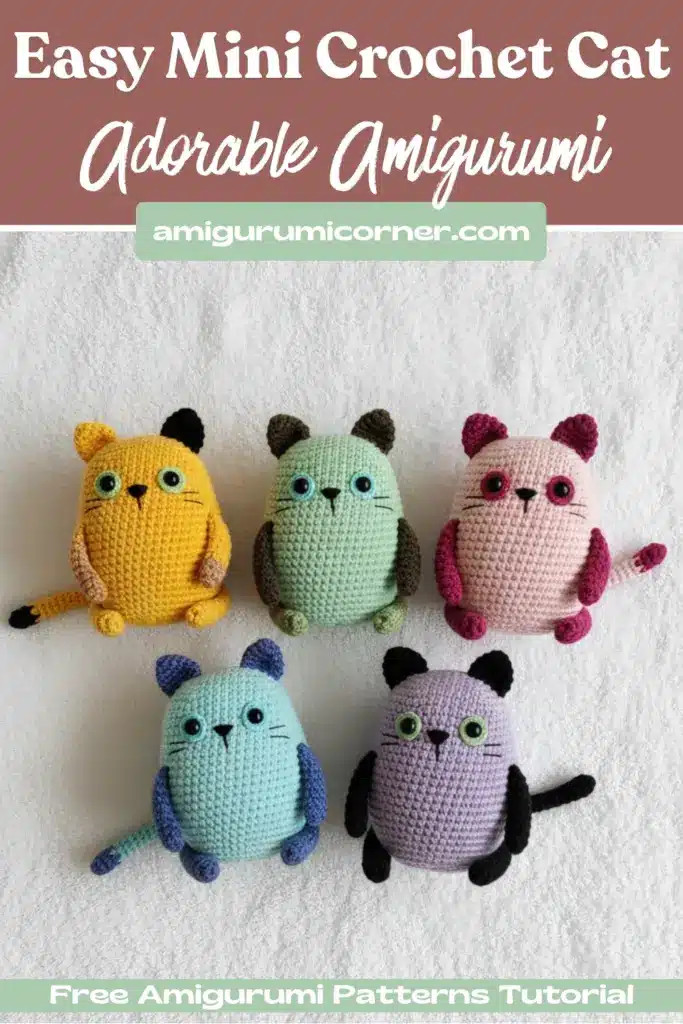
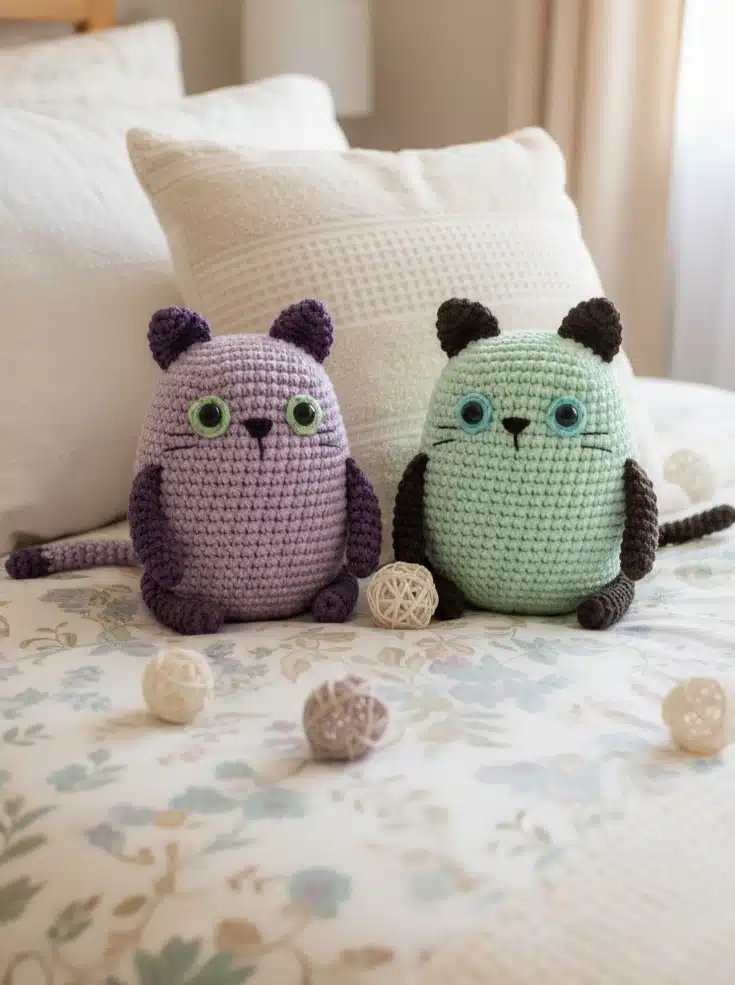
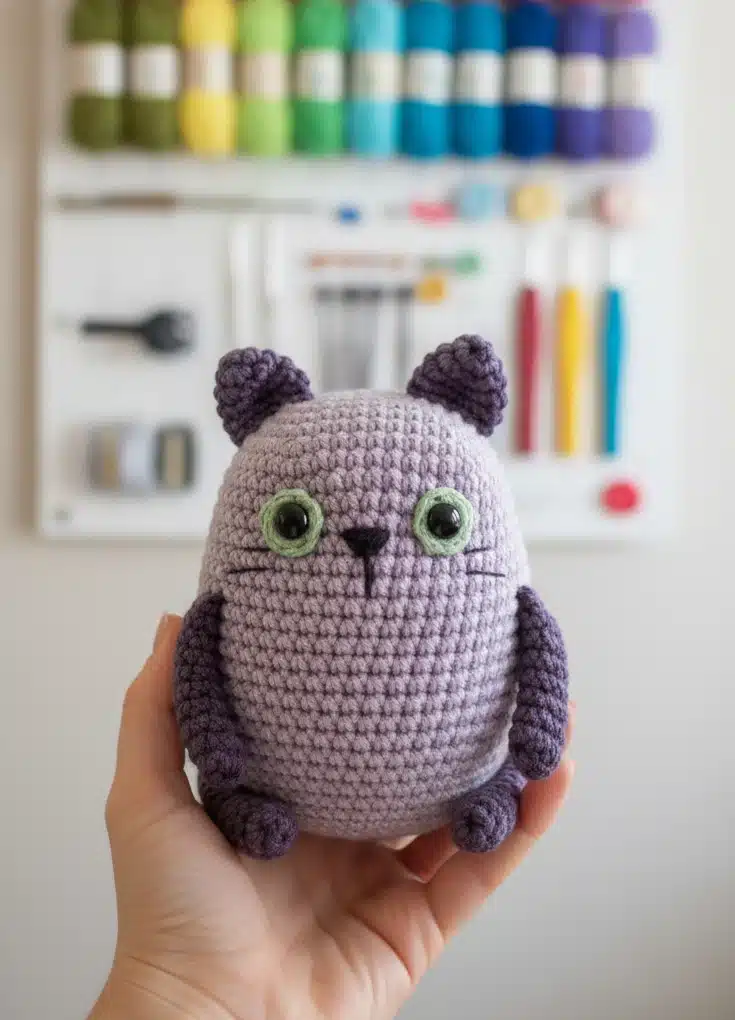
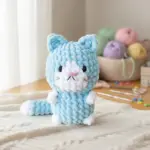
Crochet enthusiasts, prepare to fall in love with the most charming miniature companion you’ll ever create! If you’ve been searching for the perfect small project that combines cuteness with practicality, this delightful little cat amigurumi pattern is exactly what you need. Standing at just 9 centimeters tall, this tiny feline friend is perfectly sized for keychains, desk decorations, or thoughtful handmade gifts.
Remember it later!
Planning to try this soon? Pin it for a quick find later!
Why This Pattern is Perfect for You
This adorable little cat amigurumi has been capturing hearts with its irresistible charm and manageable size. Whether you’re new to amigurumi or an experienced crocheter looking for a quick, satisfying project, this pattern offers the perfect balance of simplicity and detail. The finished cat makes an excellent gift for cat lovers, children, or anyone who appreciates handmade treasures.
Materials and Tools You’ll Need
Yarn Requirements
- 30g of 100% cotton DK yarn (50g/125m) – Vita Cotton Lily works beautifully
- Alternative: Sport yarn like YarnArt Jeans
- Colors: Choose your favorite body color plus a contrasting color for the eyes
Essential Tools
- Crochet hook: Size 1.75mm or 2.0mm (adjust according to your yarn choice)
- Yarn needle and sewing needle
- Embroidery thread for the nose (YarnArt Canarias recommended)
- Fine thread for whiskers
- Safety eyes or button eyes (6mm diameter)
- Black sewing thread for attaching eyes
- Polyester fiberfill for stuffing

Crochet Abbreviations Guide
Before we begin, familiarize yourself with these essential terms:
- MR: Magic Ring
- sc: Single crochet
- inc: Increase
- dec: Decrease
- tr: Treble/Triple crochet
- dc: Double crochet
- hdc: Half double crochet
- sl-st: Slip stitch
- ch: Chain
- FLO/BLO: Front/Back loop only
Step-by-Step Instructions
Creating the Body
The body forms the foundation of your little cat amigurumi and requires careful attention to shaping:
Rounds 1-5: Begin with a foundation chain and work increases to create the distinctive cat body shape. Start with 9 chains, then work increases strategically to form an oval base.
Rounds 6-10: Continue with even rounds to establish the body length, adding strategic increases to accommodate the cat’s natural proportions.
Rounds 11-20: This section focuses on creating the main body bulk with gradual increases to achieve the proper cat silhouette.
Eye Placement: Between rounds 9 and 10, position your safety eyes 7 stitches apart. If using the iris technique, crochet small circles first, insert the safety eyes, then attach to the body.
Rounds 21-32: Begin the decreasing phase to shape the head, stuffing firmly as you work. The final rounds close the opening securely.
Crafting the Extremities
Tail
Create a simple tube starting with 6 single crochets in a magic ring, then work 22 rounds of even stitches for a perfectly proportioned tail.
Arms (Make Two)
Begin with 6 single crochets in a magic ring, increase slightly, then work 7 rounds of even stitches. Flatten and join the sides with 4 single crochets.
Legs (Make Two)
Start similarly to arms but work 6 rounds after the initial increase, then add one more increase round for proper leg shaping.
Ears (Make Two)
These small triangular pieces start with 4 single crochets in a magic ring and increase over 3 rounds to create perfectly pointed cat ears.
Eye Details
For a professional finish, create iris circles using 6 single crochets in a magic ring. These small details add depth and character to your cat’s expression.
Assembly Instructions
Proper assembly brings your little cat amigurumi to life:
- Attach ears at the top of the head
- Sew arms between rounds 14-16 on each side
- Position legs between rounds 23-26 for stability
- Attach the tail at the center back around round 25
- Embroider the nose using 2 stitches for perfect proportion
- Secure eyes between rounds 9-10, maintaining the 7-stitch spacing
- Add whiskers with fine embroidery thread for the finishing touch

Tips for Success
- Maintain consistent tension throughout your work for even stitches
- Stuff gradually rather than waiting until the end
- Use stitch markers to track your rounds accurately
- Take breaks to prevent hand fatigue and maintain stitch quality
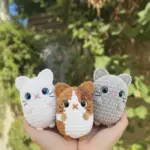
Creative Variations
This versatile little cat amigurumi pattern invites creativity:
- Color combinations: Try tabby stripes, solid colors, or two-tone designs
- Size adjustments: Use different yarn weights for larger or smaller cats
- Accessories: Add tiny collars, bows, or miniature bells
- Expression changes: Adjust eye placement or add embroidered details
Conclusion
This charming little cat amigurumi pattern combines the joy of creating something beautiful with the satisfaction of completing a project in just a few hours. Whether you’re making it as a heartfelt gift or treating yourself to a delightful crafting session, this little feline friend is sure to bring smiles wherever it goes.
The perfect size for keychains means your handmade creation can accompany its new owner on daily adventures, serving as a constant reminder of your thoughtfulness and skill. Start crocheting today and discover why this adorable pattern has become a favorite among crafters worldwide!
Remember it later!
Planning to try this soon? Pin it for a quick find later!