Table of contents
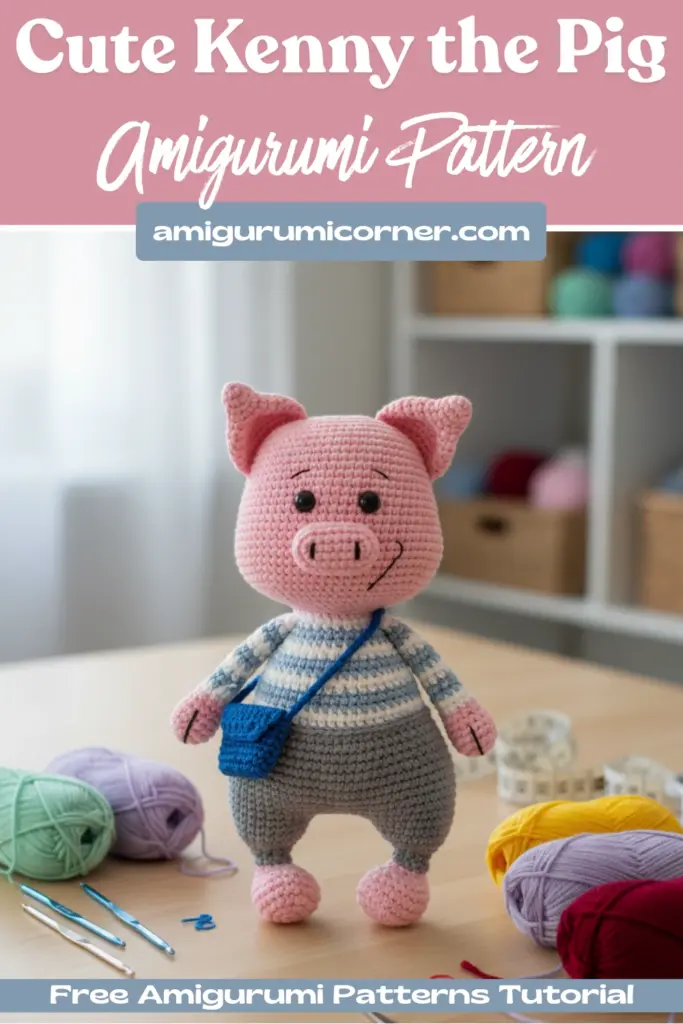
Welcome to the wonderful world of amigurumi! Today, we’re diving into one of the most charming crochet projects you’ll ever encounter – Kenny the Pig. This delightful little character combines impressive facial features with a cute, clothed appearance that will steal your heart from the very first stitch.
Remember it later!
Planning to try this soon? Pin it for a quick find later!
Why This Pig Pattern Stands Out
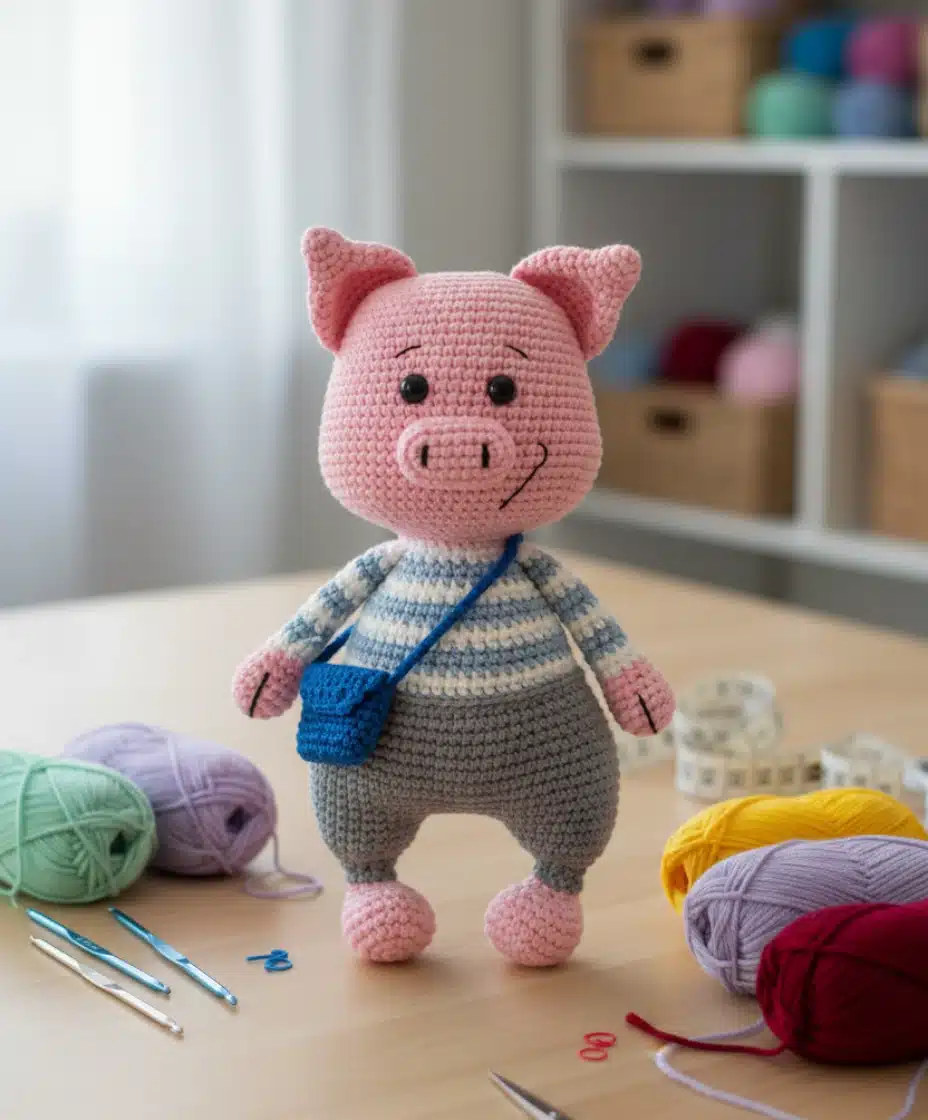
What makes Kenny the Pig amigurumi truly special is his remarkably expressive face and unique design elements. The facial features are crafted with exceptional attention to detail, creating a personality that shines through every stitch. The addition of a small bag accessory gives this amigurumi pig a distinctive, dressed-up look that sets him apart from typical patterns.
The body design creates the illusion of clothing, making Kenny appear as though he’s wearing a stylish outfit. This clever construction technique adds depth and character to the finished piece, resulting in a 20cm tall companion that’s perfect for display or cuddling.
Materials and Tools You’ll Need To Make Kenny the Pig amigurumi
Essential Supplies
- Crochet Hook: 2.0mm size
- Safety Eyes: Two 8mm eyes for that perfect expression
- Stuffing: Polyfill or similar stuffing material
- Scissors: For clean cuts and finishing
Yarn Requirements
- Yarn Art Jeans (50g): Colors 01 and 40
- Alize Cotton Gold Tweed (100g): Color 200
- Gazzal (50g): Color 3453
The finished size will be approximately 20cm when using these specific materials, though the size may vary depending on your yarn choice and tension.
Essential Crochet Abbreviations
Before we begin, familiarize yourself with these key terms:
- sc: Single crochet
- inc: Increase
- dec: Decrease
- tr: Treble/Triple crochet
- dc: Double crochet
- hdc: Half double crochet
- sl-st: Slip stitch
- ch: Chain
- FLO: Front loop only
- BLO: Back loop only
- MR: Magic ring
Special Techniques
Bobble Stitch (BL): Yarn over, insert hook into stitch, pull up a loop. Yarn over again and pull through 2 loops. Repeat in the same stitch until you have 5 loops on your hook, then yarn over and pull through all loops at once.
Reverse Single Crochet: Chain 1, working from left to right, insert hook into next stitch, turn hook left, grab yarn and pull through. Draw up a loop, yarn over, and pull through both loops.
Step-by-Step Construction Guide
Creating the Head
Begin with pink yarn and start with 11 crochet chains. The head construction involves gradual increases to create the perfect pig-shaped profile. Work through rounds 1-32, carefully following the increase and decrease patterns to shape the head properly.
Important: Insert the safety eyes between rounds 19 and 20, spacing them 12 stitches apart for the perfect expression.
Crafting the Ears (Make 2)
Start with a magic ring of 6 single crochets in pink yarn. The ears gradually increase to 24 stitches by round 6, then maintain that count through round 11. These proportions create ears that perfectly complement the head size.
Shaping the Arms (Make 2)
Begin each arm with a magic ring in pink yarn, increasing to 15 stitches by round 3. The arms maintain their shape through strategic decreases, creating natural-looking limbs that attach seamlessly to the body.
Forming the Distinctive Nose
The nose starts with a foundation chain of 7, then builds outward in an oval shape. This technique creates the characteristic pig snout that gives Kenny his adorable appearance. Work carefully through the increases and decreases to maintain the proper shape.
Building the Legs and Body
The legs begin similarly to the arms but incorporate color changes with brown yarn for the “shoe” effect. The body construction is the most complex part, involving connecting the legs and working in the round to create the torso.
The striped pattern in the body uses alternating colors (white and gray) to create Kenny’s distinctive “clothing” appearance. Work through rounds 16-41, following the color changes precisely for the best effect.

Assembly and Finishing Tips
Once all pieces are complete, assembly becomes crucial for achieving the professional look. Here are key points for success:
- Secure Attachment: Use the long tails left from each piece to sew components firmly in place
- Proper Stuffing: Fill each piece firmly but not overly tight to maintain shape
- Even Positioning: Take time to position ears, arms, and nose symmetrically
- Final Details: Ensure safety eyes are secure and facial features are well-defined
Troubleshooting Common Issues
Uneven Stitches: Maintain consistent tension throughout your work for uniform appearance.
Loose Assembly: Use strong thread and double-stitch important joints for durability.
Shape Distortion: Proper stuffing technique prevents sagging and maintains the intended form.

Conclusion
Kenny the Pig represents more than just a crochet pattern – he’s a delightful companion that showcases advanced amigurumi techniques while remaining accessible to dedicated crafters. The combination of detailed facial features, clever construction methods, and charming accessories makes this project both challenging and rewarding.
Whether you’re creating Kenny as a gift or adding him to your own collection, this pattern offers an excellent opportunity to develop your amigurumi skills while crafting something truly special. Take your time with each step, enjoy the process, and prepare to fall in love with your adorable new pig friend!
Remember it later!
Planning to try this soon? Pin it for a quick find later!