Table of contents
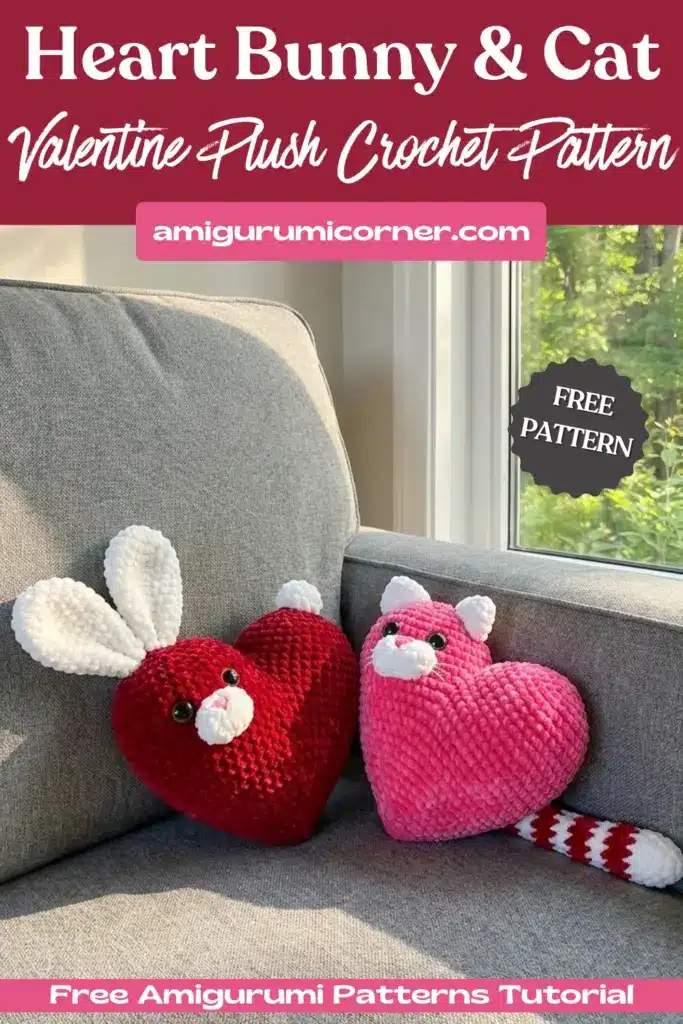
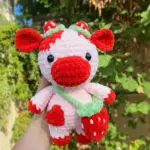
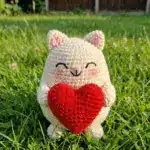
Have you ever wanted to combine two of the most beloved animals into one huggable creation? This valentine heart amigurumi bunny pattern brings together the sweetness of a bunny and the playfulness of a cat in the most unexpected way—shaped as a heart! Using soft, plush yarn, you’ll create a cuddly companion that’s perfect for Valentine’s Day, baby showers, or simply sharing love any day of the year.
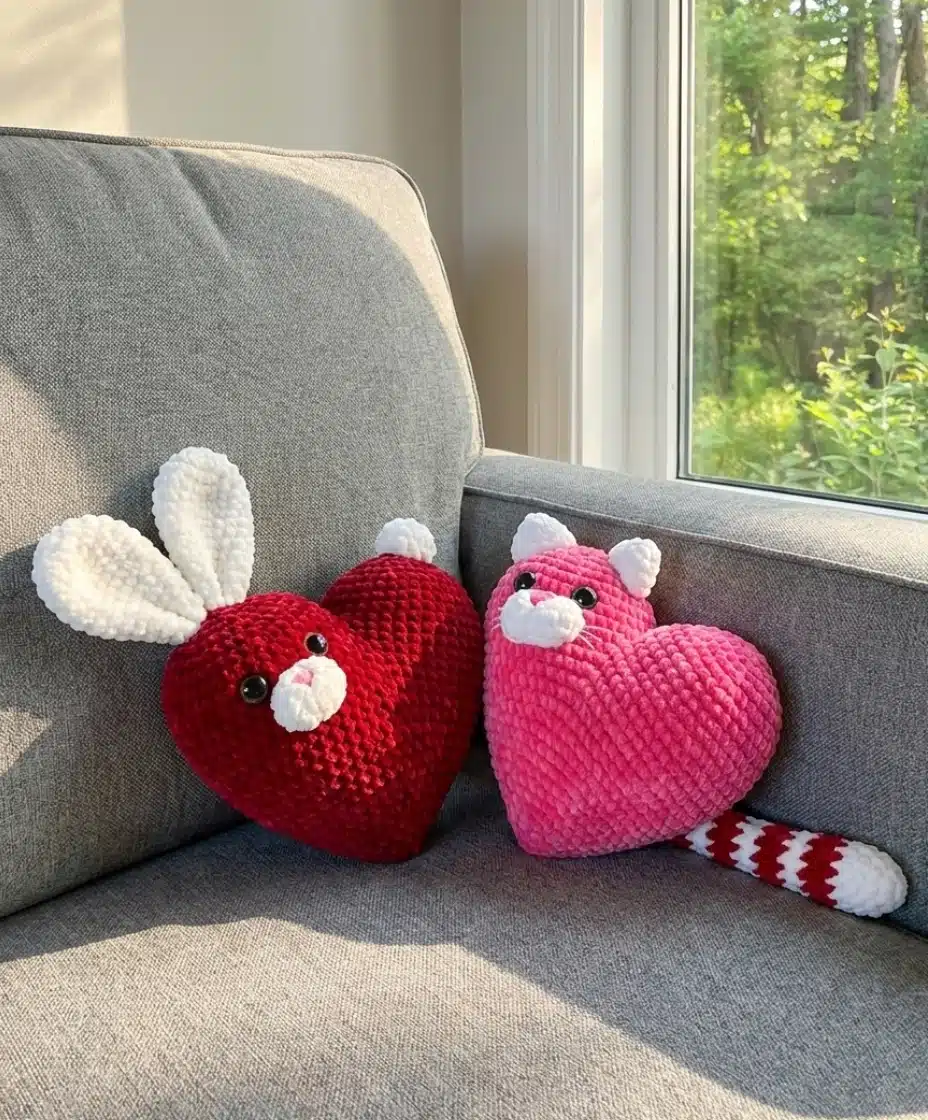
What makes this valentine heart amigurumi bunny pattern truly special is its versatility. You get two complete designs in one: a precious bunny with long ears and a pom-pom tail, or a striped-tail cat with perky triangle ears. Both share the same heart-shaped body, making this an efficient pattern for makers who love creating variations. Whether you’re drawn to floppy bunny ears or elegant cat whiskers, this pattern celebrates your creative choice while delivering maximum cuteness.
Remember it later!
Planning to try this soon? Pin it for a quick find later!
Working with plush yarn creates that irresistibly soft, squishy texture that everyone wants to squeeze. The pattern uses straightforward techniques with clear row-by-row instructions, making it accessible for intermediate crocheters ready to try amigurumi construction. The finished toy stands impressively at 7.5 to 9.8 inches tall, creating a substantial, gift-worthy piece that showcases your handmade skills.
What You’ll Need for Your Valentine Heart Amigurumi Bunny
- Yarn: Himalaya Dolphin Baby plush yarn (100g/120m) or similar plush yarn
- Main color: approximately 70g (92 yards)
- White for muzzle, ears, and tail details
- Optional pink for cat’s striped tail
- Hook: 4.5mm crochet hook
- Safety eyes: One pair, 16mm recommended
- Safety nose: 16mm for Cat, 8mm for Bunny
- Notions: Scissors, darning needle, stitch marker (recommended)
- Stuffing: Fiberfill
- Strong thread: For securely attaching ears and tail (don’t use main yarn)
Finished Size:
- Heart body: 6.3″ × 7″ × 3.5″
- Complete Cat: 7.5″ × 7.9″ × 3.5″
- Complete Bunny: 9.8″ × 7″ × 3.5″
Stitch Abbreviations Used
- Ch – Chain
- SC – Single Crochet
- Inc – Increase (2 SC in one stitch)
- Dec – Invisible Decrease (insert hook into FLO of first stitch without YO, insert hook into FLO of second stitch creating 3 loops on hook, YO and pull through 2 loops leaving 2 loops, YO and pull through remaining 2 loops)
- FLO – Front Loop Only
- MR – Magic Ring
- Sl St – Slip Stitch
- YO – Yarn Over
- (…)×n – Repeat instructions in parentheses n times
- […] – Total stitch count after completing the round/row
Creating Your Heart Body
Pro-Tip: Work in continuous rounds without joining or turning unless instructed. Use a stitch marker in the first stitch of each round to track your progress—this helps immensely with plush yarn!
First Heart Half
Using main color and 4.5mm hook:
- Round 1: MR 6 [6]
- Round 2: 6 Inc [12]
- Round 3: (Inc, 1 SC)×6 [18]
- Round 4: (Inc, 2 SC)×6 [24]
- Round 5: (Inc, 3 SC)×6 [30]
- Round 6: (Inc, 4 SC)×6 [36]
- Round 7: 5 SC, (Inc, 11 SC)×2, Inc, 6 SC [39]
- Round 8: (Inc, 12 SC)×3 [42]
- Round 9: 6 SC, (Inc, 13 SC)×2, Inc, 7 SC [45]
- Round 10: SC around [45]
- Round 11: (Inc, 14 SC)×3 [48]
Remove the loop from the hook and cut yarn, leaving an 8″ tail.
Second Heart Half
Repeat Rounds 1-11 exactly as above. Do not cut the yarn—you’ll continue working with this yarn to join the pieces.
Joining the Heart Halves
- Round 12: This is where the magic happens! Place the open loop from your first piece back on the hook. Position both heart halves together with wrong sides facing each other. Crochet 41 SC around the edge of the first piece, then move to the second piece, skip 7 stitches, and crochet 41 SC around the second piece. [82]
- Round 13: 13 SC, (Dec, 25 SC)×2, Dec, 13 SC [79]
- Round 14: Dec, 24 SC, Dec, 25 SC, Dec, 24 SC [76]
- Round 15: 12 SC, (Dec, 23 SC)×2, Dec, 12 SC [73]
Now is the perfect time to close that joining gap! Using the 8" tail from your first piece, sew the small hole between the two heart halves where they meet. This creates a seamless, professional finish.
- Round 17: 11 SC, (Dec, 21 SC)×2, Dec, 11 SC [67]
- Round 18: 21 SC, (Dec, 20 SC)×2, Dec [64]
- Round 19: 7 SC, Dec, (14 SC, Dec)×3, 7 SC [60]
- Round 20: (13 SC, Dec)×4 [56]
- Round 21: 6 SC, (Dec, 12 SC)×3, Dec, 6 SC [52]
- Round 22: (11 SC, Dec)×4 [48]
- Round 23: 5 SC, Dec, (10 SC, Dec)×3, 5 SC [44]
- Round 24: (9 SC, Dec)×4 [40]
Eye Placement: Position your 16mm safety eyes on Round 10 or 11, spacing them 6 SC apart. Take a moment to play with the placement before securing—this determines your creature’s expression! Once satisfied, secure the backs firmly.
Begin stuffing the heart with fiberfill, adding more as you decrease. You want a plump, huggable heart!
- Round 25: 5 SC, (Dec, 8 SC)×3, Dec, 3 SC [36]
- Round 26: (4 SC, Dec)×6 [30]
- Round 27: (3 SC, Dec)×6 [24]
- Round 28: 2 SC, (Dec, 4 SC)×3, Dec, 2 SC [20]
- Round 29: (3 SC, Dec)×4 [16]
- Round 30: (2 SC, Dec)×4 [12]
- Round 31: (1 SC, Dec)×4 [8]
- Round 32: (2 SC, Dec)×2 [6]
Fasten off and weave in the end securely. Your heart body is complete!
Pattern For Valentine Heart Amigurumi Bunny Features

Bunny Muzzle
Using white yarn and 4.5mm hook, you’ll create an oval shape by working on both sides of a foundation chain.
- Round 1: Ch 5. Starting in the 2nd chain from hook: 1 Inc, 2 SC, work 3 SC in the last chain, continue along the opposite side of the chain with 3 SC [10]
- Round 2: 2 Inc, 2 SC, 3 Inc, 2 SC, Inc [16]
Slip stitch and fasten off, leaving a tail for sewing.
Attach the 8mm safety nose between Rounds 1 and 2, centering it on the muzzle.
Bunny Ears (make 2)
Using white yarn and 4.5mm hook:
- Round 1: MR 6 [6]
- Round 2: 6 Inc [12]
- Round 3: (1 SC, Inc)×6 [18]
- Round 4: (8 SC, Inc)×2 [20]
- Rounds 5-6: SC around (2 rounds) [20]
- Round 7: (Dec, 8 SC)×2 [18]
- Round 8: SC around [18]
- Round 9: (Dec, 7 SC)×2 [16]
- Rounds 10-11: SC around (2 rounds) [16]
- Round 12: (Dec, 6 SC)×2 [14]
- Rounds 13-14: SC around (2 rounds) [14]
Do not stuff the ears—they should be soft and floppy!
- Round 15: Fold the ear flat and crochet through both layers at once, working 7 SC across [7]
Fasten off and hide the end. Make a second ear.
Bunny Tail
This adorable pom-pom tail adds the perfect finishing touch!
Using white yarn and 4.5mm hook:
- Round 1: MR 6 [6]
- Round 2: 6 Inc [12]
- Rounds 3-4: SC around (2 rounds) [12]
Stuff lightly with fiberfill.
- Round 5: 6 Dec [6]
Fasten off, leaving a tail for sewing, and hide the end inside.
Pattern for Heart Cat Features

Cat Tail
This charming striped tail uses color changes to create personality! Start with white yarn and 4.5mm hook.
- Round 1: MR 6 [6]
- Round 2: 6 Inc [12]
- Rounds 3-5: SC around (3 rounds) [12]
- Round 6: Change to pink. 12 SC [12]
- Round 7: SC around [12]
- Round 8: Change to white. 12 SC [12]
- Round 9: SC around [12]
- Round 10: Change to pink. 12 SC [12]
- Round 11: (4 SC, Dec)×2 [10]
Stuff this section of the tail with fiberfill. The remaining tail length should stay unstuffed for a natural drape.
- Round 12: Change to white. 10 SC [10]
- Round 13: SC around [10]
- Round 14: Change to pink. 10 SC [10]
- Round 15: (3 SC, Dec)×2 [8]
- Round 16: Change to white. 8 SC [8]
- Round 17: SC around [8]
- Round 18: Change to pink. 8 SC [8]
- Round 19: SC around [8]
- Round 20: Change to white. 8 SC [8]
- Round 21: SC around [8]
- Round 22: Change to pink. 8 SC [8]
- Round 23: SC around [8]
- Round 24: Change to white. 8 SC [8]
- Round 25: SC around [8]
- Round 26: Change to pink. 8 SC [8]
- Round 27: SC around [8]
- Round 28: Change to white. 8 SC [8]
- Round 29: SC around [8]
- Round 30: Fold the tail flat and crochet through both layers at once, working 4 SC across [4]
Fasten off and hide the end.
Cat Ears (make 2)
Using white yarn and 4.5mm hook:
- Round 1: MR 6 [6]
- Round 2: (1 SC, Inc)×3 [9]
- Round 3: (2 SC, Inc)×3 [12]
- Round 4: (3 SC, Inc)×3 [15]
- Round 5: Short row. 6 SC, Sl St [7]
This creates the triangular cat ear shape. Fasten off and hide the end. Make a second ear.
The front view shows the smooth side, while the back view shows where the short row creates the pointed shape.
Cat Muzzle
Using white yarn and 4.5mm hook, create an oval by working on both sides of a foundation chain.
- Round 1: Ch 6. Starting in the 2nd chain from hook: 1 Inc, 3 SC, work 3 SC in the last chain, continue along the opposite side with 4 SC [12]
- Round 2: 2 Inc, 3 SC, 3 Inc, 3 SC, Inc [18]
- Round 3: 17 SC, Sl St [18]
Fasten off, leaving a tail for sewing.
Attach the 16mm safety nose between Rounds 2 and 3, centering it on the muzzle.
Putting It All Together
Now comes the rewarding part watching your heart creature come to life!
Attaching the Muzzle
For the Cat: Position the muzzle at Rounds 12-15 of the heart body. Pin in place and add light fiberfill stuffing before sewing completely closed. Use strong thread (not your plush yarn) for secure attachment.
Want to add character? Insert your needle under the nose and bring it out below the muzzle, then pull gently to create a subtle indent. Secure the thread inside the head. Embroider whiskers using black embroidery thread or thin yarn three whiskers on each side creates the classic look.
For the Bunny: Position the muzzle at Rounds 11-14 of the heart body. Sew in place with strong thread. The bunny muzzle sits slightly higher than the cat’s for that sweet bunny expression.
Attaching the Ears
For the Cat: The ears have a distinct front and back (refer to the photos in the pattern). Position the ears where they look best to you ears slightly to the sides create a playful look, while closer-set ears give a more alert expression. Sew securely using strong thread.
For the Bunny: Fold the bottom edge of each ear in half before sewing to create that characteristic bunny ear shape. Position them high on the head, and don’t worry about making them perfectly symmetrical slightly wonky ears add charm! Sew securely with strong thread.
Attaching the Tail
For the Cat: Sew the striped tail to the back of the heart at Rounds 7-8. Position it slightly to one side rather than dead center for a more natural look. The tail will curve beautifully thanks to the unstuffed length.
For the Bunny: Attach the pom-pom tail to the back at Rounds 1-2, near the bottom point of the heart. Center this one for the classic bunny look.
Valentine Heart Amigurumi Bunny Frequently Asked Questions
Absolutely! Using worsted weight yarn with a 3.5mm or 4mm hook will create a smaller, firmer toy with more stitch definition. Your finished heart will be approximately 30-40% smaller. Plush yarn gives that ultra-soft, cuddly texture, but standard yarn works beautifully and shows off your stitches more clearly.
Most intermediate crocheters complete the heart body in 3-4 hours and the features (ears, tail, muzzle) in another 1-2 hours. The cat version is faster than the bunny due to the shorter ears. Assembly typically takes 30-45 minutes. Plan on a relaxed weekend project or several enjoyable evenings of stitching.
The secret is consistent tension and careful stitch counting. When you join the pieces in Round 12, take your time positioning them so the shapes mirror each other. Using a stitch marker religiously helps track your rounds. If one half looks slightly different, don’t stress—once they’re joined and stuffed, minor differences become invisible in the plush yarn texture.
Plush yarn, while wonderfully soft, isn’t as strong as regular thread for structural attachment points. The ears and tail experience pulling and handling during play, so using strong thread (like upholstery thread or buttonhole thread) ensures they stay securely attached. This is especially important for toys given to children.
Make It Your Own!
Your heart-shaped companion is now complete and ready to spread joy! Whether you chose the sweet bunny or the playful cat, you’ve created something truly special. The beauty of this valentine heart amigurumi bunny pattern is its versatility make one of each, or create a whole family in different colors.
These make exceptional gifts for Valentine’s Day, baby showers, or simply as heartfelt “thinking of you” presents. The heart shape adds symbolic meaning while the adorable animal features bring personality and playfulness.
Consider experimenting with color combinations a pink heart with white features, a rainbow ombré effect, or traditional animal colors all work beautifully. Some makers add embroidered details like closed eyes for a sleeping look or rosy cheeks with pink embroidery thread.
Happy stitching, and may your heart creature bring smiles wherever it goes!
Remember it later!
Planning to try this soon? Pin it for a quick find later!