Table of contents
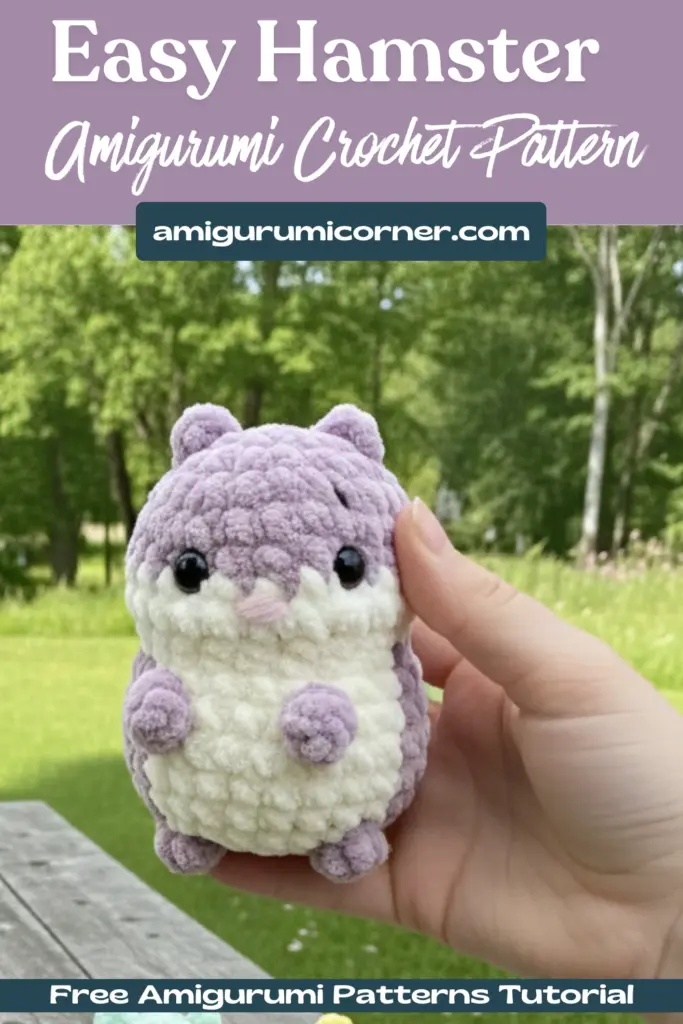
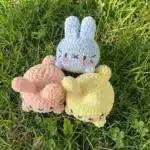
Looking for an irresistibly cute amigurumi project? This crochet hamster pattern creates an adorable 3.1-inch plush friend that’s perfect for beginners and experienced crafters alike. With its chubby cheeks, tiny paws, and sweet expression, this little hamster makes a wonderful gift or charming addition to your handmade toy collection.
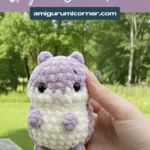
Remember it later!
Planning to try this soon? Pin it for a quick find later!
What Makes This Pattern Special
This crochet Hamster Pattern Amigurumi is worked in continuous spirals using two contrasting yarn colors to create a realistic color pattern. The finished toy stands approximately 3.1 inches (8 cm) tall without ears when made with the recommended materials. What sets this pattern apart is the detailed facial sculpting technique that gives your hamster those adorable puffy cheeks and expressive features.
Materials You’ll Need
Before you begin, gather these supplies:
- Himalaya Dolphin Baby yarn (or similar plush yarn) in two colors: one dark, one light
- Black cotton yarn for facial features and sculpting (Iris yarn recommended)
- 4.5 mm crochet hook (or size appropriate for your yarn)
- Two 8mm safety eyes (or eye beads of your choice)
- Polyester fiberfill stuffing
- Stitch marker or contrasting scrap yarn
- Tapestry needle for assembly
- Keychain hardware (optional)

Understanding the Abbreviations
Familiarize yourself with these standard US crochet terms:
- ch – chain
- sc – single crochet
- DC – double crochet
- inc – increase (two single crochet in one stitch)
- dec – decrease (two single crochet together)
- (….) × 6 times – repeat the instructions within parentheses
- (12) – total number of single crochet stitches in the round
- Sl st – slip stitch
Important Technique: Color Changes
This pattern requires smooth color transitions between your dark and light yarn. Here’s the proper technique:
When changing colors, begin your single crochet stitch normally, but complete it with the new yarn color by pulling the new color through the final two loops. This keeps the stitch in the old color while the working loop becomes the new color, allowing you to start the next stitch cleanly with the new yarn. This method prevents the color change from showing at the base of stitches.
Pattern Instructions
Paws (Make 4)
Leave a 3.9-inch yarn tail before beginning.
Chain 3, and start crocheting in the second chain from hook: 2 sc.
Fasten off and break yarn. Set aside all four paws.
Head and Body (Worked as One Piece)
Start crocheting with dark yarn color.
Chain 2, and start crocheting in the second chain from hook 6 sc
- Round 2: 3 inc, 1sc
- Chain 2, and start crocheting in the second chain from hook 1 sc (the first ear),
- 1sc (we finished the fourth increase),
- 2 inc, chain 2, and start crocheting in the second chain from hook 1sc (the second ear) (12)
Do not close the second ear and continue crocheting the third round. The first ear is placed in the middle of the fourth increase and the second ear is after the sixth increase.
- Round 3: (1sc, inc)*6 (18)
- Round 4: 18sc (18)
- Round 5: (3inc, 6sc)*2 (24)
- Round 6: 24sc (24)
- Rounds 7-8: (2 rounds) dark: 2sc, light: 12sc, dark: 10sc (24)
Start changing the yarn colors from round 7. If you use safety eyes, install them between rounds 6 and 7 with a distance of 6 sc between eye points. The eye positions are easy to mark—they’re placed on the border where dark and light colors meet. Count 3 sc from the light border toward the center.
- Round 9: dark: dec, light: 2dec, 6sc, dec, dark: 2dec, 6sc (18)
- Round 10: dark: 2sc, light: inc, (2sc, inc)*2, dark: (2sc, inc)*3 (18)
- Round 11: dark: 2sc, light: 1sc, inc, 5sc, inc, 2sc, dark: 3sc, inc, 5sc, inc, 2sc (28)
- Rounds 12-15: (4 rounds) dark: 2sc, light: 12sc, dark: 14sc (28)
Facial Sculpting and Details
After completing round 15, it’s time to add personality to your hamster. This is a crucial step that brings your creation to life.
Stuffing and Shaping:
Stuff the head gently, carefully shaping the cheeks as you go. Don’t overstuff—you want soft, natural-looking cheeks.
Eye Socket Sculpting:
Use a long double strand of black Iris yarn threaded through your tapestry needle.
- Insert the needle in the middle of the bottom under the muzzle (between rounds 9 and 10) and draw it out under the left eye on the outer side. Insert the needle under the same eye on the outer side and draw out under the right eye on the inner side. Insert the needle under the same eye and draw out under the muzzle at the same level, skipping 1 sc from the initial point. Tighten the two yarn tails gently and tie a secure knot. Do not break yarn. Add more stuffing to the cheeks if needed.
Creating the Muzzle Strip:
Insert the needle in the center of the muzzle (between rounds 7 and 8) and draw out under the muzzle at the knot point. Tighten gently and tie a knot. Do not break yarn.
Embroidering Eyebrows:
Insert the needle under the muzzle at the knot point. Embroider the eyebrows to your desired expression. Draw out the yarn under the muzzle, tie a knot, and hide the yarn tails inside the body.
Adding the Nose:
Embroider the nose with pink plush yarn. Insert the needle and draw it out at the bottom of the head to secure.
Attaching the Paws
- Round 12 (Paw Attachment):
- Insert the paws in round 12 by grabbing the yarn tails with your crochet hook and pulling them inside the body. Tie tight knots as close to the body as possible to ensure secure attachment.
Continue crocheting the body pattern.

Adding the Tail and Finishing
- Round 16: dark: 2sc, light: dec, (2sc, dec)*2, 2sc, dark: dec, 2sc, dec, 2sc,
- Chain 2, and start crocheting in the second chain from hook 1sc (tail),
- dec, 2sc, dec (21)
The tail should be positioned in the center of the back. Make shift stitches if needed to center it properly. Break light yarn color and fasten off, continuing with dark yarn only.
- Round 17: (1sc, dec)*7 (14)
Insert the front paws between rounds 16 and 17 using the same technique as before.
Stuff the body firmly with fiberfill, ensuring even distribution.
- Round 18: 7 dec (6)
Complete the stuffing, making sure the hamster has a nice, plump shape.
Tighten the remaining hole with a tapestry needle, weave in all ends securely, and break yarn.
Your adorable crochet hamster is now complete!
Frequently Asked Questions
The pattern creates a hamster approximately 3.1 inches (8 cm) tall with Himalaya Dolphin Baby yarn and a 4.5mm hook. If you use thinner yarn with a smaller hook, your hamster will be smaller; thicker yarn with a larger hook will create a bigger toy. Always use a hook size appropriate for your chosen yarn weight.
Absolutely! You can crochet the entire hamster in a single color if you prefer. Simply follow the stitch counts in each round and ignore the dark/light yarn color designations. The hamster will still be adorable, just with a solid color appearance instead of the two-tone pattern.
Install safety eyes between rounds 6 and 7, with 6 single crochet stitches between the eye points. The eyes should be positioned at the border where the dark and light yarn colors meet, counting 3 sc from the light color border toward the center. It’s important to attach them before completing the head so you can secure the backing properly.
This pattern is beginner-friendly if you’re comfortable with basic crochet stitches including single crochet, increases, and decreases. The color changes and facial sculpting add intermediate-level techniques, but the pattern provides detailed instructions for each step. Take your time with the sculpting section to achieve the best results.
Bring Your Hamster to Life
Congratulations on creating your very own crochet Hamster Pattern Amigurumi ! This charming little companion showcases the beauty of amigurumi crafting and demonstrates how simple stitches combined with thoughtful details can create an expressive, personality-filled toy. Whether you’re making this hamster as a gift for a loved one or adding to your own collection, the joy of handmade crafts shines through in every stitch.
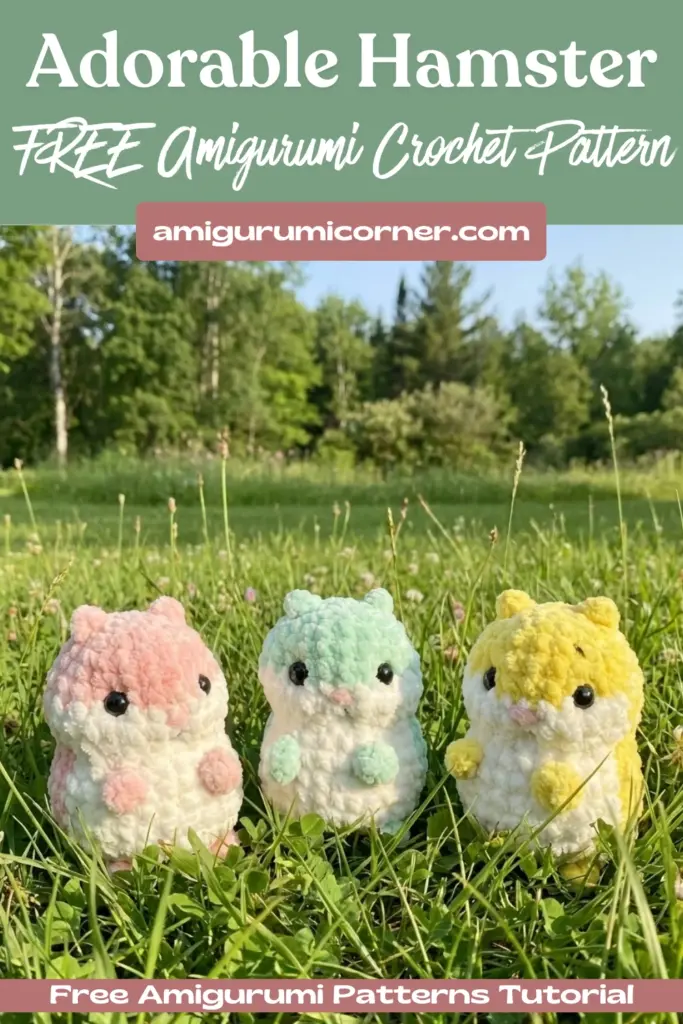
Don’t forget to experiment with different yarn colors to create unique hamster variations—try brown and cream, gray and white, or even fun fantasy colors! Share your finished hamsters with fellow crafters and inspire others to pick up their hooks and create their own adorable amigurumi friends.
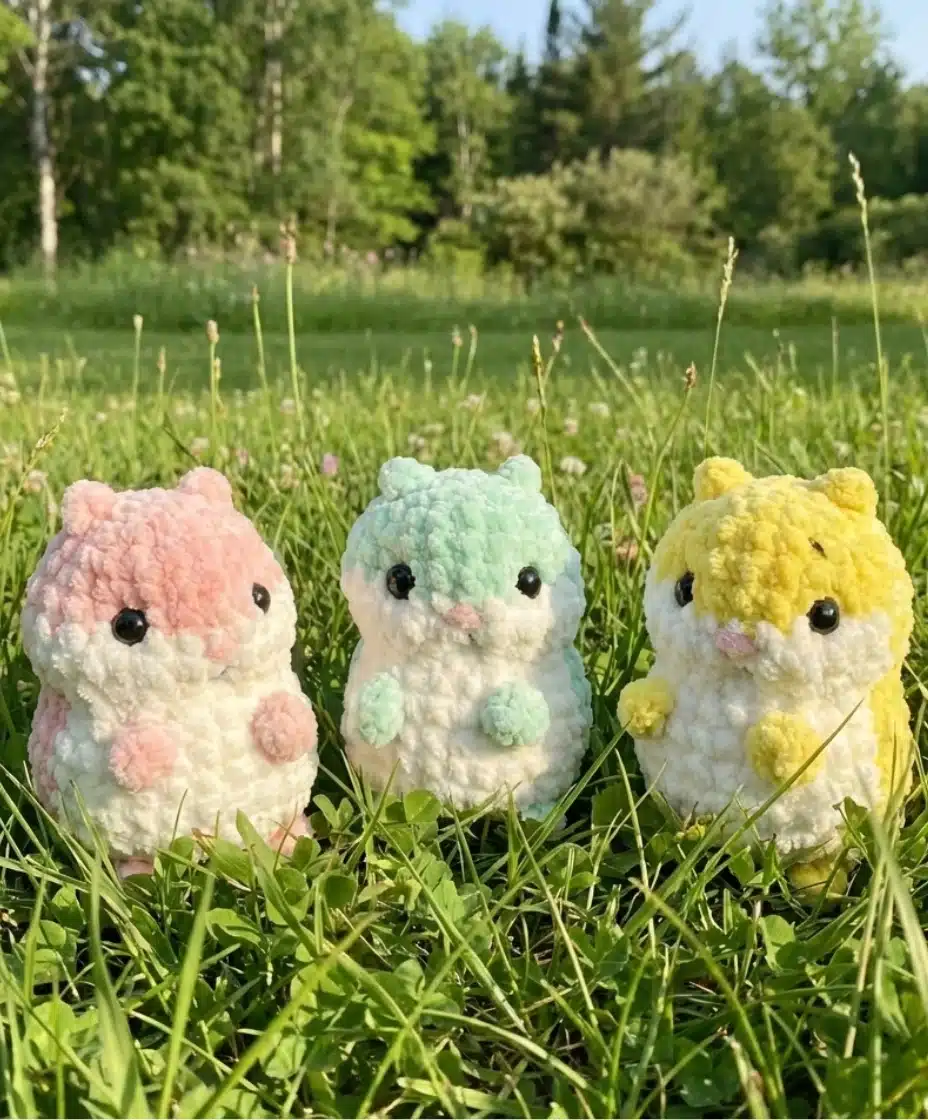
Remember it later!
Planning to try this soon? Pin it for a quick find later!