Table of contents
- What You’ll Need to Get Started
- Essential Crochet Techniques
- Creating the Fox Head: The Foundation
- Building the Body
- Crafting the Adorable Muzzle
- Shaping the Distinctive Ears
- Creating Sturdy Legs
- Constructing Charming Little Hands
- Designing the Magnificent Tail
- Adding Expressive Eye Details
- Creating an Optional Heart Accent
- Final Assembly Tips
- Troubleshooting Common Issues
- Caring for Your Finished Fox
- Conclusion: Your New Furry Friend Awaits
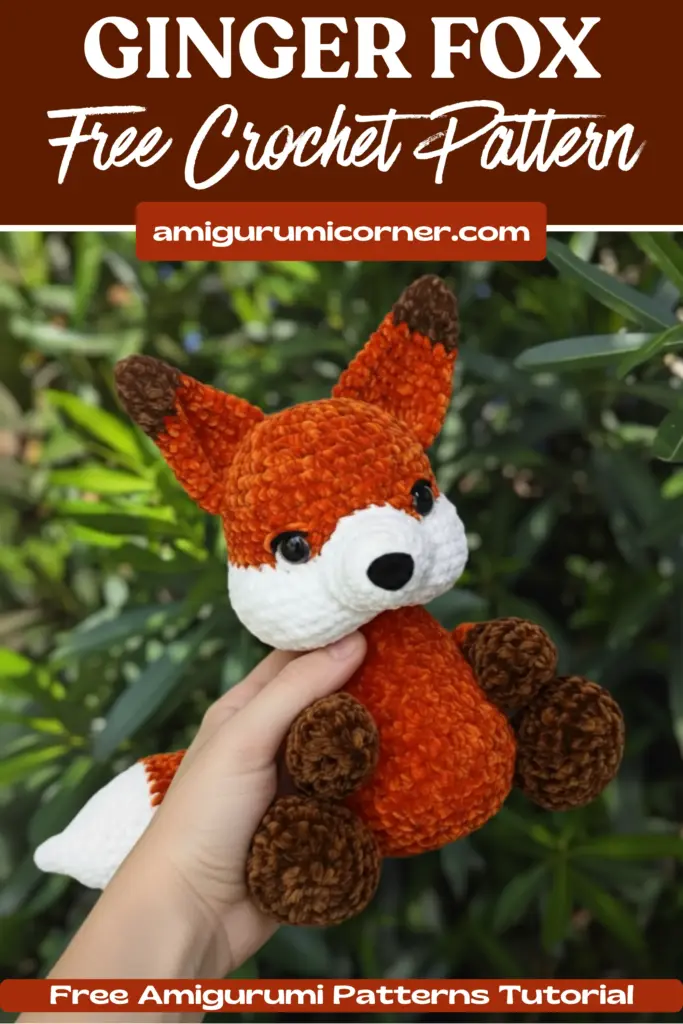
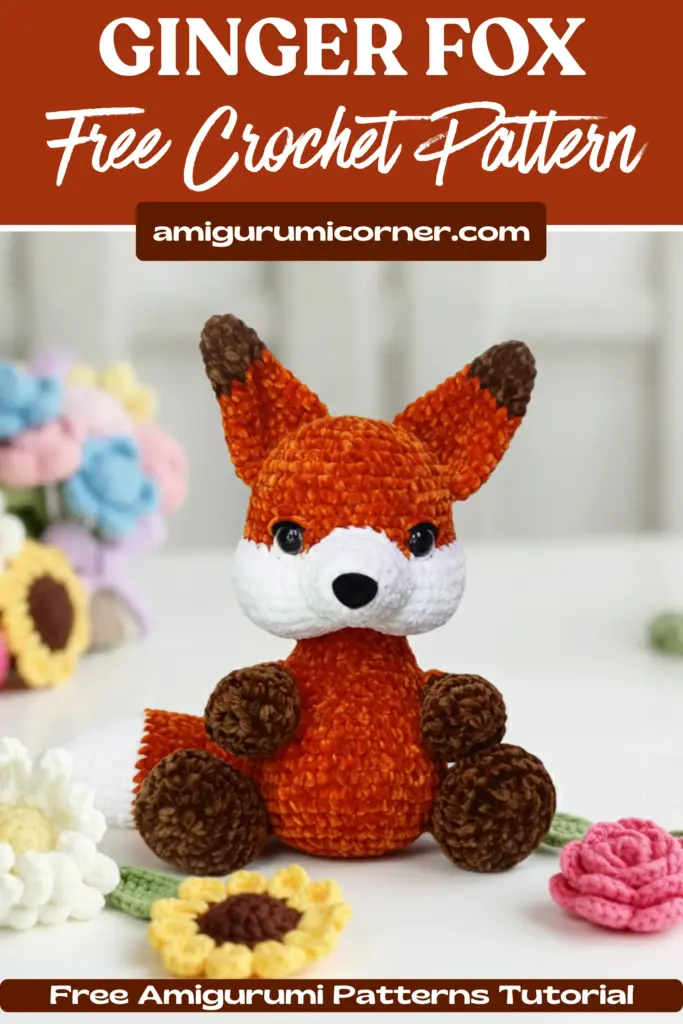
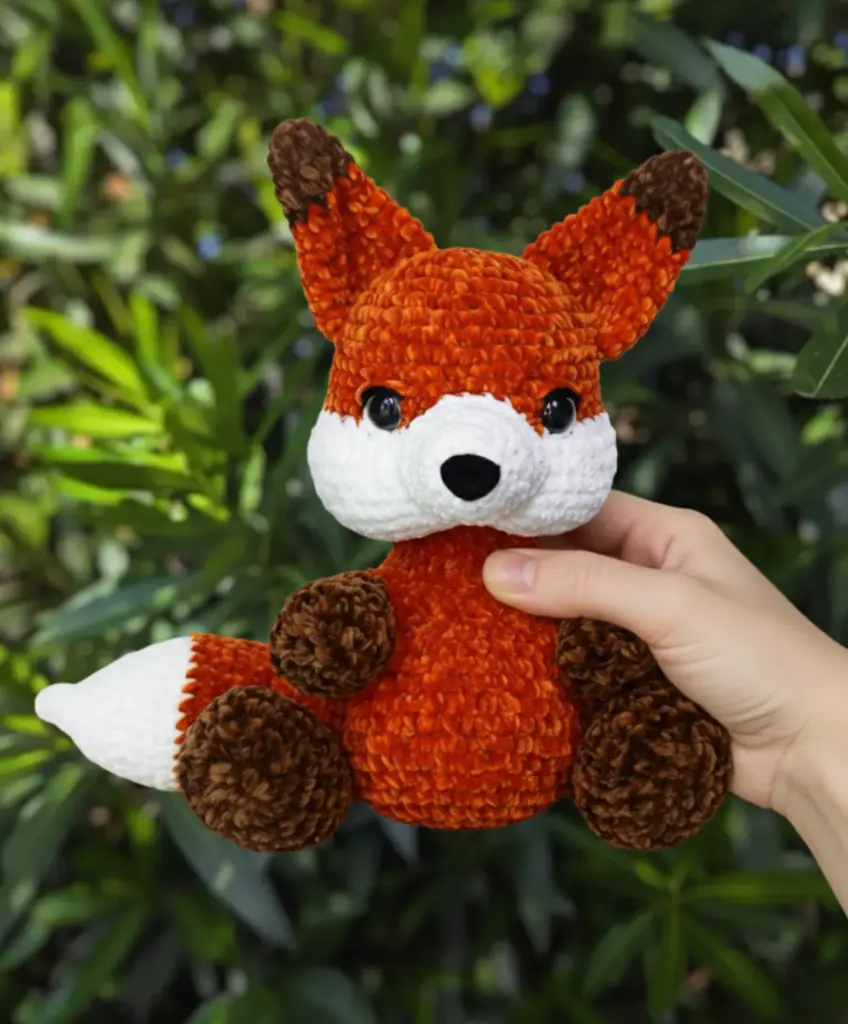
If you’ve been searching for the perfect amigurumi project that combines charm, creativity, and just the right amount of challenge, look no further than this delightful ginger fox pattern. This comprehensive guide will walk you through every step of creating your very own cuddly fox friend, complete with expressive eyes, a sweet muzzle, and an adorable fluffy tail.
Remember it later!
What You’ll Need to Get Started
Before diving into this project, gather these essential materials:
Yarn Requirements
- Velvet Chenille yarn in reddish orange (main body color)
- Brown for paws and ear details
- White for the muzzle, chest marking, and tail tip
- Light pink (thinner weight) for the optional heart accent
- Black and white cotton yarn for embroidering eye details
Tools and Notions
- 4.5mm crochet hook (or size appropriate for your yarn weight)
- 3.5mm crochet hook (for the heart detail)
- Two 12mm (0.47 inch) safety eyes
- One 20mm (0.78 inch) safety nose
- Polyester fiberfill or stuffing material
- Stitch markers or contrasting yarn scraps
- Tapestry needle for sewing
- Pins for positioning pieces
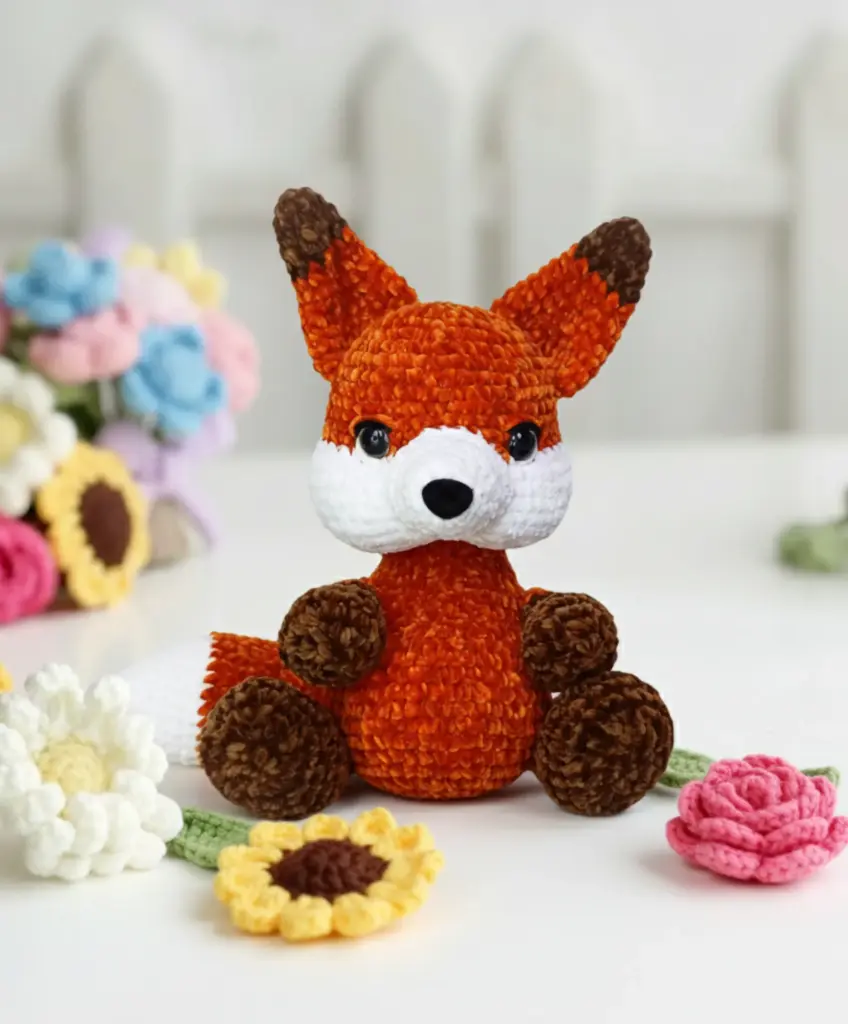
The finished fox measures approximately 9.8 inches (25 cm) when using the recommended hook and yarn.

Essential Crochet Techniques
This pattern uses continuous spiral rounds without joining, so placing a marker at the beginning of each round is crucial for tracking your progress. You’ll primarily work with:
- Magic ring starts for seamless beginnings
- Invisible decreases for smooth shaping
- Color changes for the distinctive fox markings
- Basic stitches: single crochet, increases, and decreases
Creating the Fox Head: The Foundation
The head showcases the fox’s charming personality with its distinctive white facial marking. Begin with a magic ring of 8 single crochet stitches, then gradually increase to create a rounded shape.
Key Construction Points
Rounds 1-14: Build the basic head shape through strategic increases, working up to 48 stitches.
Round 15: This is where the magic happens! Create the white facial marking by working 8 stitches in reddish orange, switching to white for 8 increases and 16 single crochet, then switching back to complete the round with reddish orange. This creates the distinctive white blaze that gives your fox its character.
Rounds 16-21: Continue in the established color pattern, maintaining 64 stitches to create the full, rounded head shape.
Rounds 22-24: Decrease strategically while maintaining the color pattern, ending with 24 stitches.
Important Assembly Notes
Insert the safety eyes between rounds 12 and 13, spacing them 11 stitches apart. Wait to embroider the eye details until after assembling all pieces for the best positioning. Stuff the head firmly to maintain its shape.
Building the Body
The body construction follows a similar increase pattern to the head but with its own unique shaping:
Start with 8 stitches in a magic ring and increase steadily to 48 stitches by round 6. Work straight rounds 7-14 to create the body length, then shape the belly area in round 15 by working decreases in the center section. Continue with straight rounds before gradually decreasing to 24 stitches at the neck area.
Stuff the body firmly and attach it securely to the head, ensuring proper alignment for a balanced fox.
Crafting the Adorable Muzzle
The white muzzle adds tremendous personality to your fox. Begin with just 6 stitches in a magic ring and gradually increase to 21 stitches over 7 rounds. Insert the safety nose into the center of the magic ring before stuffing lightly.
Pro Tip: Consider using a velvety-surface plastic nose for an enhanced tactile effect that complements chenille yarn beautifully.
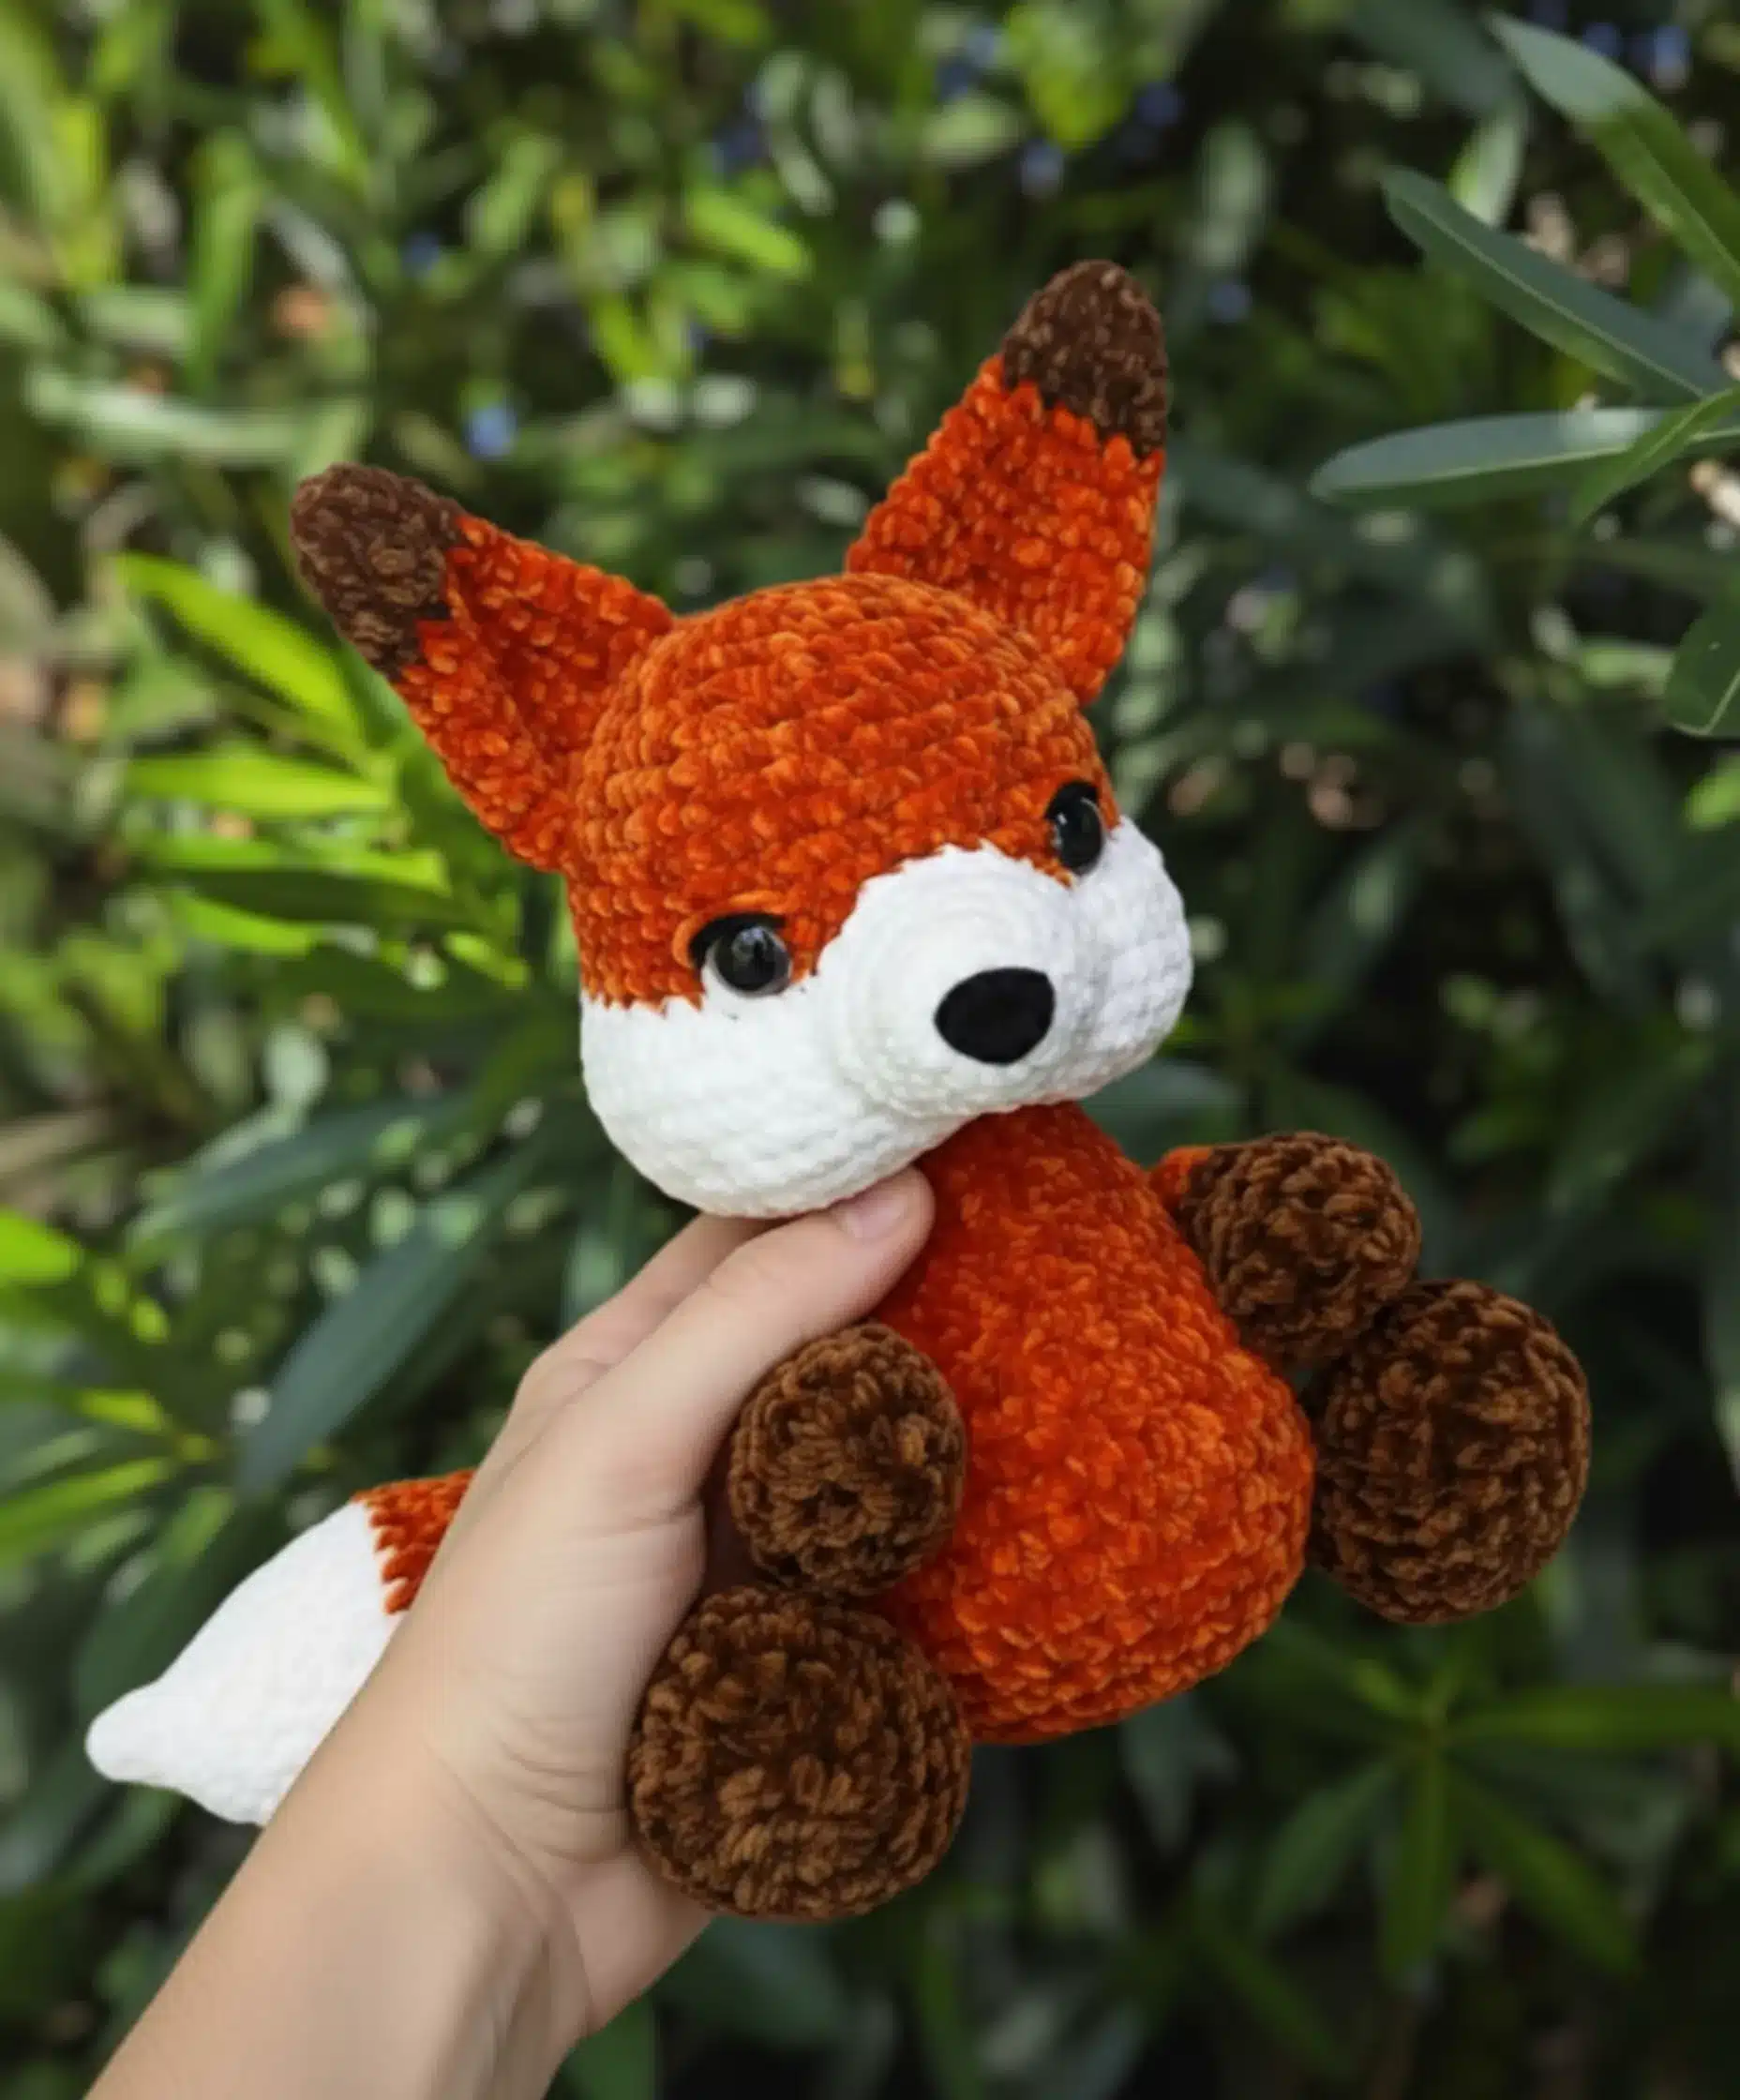
Position the muzzle between the eyes, using the photos as reference for optimal placement. The muzzle should sit comfortably below the eyes, creating that classic fox expression.
Shaping the Distinctive Ears
Each ear features a two-tone design that adds depth and realism:
Brown section (Rounds 1-5): Start with 6 stitches and increase to 15 stitches.
Reddish orange section (Rounds 6-13): Continue increasing to 24 stitches for the outer ear portion.
Leave the ears unstuffed for a natural, floppy appearance. When attaching, fold them slightly to create dimension and position them close together on the head, with the outer edge no further than round 9.
Creating Sturdy Legs
The legs provide stability while maintaining the cuddly aesthetic:
Begin with brown yarn for the paws, starting with 6 stitches and increasing to 24 stitches by round 4. Work rounds 5-7 straight, then decrease strategically for shaping. Switch to reddish orange at round 12 and continue to the top.
Stuffing Strategy: Fill the lower leg firmly but leave the top portion soft for easier attachment and more natural movement. When sewing to the body, close the top of each leg by passing the needle through both layers for a clean finish.
Constructing Charming Little Hands
The hands follow a similar construction to the legs but remain smaller and more delicate:
Start with brown yarn and 6 stitches, increasing to 18 stitches for the paw section. After shaping decreases, switch to reddish orange for the arm portion. Stuff only the paw section, leaving the arms soft and flexible.
Placement Guide: Attach hands symmetrically on the sides of the body, leaving approximately 3 rounds of space between the hands and head for proper proportions.
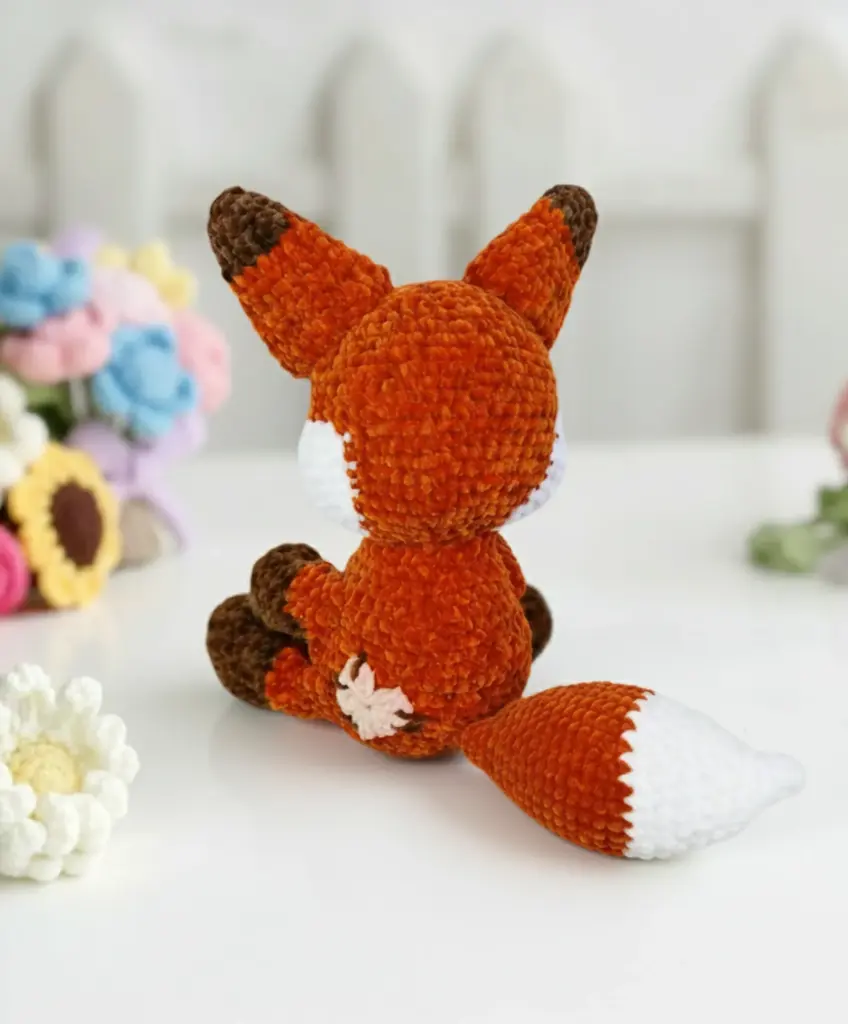
Designing the Magnificent Tail
The tail is perhaps the most distinctive feature, combining white and reddish orange for a classic fox appearance:
White tip (Rounds 1-12): Begin with 6 stitches and gradually increase to 30 stitches, creating the fluffy white tip.
Reddish orange body (Rounds 13-34): Continue with the main color, working straight rounds before gradually decreasing. Keep the tail well-stuffed at the base but softer toward the tip for natural movement.
Finishing: Fold the tail in half at round 34, working through both layers to close. Position vertically on the back of the body at the midpoint, securing with pins before sewing. Consider tacking the tail bottom to the surface for added stability.
Adding Expressive Eye Details
The embroidered eye details bring your fox to life:
White Highlights
Using white yarn, enter from the side of the head, exit at point 1 near the safety eye, and reenter at point 2. This creates a bright, lively highlight.
Black Details
Follow the same technique with black yarn for pupils and definition. Using double thread creates bold, visible eyelids.
Shaping the Face
With reddish orange yarn, insert the needle under the chin, exit beside one eye, and reenter on the opposite side. Pull gently to create subtle shaping that adds dimension. Repeat for the other eye, then secure with knots and hide threads carefully.
Creating an Optional Heart Accent
Add a sweet finishing touch with a small crocheted heart:
Using light pink yarn and a 3.5mm hook, start with a magic ring and chain 3. Work a combination of treble crochet, double crochet, and chain stitches to create the heart shape. Position it on the belly or attach it as a back patch for a charming detail.
Final Assembly Tips
- Use pins generously when positioning pieces before final sewing
- Maintain symmetry by measuring distances carefully
- Secure all color changes with hidden knots
- Check proportions from multiple angles before final attachment
- Weave in ends thoroughly for durability
Troubleshooting Common Issues
Uneven shaping: Ensure consistent tension throughout and count stitches carefully at the end of each round.
Visible stuffing: Use the invisible decrease method and avoid overstuffing near decrease sections.
Wobbly pieces: Reinforce attachment points with extra stitches and ensure proper stuffing density.
Color transitions: Carry yarn loosely inside the work and change colors at the beginning of rounds for cleaner transitions.
Caring for Your Finished Fox
To keep your ginger fox looking fresh:
- Hand wash in cool water with gentle detergent
- Air dry completely, reshaping while damp
- Brush gently with a soft brush to restore chenille texture
- Store in a clean, dry place away from direct sunlight
Conclusion: Your New Furry Friend Awaits
Congratulations on completing your ginger fox amigurumi! This charming creation makes a wonderful gift for loved ones or a delightful addition to your own collection. The combination of thoughtful design, quality materials, and your careful craftsmanship has resulted in a truly special handmade treasure.
Whether you display your fox on a shelf, give it to a child to cherish, or add it to a growing menagerie of amigurumi animals, this pattern demonstrates the joy and satisfaction of creating something beautiful with your own hands. The techniques you’ve mastered here—from color changes to facial shaping—will serve you well in future amigurumi projects.
Happy crocheting, and may your ginger fox bring smiles wherever it goes!


Remember it later!
Planning to try this soon? Pin it for a quick find later!