Table of contents
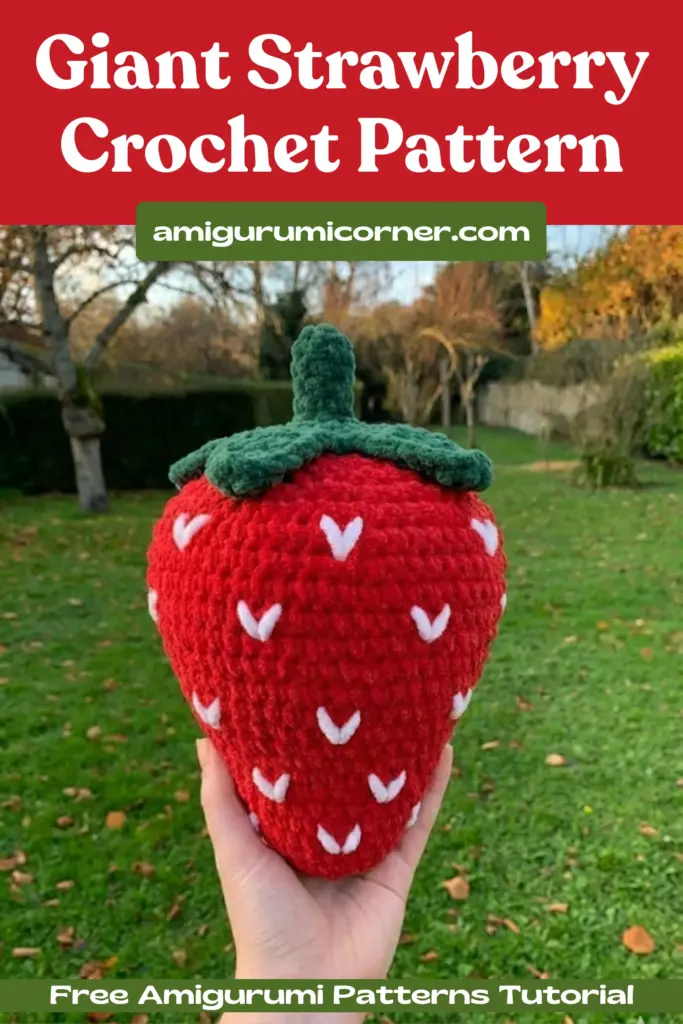
Looking for an adorable and functional home décor piece that’s perfect for beginners? This giant crochet strawberry pillow is exactly what you need! With its charming design and soft, huggable texture, this oversized fruit pillow adds a playful touch to any room. Whether you’re new to crochet or an experienced crafter looking for a quick weekend project, this pattern offers straightforward instructions that result in an impressive finished piece.
The beauty of this pattern lies in its simplicity. Using jumbo yarn and a large hook, you’ll work up this delightful strawberry surprisingly quickly. The textured surface created by the seed details adds authentic character, while the leafy crown gives it that perfect finishing touch. This pillow works wonderfully as a statement piece in a child’s bedroom, a cozy reading nook accent, or even as a unique gift for fruit-loving friends.
Materials

Remember it later!
Planning to try this soon? Pin it for a quick find later!
Before you begin, gather these supplies:
- 10MM Crochet Hook
- 100% Polyester Size 7 Jumbo Yarn (Sweet Snuggles by Loops & Threads recommended)
- Yarn needle
- 100% Polyester stuffing
- Scissors
- Stitch marker
- Contrasting yarn colors for leaves and seeds
Abbreviations Guide
- Sc: Single crochet
- MC: Magic Circle
- Hdc: Half double Crochet
- Dc: Double Crochet
- Tc: Triple Crochet
- Inc: Increase
- Dec: Decrease
- St: Stitch
- Rpt: Repeat
- Ch: Chain
- Sl st: Slip stitch
- FO: Fasten Off
Instructions
Strawberry Base
Start with your main strawberry color of yarn.
- Row 1: MC, 4 sc (4)
- Row 2: Inc in each st (8)
- Row 3: 1 sc, inc, rpt 3 times (12)
- Row 4: 2 sc, inc, rpt 3 times (16)
- Row 5: 3 sc, inc, rpt 3 times (20)
- Row 6: Sc in each sts (20)
- Row 7: 4 sc, inc, rpt 3 times (24)
- Row 8: Sc in each sts (24)
- Row 9: 5 sc, inc, rpt 3 times (30)
- Row 10: Sc in each sts (30)
- Row 11: 6 sc, inc, rpt 3 times (36)
- Row 12: Sc in each sts (36)
- Row 13: 4 sc, inc, 4 sc, rpt 3 times (40)
- Row 14: 9 sc, inc, rpt 3 times (44)
- Row 15: 5 sc, inc, 5 sc, rpt 3 times (48)
- Row 16: 6 sc, inc, rpt 7 times (56)
This should go past your original start point. Insert stitch marker here. This is your new end of row.
- Row 17-20: Sc in each sts (56) (4 rounds)
- Row 21: 6 sc, dec, rpt 6 times (49)
- Row 22: 5 sc, dec, rpt 6 times (42)
- Row 23: 4 sc, dec, rpt 6 times (35)
- Row 24: 3 sc, dec, rpt 6 times (28)
- Row 25: 2 sc, dec, rpt 6 times (21)

Stuffing the Pillow
Stuff the pillow at this point. Due to the unique strawberry shape, stuffing requires some attention. Work slowly and ensure the stuffing is evenly distributed throughout the strawberry body as you progress. Pack it firmly enough to maintain the shape but not so tight that it distorts the stitches.
Creating the Leafy Top
Change to your leaf color yarn.
- Row 26: Sc in each sts (21)
- Row 27: 1 sc, dec, rpt 6 times (14)
- Row 28: Sc in each sts (14)
- Row 29: 7 Dec (7)
- Row 30: Sc, 2 dec, Sc (5)
Do not fasten off!
Stem
- Row 31: Ch 5, 4 sc on the back side of the ch. FO. Leave a tail to sew the top together.
Before closing off completely, consider adding any leftover yarn scraps or extra stuffing from making the seeds. This helps use up materials and ensures the pillow is fully stuffed.
Adding Strawberry Seeds
The seed details bring your strawberry to life! While this step can be somewhat tedious, the results are absolutely worth it. Using your seed color and yarn needle, you’ll create surface stitches that mimic real strawberry seeds.
Start placing seeds on Row 3 of your strawberry base. Your first row should contain 3 seed stitches. As you work down the length of the strawberry, maintain even spacing between seeds. Here’s the key to natural-looking seed placement:
- If you notice a larger gap between two seeds, place 2 seeds in the row directly below that gap
- If seeds appear too close together, skip placing a seed between them in the next row
- Each seed stitch should be approximately 1 sc in length
- Space seeds about 2 rows apart vertically
Take your time with this step and refer to photos of real strawberries if needed. The irregular yet balanced placement of seeds creates that authentic strawberry appearance.
Closing Off the Top
Complete the stuffing process, ensuring your strawberry is nicely plump. Using the tail left from the stem, stitch across the opening from its attachment point. Work back and forth through the stem into the remaining open stitches. This technique not only closes the opening securely but also helps the stem stand upright naturally. Weave in all ends neatly.
Making the Leaves (Create 6)
Using your leaf color yarn:
- Row 1: Ch 11 (11)
- Row 2: 2nd ch from the hook, Sc in each st (10)
- Row 3: Ch 1, Sc into opposite side of the ch, hdc, dc, tc 2, dc 2, hdc 2, sc, ch 2, sc in same st, sc, hdc 2, dc 2, tc 2, dc, hdc, sc, sl st
FO. Leave a tail for sewing.
Repeat this process to create a total of 6 leaves.

Attaching the Leaves
To attach each leaf to your strawberry crown, use the following method:
- Using the tail from the leaf, stitch down 4-5 stitches along each side of the leaf to the strawberry
- Pull the remaining tail through to the underside of the leaf
- Locate the other tail (it should be under the strawberry) and pull it through the same hole under the leaf
- Tie both tails together securely
- Weave in and hide the ends
Space the 6 leaves evenly around the top of the strawberry for a balanced, attractive appearance.
Frequently Asked Questions
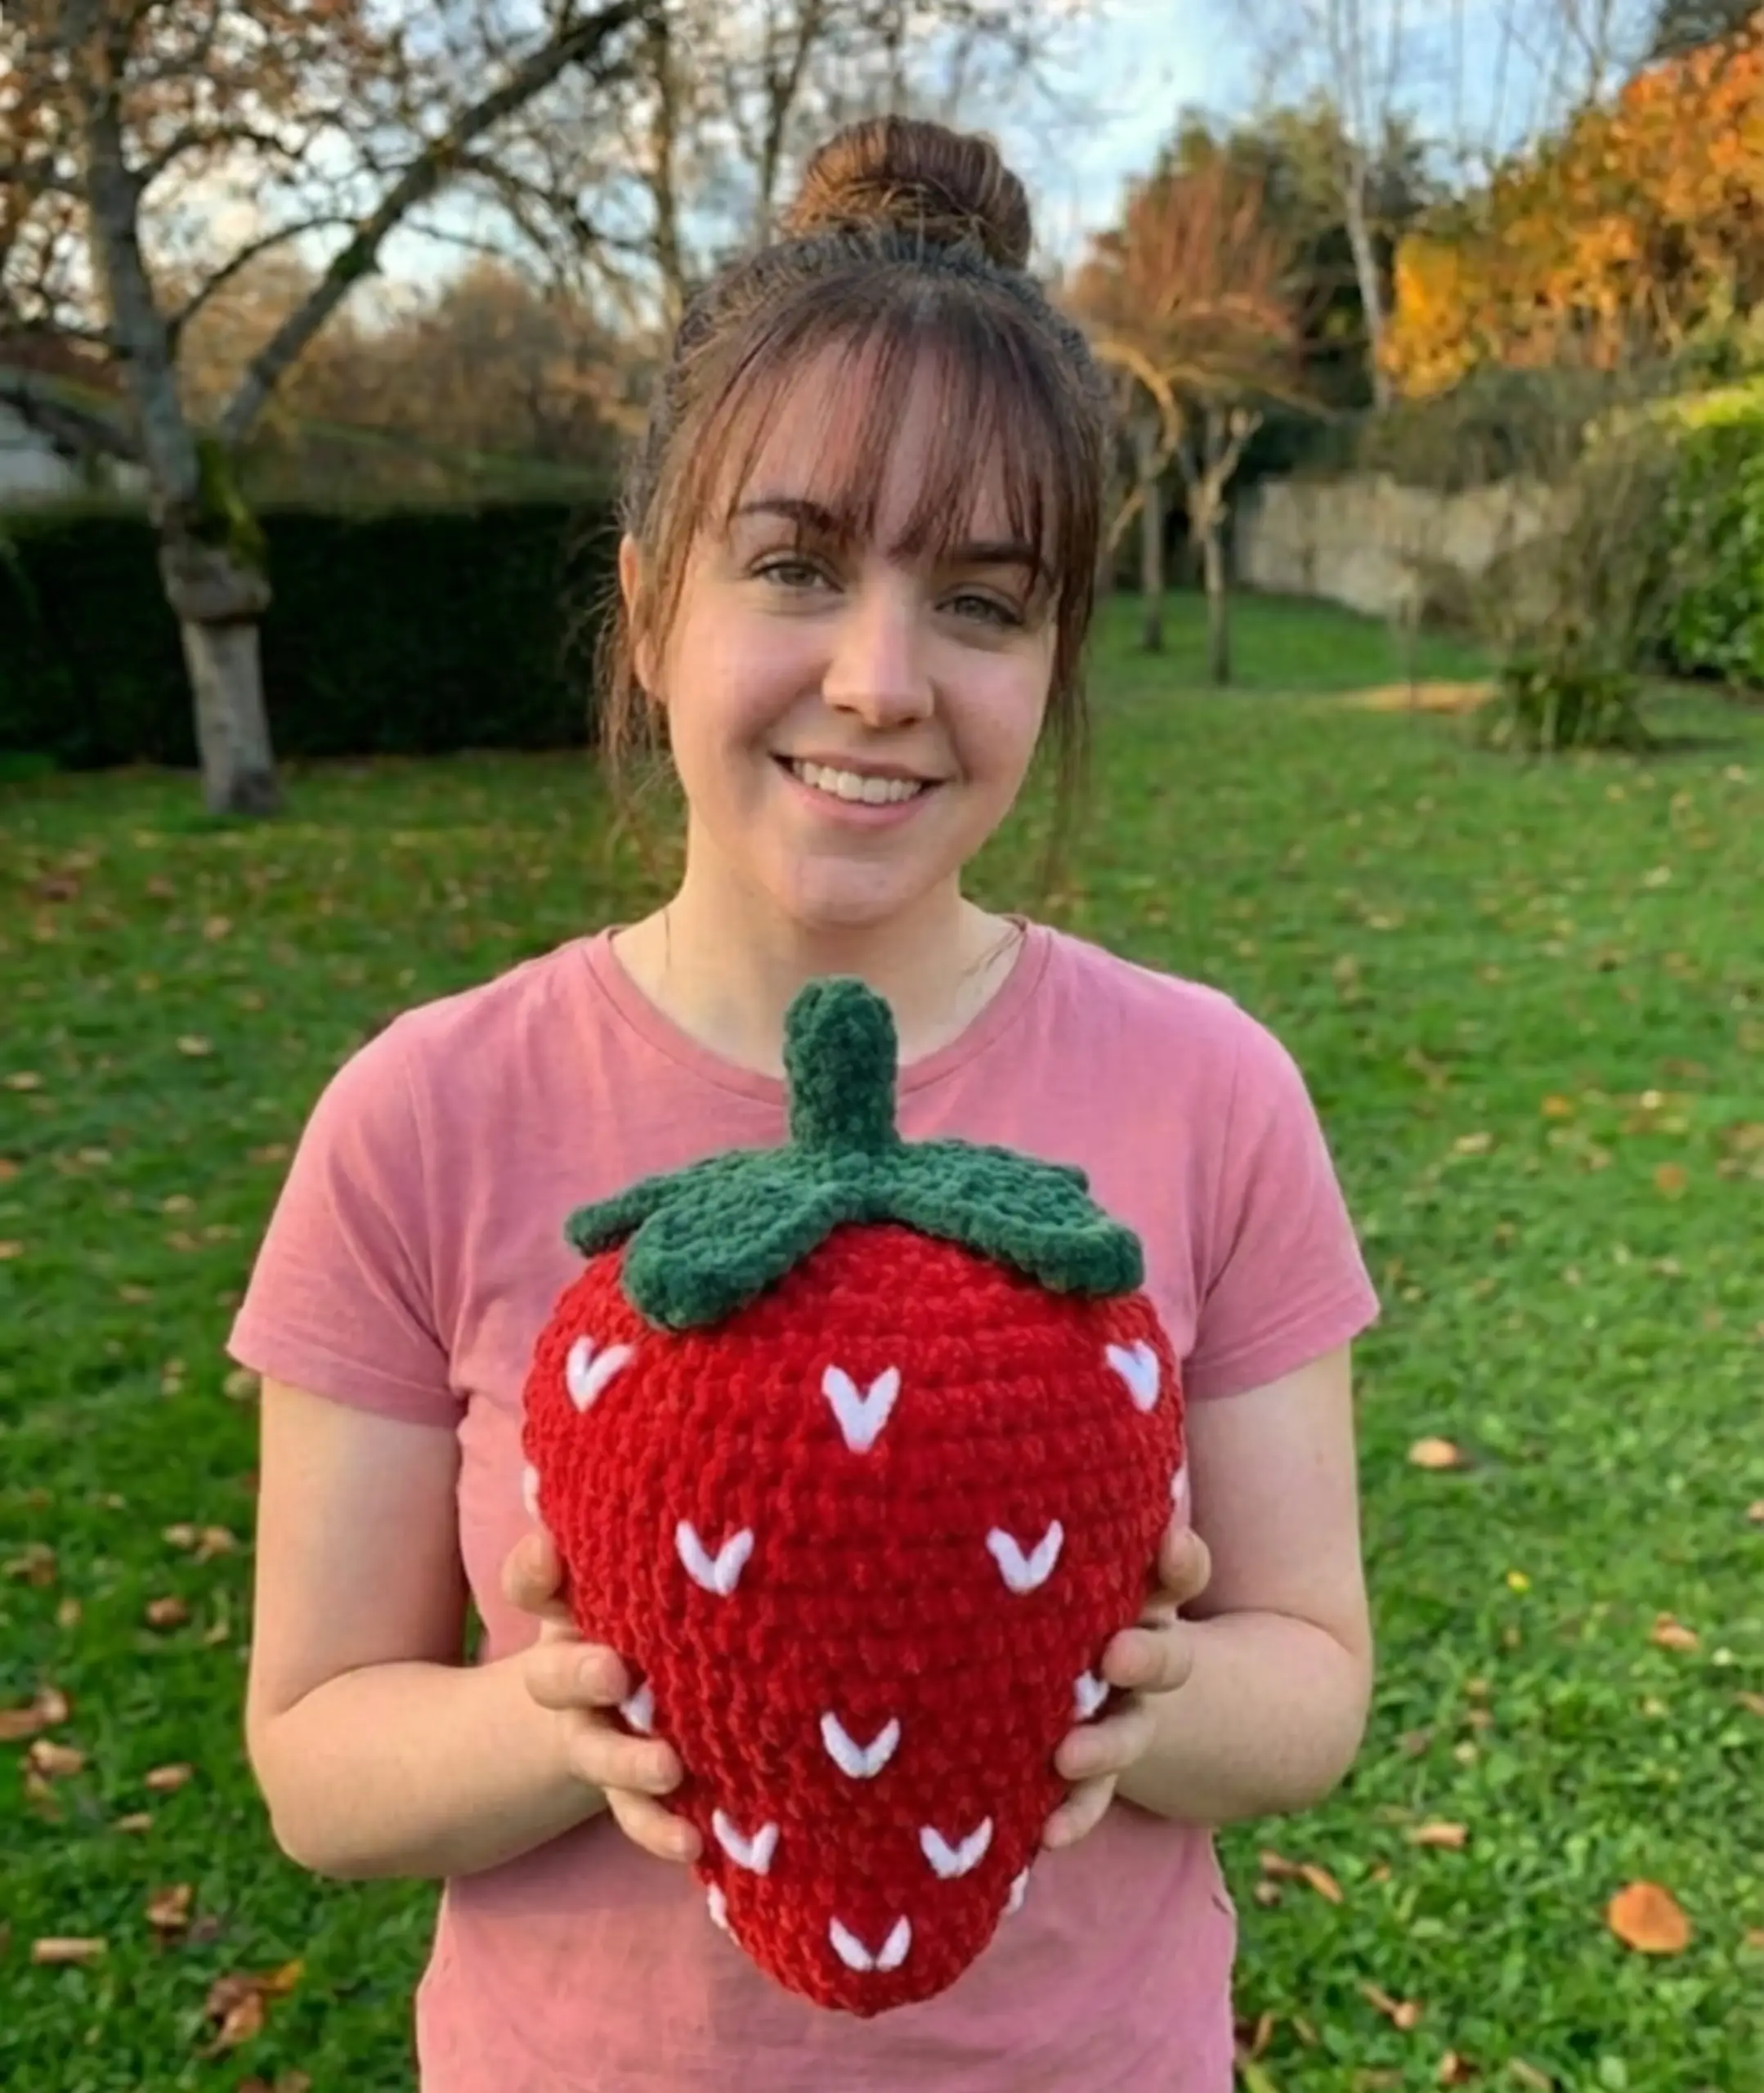
Using the recommended Size 7 jumbo yarn and 10mm hook, your finished strawberry pillow will be approximately 12-14 inches tall and 10-12 inches wide at its widest point. The exact size may vary slightly depending on your tension and how firmly you stuff the pillow.
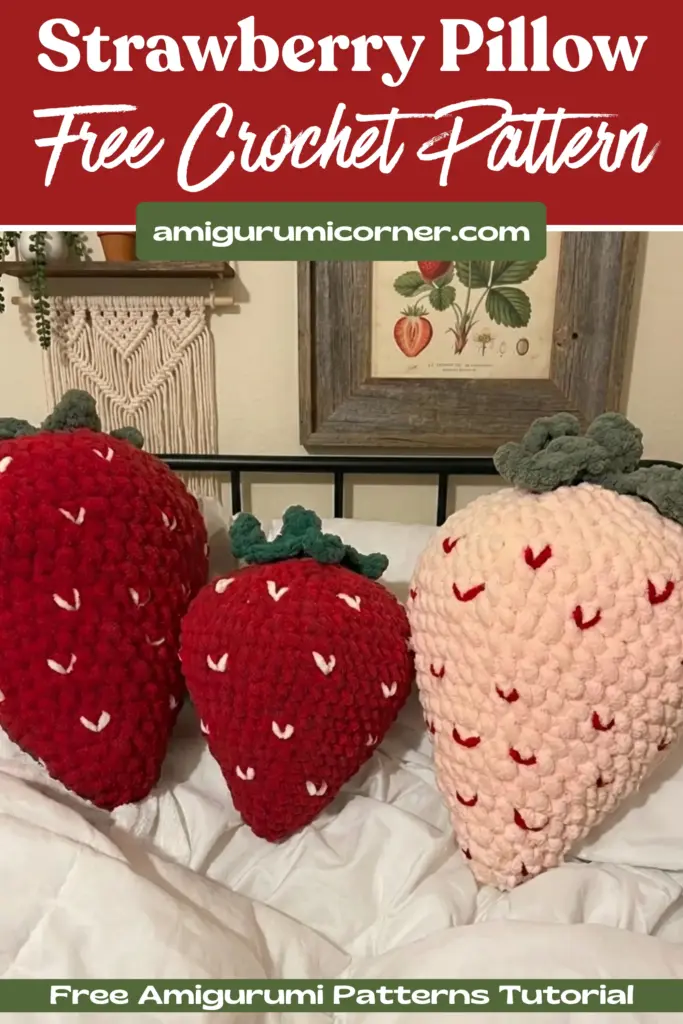
Yes, you can use different yarn weights, but you’ll need to adjust your hook size accordingly and your finished pillow will be a different size. For a smaller pillow, try worsted weight yarn with a 5mm hook. Just remember that using thinner yarn will require more rows and take longer to complete.
For the jumbo yarn version, you’ll need approximately 200-250 yards of your main strawberry color, 50-75 yards of green for the leaves and stem, and a small amount (about 20 yards) of your seed color. It’s always better to have extra yarn on hand to ensure you don’t run out mid-project.
Thread your yarn needle with seed-colored yarn and create small surface stitches that are about 1 single crochet in length. Start at Row 3 with 3 seeds, spacing them evenly, and work your way down the strawberry. Keep seeds about 2 rows apart and adjust spacing as needed to fill gaps naturally. The key is to make them look random yet balanced, just like a real strawberry.
Conclusion
Congratulations on completing your giant strawberry pillow! This charming project combines simplicity with impressive results, making it perfect for crocheters of all skill levels. The finished pillow not only serves as a cozy cushion but also as a delightful conversation piece that showcases your crafting skills.
Don’t forget to share your finished creation! Take photos of your completed strawberry pillow and show off your work. Each crafter brings their own unique touch to this pattern, whether through color choices, seed placement, or subtle modifications. Your handmade strawberry pillow is sure to bring smiles and add a whimsical touch wherever it lands. Happy crocheting!


Remember it later!
Planning to try this soon? Pin it for a quick find later!