Table of contents
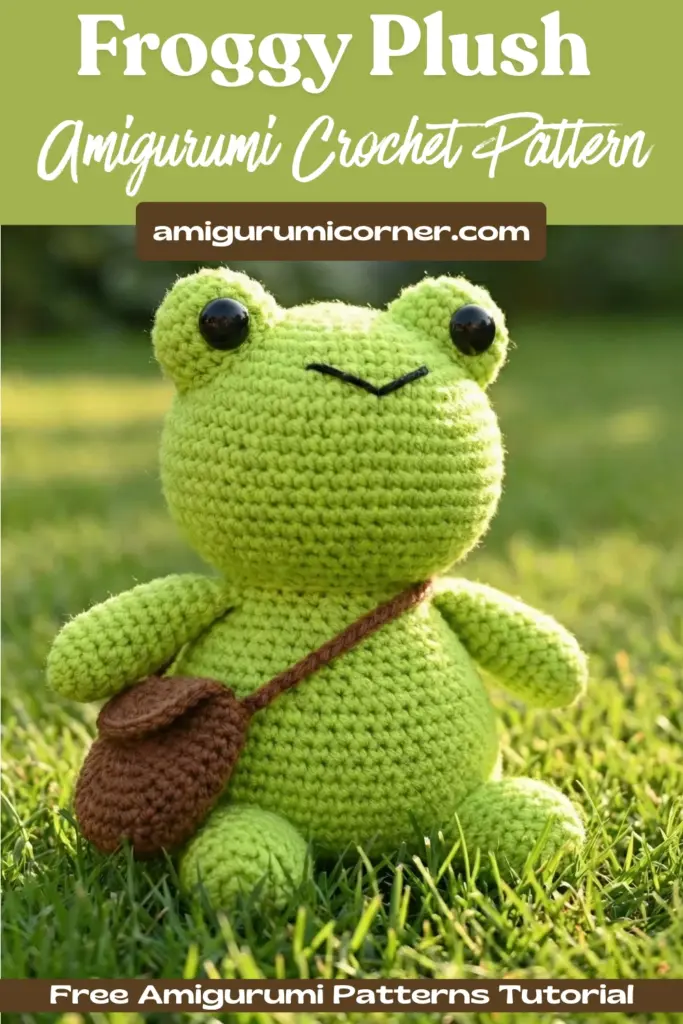
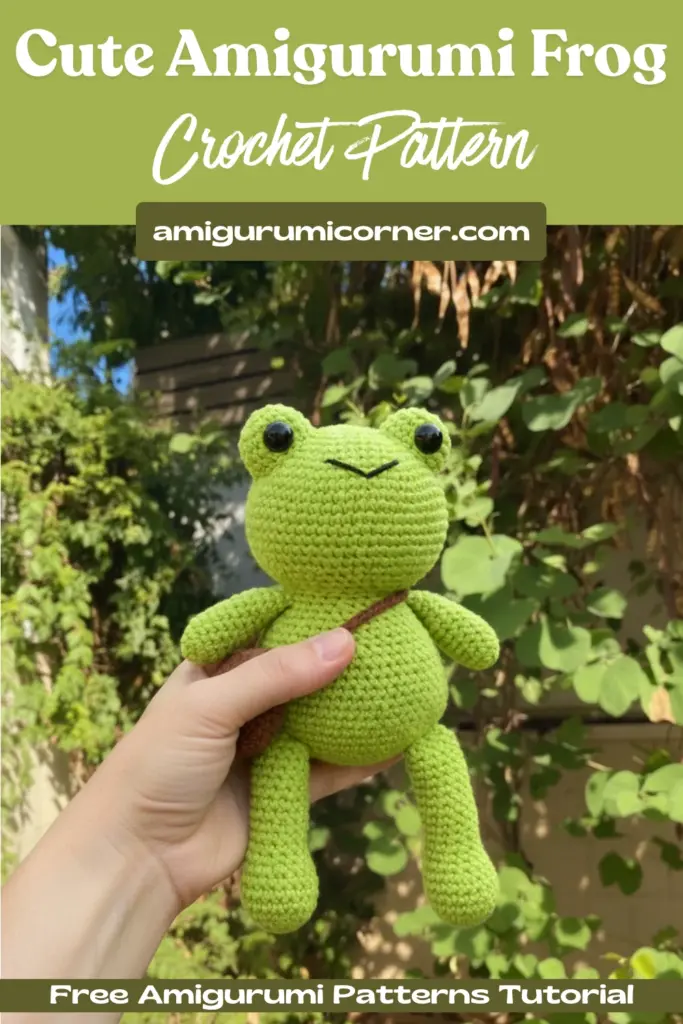
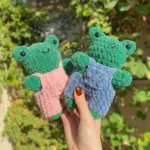
Have you ever wanted to create an Amigurumi Frog Pattern companion that’s perfect for cuddling? This comprehensive amigurumi pattern will guide you through crafting a charming froggy plush complete with a cute little bag accessory. Whether you’re a seasoned crocheter or looking to expand your amigurumi skills, this delightful project combines basic techniques to create something truly special.
Remember it later!
Planning to try this soon? Pin it for a quick find later!
What You’ll Need
Before diving into this project, gather these essential materials:
- 3.5 mm crochet hook (or similar size)
- Worsted weight yarn in vibrant green and golden yellow
- Yarn needles for sewing pieces together
- Stitch markers to keep track of your rounds
- Poly-fil stuffing for that perfect plush feel
- Safety eyes (alternatively, you can use felt or embroider the eyes)
- Black yarn for embroidering facial features

Understanding the Pattern Language
This amigurumi frog pattern uses standard US crochet terminology:
- Ch: Chain
- Sl st: Slip stitch
- Sc: Single crochet
- Inc: Increase
- Dec: Decrease
- MC: Magic circle
Important Tips Before You Begin
- Work in continuous rounds throughout the entire project
- Stuff gradually as you progress through each section
- Read the complete pattern before starting to familiarize yourself with the process
- Use stitch markers to track your position, especially when connecting pieces
Creating Your Frog’s Foundation: The Legs
Start by crafting two identical legs that will form the base of your froggy friend.
Leg Construction (Make 2)
Begin each leg with 6 single crochets in a magic circle, then gradually increase to create a sturdy foundation. Work through 10 rounds, expanding from 6 stitches to 24 stitches, then maintaining that width for several rounds to create proper leg length.
Key Connection Step: After completing the first leg, fasten off. For the second leg, don’t fasten off—instead, chain 3 and slip stitch into the first leg to connect them. This creates the foundation for your frog’s body with a total of 58 stitches around both legs.
Building the Body
The body section seamlessly continues from the connected legs, gradually expanding and then tapering to create the classic frog silhouette.
Body Shaping Technique
- Expansion phase: Increase strategically to grow from 58 to 64 stitches
- Stable phase: Work several rounds without changes to establish body width
- Tapering phase: Gradually decrease from 64 stitches down to 24 stitches over multiple rounds
This careful shaping creates the rounded, comfortable belly that makes your frog perfect for hugging.
Crafting the Head
The head is the most detailed component, requiring patient increases and decreases to achieve the perfect spherical shape.
Head Construction Process
Start with the familiar magic circle of 6 stitches and methodically increase over 10 rounds until you reach 60 stitches. Work several rounds at this maximum width to create adequate head size, then gradually decrease back down to 18 stitches before finishing.

Pro Tip: Leave a long tail when fastening off you’ll need this for securely attaching the head to the body.
Adding Character with Arms and Eyes
Simple Arm Design
Each arm begins like a leg but remains smaller throughout. Create a tapered design that’s wider at the shoulder and narrower toward the “hand” end.
Eye Assembly Options
You have flexibility with the eyes:
- Safety eyes: Insert during construction for a professional look
- Felt eyes: Cut and sew on after stuffing for a softer appearance
- Embroidered eyes: Create custom expressions with yarn
The Adorable Bag Accessory
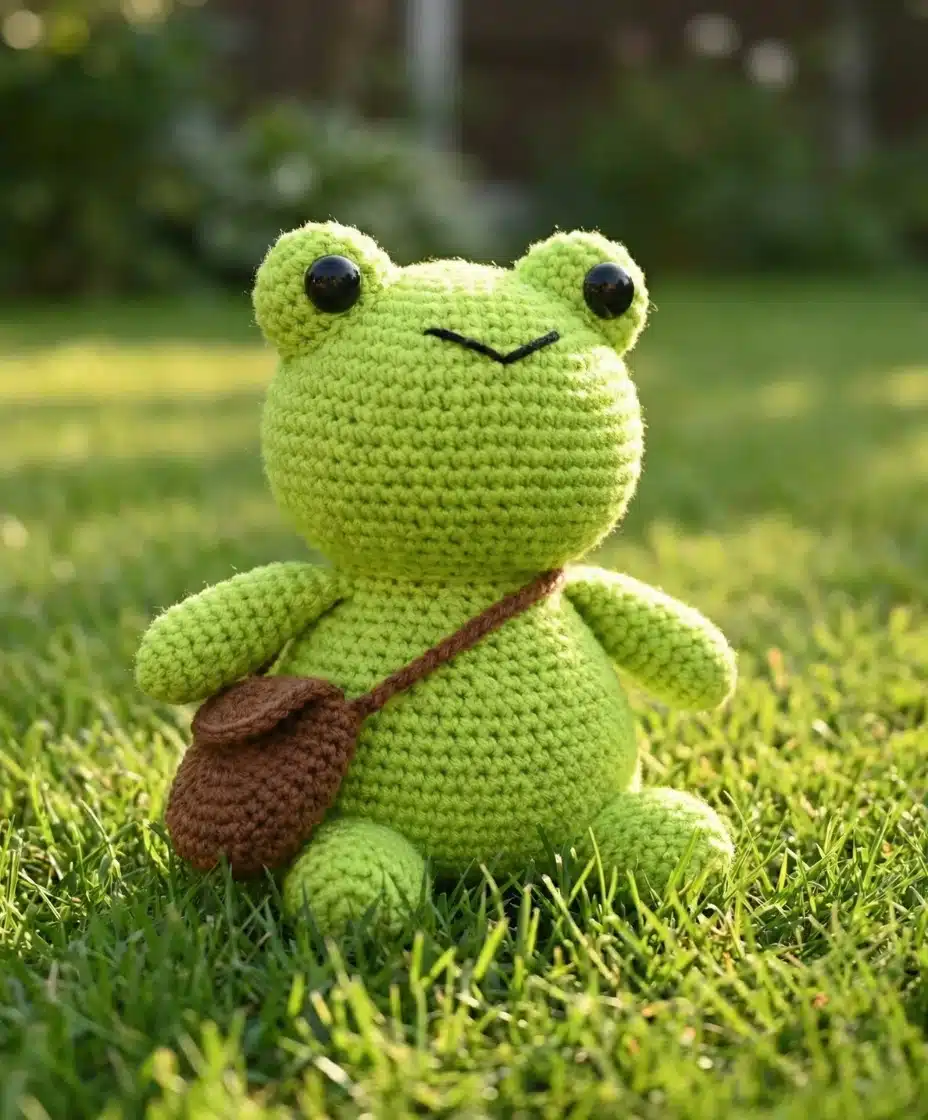
What makes this amigurumi frog extra special is the tiny bag accessory—perfect for carrying small treasures or simply adding charm.
Bag Construction
Create two circular pieces and connect them with a strap. The strap is worked as a chain long enough to fit comfortably across your frog’s body. Adjust the chain length based on your specific frog’s size before attaching.
Bringing It All Together
Assembly Steps
- Attach the head securely to the body using the long tail
- Position and sew the eyes at your preferred angle for personality
- Add the arms just below the head attachment point
- Embroider a smile using black yarn for that friendly expression
- Attach the bag if desired for extra charm
Final Thoughts on the Amigurumi Frog Pattern
This delightful froggy plush combines fundamental amigurumi techniques to create something truly special. The pattern’s clear progression from basic shapes to a complete character makes it an excellent project for building confidence with increases, decreases, and assembly techniques. Whether you’re making this as a gift or keeping it for yourself, your finished frog will bring smiles wherever it goes.
Remember to take your time with each section, stuff gradually for the best shape, and don’t hesitate to adjust details like eye placement to give your frog its own unique personality. Happy crocheting!

Remember it later!
Planning to try this soon? Pin it for a quick find later!