Table of contents
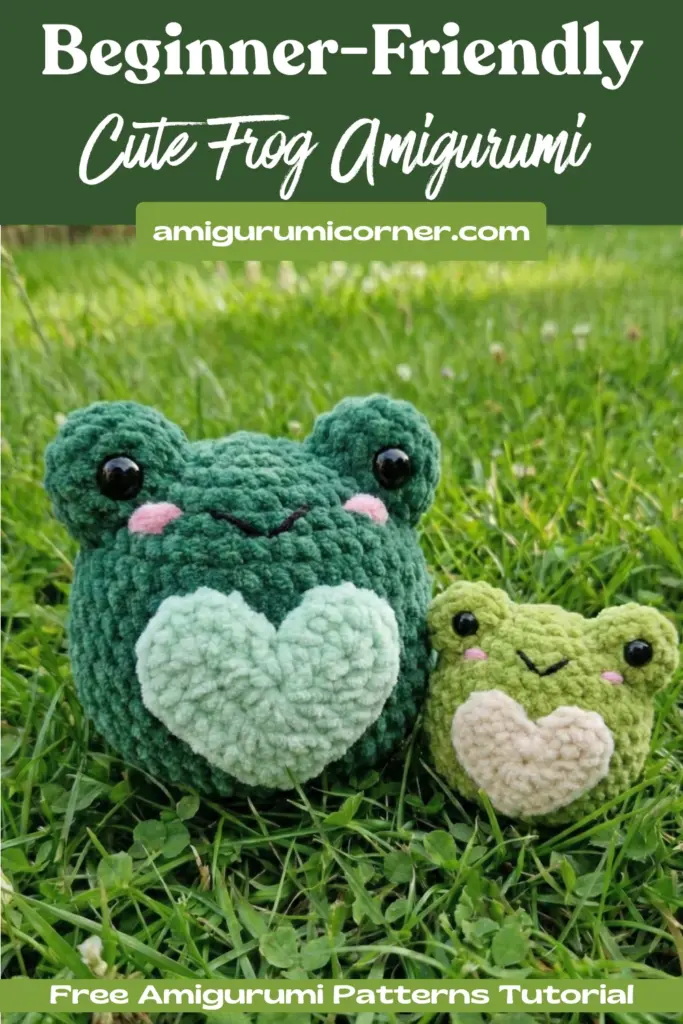
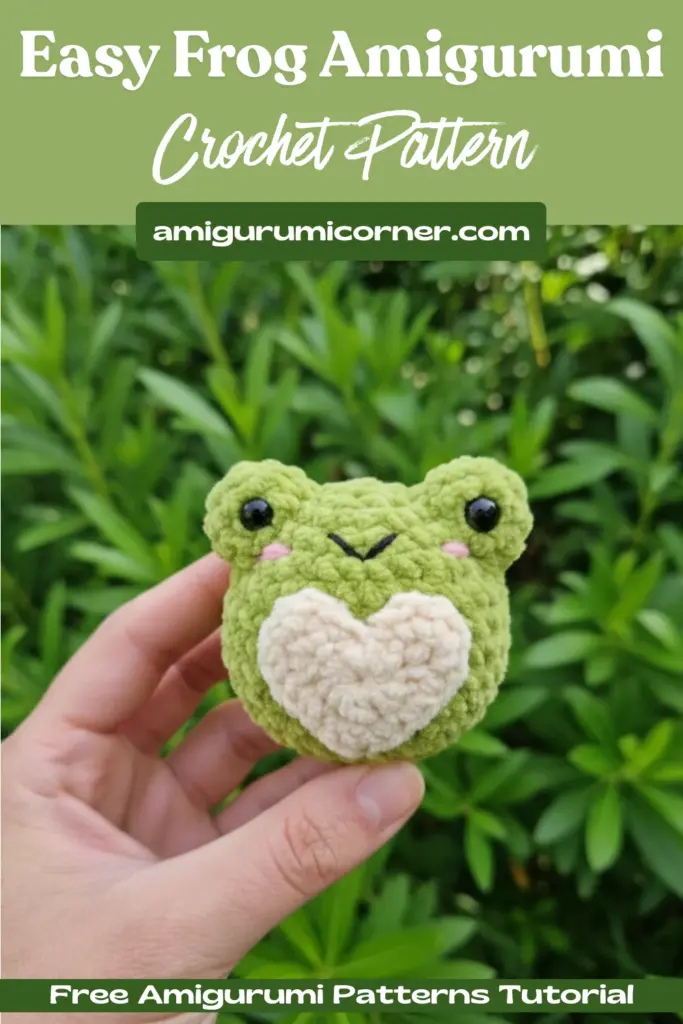
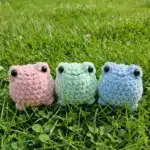
Creating an adorable frog amigurumi pattern is a delightful way to practice your crochet skills while making something truly special. This charming little amphibian makes for a perfect gift, home decoration, or companion for children. Whether you’re new to amigurumi or looking to add another cute creation to your collection, this step-by-step guide will help you craft your very own cuddly frog.
Remember it later!
Planning to try this soon? Pin it for a quick find later!
What You’ll Need
Before diving into the pattern, gather these essential materials:
- Yarn: Green for the body and eyes, milk/cream colored yarn for belly details, plus small amounts of black and pink
- Crochet hook: Size appropriate for your yarn weight
- Stuffing material: Polyester fiberfill works best
- Safety eyes: Optional, as the pattern includes crocheted eyes
- Tapestry needle: For sewing pieces together
- Scissors
Note: The final size of your frog will depend on your yarn thickness and hook size, so feel free to experiment with different combinations.

Understanding The Frog Amigurumi Pattern Abbreviations
Familiarize yourself with these common crochet terms:
- mc: magic circle
- ch: chain
- sc: single crochet
- ss: slip stitch
- inc: increase (2 sc in the next stitch)
- dec: decrease (single crochet 2 stitches together)
- (12): total number of stitches at the end of the round
- **(…)6*: repeat the instructions in brackets 6 times
- F.o.: fasten off
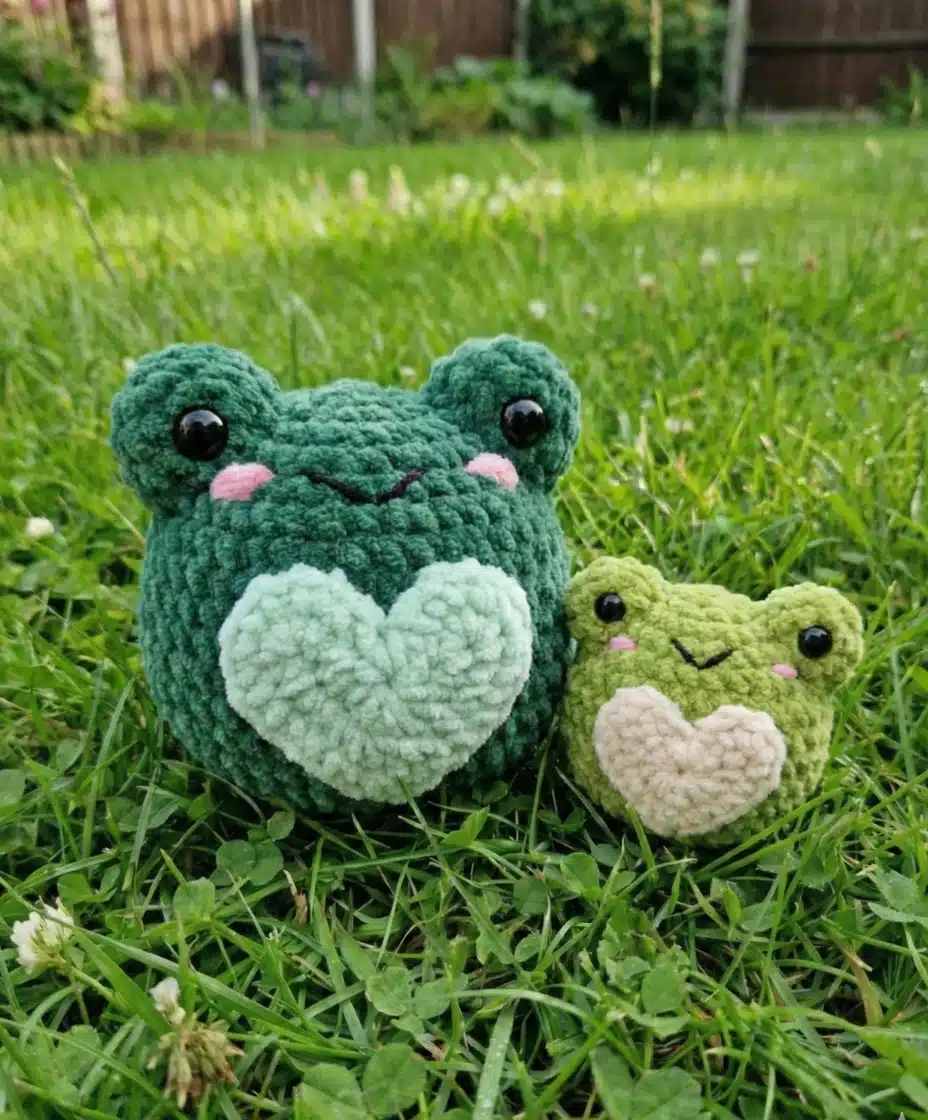
Creating the Frog Body
Start with green yarn and work in continuous rounds:
Rounds : Building the Base
- Begin with 6 sc in a magic circle
- Increase in each stitch around (12 stitches)
- Alternate single crochet and increase (18 stitches)
- Work sc, inc, then repeat 2 sc, inc five times, ending with sc (24 stitches)
- Alternate 3 sc and increase around (30 stitches)
- Work 2 sc, inc, then repeat 4 sc, inc five times, ending with 2 sc (36 stitches)
Rounds : Adding the Belly Pattern
These rounds create the distinctive frog belly using both green and milk-colored yarn:
- Work 36 sc, changing colors as follows: 15 green sc, 3 milk sc, 18 green sc
- Continue with 36 sc: 14 green sc, 5 milk sc, 17 green sc
- Work 36 sc: 13 green sc, 7 milk sc, 16 green sc
10-11. Maintain pattern: 12 green sc, 9 milk sc, 15 green sc - Adjust pattern: 13 green sc, 3 milk sc, 1 green sc, 3 milk sc, 16 green sc
Rounds : Shaping and Finishing
Switch back to green yarn only and begin decreasing:
- Work 2 sc, dec, then repeat 4 sc, dec five times, ending with 2 sc (30 stitches)
- Alternate 3 sc and decrease around (24 stitches)
- Work sc, dec, then repeat 2 sc, dec five times, ending with sc (18 stitches)
- Alternate sc and decrease around (12 stitches)
- Decrease around (6 stitches)
Before completing the final round, stuff the body firmly but not overly tight. Pull the remaining 6 loops closed and fasten off securely.

Crafting the Eyes
Create two identical eyes using green yarn:
- Start with 6 sc in a magic circle
- Increase in each stitch around (12 stitches)
3-4. Work 12 sc for two rounds
Fasten off, leaving a long tail for sewing. Lightly stuff each eye to give them dimension.
Assembly and Finishing Touches
Attaching the Eyes
Position the crocheted eyes between rows 2 and 7 on the frog’s head. Sew them securely in place using the yarn tails.
Adding Safety Eyes (Optional)
If you prefer plastic safety eyes, insert them between rows 3 and 4, then secure with the backing washers and a small amount of craft glue for extra security.
Creating Facial Features
- The Smile: Using black embroidery thread or yarn, carefully embroider a curved smile on row 5 of the frog’s face
- Rosy Cheeks: Add a touch of charm with pink thread, creating small blush marks between rows 5 and 6

Tips for Success
- Tension Matters: Keep your stitches consistent to ensure even shaping
- Stuffing Technique: Add stuffing gradually as you work, rather than waiting until the end
- Color Changes: When switching between green and milk yarn, carry the unused color along the inside to avoid loose ends
- Safety First: If making this for a small child, ensure all eyes and embellishments are securely attached
Conclusion
Congratulations on completing your adorable frog amigurumi pattern! This charming little creature showcases fundamental amigurumi techniques while creating something truly special. The combination of color work, shaping, and finishing details makes this project perfect for building confidence in your crochet skills.
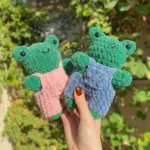
Whether displayed on a shelf, given as a heartfelt gift, or used as a cuddly companion, your handmade frog is sure to bring smiles wherever it goes. Don’t be afraid to experiment with different color combinations or sizes to create a whole pond of unique amphibian friends!

Remember it later!
Planning to try this soon? Pin it for a quick find later!