Table of contents
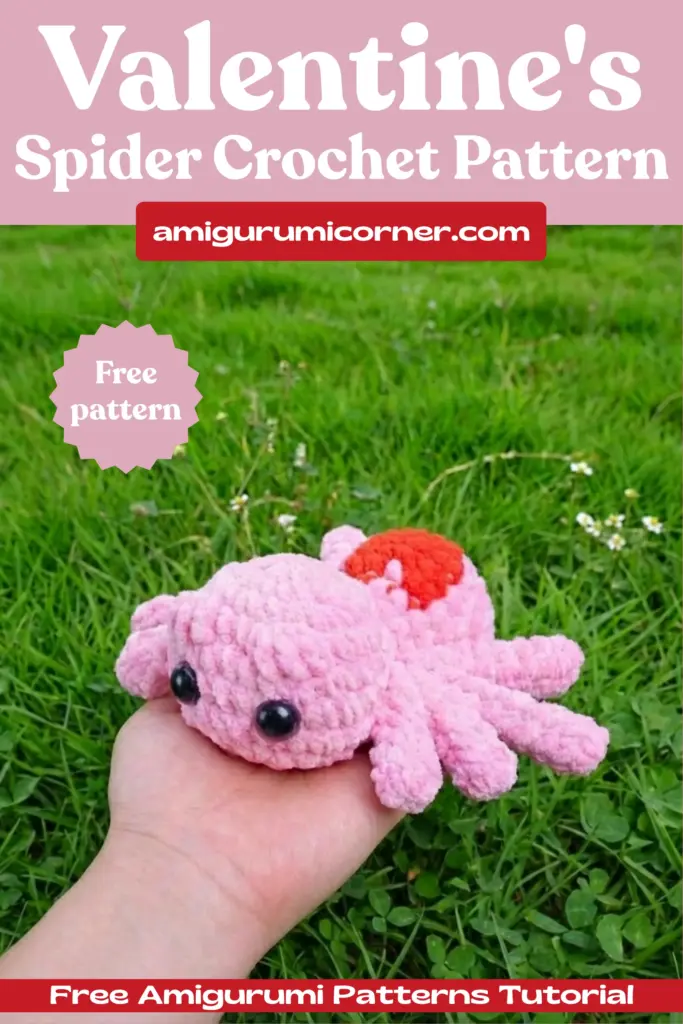
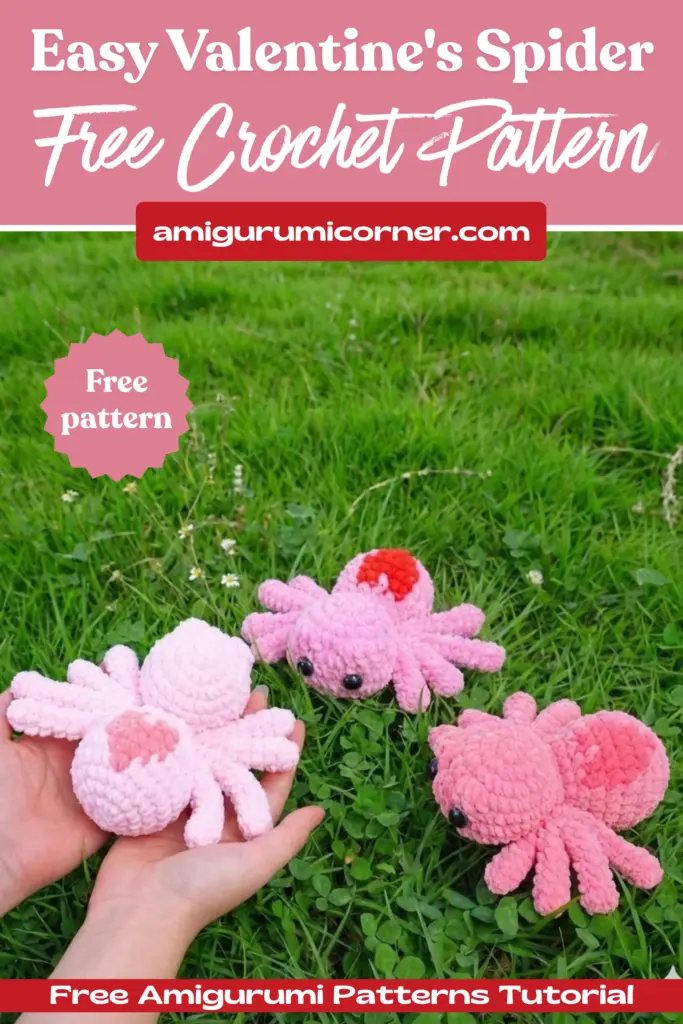
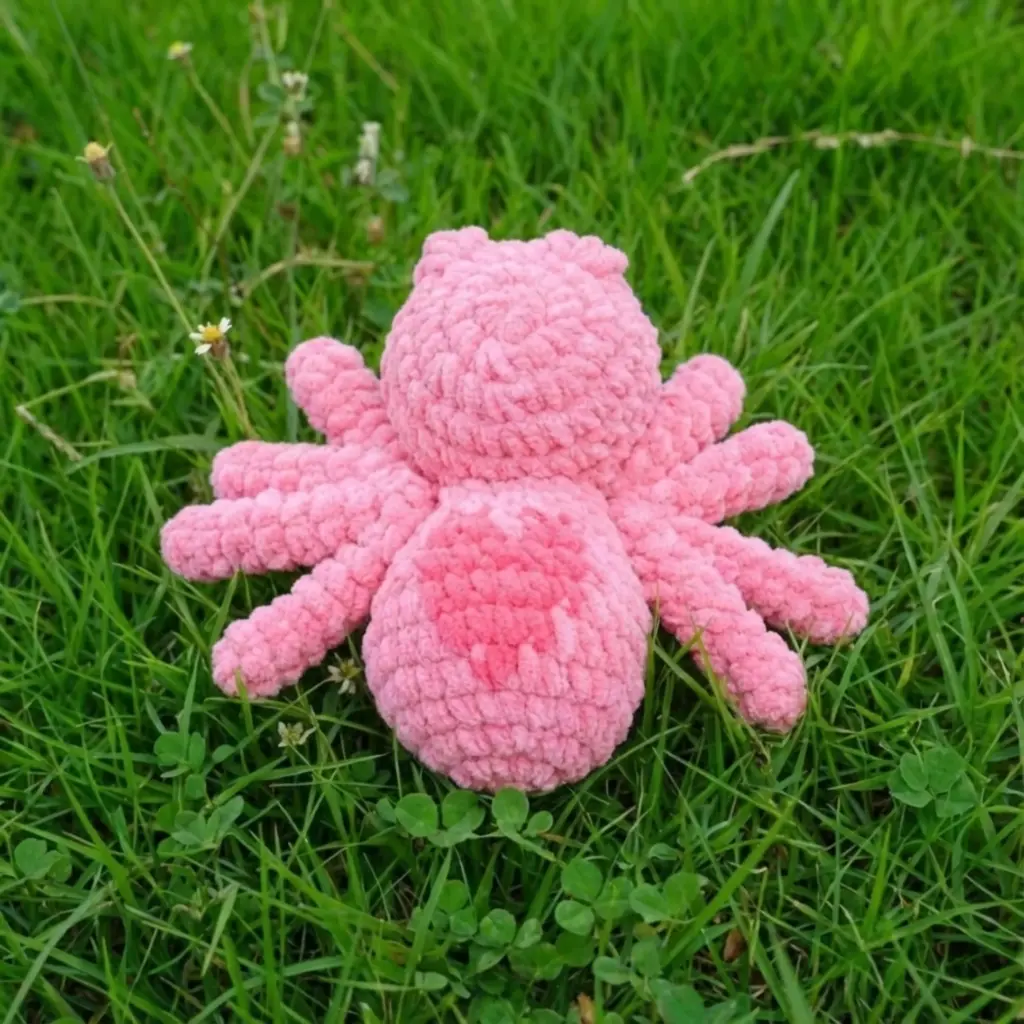
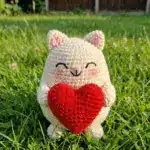
Looking for a unique and adorable Valentine’s Day project? This charming Valentine Spider crochet pattern combines the cuteness of amigurumi with the romance of Valentine’s Day! With its sweet pink colors and lovable eight-legged design, this little spider is sure to win hearts. Whether you’re a seasoned crocheter or looking for a fun challenge, this pattern will guide you through creating your own cuddly companion that’s approximately 5.1 inches (13 cm) tall.
Designer: Purely Works
Materials You’ll Need
Before diving into this delightful project, gather the following supplies:
- Yarn: Bulky weight / Category 5 yarn in two colors:
- Pink (main color)
- Dark Pink (accent color)
- Hook: 4.0 mm (G/6) crochet hook
- Stitch marker: To keep track of your rounds
- Sewing needle: For assembly
- Scissors
- Fiberfill: For stuffing
- Plastic safety eyes: 14mm (2 pieces)
Yarn Note: You’ll need approximately 1 skein of each color to complete this project.

Remember it later!
Planning to try this soon? Pin it for a quick find later!
Abbreviations
Familiarize yourself with these common crochet terms:
- MR: Magic Ring
- st(s): Stitch(es)
- sl st: Slip stitch
- ch: Chain
- SC: Single crochet
- INC: Increase
- DEC: Decrease
- DC: Double crochet
Important Notes Before You Begin
Skill Level: Intermediate
Size: The finished spider measures approximately 13 cm (5.1 inches), though this may vary based on your yarn choice and tension.
Technique Tips:
- Use a stitch marker to mark the first stitch of each round to avoid getting lost
- This pattern uses the “end the row with slip stitch” technique for better stitch alignment
- The pattern is written using US crochet terminology
- This pattern is for personal use only
Special Technique: Ending the Row with Slip Stitch
This pattern uses a specific finishing technique that creates more aligned stitches and prevents the piece from skewing. Here’s how to execute it properly:
For ending the row:
- Mark your first crochet stitch with a stitch marker to ensure proper placement
- Thread the needle through, take the yarn and pull it through to execute the slip stitch, then gently pull to tighten
- Yarn over and thread it through again to make a chain stitch, then make the first crochet stitch again where you slipped into to finish the row
Chain notes after finishing a row:
- Chain 1 for SC and HDC
- Chain 2 for DC
- Chain 3 for TR or TRC

Instructions
HEAD
Use pink yarn throughout.
- Row 1: 8SC in an MR (8)
- Row 2: 8INC (16)
- Row 3: (SC, INC) 8 times (24)
- Row 4: 9SC, 3DC in one st, 3SC, 3DC in one st, 10SC (28)
- Row 5: 9SC, DEC, 5SC, DEC, 10SC (26)
- Row 6: 6SC, 3INC, SC (Mark the first eye position), 5SC, SC (Mark the second eye position), 3INC, 7SC (32)
- Row 7: 32SC (32)
- Row 8: (2SC, DEC) 8 times (24)
- Row 9: (SC, DEC) 8 times (16)
Attach the eyes in the marked position, between Row 5 and 6.
Stuff the head with fiberfill
- Row 10: 8DEC (8)
Weave in the ends and cut.
BODY
Use pink yarn as the main color. When the text is bold and underlined in the original pattern, switch to dark pink yarn.
- Row 1: 6SC in a MR (6)
- Row 2: 6INC (12)
- Row 3: (SC INC) 6 times (18)
- Row 4: (2SC, INC) 6 times (24)
- Row 5: (3SC, INC) 2 times, 3SC, INC, (3SC, INC) 3 times (30)
- Row 6: 12SC, 4SC, 14SC (30)
- Row 7: 11SC, 6SC, 13SC (30)
- Row 8: 3SC, (2SC, DEC) 2 times, 2SC, DEC, 2SC, DEC, (2SC, DEC) 2 time, 3SC (24)
- Row 9: 9SC, 2SC, SC, 2SC, 10SC (24)
- Row 10: 3SC, (DEC, SC) 6 times, 3SC (18)
- Row 11: 18SC (18)
- Row 12: (4SC, DEC) 3 times (15)
Stuff the body with fiberfill
Cut the yarn and leave a long tail for sewing.
FRONT LEGS (Make 4)
Begin with pink yarn.
- Row 1: 5SC in a MR (5)
- Row 2-8: 5SC (5) — 7 rows total
Cut and weave in the ends. For the 4th leg, leave a long tail of yarn for sewing.
BACK LEGS (Make 4)
Begin with pink yarn.
- Row 1: 5SC in a MR (5)
- Row 2-10: 5SC (5) — 9 rows total
Cut and weave in the ends. For the 4th leg, leave a long tail of yarn for sewing.
Assembly Instructions
Follow these steps carefully to bring your Valentine Spider to life:
First Step : Create Leg Sections
- Use a needle to sew all 4 front legs together tightly, pulling the thread firmly to minimize the joining area. This creates one complete front leg section.
- Repeat the process with the 4 back legs to create the back leg section.
Second Step : Attach the Head
- Sew the body securely to the head, ensuring proper alignment and a neat finish.
Third Step : Attach the Legs
- Sew the 2 completed leg sections to the junction between the head and the body
- Make sure the front legs (shorter ones) are positioned at the front of the spider
- The back legs (longer ones) should be positioned toward the rear
Important Assembly Tip: While sewing, continually adjust the pieces to ensure the final product is well-balanced and symmetrical. This attention to detail will make your spider look professionally crafted!
Frequently Asked Questions
Yes, but keep in mind that using different yarn weights will change the final size of your spider. If you use a lighter weight yarn, your spider will be smaller, and heavier yarn will make it larger. You’ll also need to adjust your hook size accordingly and be aware that safety eye sizes may need to change as well.
The pattern indicates color changes with bold and underlined text in the original instructions. These changes occur in Rows 5-9 of the body. Switch to dark pink for the specified stitches to create a subtle heart or stripe pattern on the spider’s body, then switch back to pink yarn for the remaining stitches.
After marking the eye positions in Row 6 of the head, insert the safety eyes between Rows 5 and 6 before stuffing. Push the eye post through from the right side, then secure the washer on the inside by pressing it firmly onto the post. Make sure to stuff the head after securing the eyes but before closing Row 10.
The front legs are worked for 7 rows while the back legs are worked for 9 rows to create a more realistic spider appearance. This length difference gives the spider better balance and a more natural posture when assembled, with the longer back legs providing stability.
Conclusion
Congratulations on completing your adorable Valentine Spider! This charming amigurumi makes a perfect handmade gift for Valentine’s Day, or a delightful addition to your own collection of crocheted creatures. The combination of sweet pink tones and the unique spider design creates something truly special that shows the love and care you put into every stitch.
Don’t forget to take a moment to admire your finished creation! If you enjoyed making this Valentine Spider, consider making multiples in different color combinations or experimenting with embellishments like tiny bows or heart-shaped buttons.
Have questions or want to share your finished project? We’d love to see your creation and help with any questions you might have. Happy crocheting, and may your stitches be filled with love!


Remember it later!
Planning to try this soon? Pin it for a quick find later!