Table of contents
- Why This Pattern is Perfect for Intermediate Crocheters
- Essential Materials You’ll Need
- Understanding the Construction Method
- Building Your Ogres: Section by Section
- Adding Character: Facial Features
- Fiona’s Crowning Glory: The Hair
- Finishing Touches: Clothing and Accessories
- Common Challenges and Solutions
- Beyond the Pattern: Making These Toys Your Own
- Care Instructions for Your Finished Toys
- The Joy of Handmade Treasures
- Conclusion: Your Fairytale Awaits
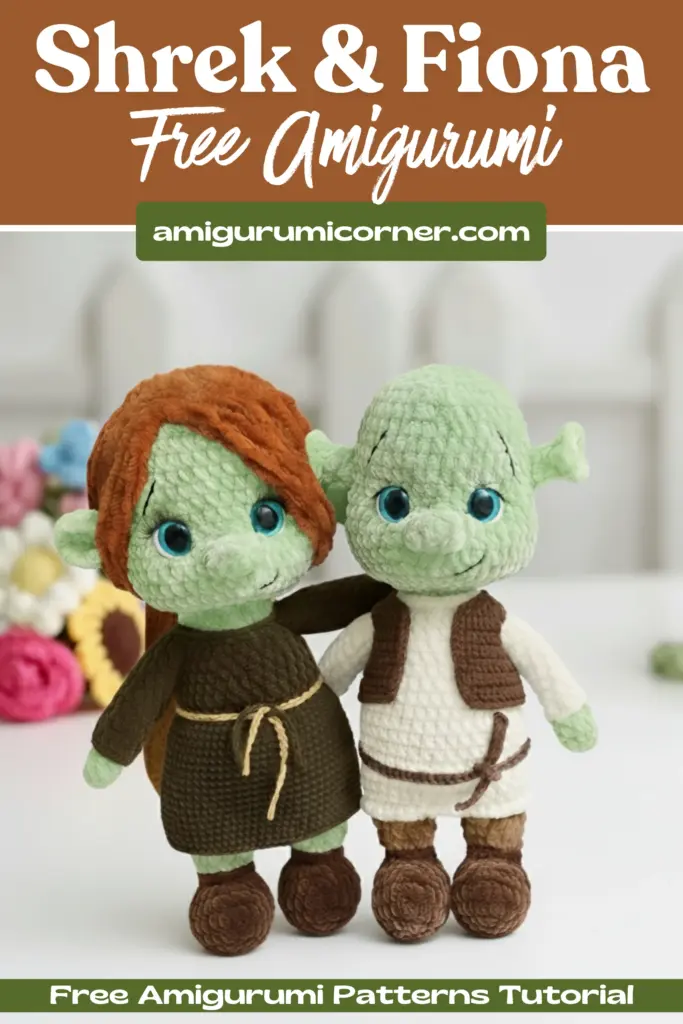
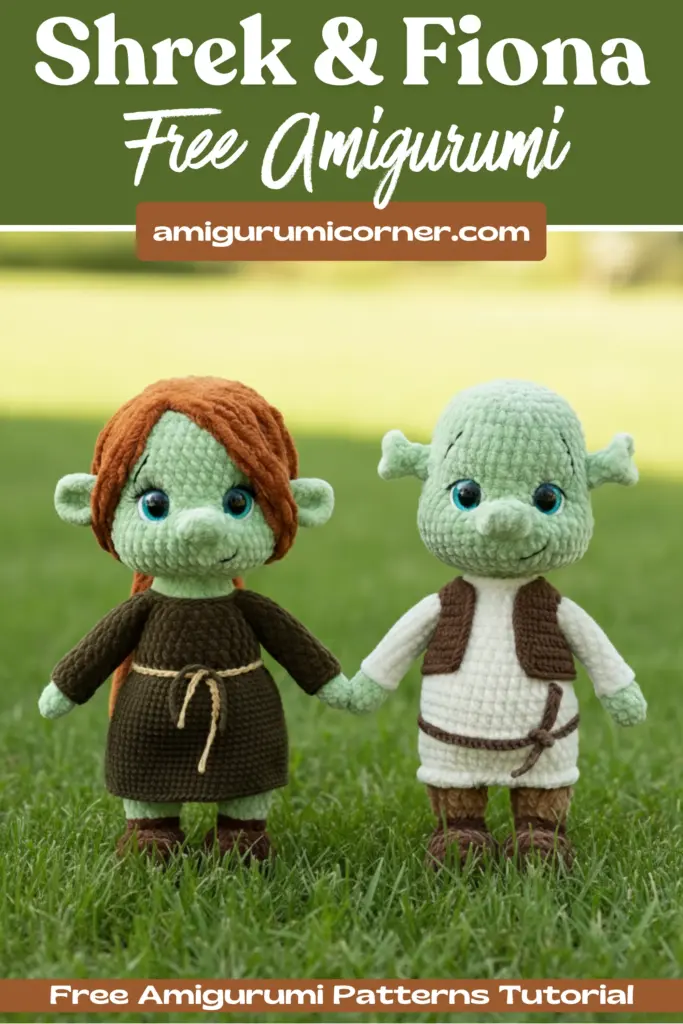
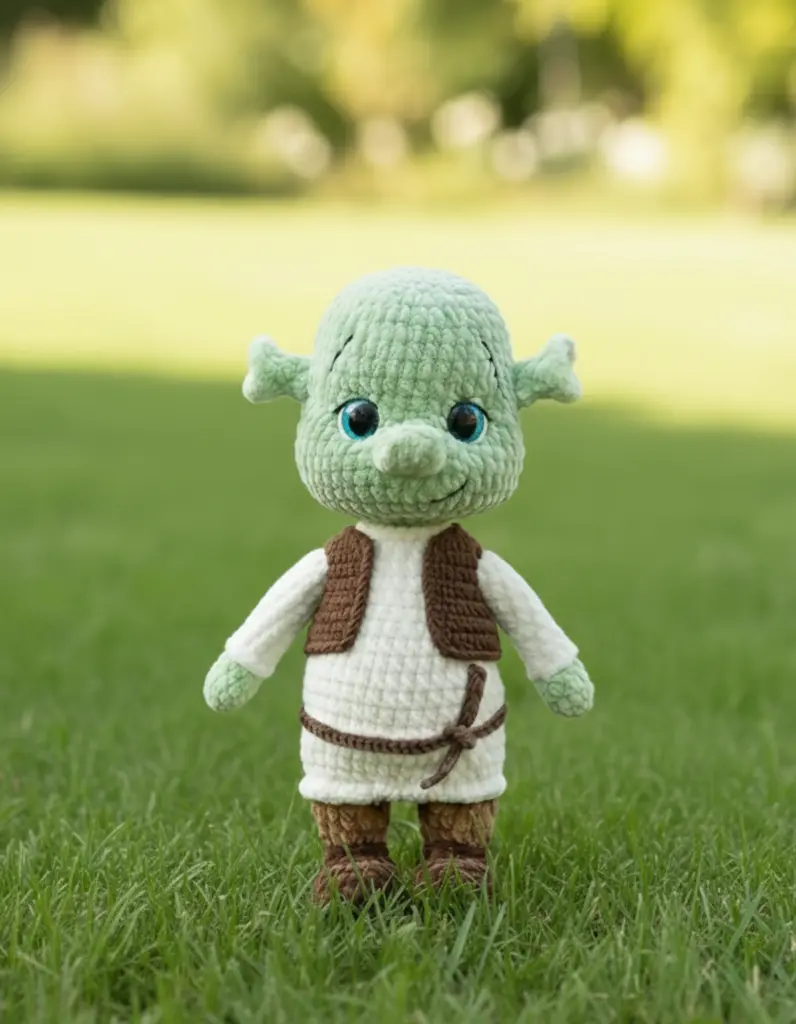
Have you ever wanted to bring your favorite fairytale characters to life with your own hands? Meet Shrek and Fiona—the lovable ogre couple that captured hearts worldwide. In this comprehensive guide, I’ll walk you through creating these adorable 29 cm amigurumi toys that will add a touch of magic to any collection.
Why This Pattern is Perfect for Intermediate Crocheters

Remember it later!
Planning to try this soon? Pin it for a quick find later!
This pattern combines the soft texture of plush yarn with the detail work of cotton, creating characters that are both huggable and beautifully detailed. While basic crochet skills are required, the step-by-step instructions make this project achievable for anyone comfortable with amigurumi techniques.
Essential Materials You’ll Need
Yarn Selection
The key to achieving the perfect Shrek and Fiona lies in choosing the right yarn:
- Wolans Bunny Baby in Olive (1.5 skeins for both toys) – Creates that signature ogre skin tone
- Himalaya Dolphin Baby in Cream, Swamp, and Brown – For clothing details
- Alize Softy in Ginger – Perfect for Fiona’s flowing hair
- YarnArt Jeans in multiple colors – For intricate details and accessories
- YarnArt Dolce in Brown – For structured pants
Tools and Supplies
- 3.75 mm crochet hook for plush yarn
- 1.75 mm crochet hook for semi-cotton yarn
- 18 mm safety eyes (one pair)
- Quality stuffing material
- Stitch markers
- Large-eyed needle for head shaping
- Sharp scissors
Understanding the Construction Method
This pattern uses a unique approach that combines two yarn types. The plush yarn creates the soft body, while cotton yarn adds definition to clothing and features. The key is maintaining consistent tension across both materials to ensure clothes fit properly.
Pro Tips for Success
Tension is Everything: Keep your stitches tight to prevent gaps in the toy. The tighter your work, the more professional your finished piece will look and the longer it will last.
Stuffing Wisely: Overstuffing can stretch your yarn and distort the toy’s shape. Aim for a firm but not rock-hard consistency, paying special attention to creating nice, round cheeks and a smooth forehead.
Use Stitch Markers: Place a marker at the beginning of each round to track your progress, especially when working in spiral rounds.
Building Your Ogres: Section by Section

Creating Expressive Arms
The arms begin with olive-colored yarn, transitioning to clothing colors as you progress. A clever technique creates a rolled sleeve effect by working in back loops only, then returning to embellish with front loop stitches.
Crafting Sturdy Legs and Boots
The leg construction starts with brown yarn for detailed boots, complete with toe shaping and heel placement. The pattern includes specific guidance on stitch placement to ensure boots face forward correctly. A helpful tip: leave extra yarn when changing colors to crochet decorative rounds later.
Joining Legs for a Stable Body
One of the pattern’s clever features is how the legs join from the back, creating a natural standing position. Proper marker placement ensures toes point forward, giving your toy realistic posture.
Body Construction: Two Distinct Designs
Shrek’s Body features a simple shirt design with cream-colored yarn and attached arms at specific intervals to maintain proportion.
Fiona’s Body incorporates a beautiful layered dress with a swamp green bodice and flowing skirt worked in spiral rounds. The skirt uses dark green yarn with mustard-colored accents for added dimension.
Shaping the Perfect Head
The head pattern works identically for both characters, with increases creating the round ogre face. Eye placement between rounds 43 and 44, with seven stitches between them, gives the characters their characteristic friendly expression.
Head Shaping Technique: Using doubled light green yarn and a long needle, you’ll create definition around the eyes. This technique, which involves strategic placement of stitches to pull the stuffing, creates those adorable plump cheeks and defined eye sockets.
Adding Character: Facial Features
The Distinctive Ogre Nose
The nose, worked in olive yarn, creates a simple but effective raised feature. Pin it carefully before sewing to ensure perfect centering.
Embroidered Face Details
Using black yarn, you’ll embroider:
- Eyelids that frame the safety eyes
- Even eyebrows (use pins to mark placement first)
- A characteristic smile
White plush yarn adds highlights to the eyes, giving them life and dimension.
Ear Construction
Fiona’s Ears: Round and soft, positioned at eye level and folded before attachment for dimension.
Shrek’s Ears: Smaller and tube-shaped, sewn at the upper edge of the eyes for that signature ogre look.
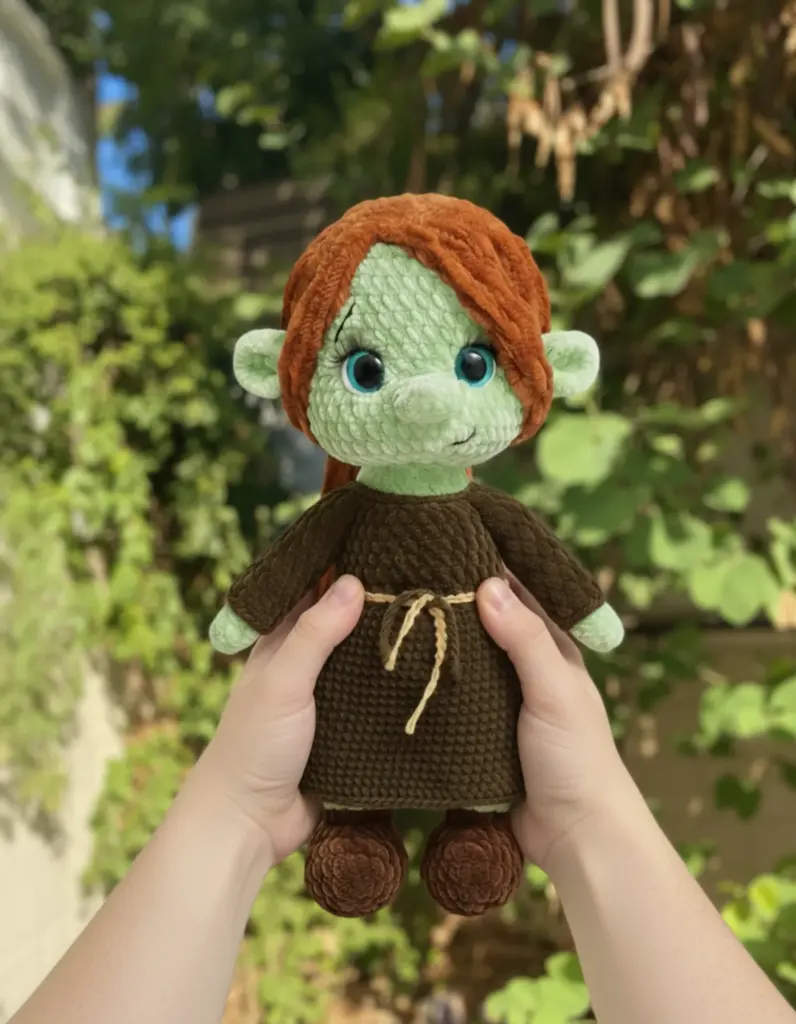
Fiona’s Crowning Glory: The Hair
Creating Fiona’s ginger hair involves crocheting a base cap, then attaching individual yarn pieces using a loop technique. Each 40 cm strand is folded in half and pulled through stitches around the cap. The result? Gorgeous, flowing hair that can be trimmed and styled to your preference. Braid it for the classic Fiona look, ensuring the ears peek through naturally.

Remember it later!
Planning to try this soon? Pin it for a quick find later!
Finishing Touches: Clothing and Accessories
Shrek’s Vest
This brown vest features strategic increases that create a shaped front opening. The armholes are formed by chaining and skipping stitches, creating a garment that actually fits over the body. A simple chain belt completes the look.
Fiona’s Details
The dress features a beautiful tiered construction:
- A fitted bodice in swamp green
- A flowing skirt in dark green
- Mustard-colored accents for visual interest
- A matching belt to define the waist
Common Challenges and Solutions
Avoiding Gaps in Your Work
If you notice gaps between stitches, try:
- Using a smaller hook size
- Increasing tension slightly
- Ensuring you’re working into the correct stitch loops
Achieving Even Features
For symmetrical facial features:
- Always use stitch markers or pins for placement
- Count stitches carefully between eyes
- Step back and view your work from a distance
Managing Multiple Yarn Changes
Keep yarn ends organized by:
- Securing them temporarily with clips
- Weaving in ends as you go when possible
- Taking photos to remember color placement
Beyond the Pattern: Making These Toys Your Own
While this pattern creates authentic Shrek and Fiona characters, you can personalize them by:
- Adjusting clothing colors to create different outfits
- Modifying hair length and style
- Adding accessories like Shrek’s vest pockets or Fiona’s crown
- Creating additional props from the movies
Care Instructions for Your Finished Toys
To keep your amigurumi looking their best:
- Spot clean with gentle soap and cool water
- Reshape while damp and air dry completely
- Store away from direct sunlight to prevent color fading
- Keep away from pets who might mistake them for chew toys

The Joy of Handmade Treasures
Creating these characters takes time and patience, but the result is a unique, handmade treasure that captures the spirit of these beloved characters. Whether you’re making them as gifts or adding them to your own collection, these toys carry the special magic that only handcrafted items possess.
Each stitch represents care and attention, transforming simple yarn into characters that bring smiles. The process itself becomes meditative, a creative journey that yields both a beautiful finished product and the satisfaction of creating something with your own hands.
Conclusion: Your Fairytale Awaits
Now you have all the knowledge needed to create your own Shrek and Fiona amigurumi pair. Remember, the key to success lies in maintaining consistent tension, following the pattern carefully, and enjoying the creative process. Don’t rush—take your time with each section, and you’ll be rewarded with professional-looking results.
Whether you’re an experienced crocheter looking for your next project or someone ready to tackle a more ambitious amigurumi, this pattern offers the perfect balance of challenge and clear instruction. The combination of techniques—from basic increases and decreases to more advanced head shaping and clothing construction—will expand your skills while creating something truly special.
So gather your materials, settle into your favorite crafting spot, and prepare to bring a little fairytale magic into your world, one stitch at a time. Happy crocheting!
Remember it later!
Planning to try this soon? Pin it for a quick find later!