Table of contents
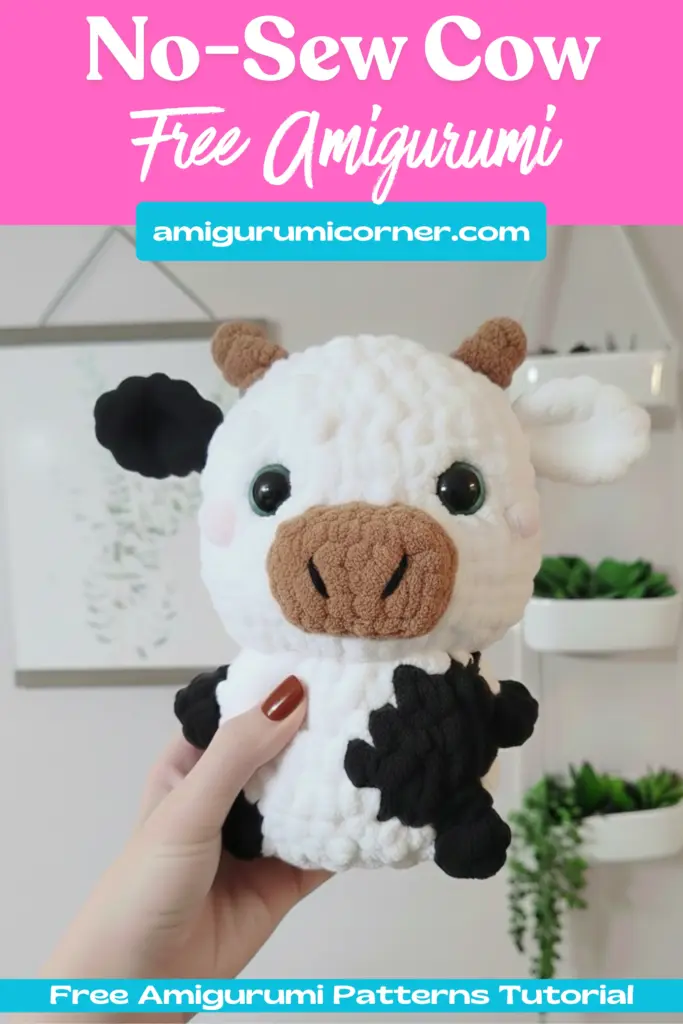
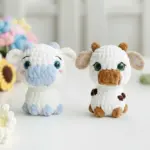
Are you ready to create an adorable crochet cow without the hassle of sewing pieces together? This comprehensive guide will walk you through crafting a charming cow amigurumi using a clever no-sew technique that makes the process easier and more enjoyable for crocheters of all skill levels.
What You’ll Need
Materials
Before diving into this project, gather these essential supplies:
- Yarn: Super Bulky weight (Category 6) in three colors: black, brown, and white
- Hook: 3.5mm (E) crochet hook
- Safety Features: 10mm plastic safety eyes
- Assembly Tools: Hot glue gun, sewing needle, stitch markers, and scissors
- Stuffing: Fiberfill for a soft, huggable finish

Remember it later!
Planning to try this soon? Pin it for a quick find later!
Understanding the Stitches
This pattern uses several standard crochet techniques:
- MR: Magic Ring
- SC: Single crochet
- INC: Increase
- DEC: Decrease
- FLO: Front loop only
- DC: Double crochet
- BO: Bobble stitch
- Picot stitch: Slip stitch in 2nd stitch from the hook
- SLST: Slip stitch
- CH: Chain
Crafting the Body and Head (No Sewing Required!)
The beauty of this pattern lies in its innovative approach: you’ll crochet from the body up to the head in one continuous piece, eliminating the need for assembly later.
Creating the Foundation
Starting with white yarn:
- Row 1: Create 6 SC in a magic ring (6 stitches)
- Row 2: Work 6 increases (12 stitches)
- Row 3: Single crochet, then increase, repeating 6 times (18 stitches)
- Row 4: Two single crochets, then increase, repeating 6 times (24 stitches)
Adding Character with Color Changes
This is where your cow starts to develop its distinctive markings. Switch to black yarn for specific stitches as indicated:
- Row 5: 8 SC, bobble stitch, 6 SC, bobble stitch, 8 SC (24 stitches)
- Row 6: 15 SC, 4 SC in black, 5 SC (24 stitches)
- Row 7: 13 SC, 8 SC in black, 3 SC (24 stitches)
- Row 8: 6 SC, bobble stitch, 6 SC, 4 SC in black, bobble stitch, 3 SC in black, 3 SC (24 stitches)
- Row 9: 15 SC, 4 SC in black, 5 SC (24 stitches)
Shaping the Transition
- Row 10: Single crochet and decrease alternating 8 times (16 stitches)
- Row 11: Working in front loops only, alternate single crochet and increase 8 times (24 stitches)
- Row 12: Alternate single crochet and increase 12 times (36 stitches)
- Rows 13-15: Work 36 single crochets for three consecutive rows (36 stitches)

Incorporating More Black Details
Continue alternating colors to create the cow’s natural spotted pattern:
- Row 16: In black, work (2 SC, DEC) twice, then return to white for (2 SC, DEC) 7 times (27 stitches)
- Row 17: 9 SC, 16 SC in black, 2 SC (27 stitches)
- Row 18: 12 SC, 13 SC in black, 2 SC (27 stitches)
- Row 19: 12 SC, 15 SC in black (27 stitches)
Finishing the Head
This is your stuffing checkpoint! Before closing up, firmly stuff your cow with fiberfill.
- Row 20: SC, DEC, then (SC, DEC) 3 times in black, followed by (SC, DEC) 5 times (18 stitches)
- Row 21: Alternate single crochet and decrease 6 times (12 stitches)
- Row 22: Work 6 decreases to close (6 stitches)
Weave in the yarn end securely and cut.
Adding the Adorable Details
Crafting the Ears (Make 2)
Using white yarn, create ears that give your cow its sweet expression:
- Make 5 chains, starting from the second chain from the hook
- Work 3 SC, then 3 SC in the last stitch
- Continue with 2 SC, then increase
- Attach each ear with 2 slip stitches at rows 18-19, positioning them straight from where the arms would be
Create one additional piece using black yarn for contrast.
Forming the Horns (Make 2)
Switch to brown yarn for authentic-looking horns:
- Position horns between rows 20-21
- Place them straight up from the ears with 9 stitches between
- Work 3 chains, one double crochet, picot stitch, 2 chains, and slip stitch in the next stitch
- Cut yarn and secure
Shaping the Nose
Using brown yarn, create a distinctive cow nose:
- Make 5 chains, starting from the second chain from the hook
- Work: INC, 2 SC, 4 SC in the last stitch, 2 SC, INC
- Fasten off, leaving a long tail for attachment
- Connect the nose at rows 13-15 using 12 slip stitches

Final Assembly
Attaching the Eyes
Position the 10mm safety eyes at row 16, spacing them 5 stitches apart for a friendly, well-proportioned appearance.
Creating Nostrils
Add the finishing touch by making two white lines to create nostril-shaped holes, following the reference photo for proper placement.
Your Adorable Cow is Complete!
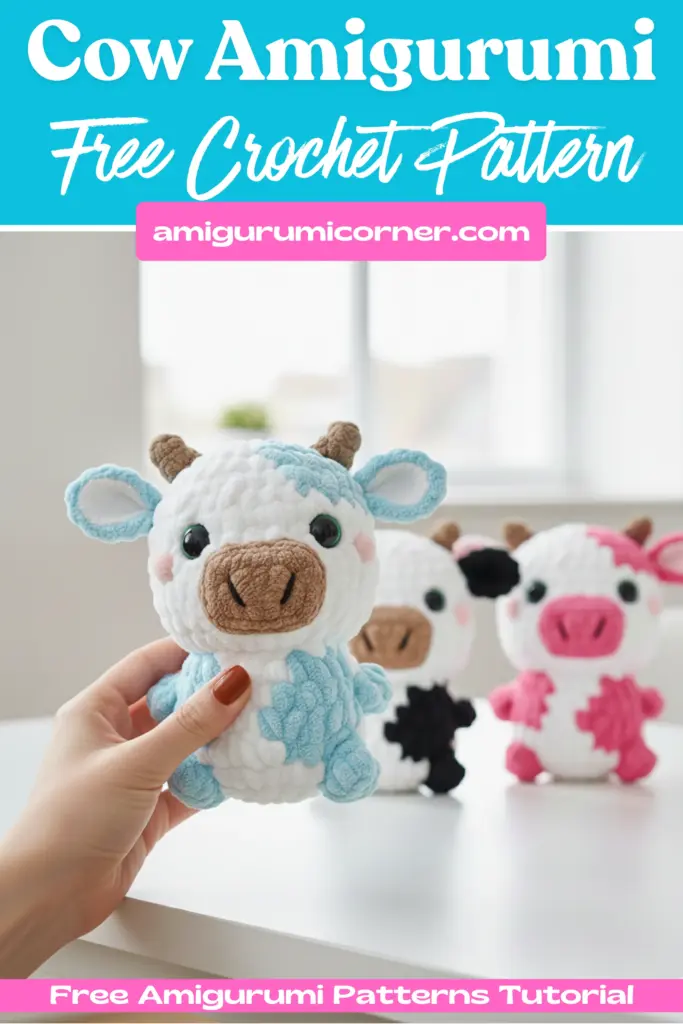
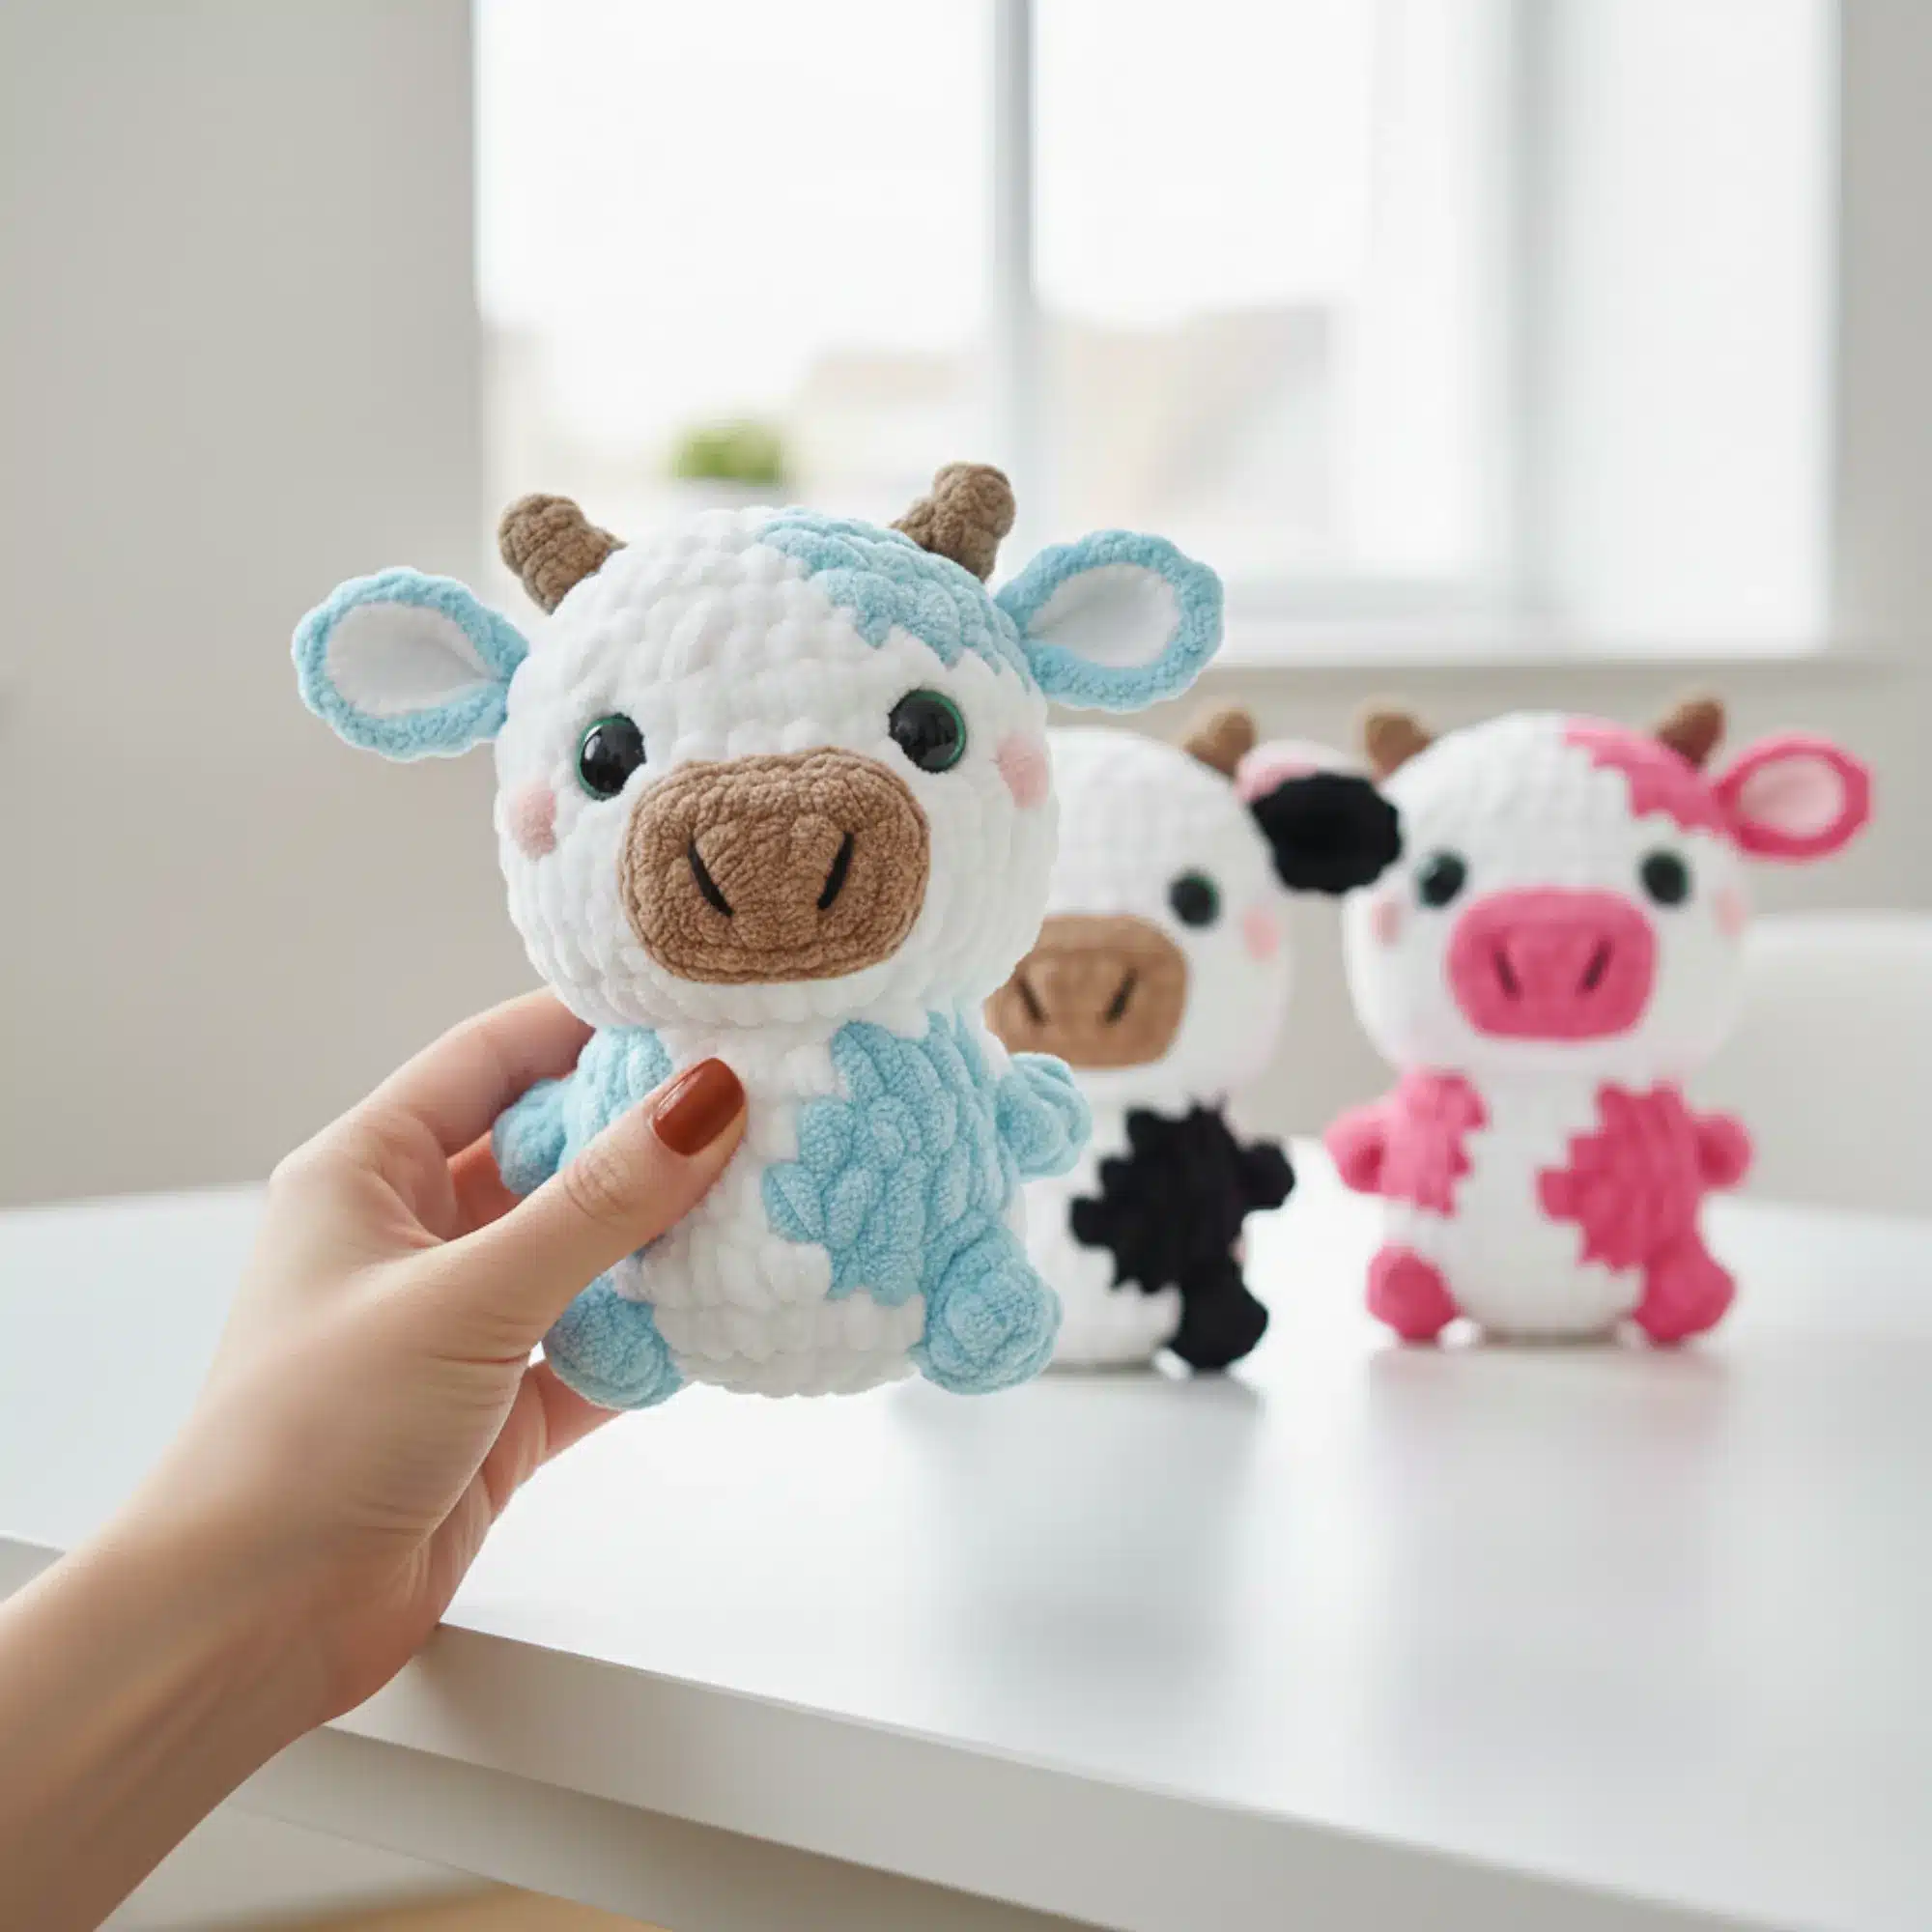
Congratulations on completing your no-sew crochet cow! This charming amigurumi makes a perfect gift, nursery decoration, or addition to your handmade toy collection. The innovative no-sew technique not only saves time but also creates a more durable finished product with fewer weak points.
The combination of white, black, and brown creates a realistic cow appearance, while the bobble stitches add delightful texture. Whether you’re a beginner looking to expand your skills or an experienced crocheter seeking a quick, satisfying project, this pattern delivers adorable results.
Happy crocheting, and enjoy your new barnyard friend!

Remember it later!
Planning to try this soon? Pin it for a quick find later!