Table of contents
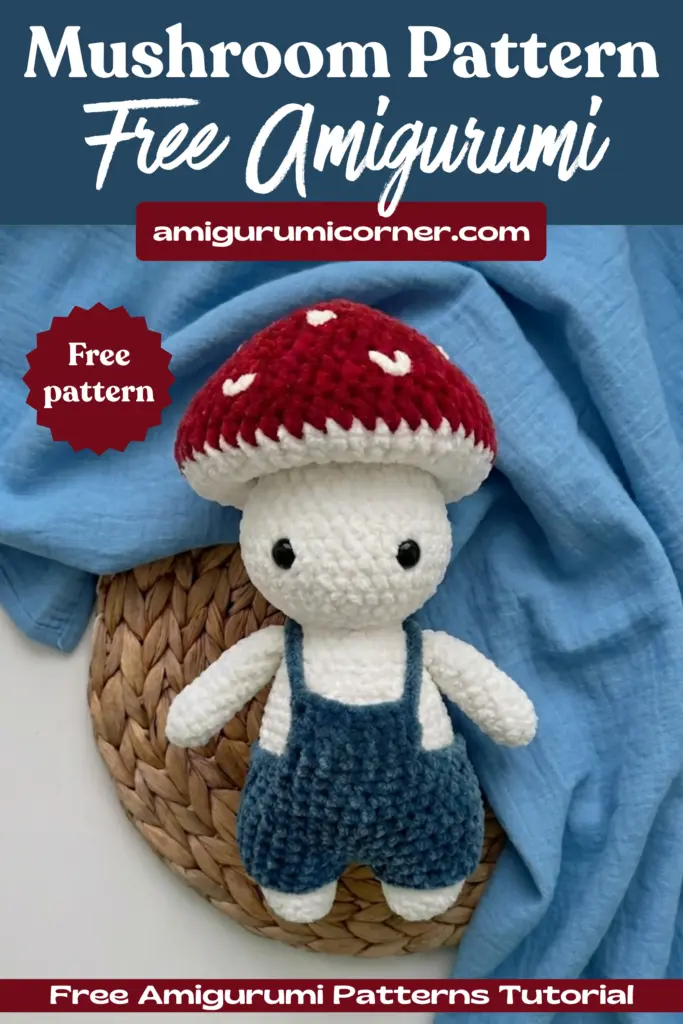
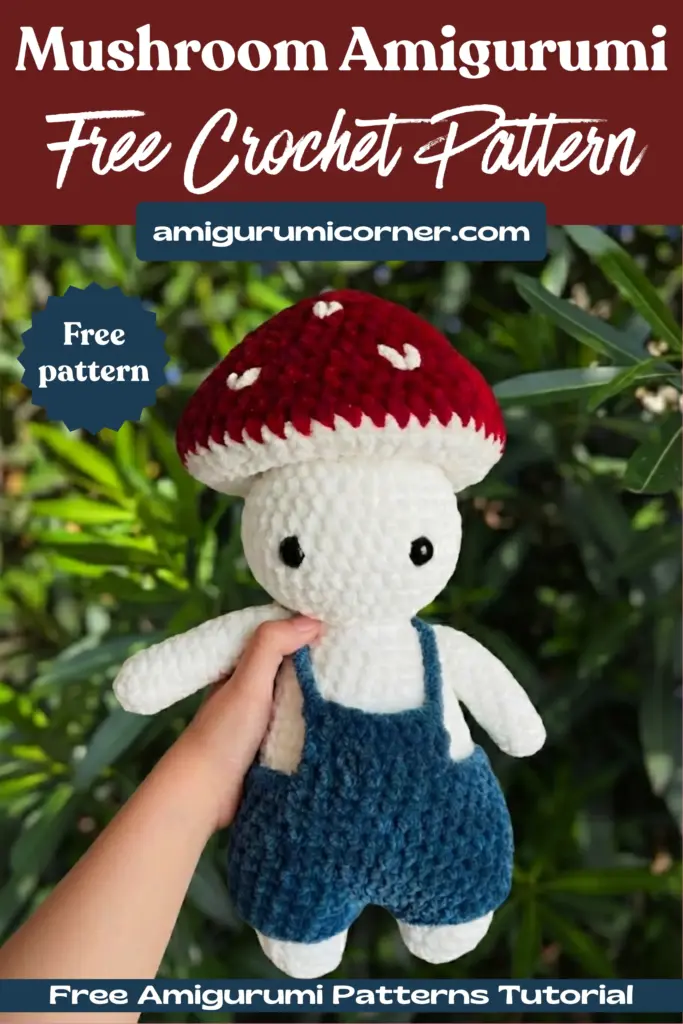
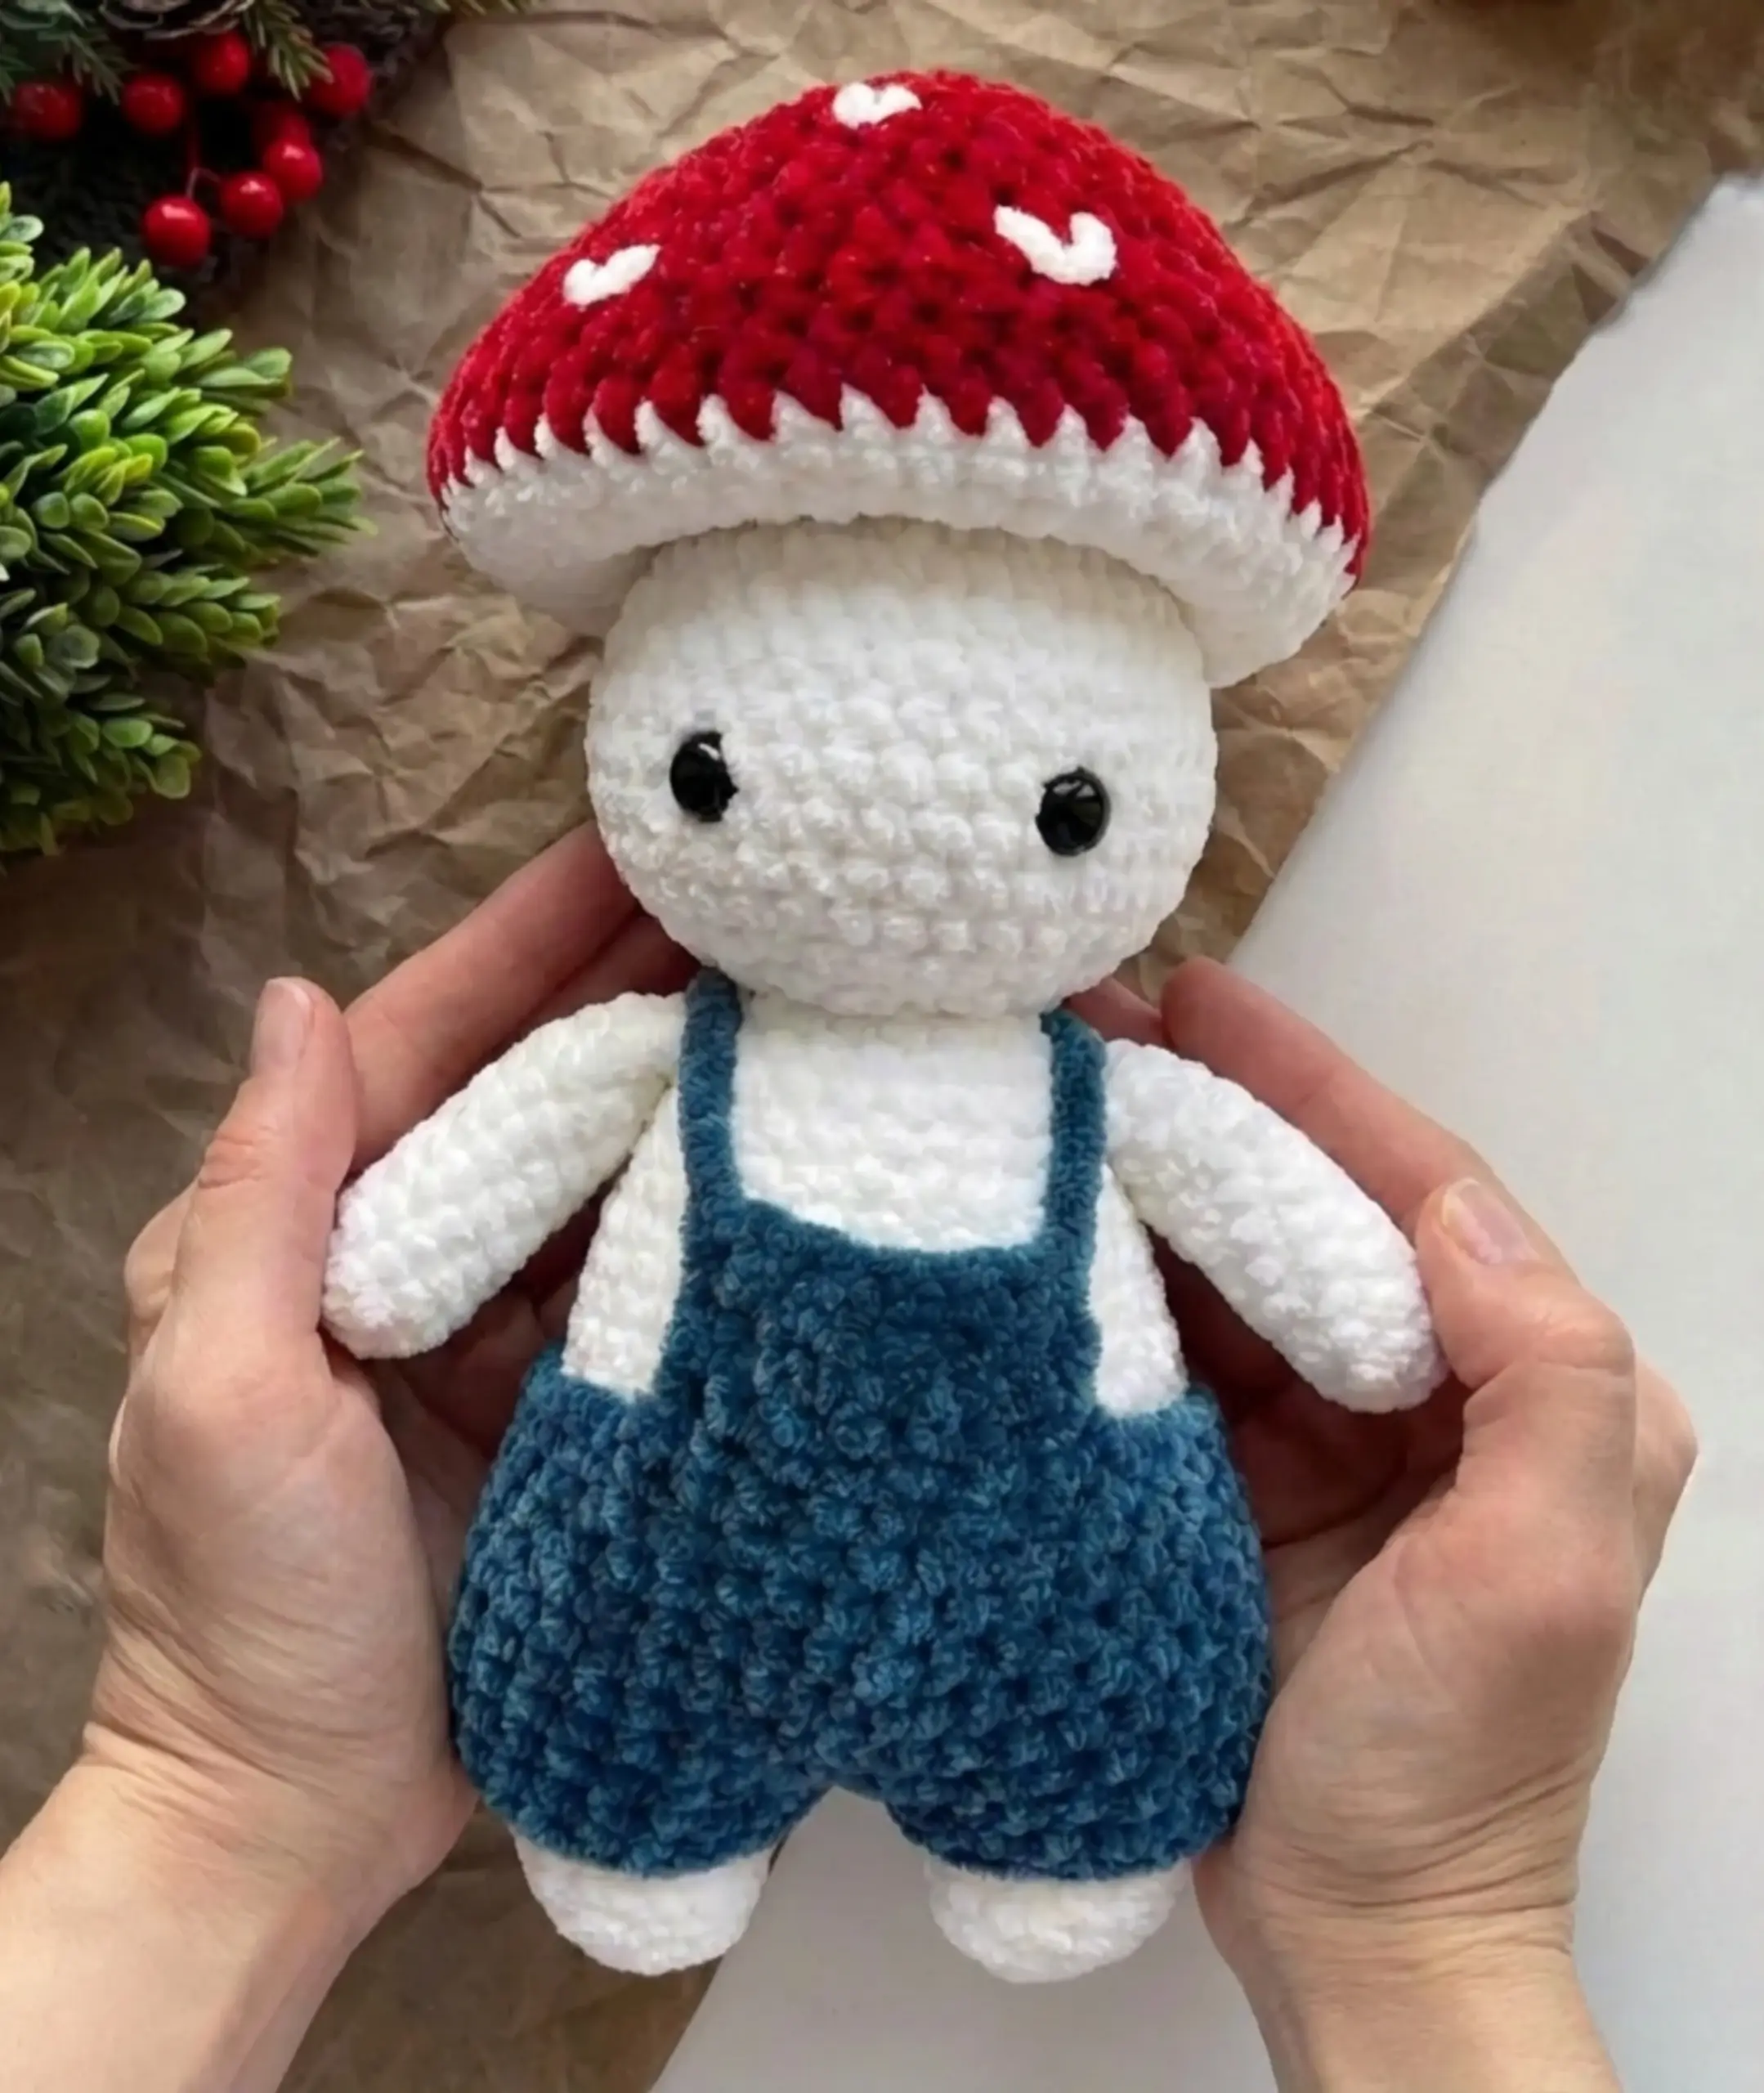
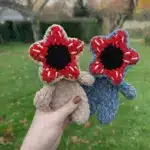
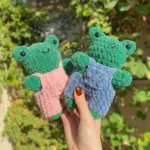
Looking for a charming crochet project that’s perfect for beginners and experienced makers alike? Meet Elliot, an absolutely adorable mushroom character that will steal your heart! This free amigurumi pattern features a sweet mushroom boy complete with a red spotted cap, green overalls, and the cutest little arms and legs. Whether you’re making him as a gift or adding to your own collection, Elliot is sure to become a beloved handmade treasure.
Important Pattern Notes
Before you begin crocheting Elliot, here are some essential details to keep in mind:
- This pattern is written in US crochet terminology
- The pattern uses continuous rounds with no need to slip stitch and chain at the end of each round
- You may want to use a stitch marker to track where your rounds start
- You can start with a magic ring (MR) or chain 2 and place stitches in the 2nd chain
- (x) indicates a set of stitches followed by the number of times to repeat
- [x] shows the total stitch count after each round
Materials Needed
To create your own Elliot mushroom boy, gather these supplies:
- Chenille yarn (Honey Bunny brand was used in the original):
- Beige (for the body)
- Red (for the cap)
- Green (for the overalls)
- White (for decorative hearts, optional)
- Crochet hook: 5mm
- Safety eyes: 12mm
- Stitch marker
- Scissors
- Stuffing (polyester fiberfill)
- Yarn needle for weaving in ends
Crochet Abbreviations
Familiarize yourself with these standard crochet terms used throughout the pattern:
- mr – magic ring
- ch – chain
- sc – single crochet
- hdc – half double crochet
- dc – double crochet
- flo – front loops only
- inc – increase
- dec – decrease
- sl-st – slip stitch

Pattern Instructions
Arms (Make 2)
Work in body color (beige):
R1. 8sc in mr
R2-15. 8sc (14 rounds)
Fasten off. No need to leave a tail. Stuff the arms slightly.
Legs (Make 2)
Work in body color (beige):
R1. 8sc in mr
Fasten off only on the first leg!
Body
Continue in body color:
R6. Ch 4 at the end of 5th row, and join to first leg with a sc on it’s last stitch (it’ll be your 1st stitch of the leg), then 13sc in the remaining stitches, sc in each ch, 14sc, sc in each ch
R7-8. 36sc (2 rounds)
Begin stuffing legs, and keep stuffing as you go.
R9. (5sc, 1inc) x6
R10-12. 42sc (3 rounds)
R13. (5sc, 1dec) x6
R14-17. 36sc (4 rounds)
R18. (4sc, 1dec) x6
R19-20. 30sc (2 rounds)
R21. (3sc, 1dec) x6
R22-24. 24sc (3 rounds)
Attaching Arms and Continuing to Head
In the next round, you’ll attach the arms by crocheting through both the arm and body. Fold each arm, leaving 4 single crochets to go through. You may need to adjust the placement based on your tension to ensure the arms align with the legs.
R26. 2sc, 4sc (arm), 6sc, 4sc (arm), 2sc
R29. (2sc, 1inc) x6
R30. (3sc, 1inc) x6
R31. (4sc, 1inc) x6
Head
Remember to keep stuffing! Stuff the neck firmly so that the head doesn’t wobble.
R32-37. 36sc (6 rounds)
Insert safety eyes between R34-35. Leave 5-6 visible stitches between them, but choose the placement that works best for you!
R38. (4sc, 1dec) x6
R39. (3sc, 1dec) x6
R42. flo 12inc
R43. (3sc, 1inc) x6
R44. (4sc, 1 inc) x6
R45. (5hdc, 1inc hdc) x6
R46. (6dc, 1inc dc) x6
Mushroom Cap
Change to cap color (red):
R47-49. 48sc (3 rounds)
R50. (6sc, 1dec) x6
R51. (5sc, 1dec) x6
R52. (4sc, 1dec) x6
R53. (3sc, 1dec) x6
R54. (4sc, 1 dec) x4
R57. 5dec
Fasten off. Leave a tail to sew the hole closed.
The designer didn’t stuff the cap, but you can if you prefer! At this point you have finished the main pattern for Elliot. You can add some white spots on the cap for an authentic mushroom look. You can also add some blush to the cheeks or embroider a mouth if preferred.
Overalls (Optional)
First Leg
Work in green:
R1. Ch20
R2. Connect to 1st ch with a sc, and sc in each ch
Fasten off. No need to leave a tail.

Second Leg and Joining
Repeat the same steps as for the 1st leg, but don’t fasten off.
R3. Ch1 and join to 1st leg with a sc. Sc all the way around: 19sc, sc in chain, 20sc, sc in chain
R4-7. 42 sc (4 rounds)
R8. (5sc, 1dec) x6
R9. 36sc
R10. (4sc, 1dec) x6
R11-12. 30sc (2 rounds)
Fasten off and weave in the ends.
You may need to adjust the number of chains and single crochets depending on how tightly you’d like the overalls to fit around your mushroom boy!
Bib and Straps
You’ll be working in 7 stitches at the front center of the overalls. Insert your hook and make a slip stitch into the 1st stitch:
R1. 7sc
R2-4. ch1 & turn, 7sc (3 rounds)
Ch18 (or the number of chains you need for your desired strap length)
You’ll be working in 4 stitches at the center of the back. Connect the chains with the stitch farthest to the right, then 3sc, ch18.
Connect the second strap to the left top corner of the bib. Fasten off and weave in the ends.
Pro tip: You may want to put the overalls onto Elliot’s body to ensure it fits properly before fastening off!
Assembly and Finishing Touches
Once all pieces are complete, it’s time to bring Elliot to life! Make sure all ends are securely woven in and the head is firmly stuffed to prevent wobbling. Consider adding these charming details:
- White spots on the red mushroom cap using small circles of white yarn
- Rosy cheeks with fabric blush or pink yarn
- An embroidered smile for extra personality
- Small white heart appliques on the overalls
Frequently Asked Questions
The finished size depends on your yarn weight and tension. Using chenille yarn with a 5mm hook as specified, Elliot will be approximately 8-10 inches tall. If you use thinner yarn and a smaller hook, your mushroom will be smaller.
Yes! You can use any yarn you prefer, but you’ll need to adjust your hook size accordingly. Chenille yarn creates a soft, plush texture that’s perfect for this project, but acrylic worsted weight yarn or cotton yarn work well too. Just match your hook to your yarn weight.
The original pattern designer chose not to stuff the cap, allowing it to have a slightly floppy, natural mushroom appearance. However, you can lightly stuff it if you prefer a firmer, rounder cap. This is a personal preference!
This pattern is beginner-friendly if you know basic amigurumi techniques including magic ring, single crochet, increases, and decreases. The continuous round construction and arm attachment might be new for absolute beginners, but the pattern includes helpful guidance for these steps.
Conclusion
Elliot the mushroom boy is a delightful crochet project that combines adorable design with straightforward construction. This charming amigurumi makes a wonderful handmade gift for children and adults alike, or a sweet addition to your own collection of crocheted friends. The customizable elements—from cap colors to facial expressions—allow you to make each Elliot truly unique.
Remember to share your finished creation with the pattern designer by tagging them on social media, and don’t forget to enjoy the meditative, creative process of bringing this little mushroom character to life. Happy crocheting!


Remember it later!
Planning to try this soon? Pin it for a quick find later!