Table of contents
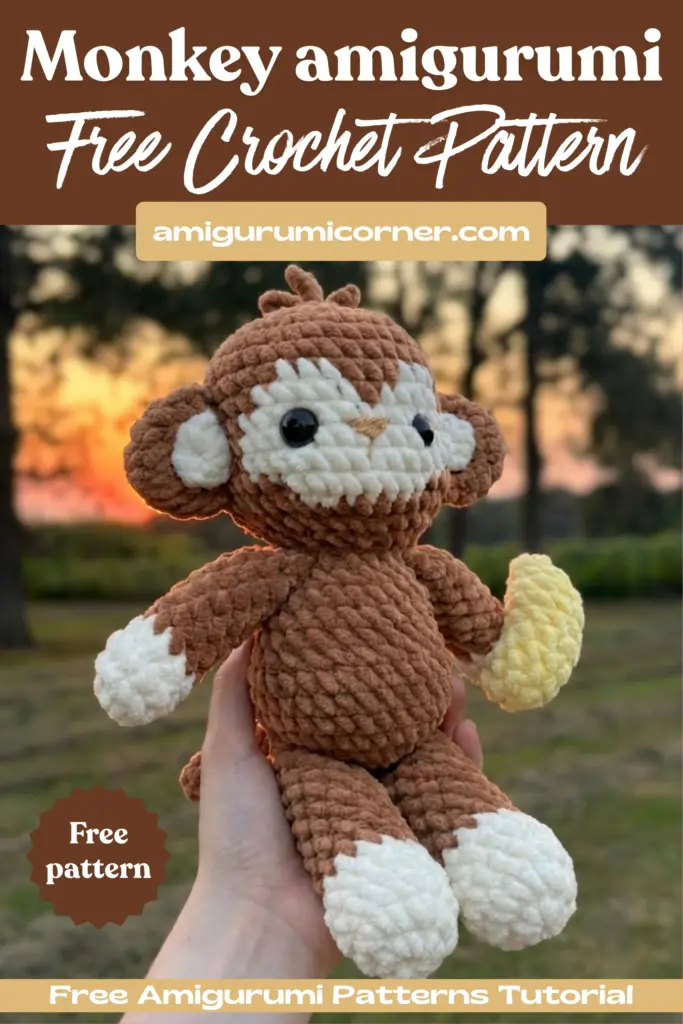
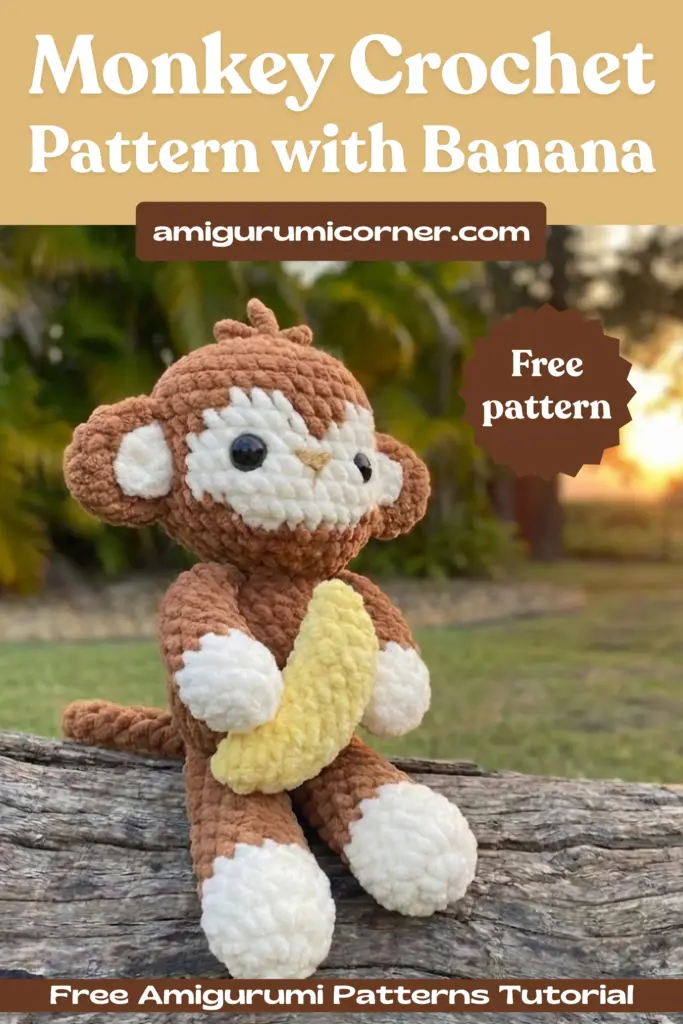
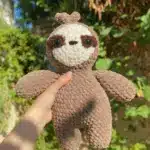
Looking for an irresistibly cute crochet project? This free monkey with banana amigurumi pattern is perfect for crafters who want to create an adorable plush toy. this pattern features a charming monkey complete with expressive features, movable limbs, and an optional banana accessory. Whether you’re making it as a gift or adding to your amigurumi collection, this pattern combines beginner-friendly techniques with delightful details.
Designer: seasidecrochet_
Materials Needed
Before you begin crocheting your monkey, gather these essential supplies:
- Brown, cream, and yellow yarn (Premier Parfait Chunky recommended)
- Strand of #4 weight brown yarn for the nose
- 5mm crochet hook
- 14mm safety eyes
- Yarn needle
- Polyester stuffing
- Stitch marker
- Scissors

Abbreviations Guide
This pattern uses standard USA crochet terminology:
- ch = chain
- sc = single crochet stitch
- sl st = slip stitch
- inc = increase (2 sc in one stitch)
- dec = invisible decrease
- R = round
- FO = fasten off
- St(s) = stitch(es)
- Mr = magic ring
Pattern Notes
- This pattern uses USA crochet terms
- The yarn under/over technique is recommended but optional
- The ch 2 method is used for magic rings, but you can use your preferred method
- Work in continuous rounds unless otherwise specified
Head Instructions
- R1. Ch 2, 8 sc in first ch (8)
- R2. 8 inc (16)
- R3. (sc, inc) x8 (24)
- R4. (2 sc, inc) x8 (32)
- R5. (7 sc, inc) x4 (36)
- R6-7. sc around (36)
- R8. 14 sc, 3 sc, 3 sc, 3 sc, 13 sc (36)
- R9. 13 sc, 5 sc, 1 sc, 5 sc, 12 sc (36)
- R10-12. 12 sc, 13 sc, 11 sc (36)
- R13. 15 sc, 8 sc, 13 sc (36)
- R14. (7 sc, dec) x4 (32)
- R15. (2 sc, dec) x8 (24)
- R16. (1 sc, dec) x8 (18)
- FO and leave a short tail
- Begin stuffing
Insert the safety eyes between R10-11, positioning them 5-6 stitches apart. Finish stuffing the head firmly before closing.
Creating the Nose
Take a long strand of #4 weight brown yarn and thread it on your yarn needle. Insert the needle at the bottom of the head and bring the yarn out between the eyes. Sew 3 horizontal stitches that are 3 stitches wide. Go down 2 rows, then bring your needle up at the nose to create a vertical line. Return your yarn needle to the bottom of the head and tie a secure knot.
Body Instructions
- R1. ch 2, 8 in first chain (8)
- R2. 8 inc (16)
- R3. (1 sc, inc) x8 (24)
- R4. (2 sc, inc) x8 (32)
- R5-8. Sc around (32)
- R9. (2 sc, dec) x8 (24)
- R10-12. Sc around (24)
- R13. (2 sc, dec) x6 (18)
- FO, leave a long tail for sewing
- Stuff firmly
- Sew body to head, finishing stuffing with a few stitches left to sew

Arms Instructions (Make 2)
- R1. Ch 2, 8 sc in first chain (8)
- R2. (1 sc, inc) x4 (12)
- R3. Sc around (12)
- R4. (2 sc, dec) x3 (9)
- R5-13. Sc around (9)
Stuff the arms lightly. For the closing round, fold the arm in half and single crochet 6 stitches through both sides. Sew the arms to either side of the body, positioning them right under the head.
Legs Instructions (Make 2)
- R1. Ch 2, 8 sc in first chain (8)
- R2. 8 inc (16)
- R3-4. Sc around (16)
- R5. (2 sc, dec) x4 (12)
- R6-14. Sc around (12)
Stuff the legs firmly. For the closing round, fold each leg in half and single crochet 6 stitches through both sides. Sew the legs onto the magic circle at the base of the body so they are positioned right next to each other.
Tail Instructions
- R1. ch 2, 5 sc in first chain (5)
- R2-11. Sc around (5)
- FO, leave long tail for sewing
- Do not stuff
Sew the tail onto R4-5 of the body, centering it between the legs for a balanced appearance.
Ears Instructions (Make 2)
- R1. ch 2, 7 sc in second chain (7)
- R2. 7 inc (14)
- R3-4. Sc around (14)
For the closing round, fold the ear in half and single crochet 7 stitches through both sides. FO and leave a tail for sewing. Position the ears 2-3 stitches back from where the cream-colored face ends on either side of the head. Sew each ear at rounds 8-13.
Ear Inserts (Make 2)
- R1. ch 2, 8 sc in first chain
- FO, leave tail for sewing
Sew the ear inserts to the inside of each ear to add dimension and detail.
Hair Instructions
Short Hair (Make 2)
- Ch 4 and starting from the second chain from the hook, sl st 3
- FO, leave long tail for sewing
- Wait to make long hair before attaching to the head
Long Hair (Make 1)
- Ch 5 and starting from the second chain from the hook, sl st 4
- FO, leave long tail for sewing
Sew the long hair piece onto the center of the magic ring at the top of the head. Attach the 2 shorter hair pieces on either side of the long hair for a cute hairstyle.

Optional Banana Accessory
Using yellow yarn, create this adorable banana for your monkey to hold:
- R1. Ch 2, 5 sc in first chain (5)
- R2. Sc around (5)
- R3. 5 inc (10)
- R4-11. Sc around (10)
- R12. 5 dec (5)
- FO, leave tail for sewing
- Stuff and close, but do not cut yarn yet
To create the banana’s natural curve, bring the yellow yarn between R5-6 and insert it at R9-10. Pull gently to create a curve. Repeat this process until you achieve the desired amount of curve. Don’t cut the yellow yarn yet.
For realistic brown ends, thread a long strand of brown chenille or #4 weight yarn and bring it to the magic ring. Sew 5 vertical lines to create a star shape at both ends of the banana. Finally, use the remaining yellow yarn to sew the banana to one of the monkey’s hands.
Frequently Asked Questions
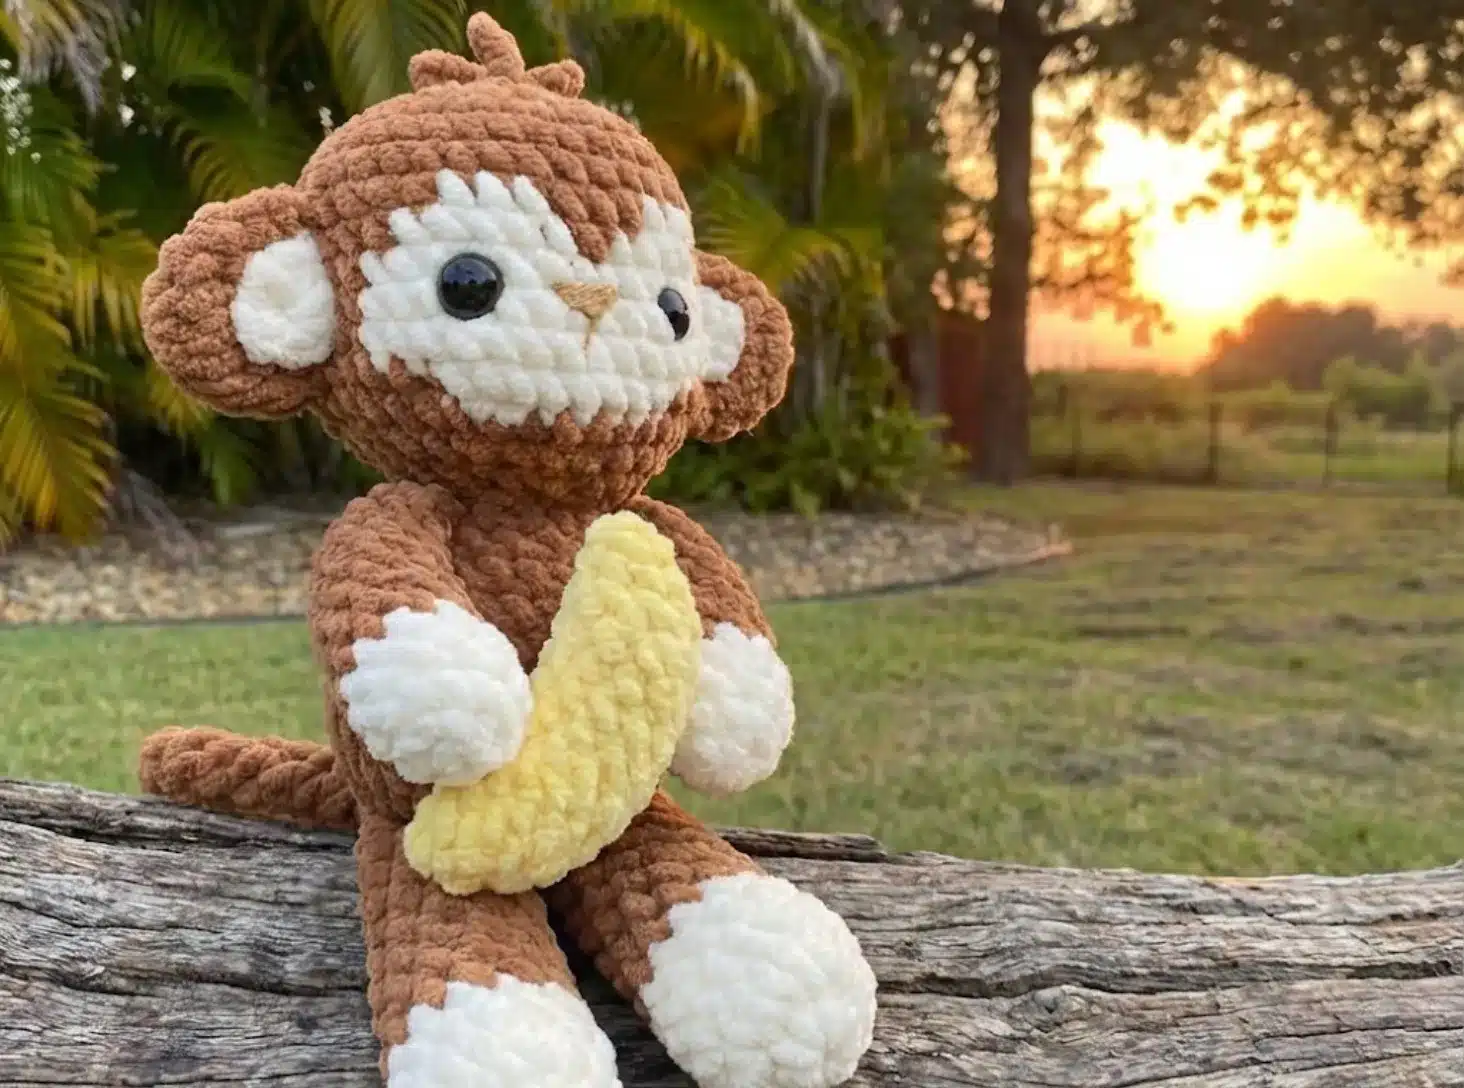
When made with the recommended Premier Parfait Chunky yarn and a 5mm hook, the finished monkey measures approximately 8-10 inches tall. The size may vary depending on your tension and the yarn weight you choose.
Yes, you can use any yarn weight, but you’ll need to adjust your hook size accordingly. Using lighter weight yarn will create a smaller monkey, while bulkier yarn will make a larger toy. Always match your hook to your yarn weight for best results.
Insert the safety eyes between rounds 10-11 of the head, spacing them 5-6 stitches apart. Make sure to place them before you finish stuffing the head, as safety eyes cannot be adjusted once secured.
This pattern is suitable for advanced beginners who are comfortable with basic amigurumi techniques like working in the round, increases, decreases, and assembly. The pattern uses straightforward stitches and clear instructions throughout.
Conclusion
You’ve now completed your adorable monkey with banana amigurumi! This charming toy makes a wonderful gift for children and adults alike, or a delightful addition to your handmade collection.
Remember it later!
Planning to try this soon? Pin it for a quick find later!