Table of contents
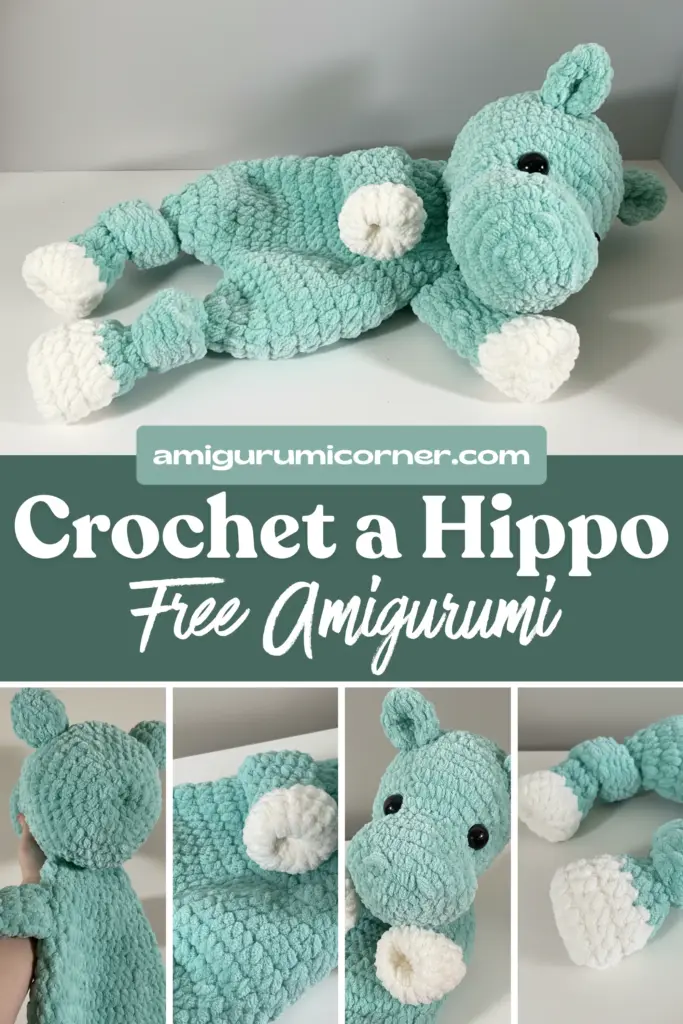
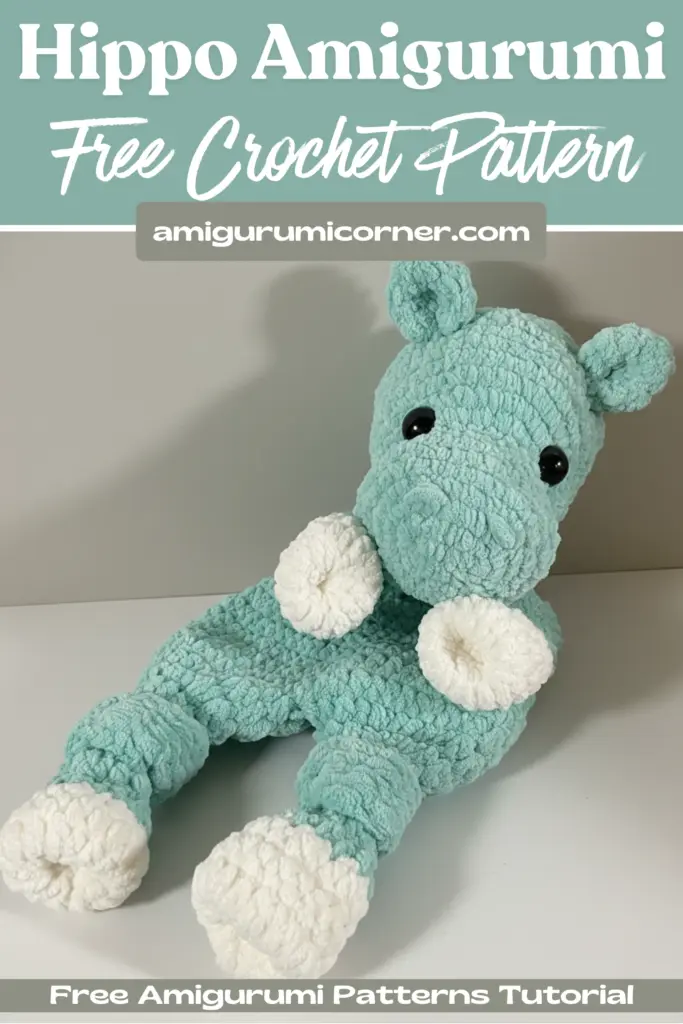
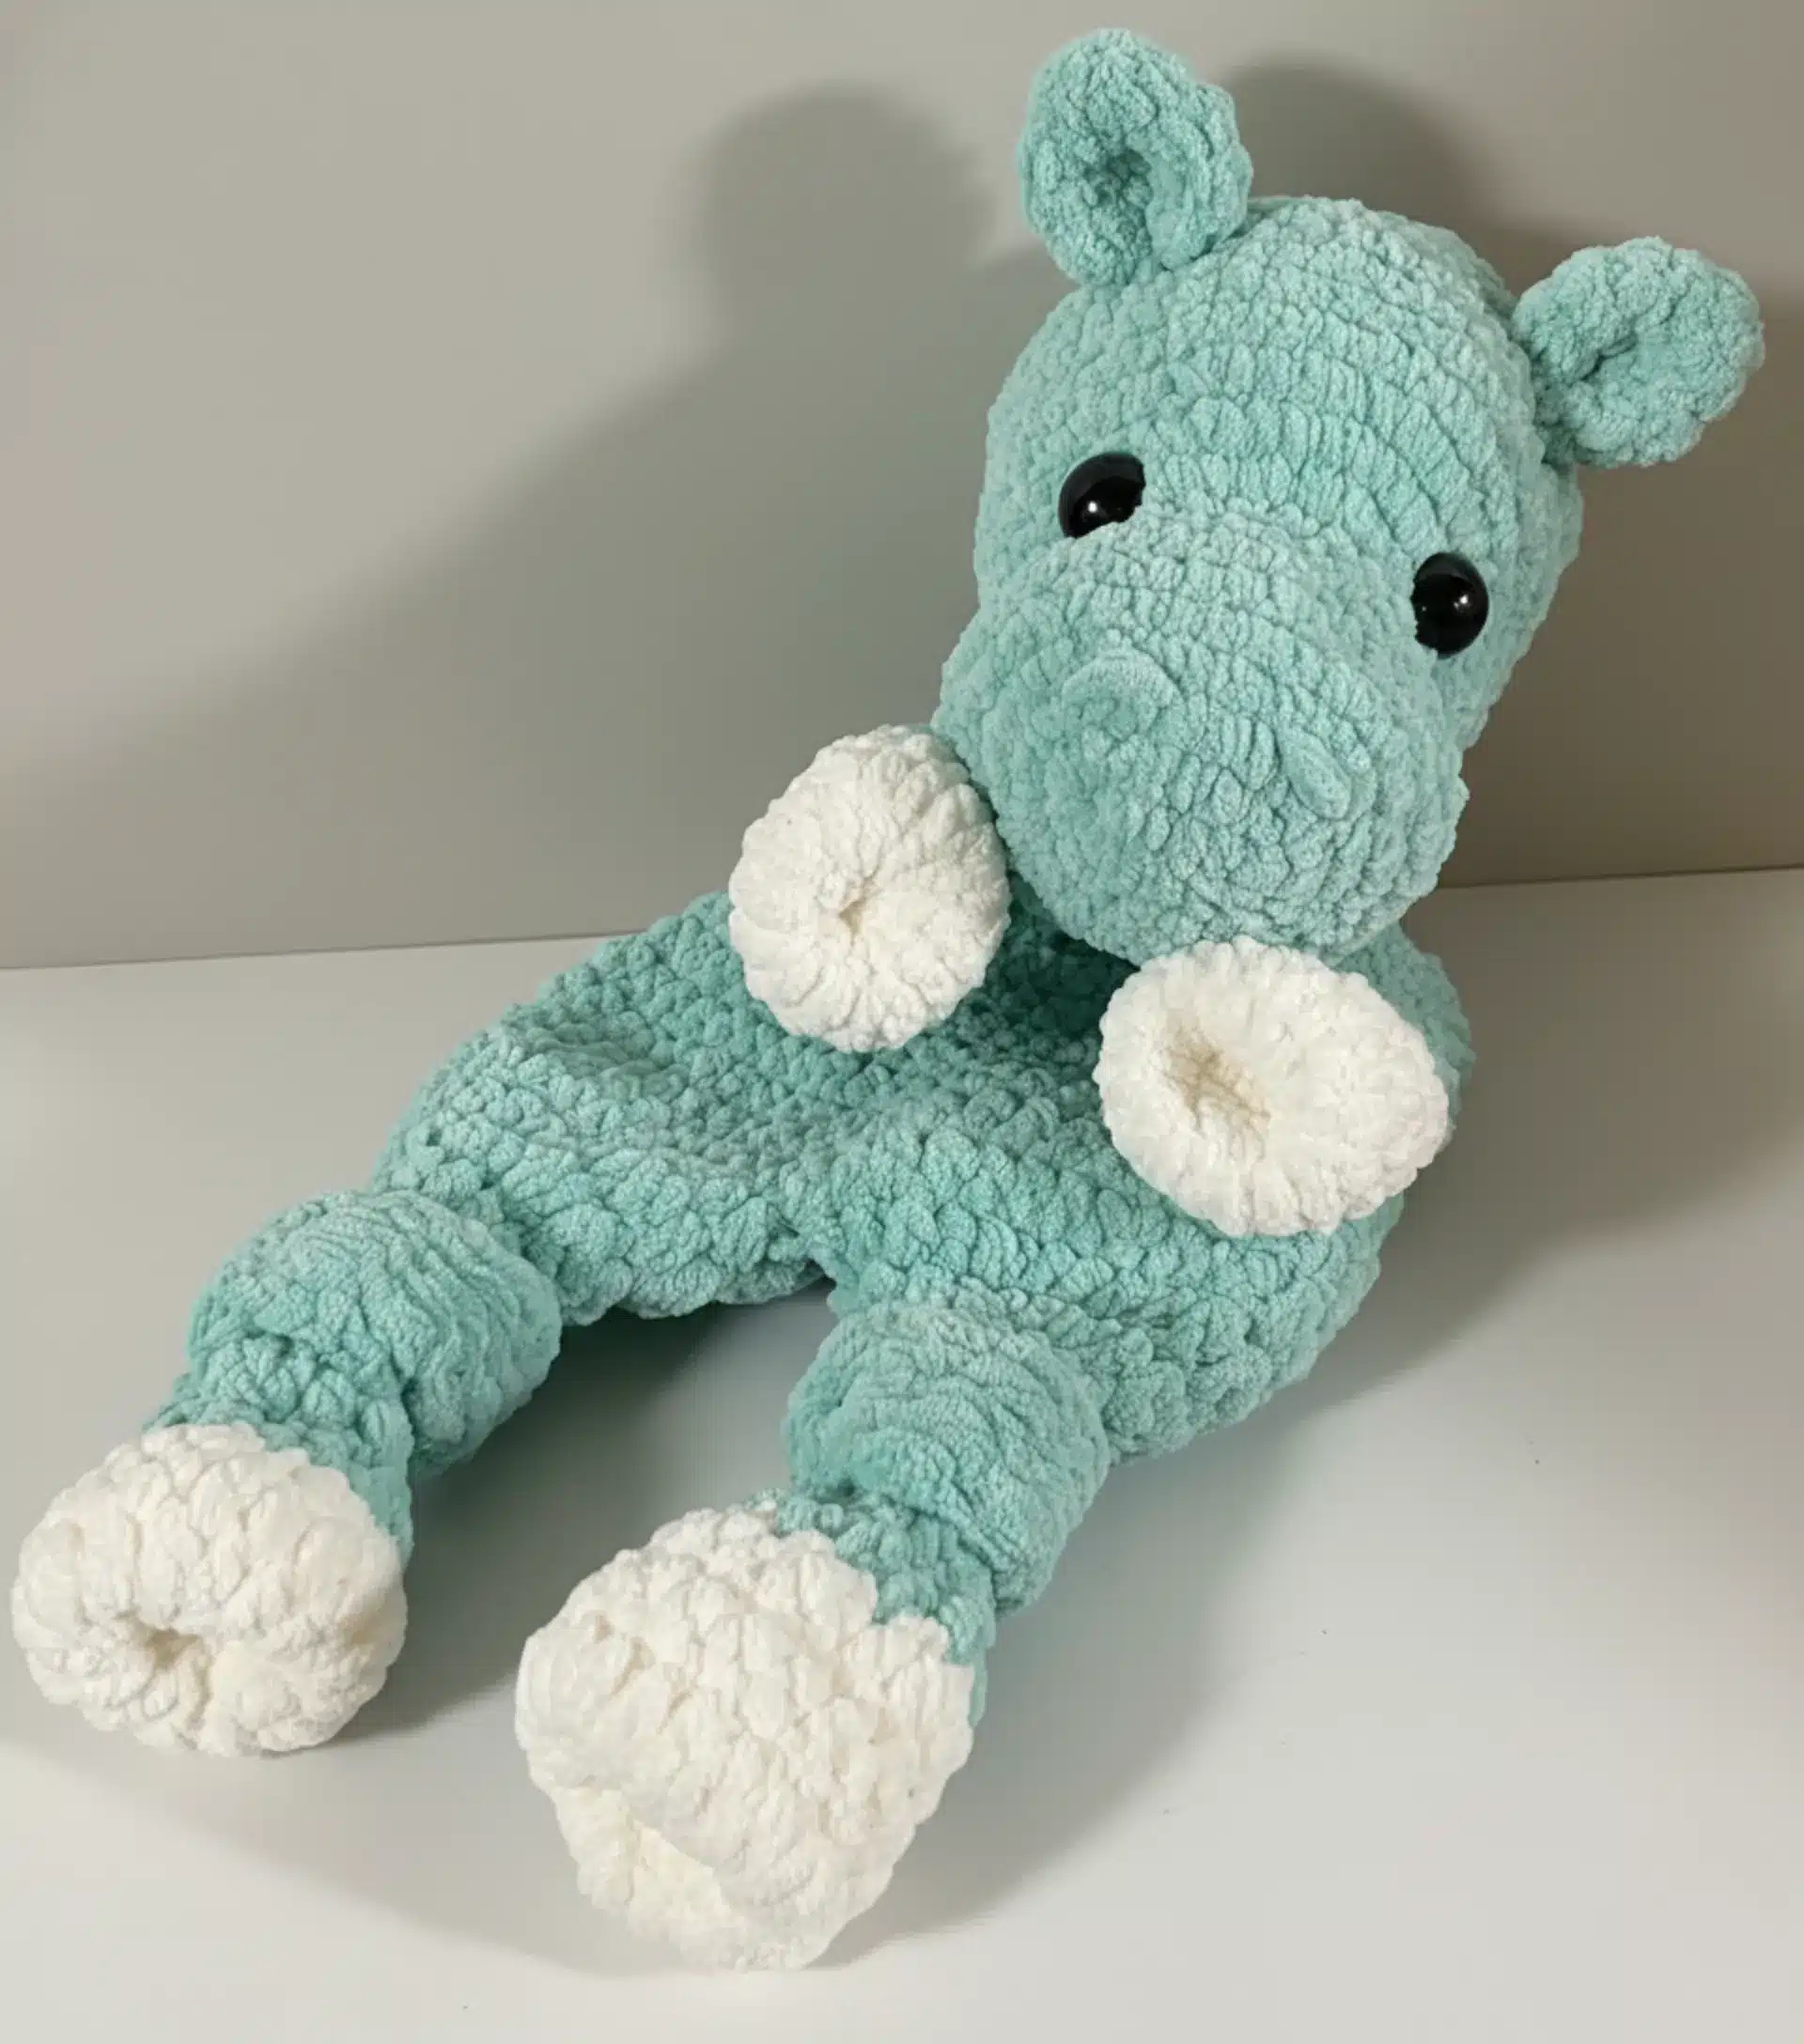
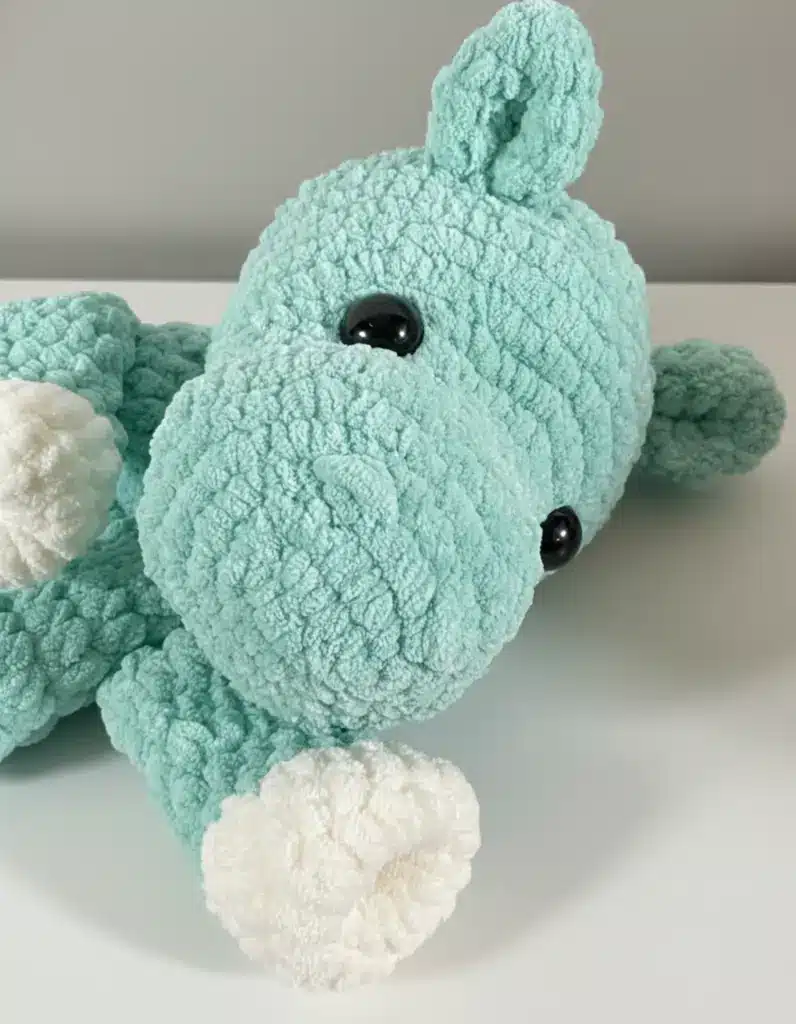
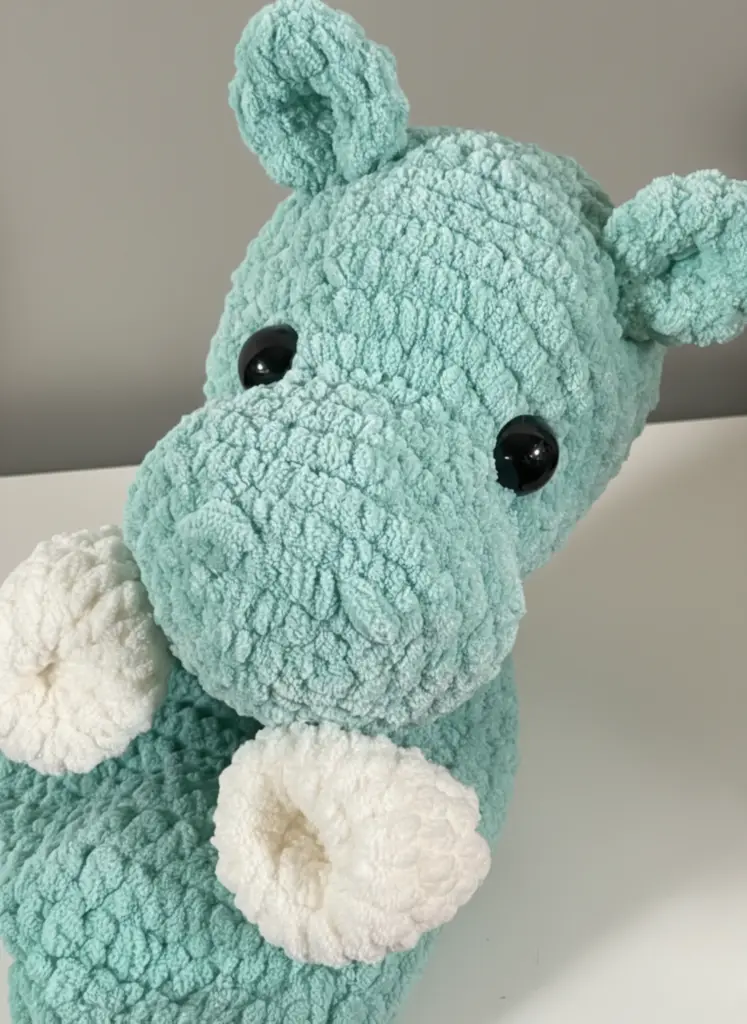
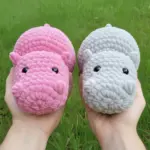
Looking for the perfect handmade gift for a baby shower or a cozy companion for your little one? This charming hippo lovey is exactly what you need! With its soft texture and cuddly design, this crochet project combines the comfort of a security blanket with the charm of a stuffed animal. Whether you’re a beginner looking to expand your skills or an intermediate crocheter seeking a quick and satisfying project, this hippo lovey pattern will guide you through every stitch.
What You’ll Need
Yarn Selection
For this project, you’ll want a soft, baby-friendly yarn. The original design uses:
- Himalaya Dolphin Baby (100g/120m, 100% micropolyester)
- Color code 80325 (Gray) – main body color
- Color code 80320 (Dark gray) – for paws and feet
Alternative Yarn Options:
- Estako Velvet Chenille Blanket
- Premier Parfait Chunky
- Hobbii Baby Snuggle

Remember it later!
Planning to try this soon? Pin it for a quick find later!
Essential Supplies
- Crochet Hook: 5mm
- Safety Eyes: 16mm black safety eyes
- Fiberfill: For stuffing the head
- Black Embroidery Thread: For facial details
- Additional Tools: Sewing pins, scissors, darning needle
Understanding the Pattern Abbreviations
Before you begin, familiarize yourself with these common crochet terms:
- MR – Magic ring
- Ch – Chain stitch
- Sc – Single crochet
- Hdc – Half double crochet
- Inc – Increase (2 single crochets in one stitch)
- Dec – Decrease (crochet 2 stitches together)
Finished Size and Skill Level
When completed with the recommended materials, your hippo lovey will measure approximately 45 cm (about 18 inches). This pattern is rated as beginner to intermediate, making it perfect for those ready to move beyond basic projects while still being accessible to newer crocheters.
Important Note: The toy is crocheted in continuous spirals without joining the rounds. Do not turn or slip stitch unless specifically instructed in the pattern.
Step-by-Step Instructions
Creating the Hippo Head
Start with your gray yarn and 5mm hook.
Foundation:
Begin with a chain of 6 stitches.
Round 1:
Starting in the second chain from the hook, work 4 single crochets, then place 3 single crochets into the last chain. Turn your work and continue on the other side of the foundation chain with 3 single crochets, finishing with 2 single crochets into the last loop. You should have 12 stitches total.
Rounds 2-5:
Continue working in continuous spirals, increasing strategically:
- Round 2: Increase to 18 stitches
- Round 3: Increase to 24 stitches
- Round 4: Increase to 30 stitches
- Round 5: Increase to 36 stitches
Rounds 6-7:
Work 36 single crochets around for 2 rounds (no increases).
Shaping the Muzzle:
Rounds 8-12 involve strategic increases and decreases to create the hippo’s distinctive rounded muzzle:
- Round 8: Decrease to 30 stitches
- Round 9: Work even at 30 stitches
- Round 10: Increase to 35 stitches (focusing increases on the muzzle area)
- Round 11: Increase to 41 stitches
- Round 12: Increase to 45 stitches
Maintaining Shape:
Rounds 13-18: Work 45 single crochets for 6 rounds.
Installing the Eyes:
Between rounds 10 and 11, position the safety eyes 12 stitches apart. Before continuing, stuff the head lightly with fiberfill. Take your time with this step, adding small amounts of stuffing at a time to achieve the perfect shape.
Closing the Head:
Rounds 19-26 gradually decrease:
- Work your way down from 42 stitches to just 6 stitches
- Cut the yarn leaving a few inches, thread through the outside loops of the remaining 6 stitches, and pull tight to close
- Use your fingers to gently press the eyes inward so they sit slightly sunken for a more realistic appearance
Crafting the Ears (Make 2)
Using gray yarn:
Round 1: Create 5 single crochets in a magic ring
Round 2: Increase each stitch (10 stitches)
Round 3: Work increase pattern (15 stitches)
Rounds 4-5: Work 15 single crochets for 2 rounds
To finish, fold the ear in half and crochet through both layers with 7 single crochets. Leave a long tail for sewing.
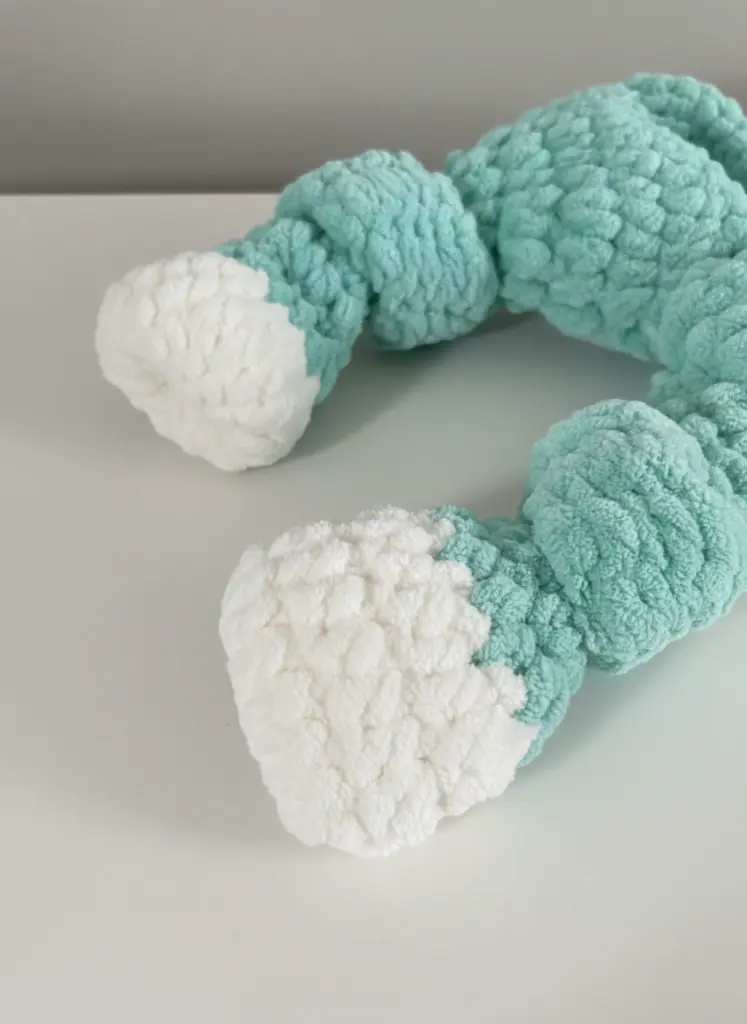
Making the Arms (Make 2)
Start with dark gray yarn:
Rounds 1-3: Create the paw
- Round 1: 6 half double crochets in magic ring
- Round 2: Increase to 12 stitches
- Round 3: Increase to 18 stitches
Rounds 4-5: Work 18 half double crochets for 2 rounds
Switch to gray yarn:
Round 6: Decrease to 12 stitches
Rounds 7-11: Work 12 half double crochets for 5 rounds
The arms should not be stuffed. Fold each arm in half and crochet through both layers with 6 single crochets. Leave a long tail for sewing.
Constructing the Legs and Body
This is where your hippo lovey comes together! Start with dark gray yarn:
Creating the First Leg:
- Rounds 1-5: Follow the same pattern as the arms (rounds 1-5)
- Switch to gray yarn
- Rounds 6-7: Decrease and shape the leg (12 stitches, then 9 stitches)
- Rounds 8-19: Work 9 half double crochets for 12 rounds
- Rounds 20-22: Increase to create the body opening (12, then 18, then 24 stitches)
Fasten off the first leg. The legs should not be stuffed.
Creating the Second Leg:
Repeat rounds 1-22 for the second leg, but do not fasten off.
Connecting the Legs:
Round 23: Connect both legs by working 1 half double crochet, then 23 half double crochets around the first leg and 24 half double crochets around the second leg (48 stitches total). You may notice a small hole between the legs—this can easily be sewn closed later. Gently tie a loose knot in each leg to define them.
Shaping the Body:
- Rounds 24-29: Work 48 half double crochets for 6 rounds
- Rounds 30-37: Gradually decrease from 42 stitches down to 18 stitches
Finishing the Body:
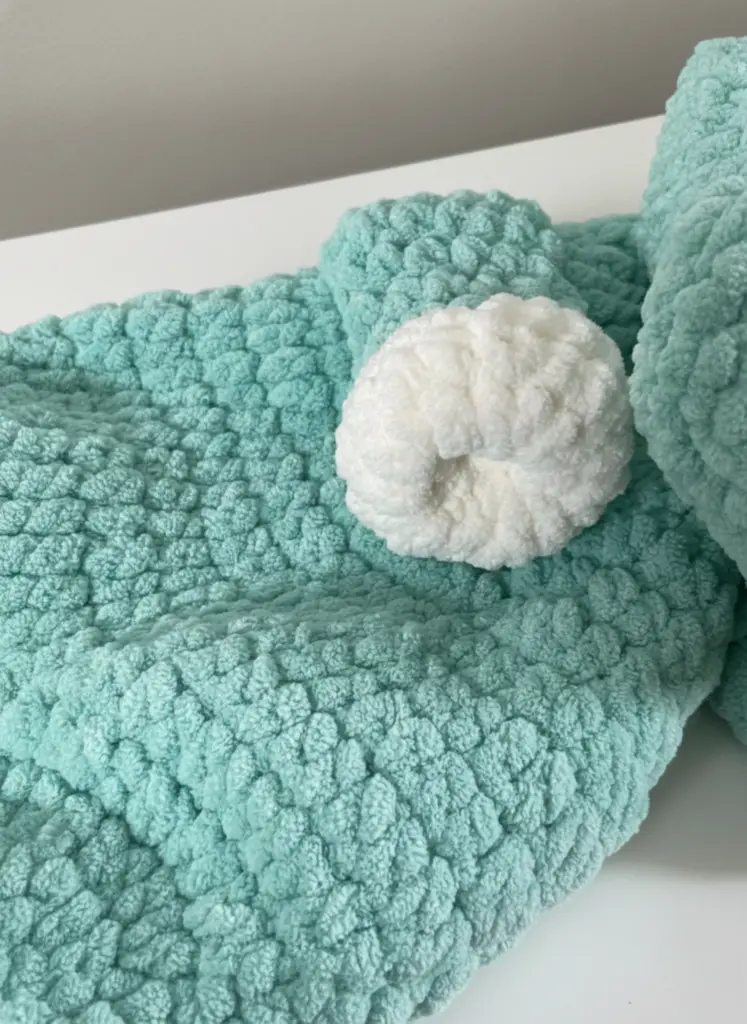
If needed, work additional stitches to position yourself at the side of your work. Fold the body detail in half and crochet 9 single crochets through both layers. Leave a long tail for sewing.
Assembly Instructions

Attaching the Ears
Position the ears between rounds 16 and 17 of the head, with 8 stitches of space between them. Secure with pins first to ensure proper placement, then sew them in place. Weave in all yarn ends.
Creating the Nostrils
Add character to your hippo by embroidering nostrils:
- Mark points with pins between rounds 4 and 5 of the muzzle
- Space the points 3 stitches apart
- Using black embroidery thread, make 3-4 stitches from one pin to the other
- Weave in the ends
Embroidering the Eyebrows
Using black embroidery thread:
- Mark points with pins between rounds 13 and 14
- Space them 8 stitches apart
- Embroider simple eyebrows above each eye
- Weave in all ends
Attaching the Head
This is the most crucial assembly step:
- Position the head on the body between rounds 13 and 14
- Ensure the eyes are facing straight ahead
- Make sure the right side of the lovey is facing you
- Pin securely, then sew the head to the body
- Weave in all yarn ends
Adding the Arms
Finally, attach the arms between rounds 31 and 35 of the body. Secure them with pins first, ensuring they’re symmetrically placed, then sew them on. Weave in all remaining yarn ends.
Tips for Success

Tension and Gauge
Maintaining consistent tension throughout your project is key to achieving a professional-looking finished product. If you’re a tight crocheter, consider going up a hook size. If you crochet loosely, drop down a hook size to ensure your stitches don’t show gaps where the stuffing could peek through.
Stuffing Technique
When stuffing the head, less is more. Add small amounts of fiberfill at a time, distributing it evenly. Overstuffing can distort the shape and make it difficult to close the opening neatly.
Color Customization
While the pattern calls for gray and dark gray, feel free to get creative! Pink, blue, purple, or even a rainbow-colored hippo can be just as adorable. Just make sure any yarn you choose is baby-safe and washable.
Safety Considerations
If making this lovey for a baby under three years old, consider embroidering the eyes instead of using safety eyes. While safety eyes are securely attached, embroidered eyes eliminate any potential choking hazard.
Care Instructions
To keep your hippo lovey looking its best:
- Hand wash in cool water with mild detergent
- Gently squeeze out excess water (do not wring)
- Lay flat to dry, reshaping as needed
- Avoid machine washing, as it may felt the yarn or damage the safety eyes

Conclusion
Congratulations on completing your adorable hippo lovey! This cuddly companion is sure to become a treasured friend for any little one. The combination of soft, plush yarn and a huggable design makes it perfect for naptime, playtime, or anytime comfort is needed.
This pattern demonstrates how versatile crochet can be, transforming simple stitches into a functional and heartwarming keepsake. Whether you’re making it as a gift or for your own child, the time and care you’ve invested in creating this handmade lovey makes it truly special.
Don’t forget to take photos of your finished project! Each hippo lovey has its own unique personality based on yarn choice, tension, and those small variations that make handmade items so special. If you enjoyed this pattern, consider making it in different colors or adapting the basic structure to create other animal loveys—the possibilities are endless!
Happy crocheting, and may your hippo lovey bring joy and comfort for years to come!
Remember it later!
Planning to try this soon? Pin it for a quick find later!