Table of contents
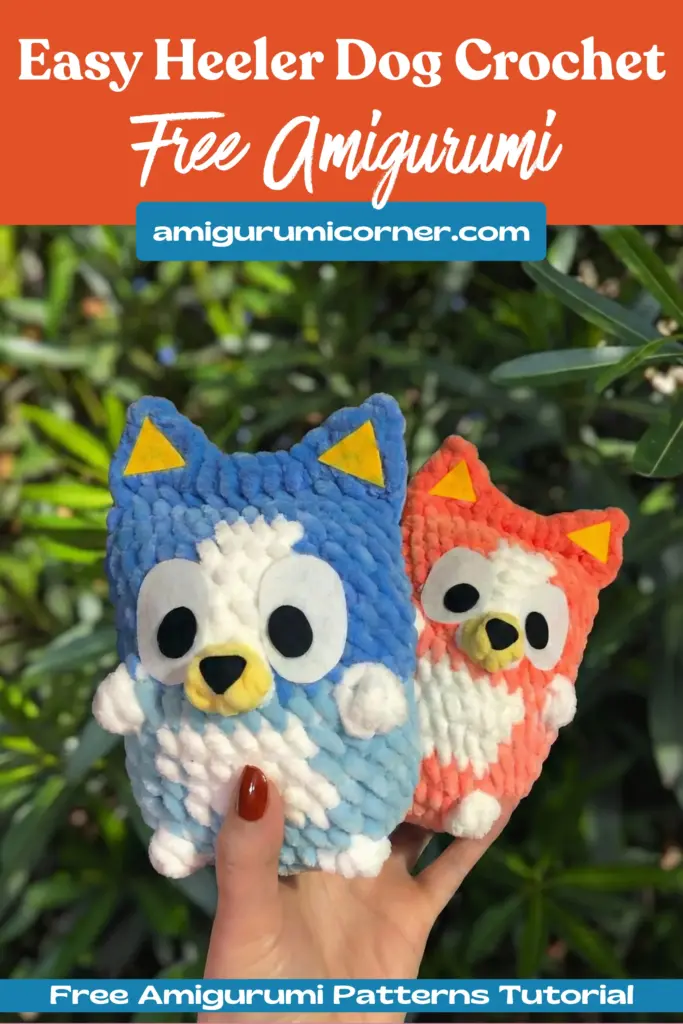
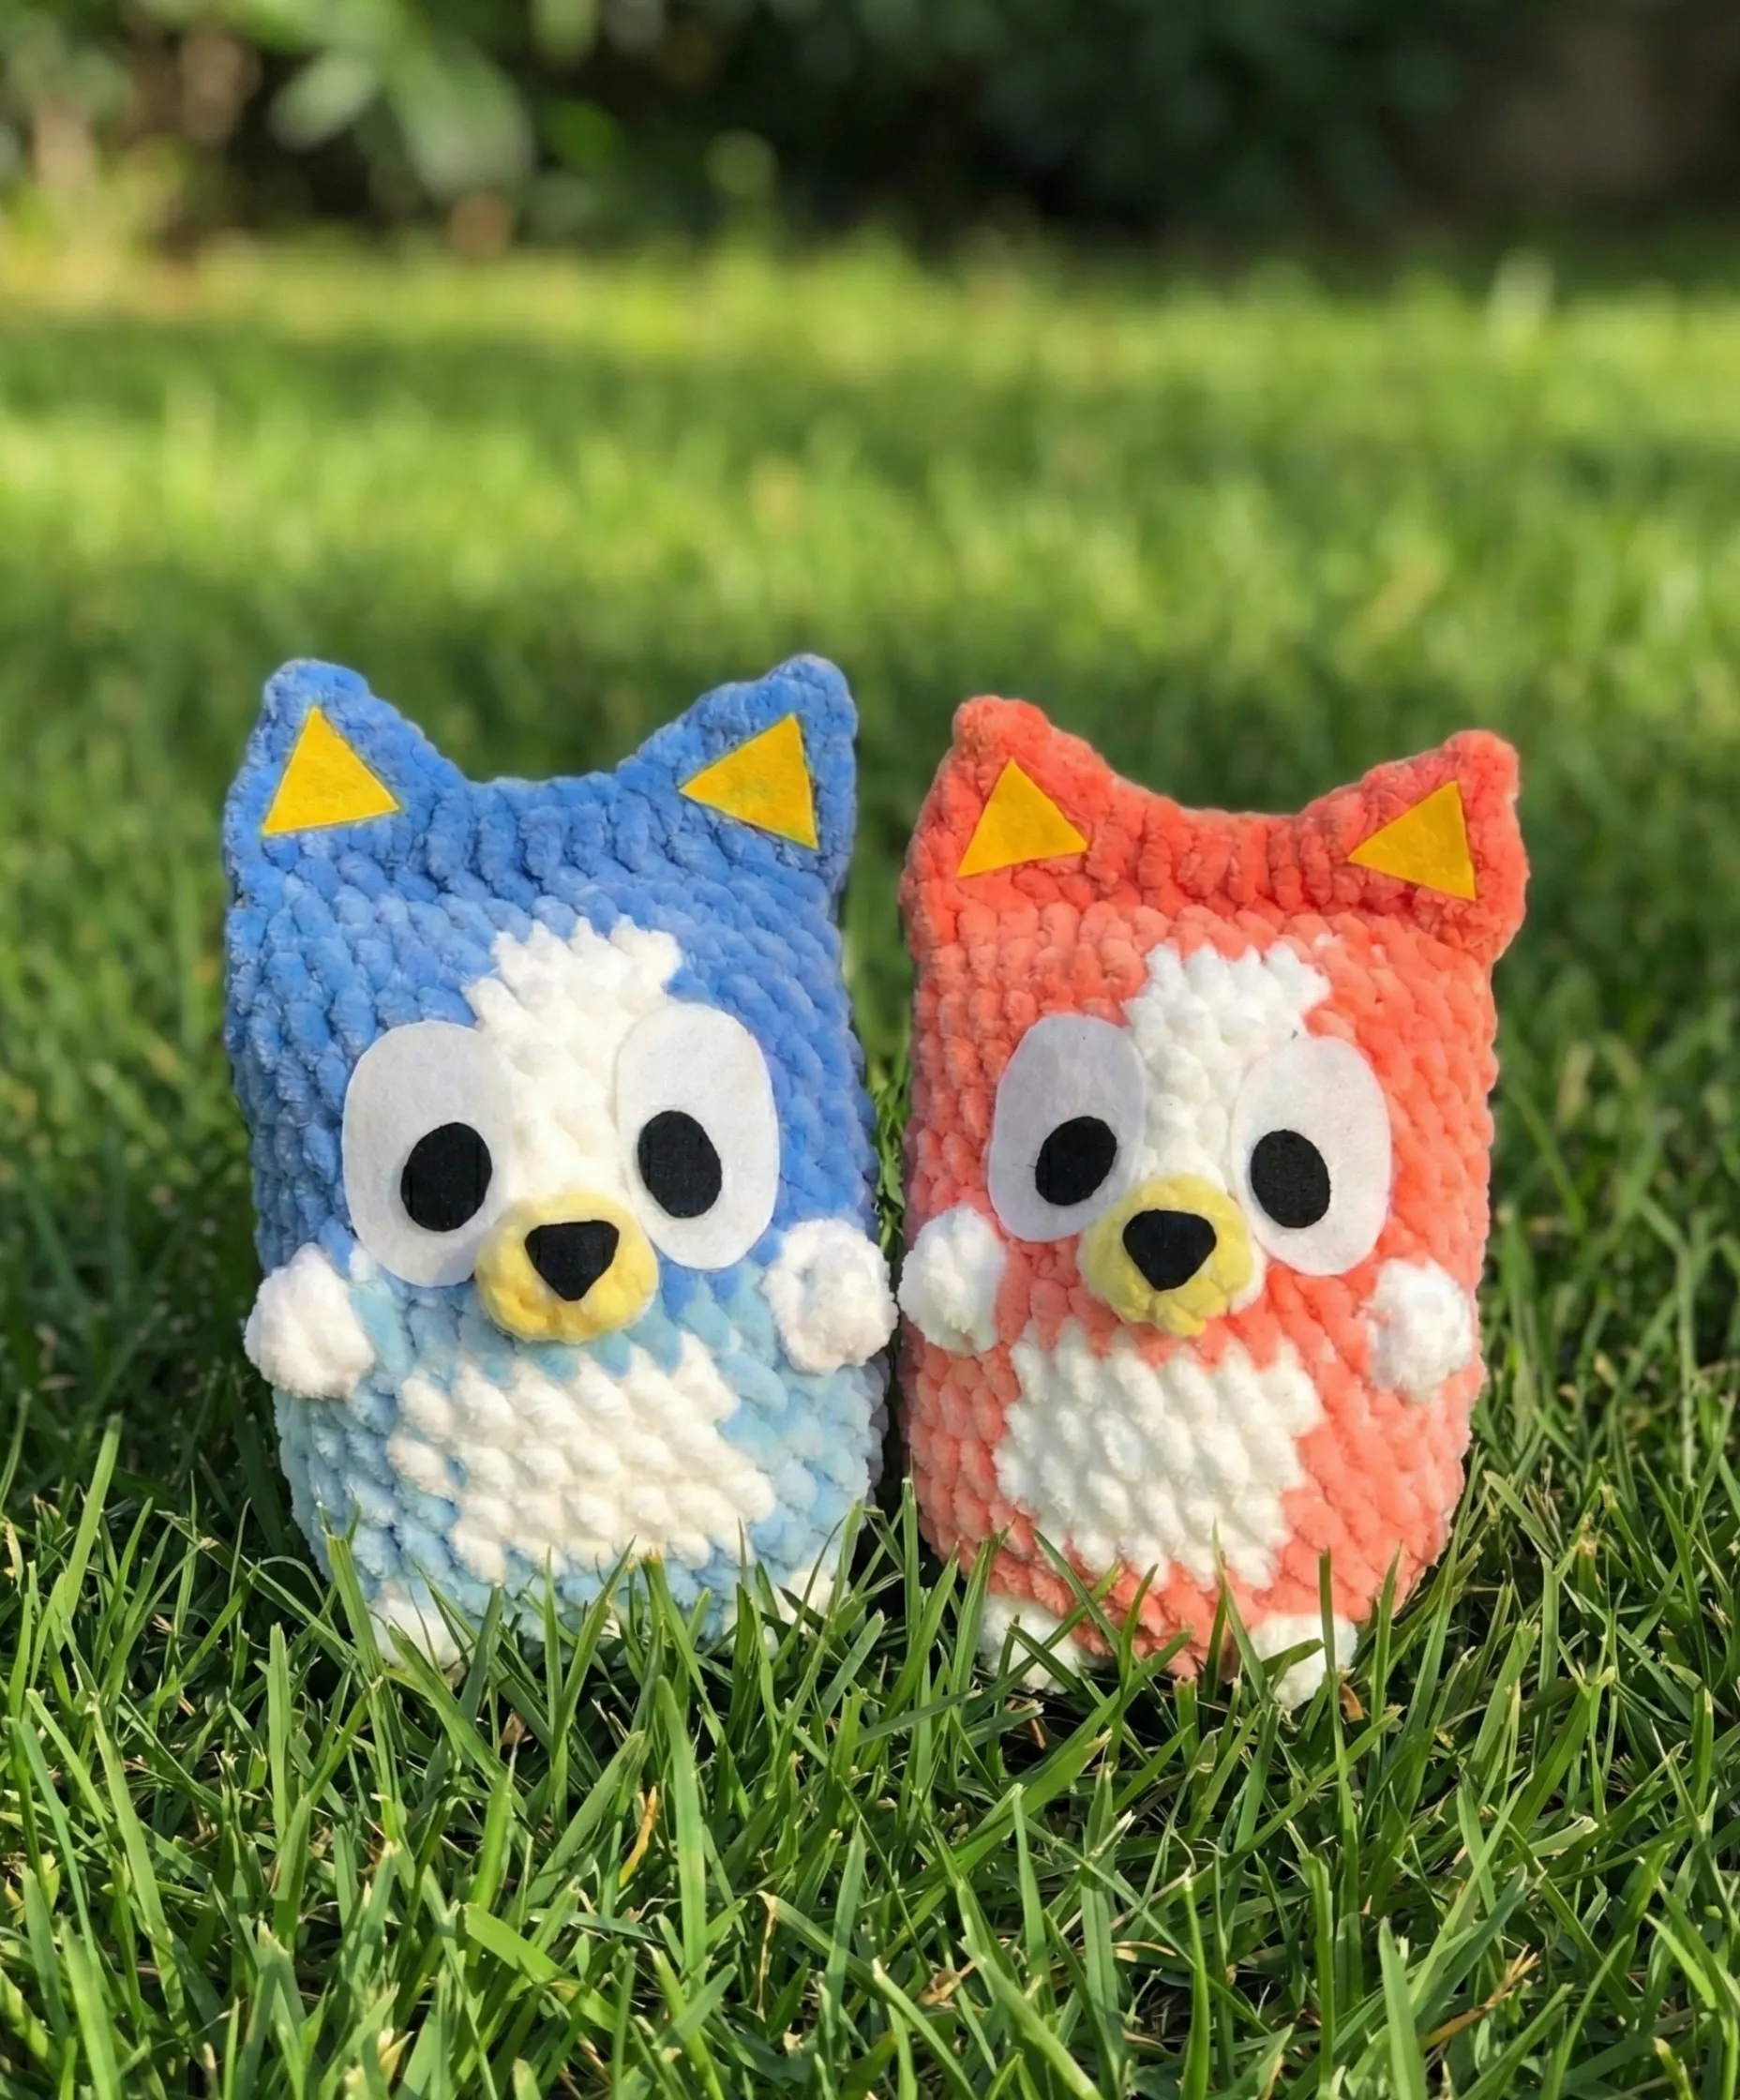
Looking for your next crochet project? This charming Heeler amigurumi pattern is perfect for fans of everyone’s favorite blue dog! Whether you’re an intermediate crocheter or looking to expand your amigurumi skills, this detailed guide will walk you through creating your very own cuddly companion.
What You’ll Need

Remember it later!
Planning to try this soon? Pin it for a quick find later!
Materials
- Yarn: Chenille yarn works beautifully for this project. Popular choices include Parfait Chunky, Sweet Snuggles Lite, Sweet Snuggles, or Parfait XL
- Safety eyes and nose in appropriate sizes for your chosen yarn weight
- Polyfil stuffing for that perfect cuddly texture
- Crochet hook sized to match your yarn (see sizing guide below)
- Darning needle for weaving in ends and assembly
- Stitch marker to track your rounds
- Scissors
- Felt for inner ear and eye details
- Hot glue (optional, for attaching felt pieces)
Sizing Guide by Yarn Type
The beauty of this pattern is its versatility! Here’s what hook and eye sizes to use:
- Basix Chenille: I/5.50mm hook with 1-inch eyes
- Sweet Snuggles Lite: I/5.50mm hook with 1-inch eyes
- Sweet Snuggles or Parfait XL: L/8.00mm hook with 1.25-inch eyes
- Parfait Chunky, Honey Bunny, or Caterpillar: H/5.00mm hook with 0.75-inch eyes
Essential Techniques and Abbreviations
Before you begin, familiarize yourself with these terms:
- MC – Magic circle
- SC – Single crochet
- INC – Increase
- DEC – Decrease
- BO – Bobble stitch
- HDC – Half double crochet
- DC – Double crochet
- CC – Color change
- P – Picot
- F/O – Fasten off
Special Stitches
Bobble Stitch: Yarn over, insert your hook and pull up a loop. Repeat until you have 5 loops on your hook, then yarn over and pull through all loops at once. This creates the distinctive texture for the nose.
Picot Stitch: Chain 2, then single crochet into the 2nd chain from the hook for a decorative finish.
Important Pattern Notes
- Work in continuous rounds using a stitch marker to track progress
- The pattern works from bottom to top
- Bold sections indicate accent colors (white works great!)
- Arms and legs should align—adjust stitches if needed
- Color changes may slant slightly when working in rounds; this is normal
Creating the Body

You’ll start with light blue yarn for the main body.
Round 1: Magic circle with 8 stitches
Round 2: Increase in each stitch around (16 stitches)
Round 3: Single crochet 1, increase—repeat 8 times (24 stitches)
Round 4: Single crochet 2, increase—repeat 8 times (32 stitches)
Round 5: Single crochet 12, bobble stitch, single crochet 6, bobble stitch, single crochet 12 (32 stitches)
Round 6: Single crochet around (32 stitches)
Rounds 7-10: Create the belly patch by working 13 single crochets, color change to white for 6 stitches, then 13 single crochets. Repeat for 4 rounds total.
Round 11: Single crochet 11, bobble stitch, single crochet 8, bobble stitch, single crochet 11 (32 stitches)
Switch to dark blue yarn for the head.
Round 12: Single crochet 14, 1 single crochet in white, bobble stitch, 1 single crochet in white, single crochet 15 (32 stitches)
Rounds 13-17: Work 14 single crochets, color change to white for 4 stitches, 14 single crochets. Repeat for 5 rounds.
Pro Tip: If you’re using a safety nose, insert it now before the opening gets too small!
Round 18: Single crochet 2, decrease—repeat 8 times (24 stitches)
Shaping the Head
Add stitches to reach the edge of your work (typically 5 stitches). Fold the piece in half and crochet through both layers for 12 stitches total. Begin stuffing, ensuring the body is firmly packed before closing.
Turn your work and create the decorative top:
Round 19: Single crochet 1, (half double crochet, double crochet, picot) in one stitch, (double crochet, half double crochet) in one stitch, single crochet 6, (half double crochet, double crochet, picot) in one stitch, (double crochet, half double crochet) in one stitch, single crochet 1.
Fasten off and weave in the tail.
Adding the Details
Inner Ears (Make 2)
You can either crochet these or cut them from felt.
For crocheted ears:
Chain 4, turn. In the 2nd chain from hook: single crochet, half double crochet, single crochet. Fasten off, leaving a long tail for sewing.
Eyes (Make 2)
Again, felt or crochet works wonderfully.
For crocheted eyes:
Round 1: Chain 7
Round 2: In 2nd chain from hook, work 6 single crochets, turn, work 6 single crochets back
Round 3: Single crochet around (12 stitches)
Fasten off with a long tail for sewing. Add safety eyes or embroider the pupils.

Final Assembly
Now comes the fun part—bringing your Heeler to life!
- Attach the inner ears: Use hot glue for felt triangles, or sew on crocheted pieces
- Position the eyes: Secure felt or crocheted eye pieces
- Add the nose: Attach felt nose piece
- Embroider eyebrows: Add character by stitching eyebrows above the eyes
Finishing Touches
The bobble stitches should line up to create a centered nose. If they don’t align perfectly, don’t worry—you can adjust by adding or eliminating stitches to ensure proper placement.
You’re All Done!
Congratulations! You’ve created your very own Heeler amigurumi. This adorable companion makes a perfect gift for fans of all ages or a delightful addition to your own collection. The pattern’s flexibility with yarn weights means you can create multiple sizes, from pocket-sized cuties to larger cuddle buddies.
Feel free to experiment with different yarn colors to create your own unique character variations. Each Heeler you create will have its own personality and charm. Happy crocheting!

Remember it later!
Planning to try this soon? Pin it for a quick find later!