Table of contents
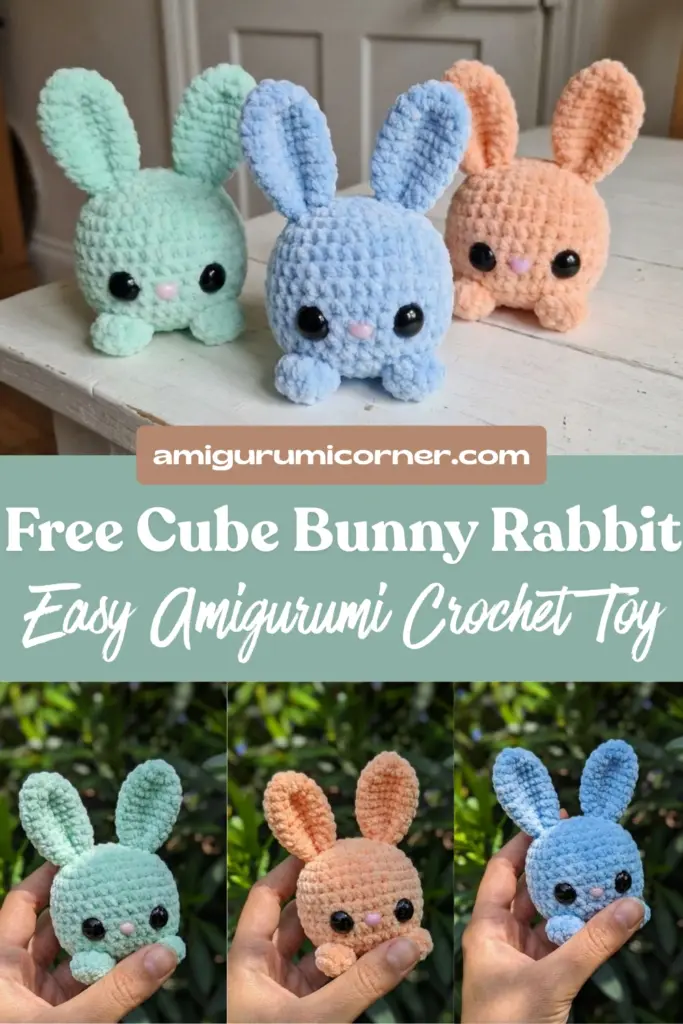
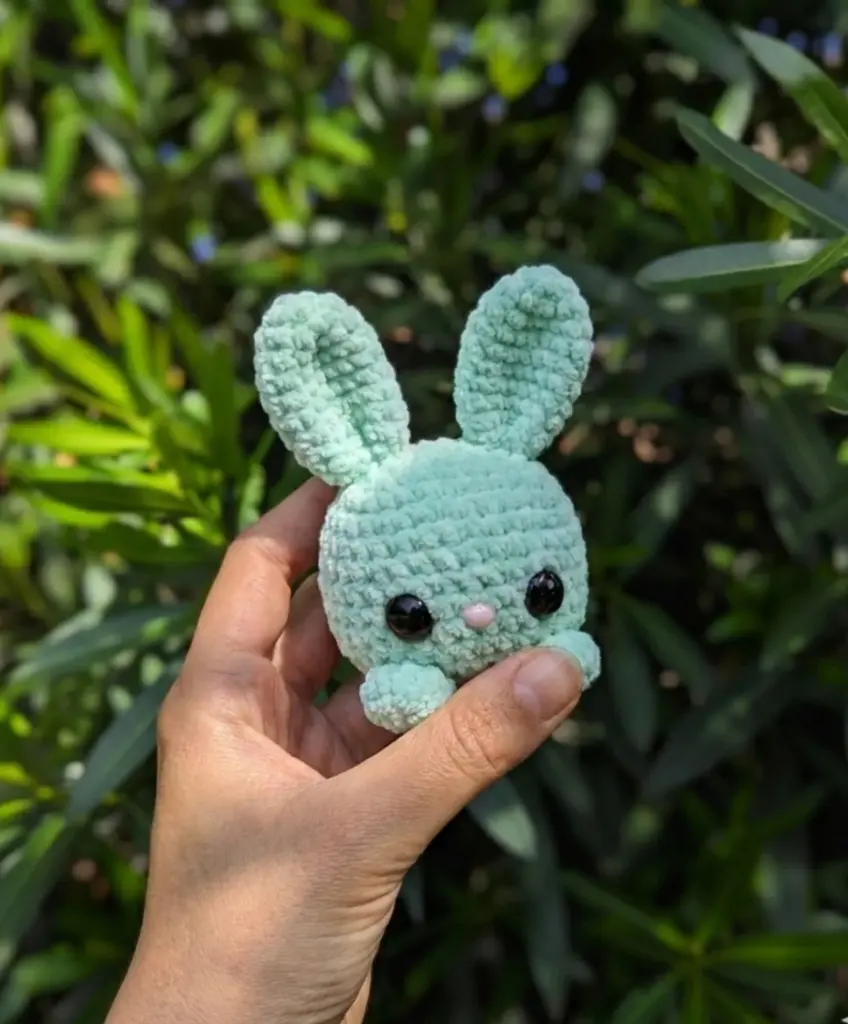
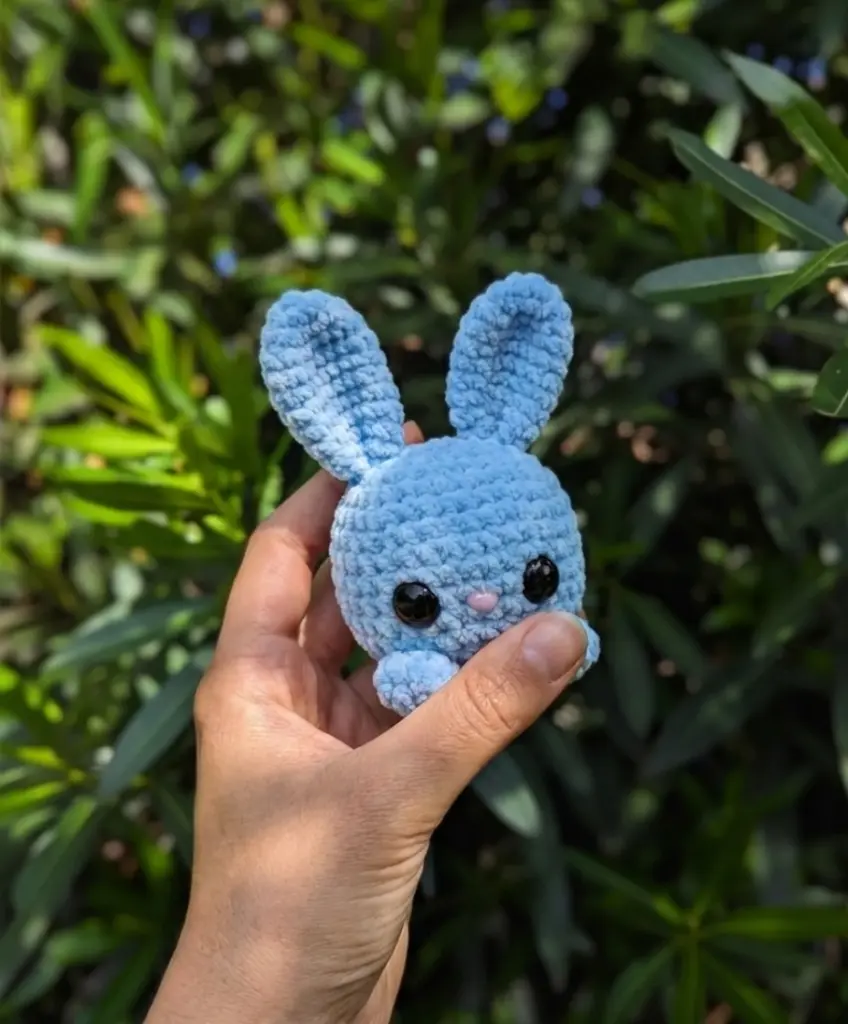
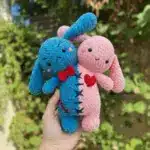
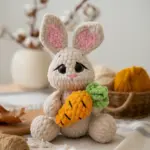
Looking for the perfect Easter craft project or simply want to create an adorable handmade gift? This charming cube bunny rabbit amigurumi pattern is exactly what you need! Complete with its own tiny carrot companion, this delightful bunny is perfect for both beginners and experienced crocheters alike.
Remember it later!
Planning to try this soon? Pin it for a quick find later!
Why You’ll Love This Pattern
This Cube Bunny Rabbit shares the same basic body construction as an entire family of cube-shaped amigurumi friends, including kitties, puppies, birdies, bats, and piggies. Once you master this technique, you’ll be able to create an entire menagerie of cute companions! The beauty of this pattern lies in its versatility – you can customize the size simply by changing your yarn weight and hook size.

Materials and Size Options
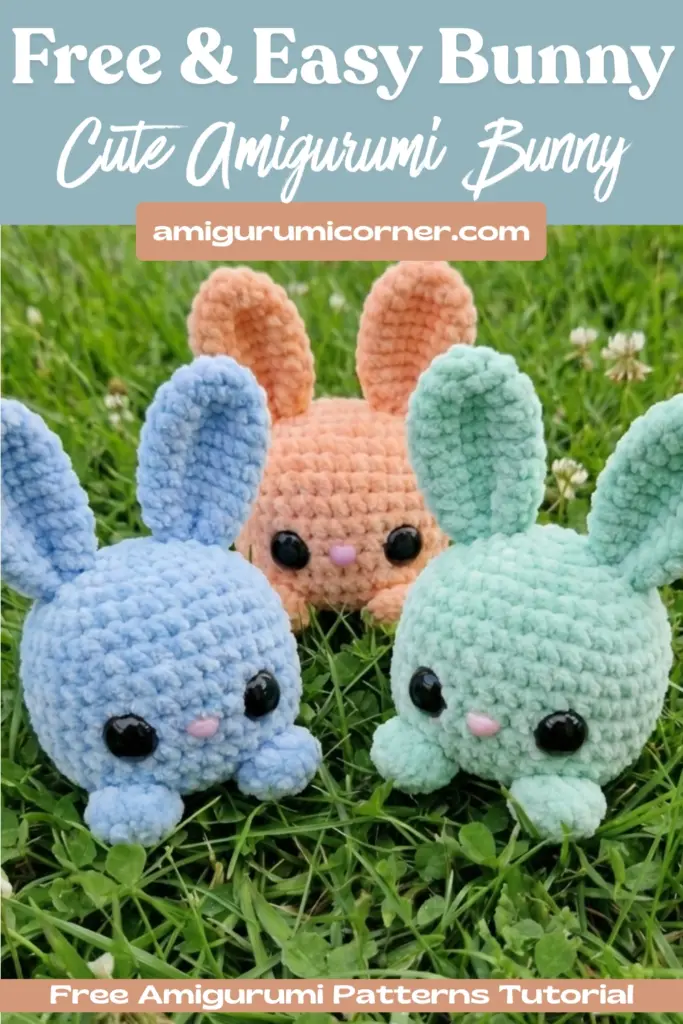
The wonderful thing about this Cube Bunny Rabbit pattern is its adaptability. Here are three size variations you can create:
Large Bunny
- 7mm crochet hook
- Chunky chenille yarn in your chosen color
- 25mm button eyes
- Heart-shaped nose (or needle felt your own)
Medium Bunny
- 5mm crochet hook
- Medium-weight chenille yarn
- 20mm safety eyes
- 12mm pink nose
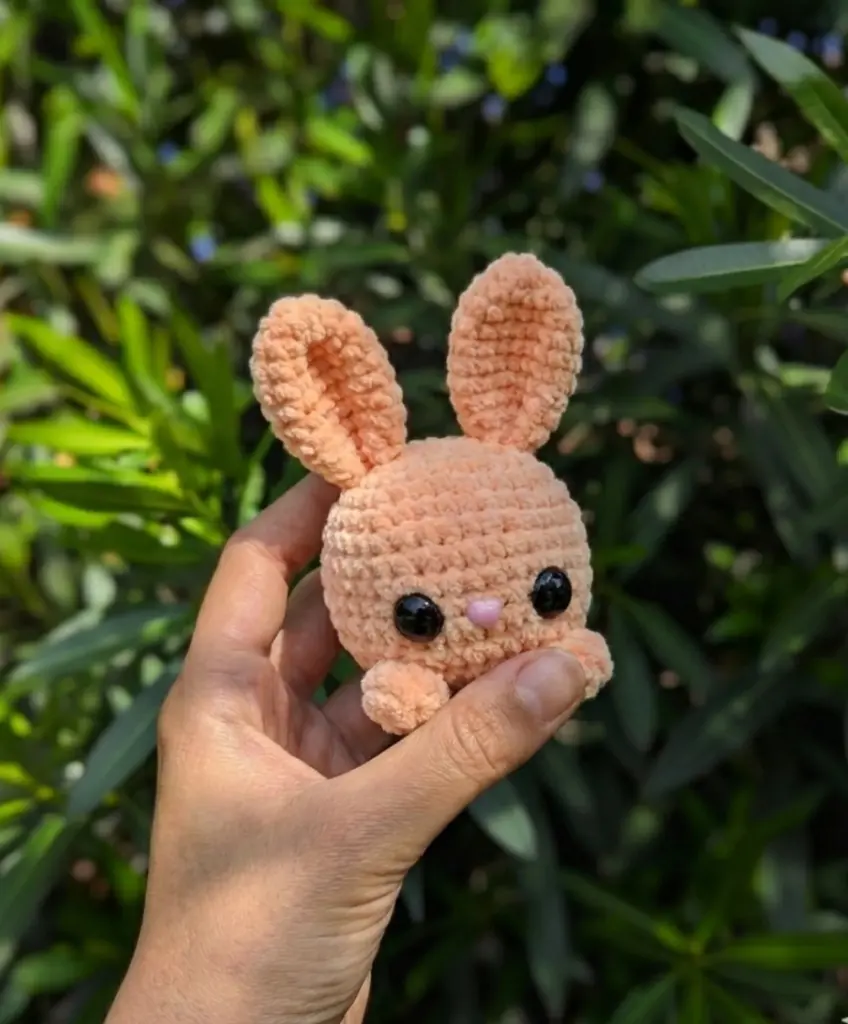
Small Bunny
- 3mm crochet hook
- DK weight yarn
- 8mm safety eyes
- Small heart-shaped pink nose
Essential Abbreviations
Before we begin, here are the key abbreviations you’ll need to know:
- MC: Magic circle
- 2-sc inc: 2 single crochet in next stitch (increase by 1)
- 3-sc inc: 3 single crochet in next stitch (increase by 2)
- sc2tog: 2 single crochet together (decrease by 1)
- sc3tog: 3 single crochet together (decrease by 2)
Step-by-Step Instructions
Creating the Body
This Cube Bunny Rabbit pattern works in continuous rounds, creating a perfect cube shape:
Rounds 1-6: Start with a magic circle and gradually increase to create the top of the cube (44 stitches)
Rounds 7-13: Work the straight sides of the cube, maintaining 40 stitches
Rounds 14-17: Decrease to close the bottom of the cube
Pro Tip: Place the nose between rounds 11 and 12 in the center of the face. For larger eyes (over 15mm), position them at the same level as the nose. For smaller eyes, place them one row above the nose for the cutest expression.
Crafting the Legs
Make four identical unstuffed legs using a simple cylinder technique:
- Start with 5 stitches in a magic circle
- Increase to 10 stitches in round 2
- Work 5 rounds of straight single crochet
Shaping the Ears
The bunny’s characteristic long ears are created by:
- Starting with 6 stitches in a magic circle
- Increasing to 18 stitches over 3 rounds
- Working 6 straight rounds
- Gradually decreasing to close the ear
Important: Don’t stuff the ears, and sew the end of each ear flat for a natural look.
Adding the Fluffy Tail
Create a small pom-pom style tail:
- Begin with 6 stitches in a magic circle
- Increase to 12 stitches
- Work one round straight
- Decrease back to 6 stitches and stuff firmly
Making the Carrot Companion
No bunny is complete without its carrot! This adorable accessory features:
- Orange yarn for the carrot body
- Green yarn for the leafy top
- A color change technique to create the realistic transition
Assembly Tips
When putting your bunny together:
Legs: Attach the unstuffed legs to the bottom corners of the cube body. Use pins first to find the perfect positioning.
Ears: Sew ears to each side of the head, positioning them closer to the front than the back. Place one end on round 4 and the other on round 6.
Tail: Attach the stuffed tail to the back bottom of the body at round 15.
Eyes and Nose: Position eyes approximately 2-3 stitches away from the nose on each side for the most appealing expression.
Perfect for Any Occasion
This cube bunny makes an excellent:
- Easter decoration or gift
- Baby shower present
- Beginner’s crochet project
- Addition to a child’s toy collection
- Comfort object for little ones
Final Thoughts
Creating this cube bunny rabbit is a rewarding project that combines simple techniques with adorable results. The pattern’s flexibility means you can make an entire family of bunnies in different sizes, or explore the other cube animal patterns for a complete collection.
Whether you’re new to amigurumi or an experienced crafter, this pattern offers the perfect balance of simplicity and charm. The end result is a lovable companion that’s sure to bring smiles to faces both young and old. Happy crocheting!
Remember it later!
Planning to try this soon? Pin it for a quick find later!