Table of contents
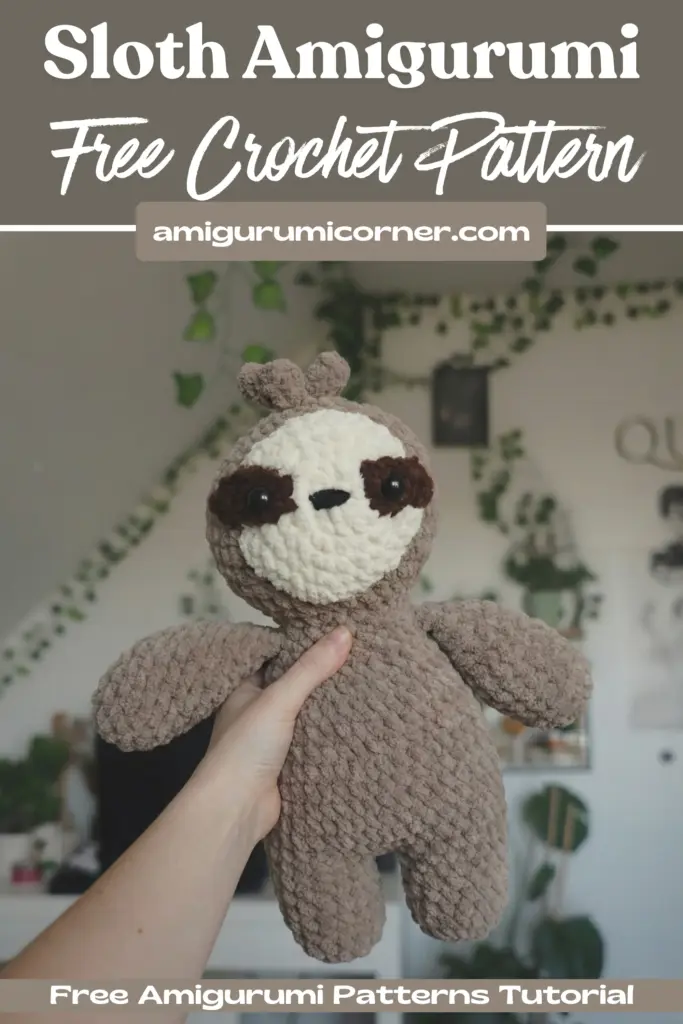
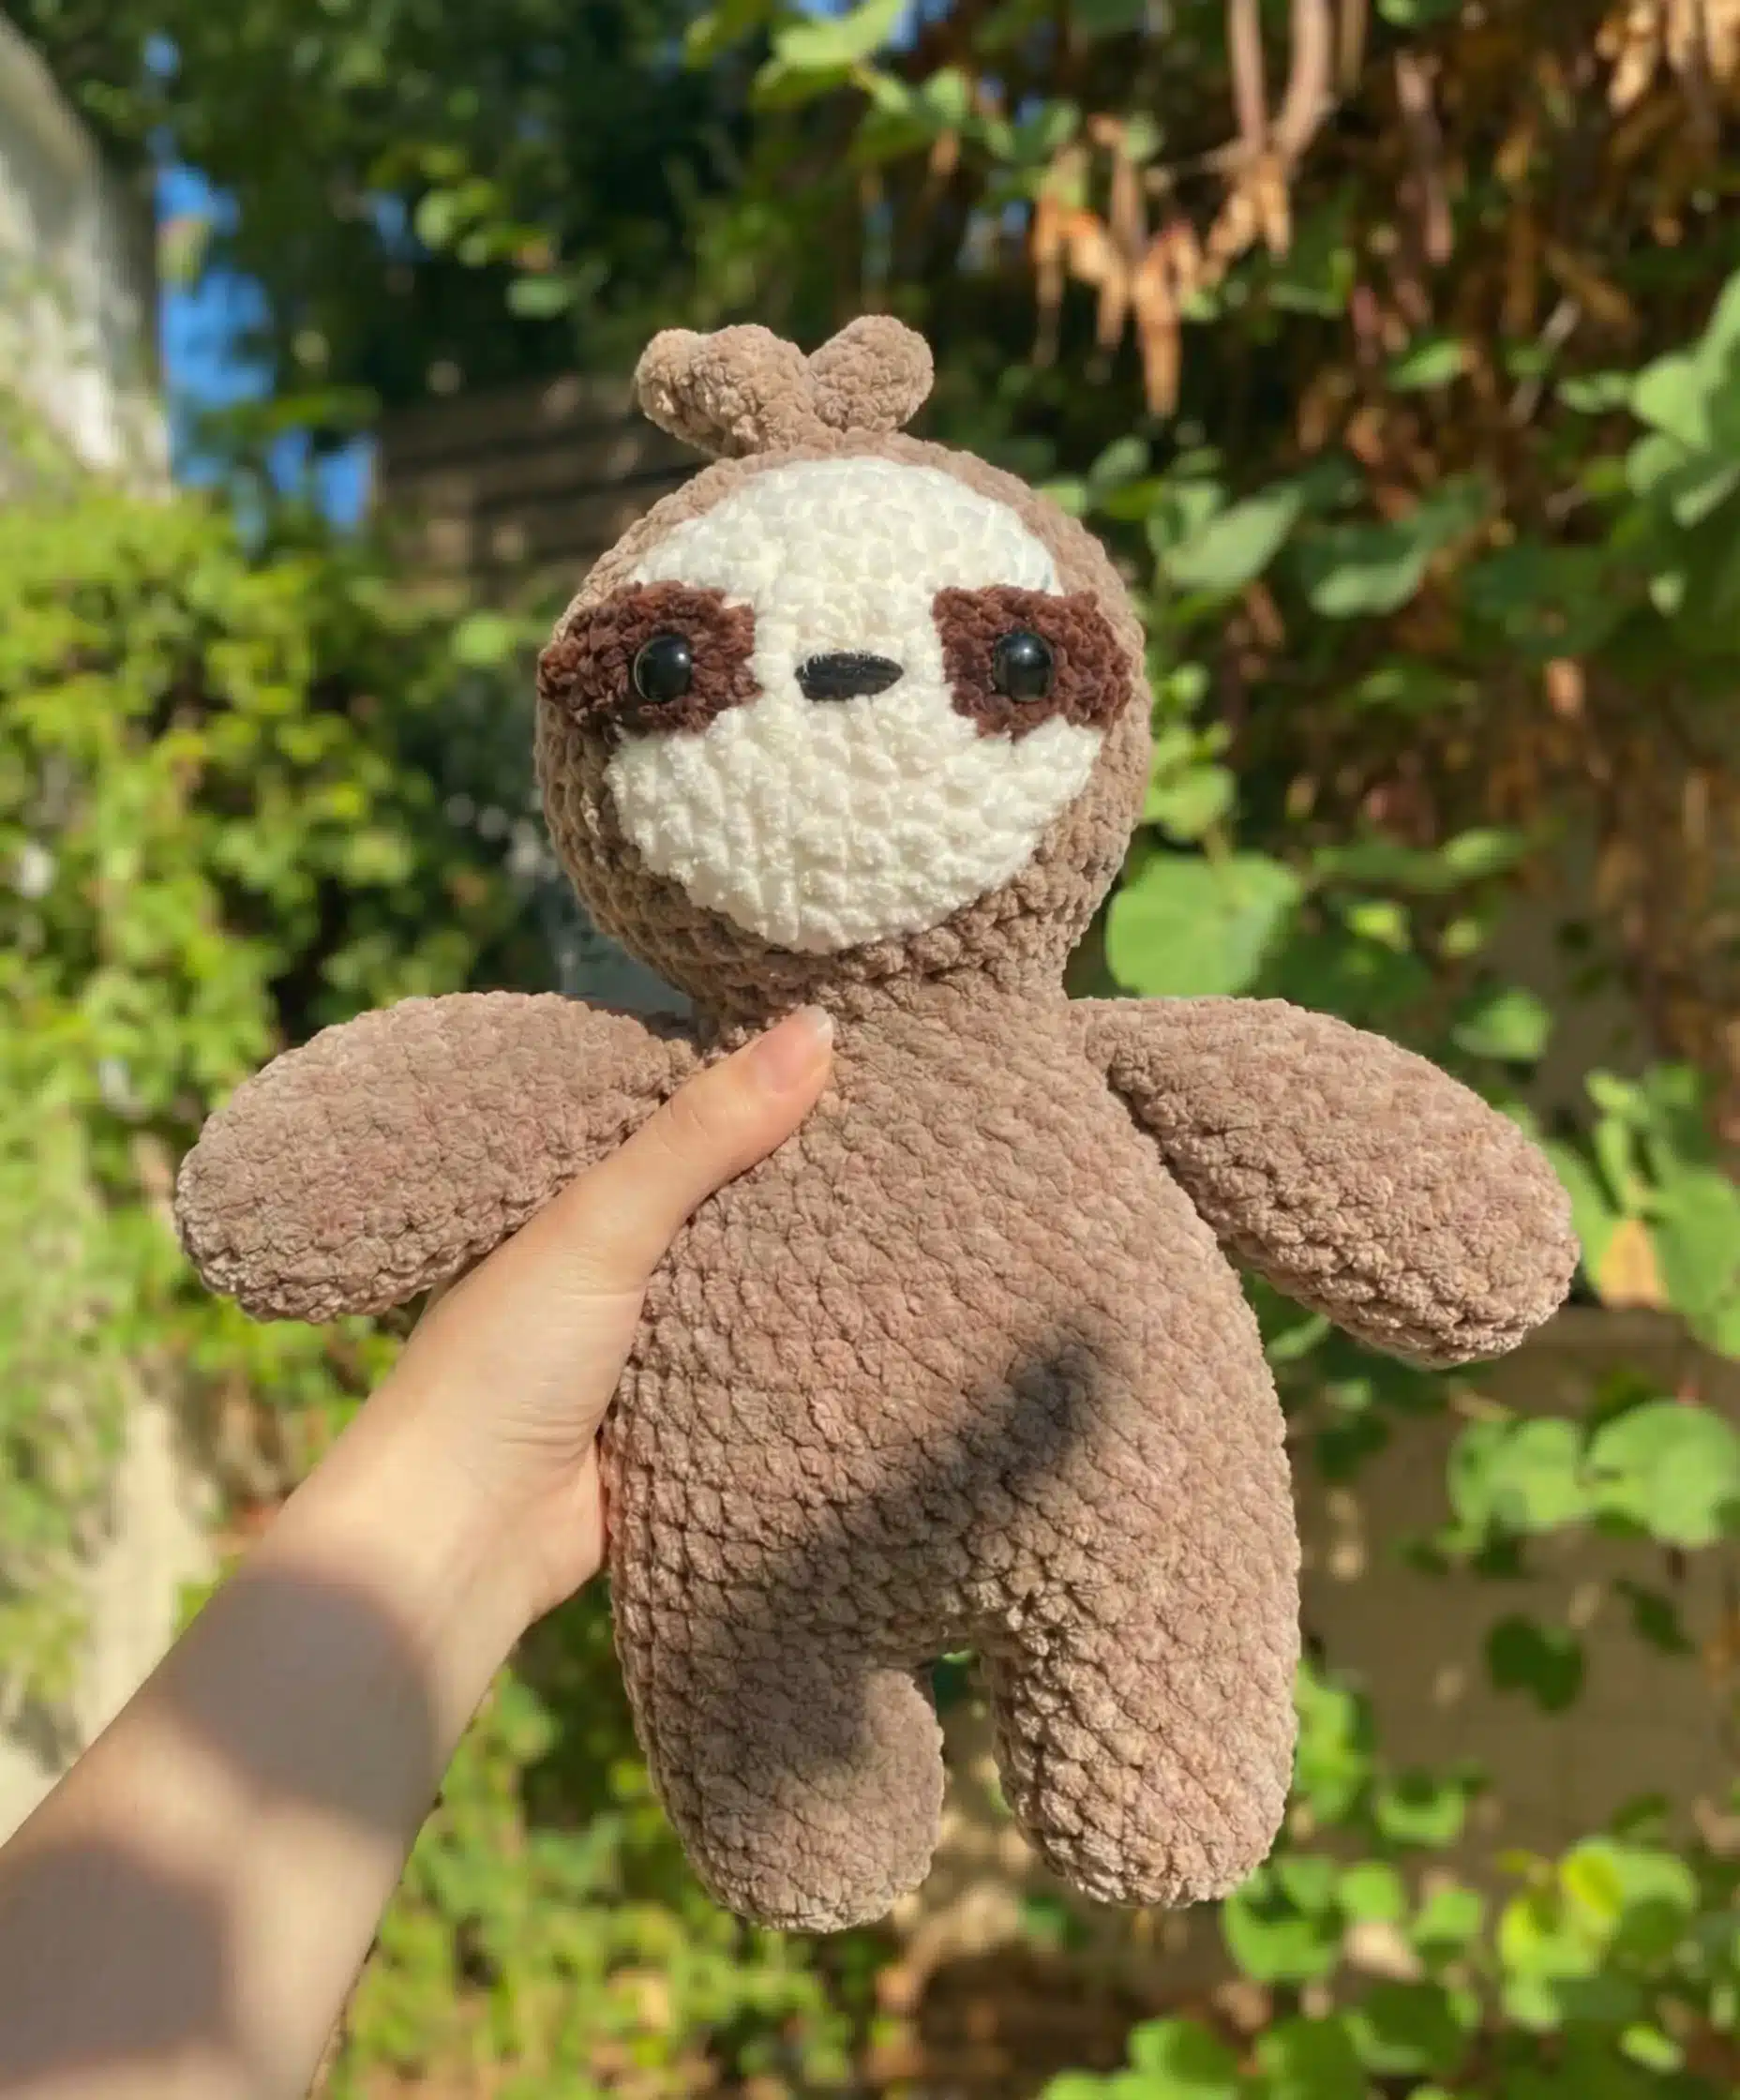
If you’re looking for your next cute crochet project, look no further than Bonnie the Sloth! This charming amigurumi pattern is perfect for both beginners looking to expand their skills and experienced crocheters who love creating adorable stuffed animals. With its sweet face and huggable body, this sloth makes a wonderful gift or a delightful addition to your own collection.
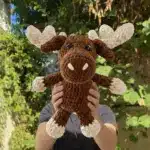
Designer: citrinecrochet
Materials You’ll Need

Remember it later!
Planning to try this soon? Pin it for a quick find later!
Before you start crocheting, gather these essential supplies:
- Yarn: Light brown, dark brown, and cream yarn (the original design uses Dolce by Yarn Art)
- Crochet Hook: 5 mm hook (or size needed to match gauge)
- Tapestry Needle: For weaving in ends and sewing pieces together
- Scissors
- Stitch Marker: To keep track of your rounds
- Stuffing: Polyester fiberfill works perfectly
- Safety Eyes: 12 or 15 mm size
- Black Felt: For the nose (alternatively, you can embroider with yarn)
- Craft Glue: Strong adhesive like E6000
- Pins: For positioning pieces before sewing
Understanding the Abbreviations
Familiarize yourself with these common crochet abbreviations:
- r: round
- mr: magic ring
- ch: chain
- sl st: slip stitch
- sc: single crochet
- hdc: half double crochet
- inc: increase
- dec: decrease
- FO: fasten off
Creating the Legs (Make 2)
Start with the first leg:
r1: 8 sc in mr (8)
r2: 8 inc (16)
r3-7: 16 sc (5 rounds)
FO and leave a small tail for sewing.
For the second leg, repeat rounds 1-7 but don’t fasten off – you’ll continue working directly into the body.
Building the Body
r8: To attach the legs, first ch 2, then work 16 sc in the first leg, 2 sc in the previous 2 ch, 16 sc in the second leg, and 2 sc in the same 2 ch again (36)
Tip: If you notice any holes between the legs, use the tail from the first leg to sew them closed.
r9: (5 sc, inc) x 6 (42)
r10-15: 42 sc (6 rounds)
r16: (5 sc, dec) x 6 (36)
r17-18: 36 sc (2 rounds)
r19: (4 sc, dec) x 6 (30)
r20: 30 sc (30)
r21: (3 sc, dec) x 6 (24)
Now is the time to stuff the body and legs firmly.
r22: (2 sc, dec) x 6 (18)
Don’t fasten off – continue directly to the head!
Shaping the Head
r23: 18 sc (18)
r24: (2 sc, inc) x 6 (24)
r25: (3 sc, inc) x 6 (30)
r26: (4 sc, inc) x 6 (36)
r27: (5 sc, inc) x 6 (42)
r28-32: 42 sc (5 rounds)
r33: (5 sc, dec) x 6 (36)
r34: (4 sc, dec) x 6 (30)
r35: (3 sc, dec) x 6 (24)
Stuff the head and neck generously to maintain the shape.
r36: (2 sc, dec) x 6 (18)
r37: (1 sc, dec) x 6 (12)
r38: 6 dec (6)
FO and cinch close by weaving the tail through the front loops and pulling tight. Finish stuffing if necessary before closing completely.

Crafting the Arms (Make 2)
r1: 8 sc in mr (8)
r2: 8 inc (16)
r3-9: 16 sc (7 rounds)
r10: (2 sc, dec) x 4 (12)
Add stuffing to the arms.
r11: 12 sc (12)
r12: (1 sc, dec) x 4 (8)
Single crochet shut across. FO and leave a small tail for sewing.
Adding the Hair
Make a slip knot and ch 5. Sc into the 2nd ch from the hook, then work 2 hdc, followed by sl st.
Ch 4, sc into the 2nd ch from the hook, 2 hdc, sl st into the same stitch you previously slip stitched into.
Repeat this process two more times until you have 4 hair tufts. FO and leave a tail for sewing.
Creating the Face (in Cream Color)
r1: 6 sc in mr (6)
r2: 6 inc (12)
r3: (1 sc, inc) x 6 (18)
r4: (2 sc, inc) x 6 (24)
r5: (3 sc, inc) x 6 (30)
r6: 30 sc (30)
Sl st and FO, leaving a long tail for sewing.
Making the Eye Patches (in Dark Brown Color, Make 2)
Make a slip knot and ch 6. Sc into the 2nd ch from the hook and mark that stitch with a stitch marker. Work 3 sc, then 3 sc into the last stitch.
Turn your work over and continue with 4 sc, then 3 sc into the last stitch. Sl st into the marked stitch. (14)
FO and leave a tail for sewing.
Assembly Instructions
Now comes the fun part – bringing Bonnie to life!
Attach the Arms: Sew the arms beneath the head on either side at round 22 of the body.
Position the Face: Sew the cream-colored face piece to the front of the head.
Add the Eyes: Before sewing on the eye patches, insert your safety eyes through them. Use pins to position the eye patches on the face, then sew them securely. The patches should sit approximately at rounds 3-4 of the face piece. Alternatively, you can glue the eyes in place.
Attach the Hair: Sew the hair tuft to the top of the head for that signature sloth look.
Create the Nose: Cut a small nose shape from black felt and glue it in place, or embroider a nose using black yarn.

Final Touches and Tips
Take a moment to weave in any loose ends and ensure all pieces are securely attached. Your Bonnie the Sloth is now complete and ready to be loved!
Pro Tips:
- Use pins to position pieces before sewing for better placement
- Stuff firmly but not too tightly to maintain the sloth’s soft, huggable quality
- Take your time with the face – proper eye and nose placement makes all the difference in expression
This delightful sloth pattern creates a finished amigurumi that’s approximately 8-10 inches tall, depending on your yarn weight and tension. The combination of soft textures and sweet details makes Bonnie an irresistible companion for children and adults alike.
Whether you’re making this as a gift for a loved one or treating yourself to a new crochet friend, this pattern offers a rewarding and enjoyable crafting experience. The step-by-step instructions ensure that even those newer to amigurumi can achieve success, while the charming result is sure to bring smiles for years to come.
Happy crocheting, and enjoy creating your very own Bonnie the Sloth!


Remember it later!
Planning to try this soon? Pin it for a quick find later!