Table of contents
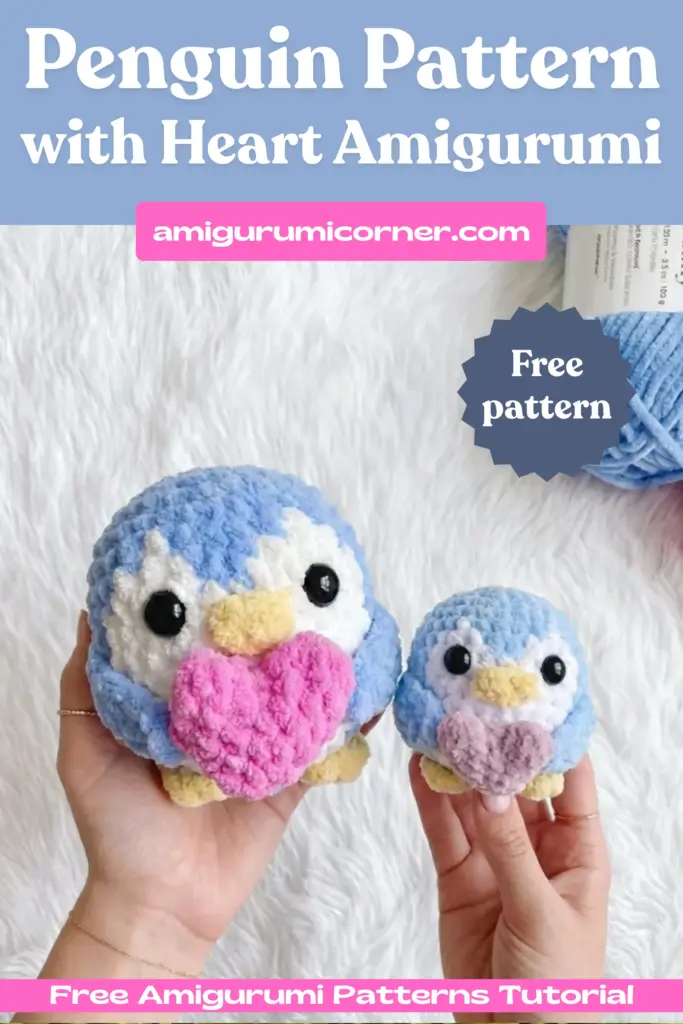
Looking for an adorable Valentine’s Day crochet project? This charming amigurumi penguin holding a tiny heart is perfect for gift-giving or adding to your handmade collection. Penny the Penguin combines textured chenille or chunky yarn with simple construction techniques to create an irresistibly cute companion. Whether you’re an experienced crocheter or looking to expand your amigurumi skills, this free pattern will guide you through every step of creating your own lovable penguin.
Materials Needed
Before starting your project, gather these supplies:
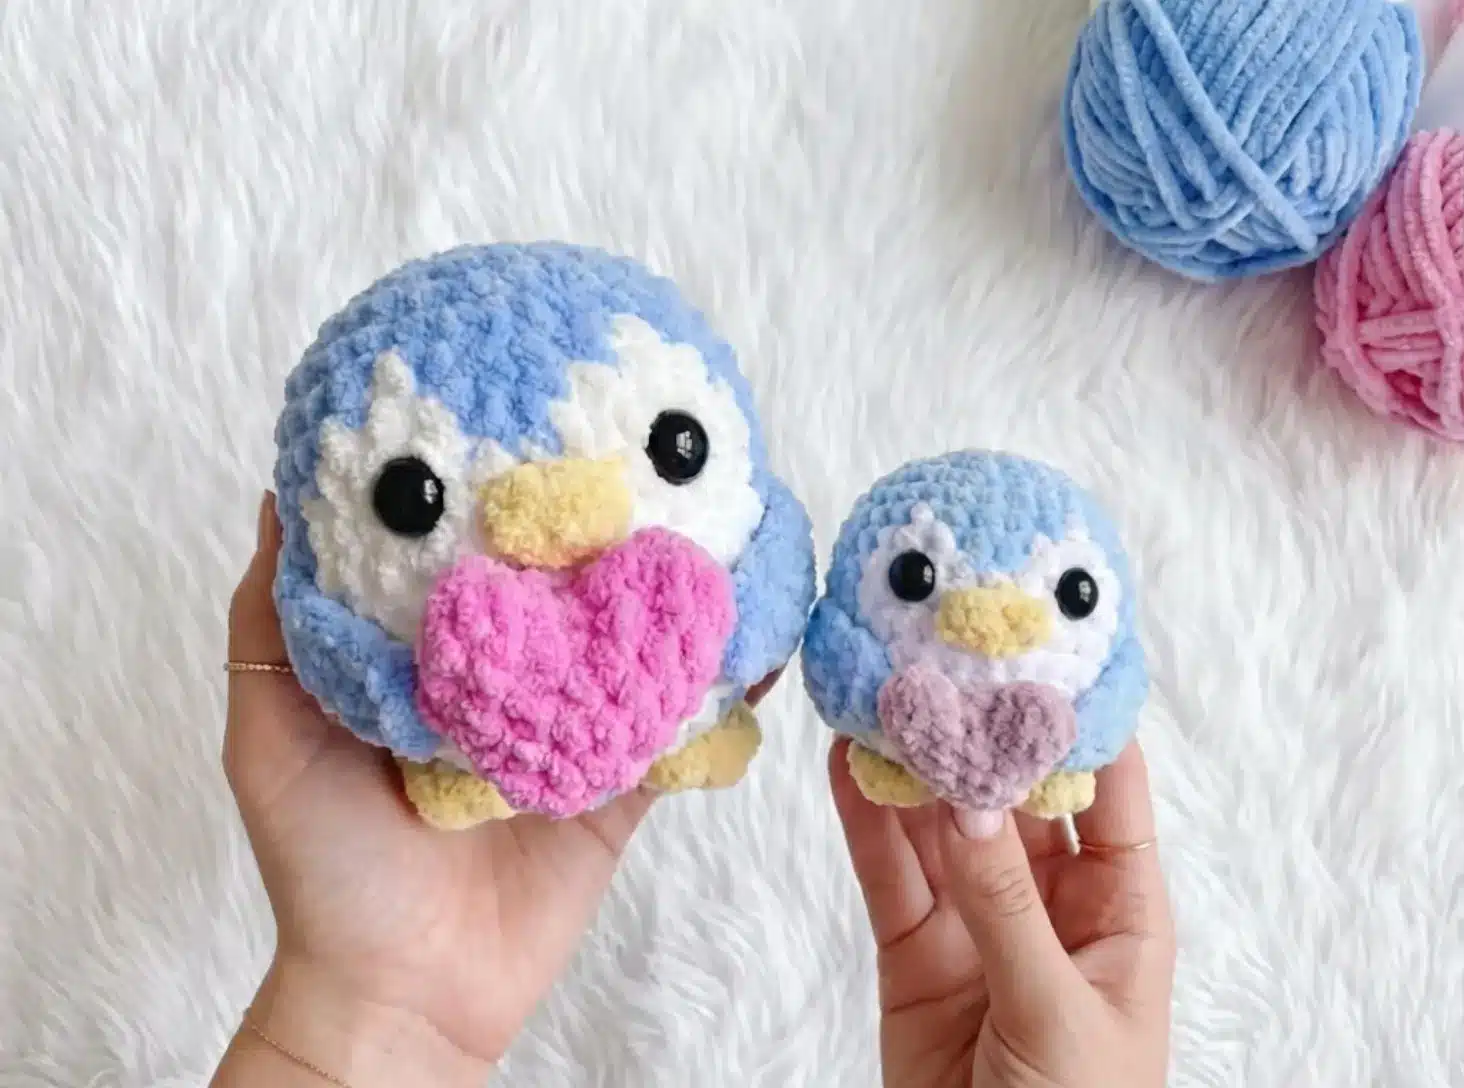
- Yarn in four colors: blue (main body), white (belly), yellow or orange (beak and feet), and pink (heart)
- Crochet hook: 4mm for smaller penguin or 5mm for larger version
- Tapestry needle for sewing pieces together
- Stitch markers to hold pieces in place during assembly
- 10mm safety eyes
- Polyester stuffing
Yarn Recommendations:
- Smaller Penguin: Flutterby Chunky yarn with 4mm hook
- Bigger Penguin: So Crafty Chenille yarn with 5mm hook

Crochet Abbreviations Guide
Understanding these standard crochet terms will help you follow the pattern:
- MR: Magic Ring
- ST: Stitch
- SL ST: Slip Stitch
- CH: Chain
- SC: Single Crochet
- INC: Increase
- DEC: Decrease
- FO: Fasten Off
Pattern Instructions
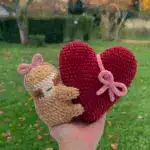
Heart (Make 1)
1st Part:
- R1: 6 SC in MR (6)
- R2: 6 SC (6)
- FO and leave a tail (you might need the tail for closing a space between the two pieces later on)
2nd Part:
- Repeat R1-2 but do not FO
- Join to Part 1 with a SC (this will be your first SC of the round)
- R3: 5 SC around the Part 1, 6 SC around Part 2 (12)
- R4: 12 SC all around (12)
- R5: (2SC, 1 DEC) x 3 (9)
If you are stuffing the heart, start stuffing here.
- R6: (1SC, 1 DEC) x3 (6)
- R7: 3 DEC (3) (this might be hard to do due to the size – you can sew closed in this case)
Finish stuffing the heart. FO, leave a long tail for sewing, and sew the hole closed.
Head/Body (Make 1)
Important Note: You’ll be working with two colors throughout this piece. The main body (blue) instructions are shown in the standard text, while the belly (white) color changes are indicated in the pattern. This creates the penguin’s distinctive two-tone appearance.
- R1: 6 SC in MR (6)
- R2: 6 INC (12)
- R3: (1 SC, 1 INC) x6 (18)
- R4: (2 SC, 1 INC) x6 (24)
- R5: (3 SC, 1 INC) x6 (30)
- R6: SC all around (30)
- R7: 12 SC, 1 SC, 4 SC, 1 SC, 12 SC (30)
- R8: 11 SC, 1 SC, 2 SC, 3 SC, 2 SC, 1 SC, 11 SC (30)
- R9-13: 10 SC, 10 SC (30) [5 rounds]
- R14-15: 11 SC, 8 SC, 11 SC (30) [2 rounds]
Place eyes between R9-10 around 5 ST’s (or 3 visible ST’s) apart.
- R16: (1 SC, 1 DEC) x10 (20)
Start stuffing and continue to stuff as you go along.
- R17: DEC all around (10)
- R18: DEC all around (5)
FO and sew the hole closed.

Beak (Make 1)
Using orange or yellow yarn:
- R1: CH 3
- R2: Starting in the second CH from the hook, 2 SC, SL ST in the last CH (2)
FO and leave a long tail for sewing.
Flippers (Make 2)
Using the main body color (blue):
- R1: CH1
- R2: Starting in the second CH from the hook, 5SC, 3SC in last CH
Now work on the other side of the CH: 4 SC, 3 SC in last ST (15)
FO and leave long tail for sewing.
Feet (Make 2)
Using the same color as the beak (yellow or orange):
- R1: 5 SC in MR
- R2: (1 SC, SL ST in same ST) x3 (leave last two stitches unworked)
FO, and leave long tail for sewing.
Assembly Instructions
Proper assembly is crucial for achieving Penny’s adorable pose. Follow these steps carefully to ensure all pieces are securely attached in the correct positions.
Attaching the Flippers
The top of the flipper needs to be sewn 2 ST’s away from the eyes and between R9-10. Position the flipper at a slight angle so it can hold the heart in front of the body. Before sewing, make sure the flippers can reach the sides of the heart. Use stitch markers to keep them in place while you check the positioning.
Securing the Heart
- Using the long tail from the heart, insert the needle and yarn back through the heart and out of the side (around the middle of the side)
- Insert the yarn through a ST of the flipper towards the bottom (not through the last ST of the flipper), making a few STs to secure
- Move the yarn through to the opposite side of the heart, repeat step 2 and FO
If you have a hole between the two pieces of the heart, use the tail from Part 1 to sew this closed.

Attaching the Beak
The beak should be sewn on the centre of the face/body, between the eyes, and should be between R9-10 and R11-12.
Attaching the Feet
Make sure the 3 SC’s you made on the final round of the feet are facing forward. The back of the feet need to be sewn in line with the final round of the body. The inner sides of the feet are sewn onto R17 of the body and outer sides between R15-16. Only sew the back half of the feet on so that they stick up from the front a little bit, giving Penny a playful, three-dimensional appearance.
Frequently Asked Questions
The finished size depends on your yarn choice and hook size. Using Flutterby Chunky yarn with a 4mm hook creates a smaller penguin, while So Crafty Chenille yarn with a 5mm hook produces a larger version. Typically, the smaller version measures around 3-4 inches tall, while the larger version is approximately 5-6 inches.
The pattern indicates color changes throughout the head/body section. When you see the instructions for white belly stitches within the rounds, simply switch to your white yarn for those specific stitches, then continue with the blue yarn. Carry the unused color along the inside of your work to avoid loose ends.
Yes, you can adapt this pattern to different yarn weights. Just remember to adjust your hook size accordingly – use a hook size recommended on your yarn label. Keep in mind that using thinner yarn will create a smaller penguin, while bulkier yarn will make a larger one. Your stitch count should remain the same regardless of yarn weight.
Place the safety eyes between rounds 9-10, positioning them about 5 stitches (or 3 visible stitches) apart. It’s important to attach them before you finish stuffing and closing the head, as you need access to the inside to secure the backs. Use stitch markers to test the placement before permanently attaching the eyes.
Conclusion
Penny the Penguin is a delightful project that combines multiple amigurumi techniques into one charming design. From working in the round to color changes and assembly, this pattern offers great practice for crocheters looking to improve their skills. The result is an adorable handmade gift perfect for Valentine’s Day, birthdays, or any occasion that calls for something extra special.
Remember to credit the original designer when sharing your finished penguins. Happy crocheting, and enjoy bringing your own Penny to life!

Remember it later!
Planning to try this soon? Pin it for a quick find later!