Table of contents
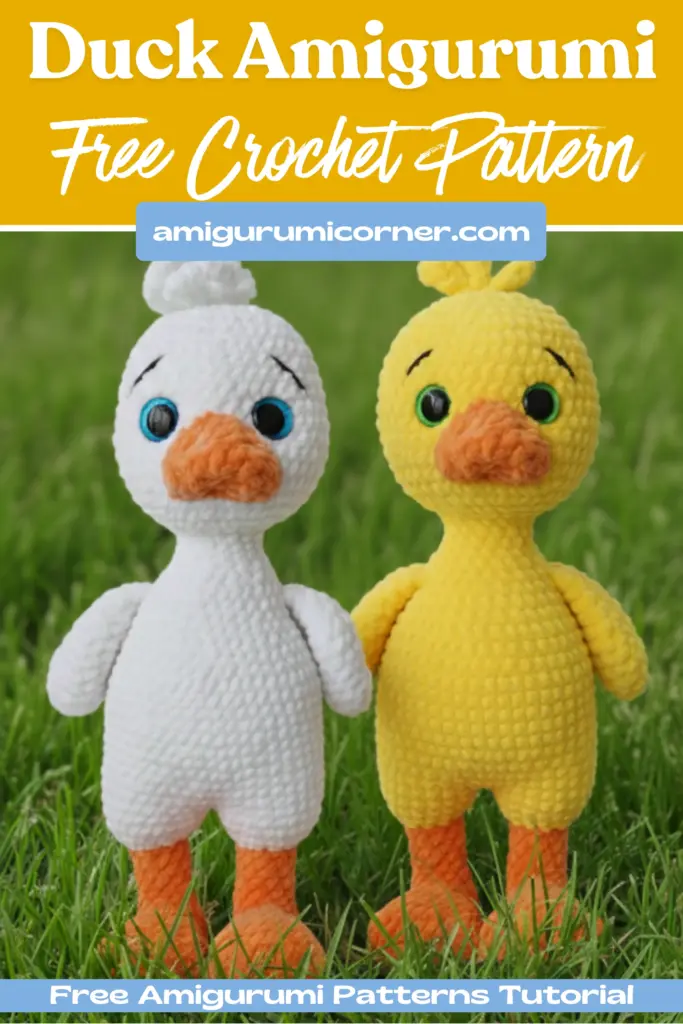
Creating a handmade plush toy brings joy not only to the maker but also to whoever receives this charming gift. This detailed crochet pattern will guide you through making an adorable 25 cm tall goose that’s perfect for children or as a delightful decoration. Whether you’re an experienced crocheter or looking to expand your skills, this project offers a rewarding challenge with a heartwarming result.
Materials You’ll Need
Before starting your crochet goose project, gather the following supplies:
Yarn:
- Himalaya Dolphin Baby plush yarn in Milk (80308) – 1 skein for the body
- Himalaya Dolphin Baby in Mustard (80330) for feet and beak
- YarnArt Jeans DK weight in Black (53) for eyebrows and eyelashes
- YarnArt Jeans in White (01) for muzzle sculpting
Notions and Tools:
- 4 mm crochet hook
- 18 mm safety eyes
- Fiberfill or polyester stuffing
- Scissors
- Stitch markers
- Tapestry needle for assembly

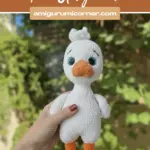
Remember it later!
Planning to try this soon? Pin it for a quick find later!
Understanding the Abbreviations
Familiarize yourself with these US crochet terms before beginning:
- MR – Magic Ring
- SC – Single Crochet
- DC – Double Crochet
- HDC – Half Double Crochet
- INC – Increase (2 sc into one stitch)
- DEC – Decrease (2 sc together)
- SL ST – Slip Stitch
- CH – Chain
- **( ) *** – Repeat the instruction the specified number of times
Essential Tips for Success
Before diving into the pattern, keep these important guidelines in mind:
Hook Size Matters: Use a smaller hook than typically recommended for your yarn. This creates tighter stitches that prevent stuffing from showing through.
Gauge and Tension: Crochet tightly and evenly. The finished toy’s appearance depends on consistent tension throughout.
Customization Options: Feel free to use different yarn weights—just remember that thinner yarn produces a smaller toy, while thicker yarn creates a larger one.
Stitch Markers: Use them to mark the beginning of each round. This simple step prevents confusion and ensures accurate stitch counts.
Spiral Construction: Work in continuous spirals without turning chains unless otherwise specified.
Magic Ring Alternative: If you find the magic ring challenging, chain 2 and work the required stitches into the first chain instead.
Stuffing Technique: Stuff gently and evenly. Over-stuffing can distort the toy’s shape, while under-stuffing creates a limp appearance.
Crafting the Wings
Begin with the wings, which you’ll later attach or crochet directly into the body.
Rounds 1-13:
- 6 sc into MR
- (inc) 6 times (12)
- 12 sc
- (2 sc, inc) 4 times (16)
- 16 sc
- (3 sc, inc) 4 times (20)
7-8. 20 sc (2 rounds) - (3 sc, dec) 4 times (16)
- (2 sc, dec) 4 times (12)
- (1 sc, dec) 4 times (8)
- (dec) 4 times (4)
- 2 sc through both loops
Leave a long tail if sewing the wings separately, or cut the yarn if crocheting them directly into the body.

Creating the Tail
The tail adds character to your goose and requires minimal stuffing.
Rounds 1-4:
- 6 sc into MR
- (1 sc, inc) 3 times (9)
- (2 sc, inc) 3 times (12)
- 12 sc
Flatten the tail and crochet 6 sc through both loops. Don’t stuff this piece. Leave it ready to crochet into the body later.
Forming the Feet
Start with mustard-colored yarn for distinctive goose feet.
Rounds 1-5:
- Chain 10, crochet in second chain from hook: 8 sc, inc in last chain. Continue on other side: 8 sc, inc (20)
2-5. 20 sc (4 rounds)
Shaping the Foot:
6. Make 1 decrease on both sides (18)
7. (1 sc, dec) 6 times (12)
8. Create the toe opening: Crochet to center, chain 4, join back, continue to marker (12)
9. 12 sc (stuff as you go)
10. (dec) 6 times (6)
Tighten the opening with a tapestry needle.
Creating the Toe:
11. Attach yarn at hole’s side, crochet 5 sc on both sides (10)
12-17. 10 sc (6 rounds)
Switching Colors:
- Change to milk yarn: (inc) 10 times (20)
- (4 sc, inc) 4 times (24)
- 24 sc
Complete the second foot, leaving working yarn on it for joining the legs.
Assembling the Body
Joining the Legs:
Position the feet with toes facing forward. Crochet 24 sc around the first leg, then 24 sc around the second leg (48 stitches total).
Body Construction (Rounds 5-23):
- Rounds 5-7: 48 sc (3 rounds)
- Round 8: Attach tail by crocheting 6 sc through both loops at center back
- Rounds 9-14: 48 sc (6 rounds)
- Round 15: (6 sc, dec) 6 times (42)
- Round 16: 42 sc
- Round 17: (5 sc, dec) 6 times (36)
- Round 18: 36 sc
- Round 19: (4 sc, dec) 6 times (30)
- Round 20: Attach wings by crocheting 2 sc through both wing and body layers
- Round 21: 30 sc
- Round 22: (3 sc, dec) 6 times (24)
- Round 23: (2 sc, inc) 6 times (18)
Continue stuffing firmly as you work.

Shaping the Head and Neck
Without cutting the yarn, transition seamlessly into the head.
Neck (Rounds 24-27):
- 18 sc (4 rounds)
Head Expansion (Rounds 28-36):
- Round 28: (2 sc, inc) 6 times (24)
- Round 29: (3 sc, inc) 6 times (30)
- Round 30: (4 sc, inc) 6 times (36)
- Round 31: (5 sc, inc) 6 times (42)
- Round 32: (6 sc, inc) 6 times (48)
- Rounds 33-36: 48 sc (4 rounds)
Eye Placement:
Between rounds 31 and 32, position safety eyes with 8 sc between them. Secure with washers from inside.
Head Shaping (Rounds 37-47):
- Round 37: (6 sc, dec) 6 times (42)
- Rounds 38-41: 42 sc (4 rounds)
- Round 42: (5 sc, dec) 6 times (36)
- Round 43: (4 sc, dec) 6 times (30)
- Round 44: (3 sc, dec) 6 times (24)
Critical Stuffing Step: Stuff the head firmly, creating round, plump cheeks. Use a needle to distribute stuffing evenly, pushing material toward the sides for definition.
- Round 45: (2 sc, dec) 6 times (18)
- Round 46: (1 sc, dec) 6 times (12)
- Round 47: (dec) 6 times (6)
Close the opening through front loops with a tapestry needle, leaving 1 meter of yarn before cutting.
Adding Character Details
The Forelock:
Chain 10 and attach to head. Repeat two more times for a total of three chains, creating a charming tuft.
Muzzle Sculpting:
Using single-ply white yarn:
- Insert needle between rounds 23-24
- Bring needle parallel to right eye (point 1), exit at eye’s bottom level (point 2)
- Grab fiberfill firmly, insert at point 3, exit at point 4
- Keep 2 stitches between points 1 and 2
- Tighten and knot securely
- Repeat on second side through same points
Facial Features:
With single-ply black yarn:
- Eyelids: Insert needle at beak position, skip one stitch beside eye, follow eye contour closely
- Eyebrows: Mark position with pins (4 rows above eye level), embroider evenly on both sides
- Hide all yarn tails inside the head
Crafting the Beak
Using mustard yarn:
- Chain 1, then chain 6
- Starting in second chain: sc, hdc, (dc inc), hdc, sc
- Crochet around perimeter with sc
- Increase in corners and make 3 sc in top stitch for triangular shape
Attachment:
Pin beak beneath eyes with top point centered between them. Sew through each loop for secure attachment.

Final Touches and Care
Once complete, your plush goose should measure approximately 25 cm tall. The combination of soft plush yarn and careful construction creates a huggable companion that’s both durable and adorable.
Care Instructions:
- Hand wash gently in cool water if needed
- Air dry completely before giving to children
- Reshape while damp if necessary
Customization Ideas
Make this crochet goose pattern your own by:
- Experimenting with different color combinations
- Adding embroidered details like flowers or patterns on the body
- Creating seasonal accessories (scarves, hats, or bows)
- Varying yarn weights for different sizes
- Making a whole family of geese
Conclusion
This comprehensive crochet pattern transforms simple materials into a delightful handmade treasure. The combination of plush yarn, careful shaping, and thoughtful details results in a professional-looking toy that showcases your crochet skills. Whether creating this goose as a gift or for your own collection, the process teaches valuable techniques while producing something truly special.
Remember that practice makes perfect—your first attempt might not look exactly like the photos, but each stitch brings you closer to mastery. The joy of creating something by hand, stitch by stitch, makes the final product all the more meaningful. Happy crocheting!


Remember it later!
Planning to try this soon? Pin it for a quick find later!