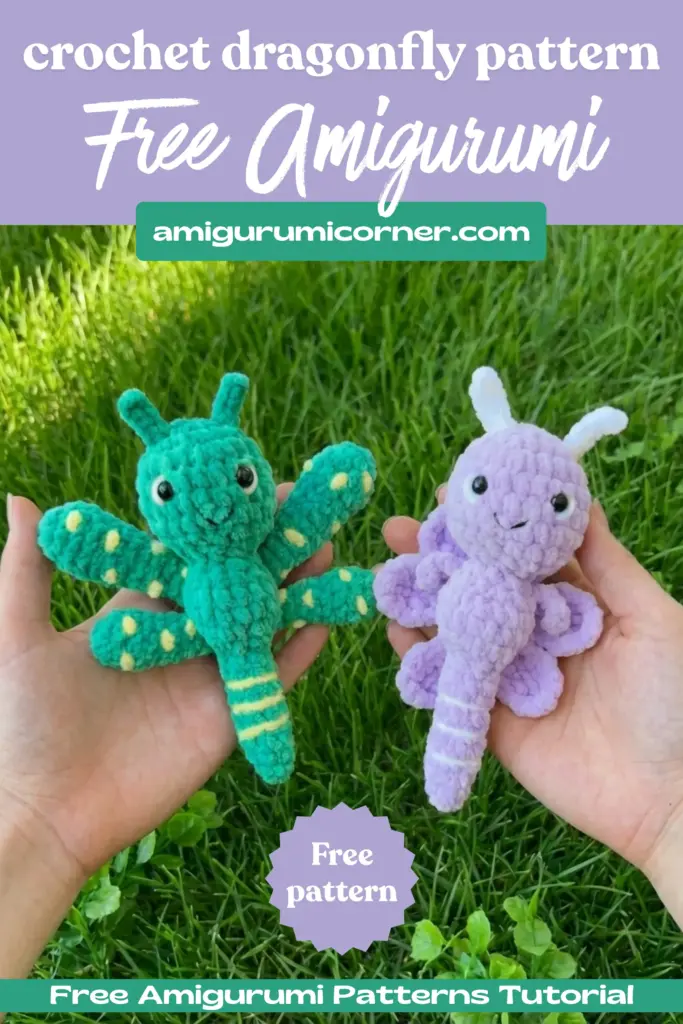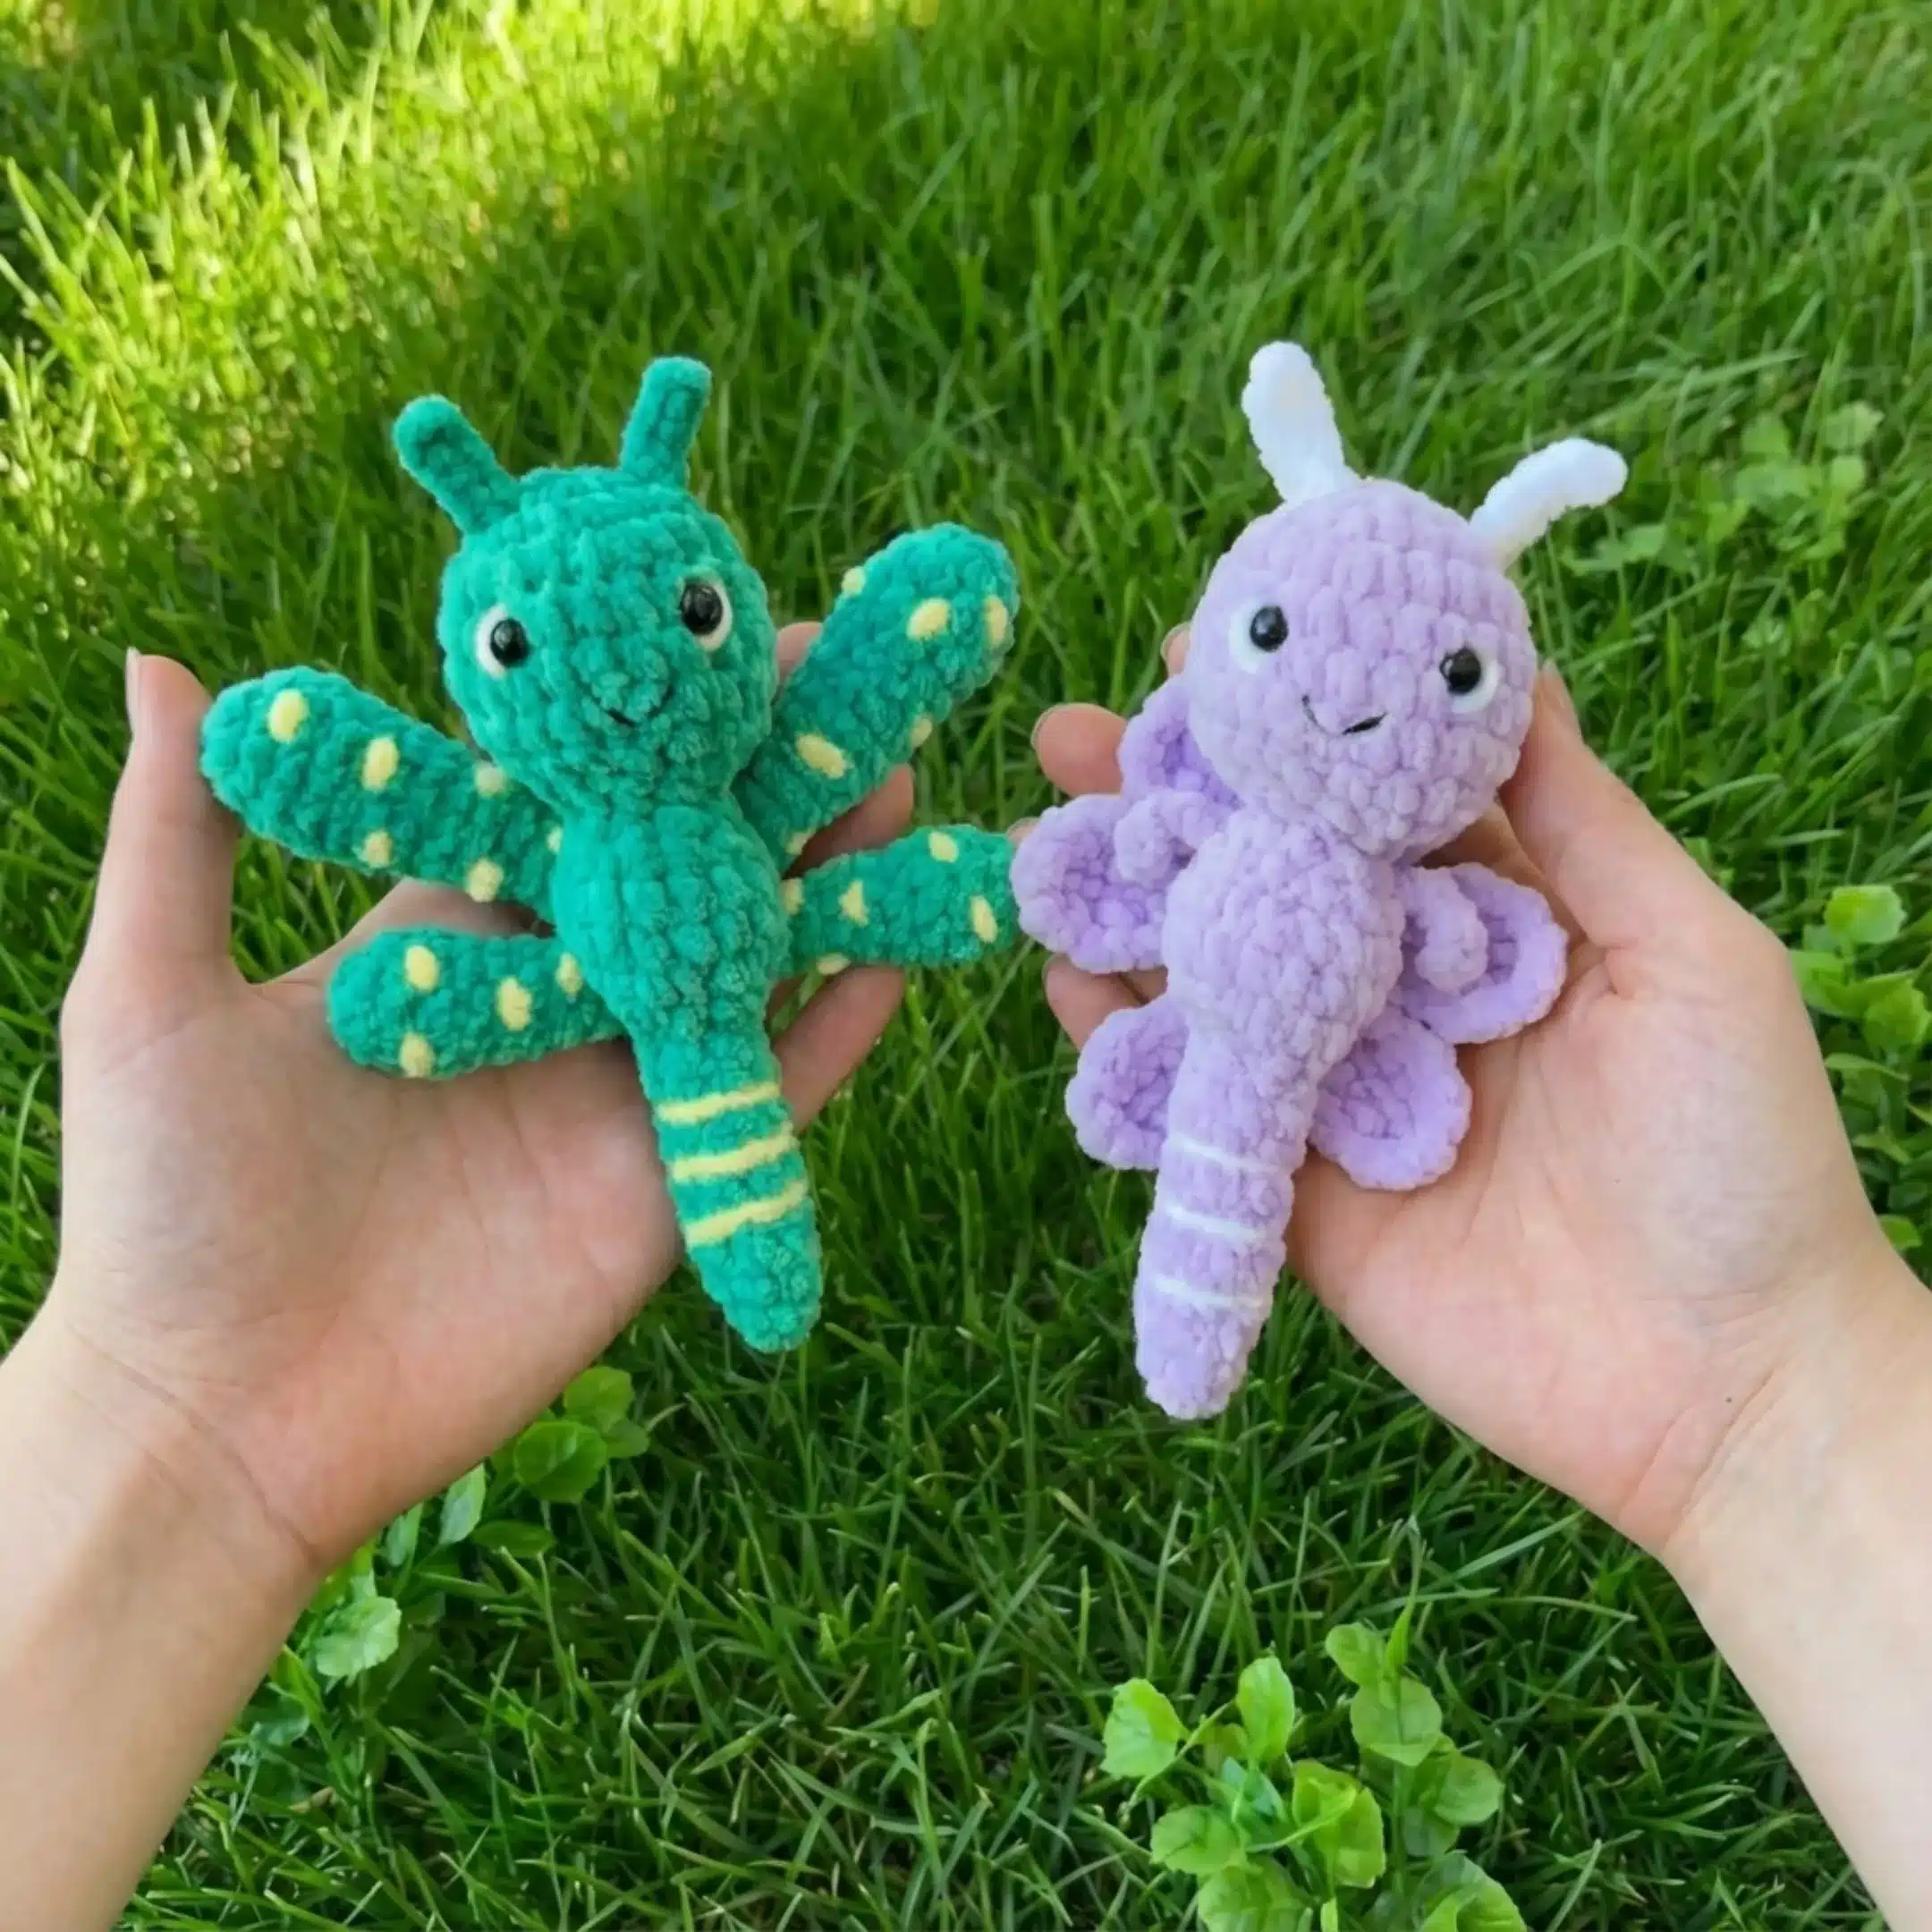
Looking for an enchanting crochet project to brighten your day? This adorable dragonfly amigurumi pattern creates a charming 14cm plushie that’s perfect for gifts, nursery decor, or adding to your handmade collection. With detailed instructions for every component, this free pattern guides you through creating a whimsical dragonfly complete with delicate wings, cute antennas, and even an optional flower accessory.
Whether you’re an intermediate crocheter looking for your next project or want to create a special handmade gift, this dragonfly pattern offers a delightful crafting experience. The pattern uses soft Himalaya Dolphin Baby yarn, creating a cuddly texture that’s perfect for children and adults alike.
Materials You’ll Need
Before starting your dragonfly, gather these essential supplies:
- 3.5mm crochet hook
- Himalaya Dolphin Baby yarn in Blue (80306), Yellow (80302), and White (80301)
- Stitch markers
- Scissors
- Bead fiber for stuffing
- 8mm plastic safety eyes
- Thin cotton threads for optional body stripes
The finished dragonfly measures approximately 14cm, making it an ideal size for little hands to hold or display as decor.

Crochet Abbreviations Guide
Understanding these common US crochet terms will help you follow the pattern smoothly:
- MR: Magic Ring
- st(s): Stitch(es)
- sl st: Slip stitch
- ch: Chain
- SC: Single Crochet
- INC: Increase
- DEC: Decrease
- FLO: Front loop only
- BLO: Back loop only
Important Pattern Notes
Before you begin crocheting, keep these tips in mind for best results:
- This pattern uses US crochet terminology throughout
- You can substitute different yarn weights and hook sizes, though this will change the final size and appearance of your dragonfly
- Work in a continuous spiral unless the pattern specifically indicates otherwise
- Tension variations may produce different results, so maintain consistent tension throughout your project
Dragonfly Head Instructions
Use Blue yarn:
- Row 1: Make 6 sc in MR (6)
- Row 2: 6 inc (12)
- Row 3: (1 sc, 1 inc)*6 (18)
- Row 4: (2 sc, 1 inc)*6 (24)
- Rows 5-7: 24 sc
- Row 8: (2 sc, 1 dec)*6 (18)
- Attach the safety eyes between the 5th and 6th rows, leaving 5 sc between them
- Row 9: (1 sc, 1 dec)*6 (12)
- Fill with fiber
- Row 10: 1 dec, 8 sc, 1 dec (10)
- Cut the yarn and secure it
Dragonfly Body Instructions
Use Blue yarn:
- Row 1: Make 4 sc in MR (4)
- Row 2: 4 sc (4)
- Row 3: 4 inc (8)
- Rows 4-12: 8 sc
- Row 13: (1 sc, 1 inc)*4 (12)
- Row 14: (2 sc, 1 inc)*4 (16)
- Rows 15-16: 16 sc
- Row 17: (2 sc, 1 dec)*4 (12)
- Row 18: 3 sc, 1 dec, 4 sc, 1 dec (10)
- Leave the yarn long for sewing
- Make body filling every 5 rows
- Optional: If desired, add 3 strips on the body using thin cotton threads
Arms Instructions (Make 2)
Use Blue yarn:
- Row 1: Make chain 4
- Row 2: 3 sc
- Leave the yarn long for sewing
- Sew the arms to the sides of the neck on the 2nd row
Antenna Instructions (Make 2)
Use Blue yarn:
- Row 1: Make chain 5
- Row 2: From the second chain, make 4 sl st
- Leave the yarn long for sewing
- Sew the antennas to the 2nd row of the head with 3 sc between them

Remember it later!
Planning to try this soon? Pin it for a quick find later!
Upper Wings Instructions (Make 2)
Use Blue yarn:
- Row 1: Make 4 sc in MR (4)
- Row 2: 4 inc (8)
- Row 3: 1 sc, 1 inc, (2 sc, 1 inc)*2 (11)
- Row 4: 11 sc (11)
- Row 5: (3 sc, 1 dec)*2, 1 sc (9)
- Rows 6-8: 9 sc
- Row 9: (2 sc, 1 dec)*2, 1 sc (7)
- Row 10: 7 sc (7)
- Row 11: (1 sc, 1 dec)*2, 1 sc (5)
- Rows 12-14: 5 sc
- Fold the piece in half and crochet the edges together
- Leave a long thread for sewing
- Add spots using yellow thread
- Do not fill with fiber
- Sew the wings to the back of the body, leaving 2 sc between them
Lower Wings Instructions (Make 2)
Use Blue yarn:
- Row 1: 4 sc in MR (4)
- Row 2: 4 inc (8)
- Row 3: 1 sc, 1 inc, (2 sc, 1 inc)*2 (11)
- Row 4: (3 sc, 1 dec)*2, 1 sc (9)
- Row 5: (2 sc, 1 dec)*2, 1 sc (7)
- Rows 6-7: 7 sc
- Row 8: (1 sc, 1 dec)*2, 1 sc (5)
- Rows 9-10: 5 sc
- Fold the piece in half and crochet the edges together
- Leave a long yarn for sewing
- Do not fill with fiber
- Sew the lower wings under the upper wings
Optional Flower Accessory
If you want to create a Flower Dragonfly variation, follow these steps:
Start with White yarn:
- Row 1: Make 6 sc in MR (6)
- Row 2: 6 inc (12)
- Cut the yarn and secure it
Change to Yellow Yarn:
- Row 1: Into the loops of the white circle, make (8 ch, 7 sc, 2 sl st)*6
- Row 2: (sl st, sc, hdc, dc, hdc, sc, sl st)*6
- Make 1 sl st in between each loop
This creates a beautiful flower that can be attached to your dragonfly for an extra decorative touch.
")
Assembly Tips
When assembling your dragonfly, work methodically through each component. Start by securely attaching the head to the body, ensuring proper alignment. Position the arms on either side of the neck at the second row for balanced proportions. The antennas should be evenly spaced on the head’s second row with three single crochet stitches between them.
For the wings, attach the upper wings first to the back of the body, maintaining two single crochet spaces between them. Then position the lower wings directly beneath the upper ones for a layered, realistic appearance. Take your time with assembly to ensure all pieces are firmly secured and symmetrically placed.
Frequently Asked Questions
Yes, you can use any yarn weight you prefer, but keep in mind that changing the yarn weight and hook size will alter the finished size of your dragonfly. A lighter weight yarn will create a smaller dragonfly, while a heavier yarn will make it larger. Adjust your hook size accordingly to match your yarn choice.
The safety eyes should be attached between the 5th and 6th rows of the head, with 5 single crochet stitches between them. It’s important to position them before you complete the head and start stuffing, as safety eyes cannot be secured once the piece is fully stuffed and closed.
No, the wings should not be stuffed with fiber. Both the upper and lower wings are meant to be flat to create a more realistic dragonfly appearance. Only the head and body should be filled with stuffing material.
After completing the upper wings, use yellow thread to embroider small spots onto the wings. You can create these spots using small stitches or French knots to add decorative detail that mimics the natural patterns found on real dragonfly wings.
Create Your Magical Dragonfly Today
This charming dragonfly pattern offers a rewarding crochet project that results in an adorable handmade creation. With clear row-by-row instructions and helpful assembly guidance, you’ll have your finished dragonfly ready to gift or display in no time. Don’t forget to share your completed project on social media and tag the pattern creator to showcase your beautiful work. Happy crocheting!

Remember it later!
Planning to try this soon? Pin it for a quick find later!