Table of contents
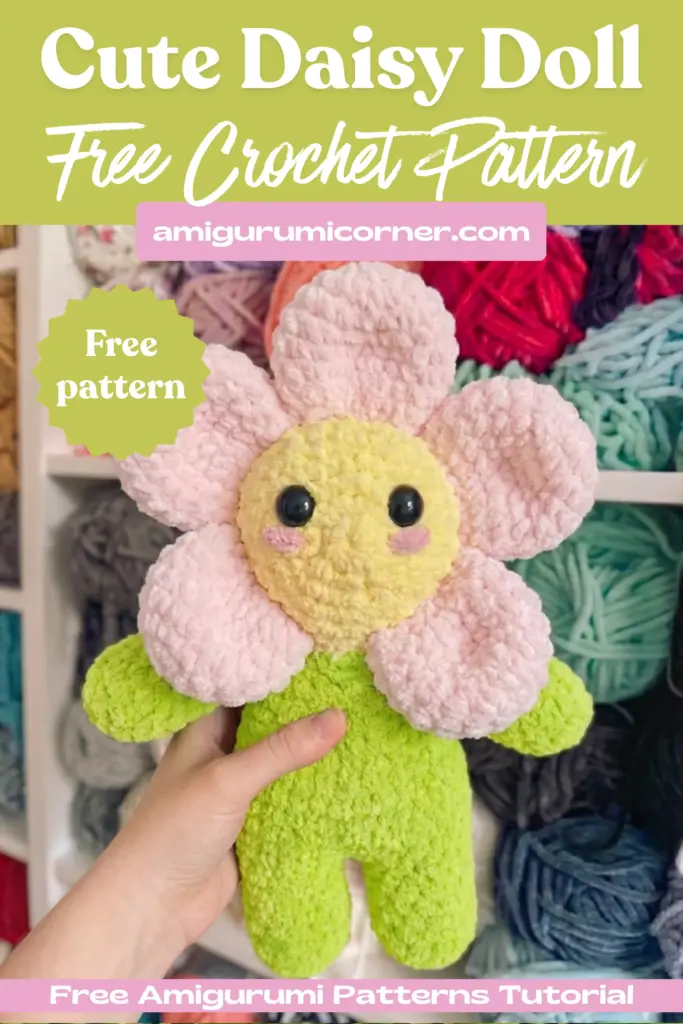
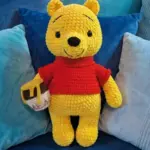
If you’re looking for an enchanting crochet project that combines cuteness with creativity, this daisy doll amigurumi pattern is perfect for you. This delightful plushie features a sweet flower face with colorful petals, a soft body, and tiny arms that make it irresistible. Whether you’re crafting for yourself, as a gift, or to sell at craft fairs, this free pattern will guide you through every step of creating your own charming daisy character.
Deisgned by Blue.Beena
About This Pattern
This pattern is entirely designed and created by Blue.Beena. While you’re welcome to use this pattern to create beautiful daisy dolls for personal use or to sell the finished plushies, please note that the pattern itself cannot be sold, distributed, or modified in any way. This ensures the designer’s creative work is respected while still allowing crafters to enjoy making and sharing these adorable creations.
The pattern is worked in continuous rounds, which means you won’t need to slip stitch at the end of each round. This technique creates seamless, professional-looking amigurumi pieces.

Crochet Terms and Abbreviations
Before you begin, familiarize yourself with these common crochet abbreviations used throughout the pattern:
- Mr: magic ring
- Sc: single crochet
- inc: increase
- dec: decrease
- St: stitch
- F.o: fasten off
- Slst: slip stitch
- R: Round
- Rnds: Rounds
Materials You’ll Need
Yarn
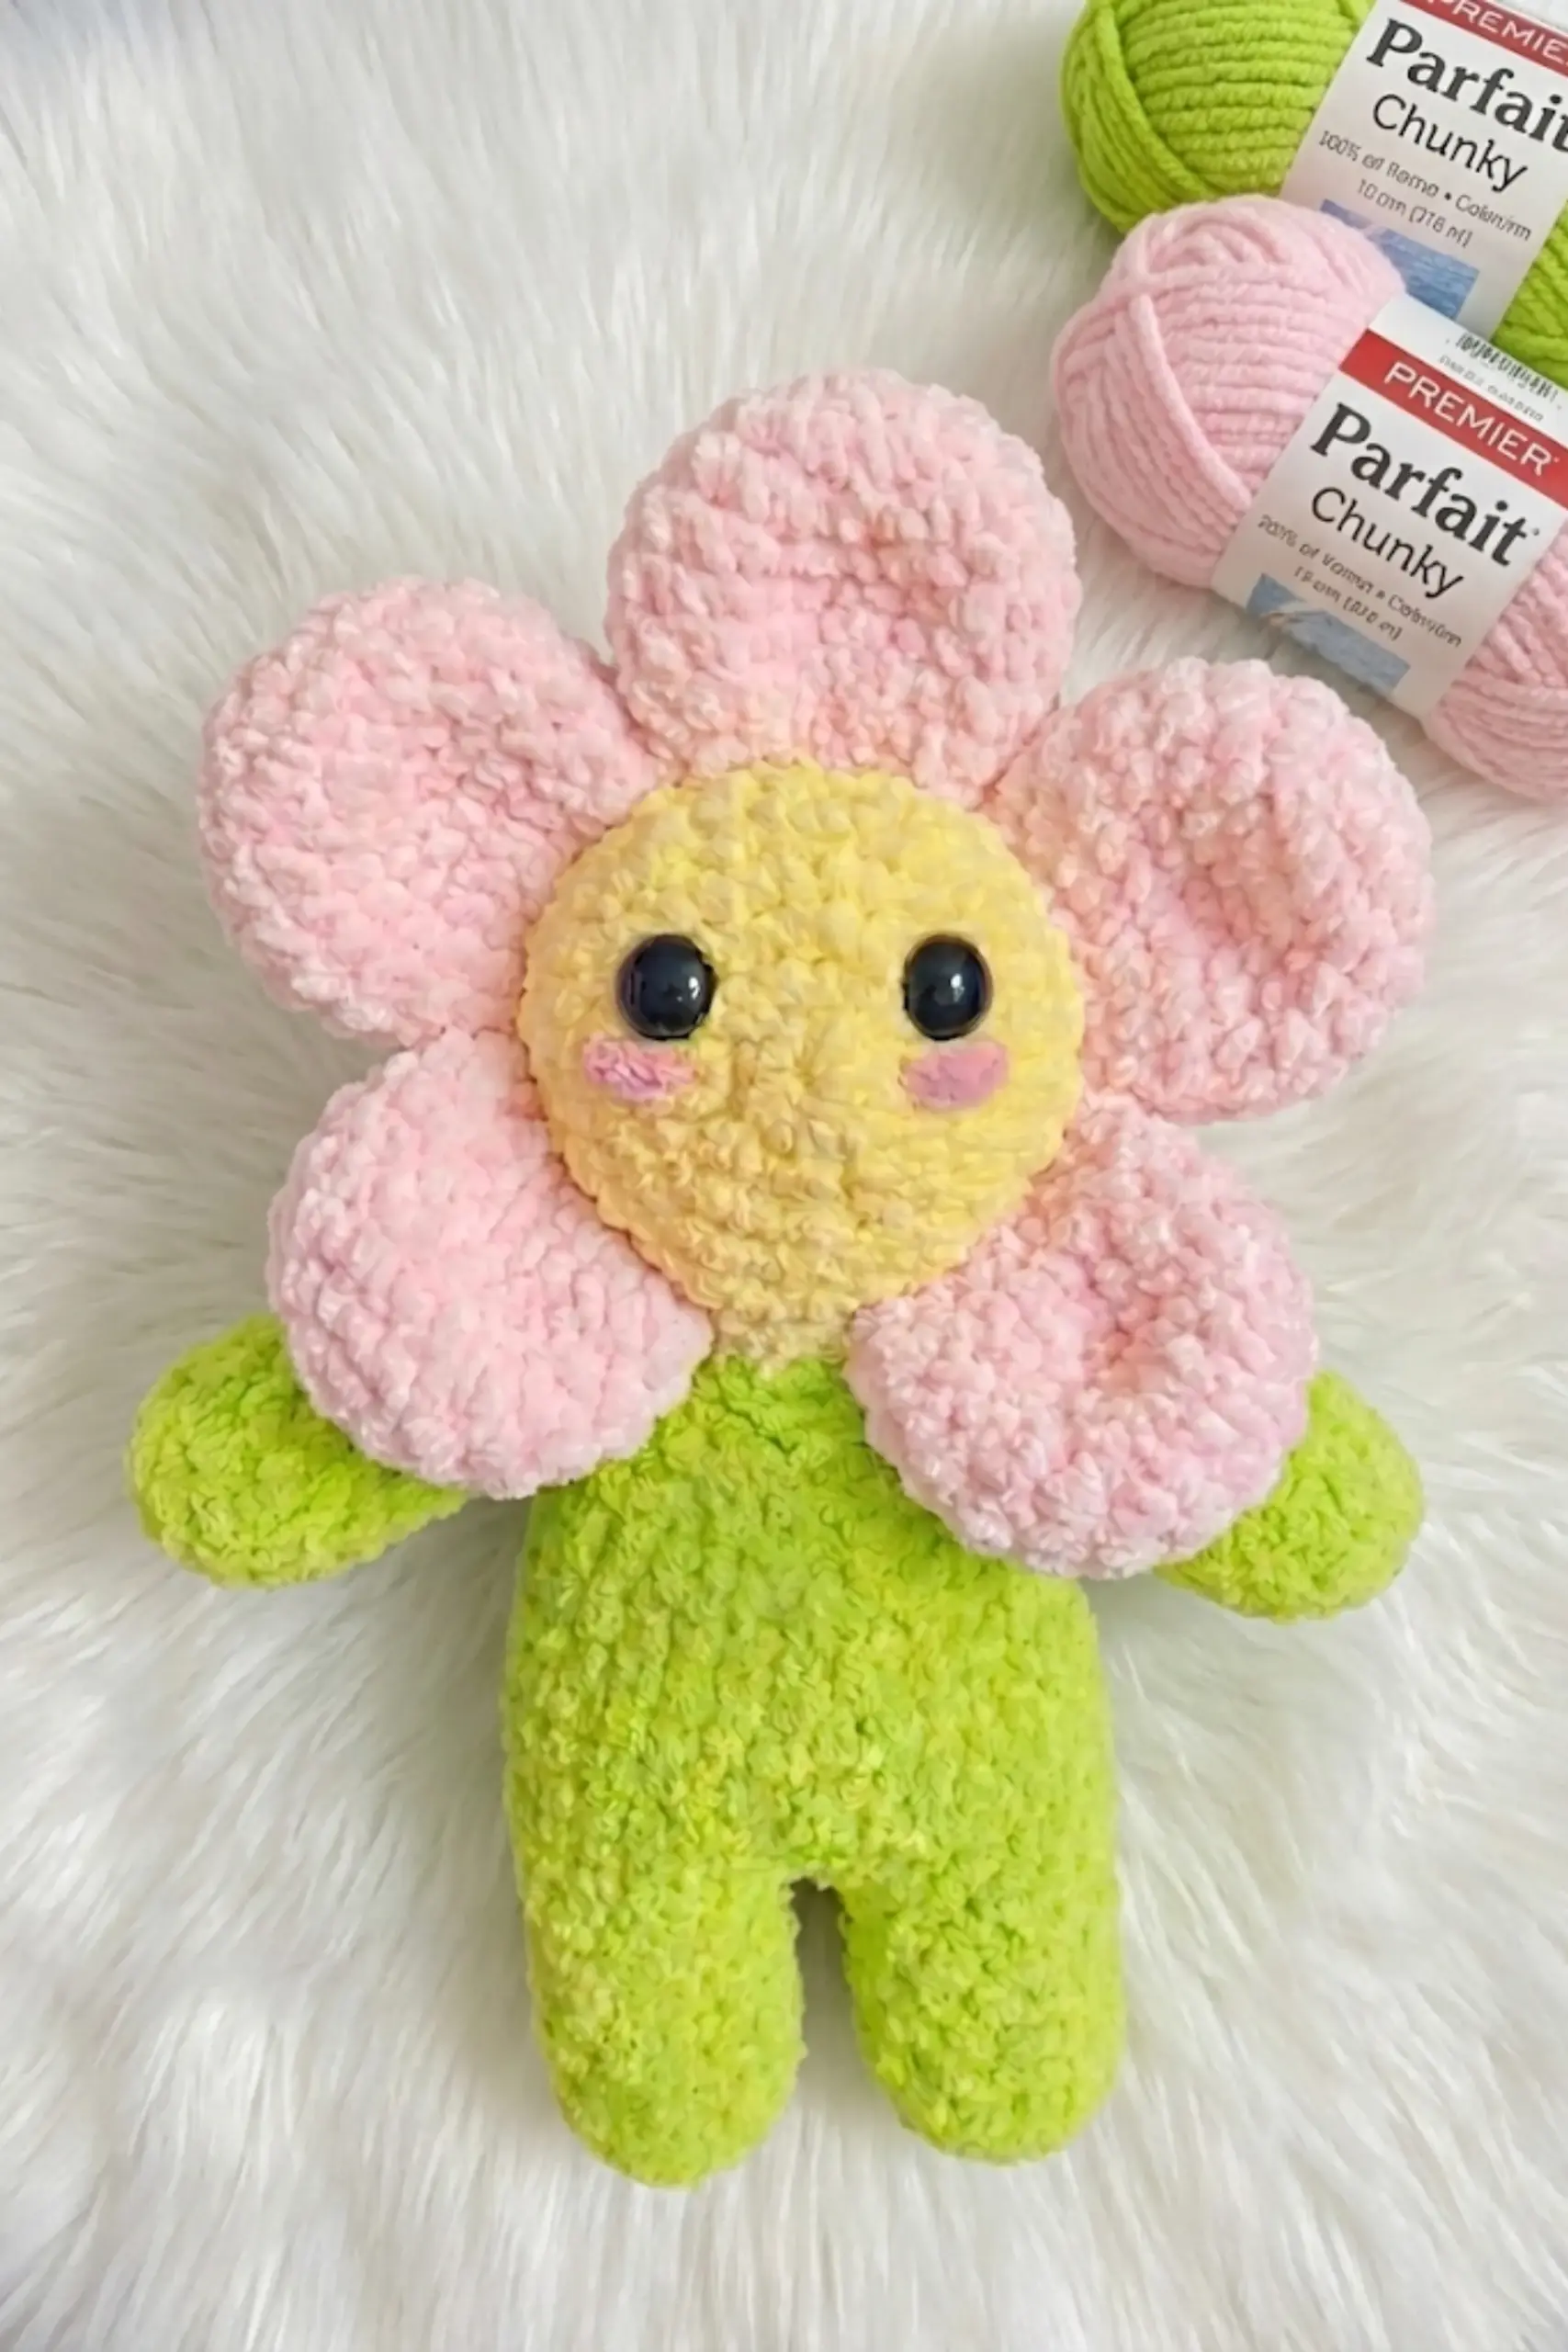
For this pattern, it’s strongly recommended to use fuzzy or faux yarn to achieve that soft, cuddly texture that makes these dolls so appealing. The designer used a thick thread fuzzy yarn, but you’re free to use any yarn you prefer, keeping in mind that different yarn types will affect the final appearance of your plushie.
You’ll need at least one skein of yarn for each color. For the example shown, three colors are used:
- Colour 1: Pink (for petals)
- Colour 2: Yellow (for head/face)
- Colour 3: Green (for body and arms)
Feel free to get creative with your color combinations to make your daisy doll truly unique.
Other Supplies
- Crochet hook: Choose the appropriate hook size based on your yarn weight. A 6mm hook was used with the recommended fuzzy yarn.
- Safety eyes: Various sizes work with this pattern. 8mm eyes were used for the example, but larger sizes like 16mm or 20mm would also suit nicely. Alternatively, you can embroider eyes or use felt.
- Yarn needle: While this is a relatively low-sew pattern, you’ll need a yarn needle to attach parts together.
- Poly-fill stuffing: For giving your daisy doll that perfect plush feel.
- Optional: Embroidery thread or yarn for adding blush to the cheeks.
Pattern Instructions

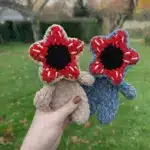
Petals (Make 5)
In colour 1:
- R1: 7sc in Mr
- R2: Inc around (14)
- R3: (sc, inc)x7 (21)
- R4-6: sc around (21)3rnds
- R7: (sc, dec)x7 (14)
- R8: sc around (14)
Stuff lightly (or stuff firmly if you want the petals to stay upright on the plushie). Fold the petal in half and make 7slst across both sides to close.
Head
In colour 2:
- R1: 7sc in Mr
- R2: Inc around (14)
- R3: (sc, inc)x7 (21)
- R4: (2sc, inc)x7 (28)
- R5: (3sc,inc)x7 (35)
- R6: (4sc, inc)x6, 4slst, Inc (42)
Important: Add safety eyes between R3/4 (placement may depend on the size of your eyes) opposite to each other.
- R7: attach petal 1 with 7slst, attach petal 2 with 7slst, attach petal 3 with 7slst, attach petal 4 with 7slst, attach petal 5 with 7 Slst, ch 7 and skip 6 st from the head, slst in the next stitch
- R8: sc around (42)
- R9: (4sc, dec)x7 (35)
- R10: (3sc, dec)x7 (28)
Stuff the head.
- R11: (2sc, dec)x7 (21)
- R12: (sc, dec)x7 (14)
- R13: dec around (7) *you can avoid this round and sew close after the previous one
Arms (Make 2)
In colour 3:
- R1: 6sc in Mr
- R2: Inc Around (12)
- R3-7: sc around (12)5rnds
- R8: (4sc, dec)x2 (10)
- R9-12: sc around (10)4rnds
Add stuffing. Fold both sides and make 5slst across. F.o leaving a long tail for sewing.
Legs and Body
In colour 3:
- R1: 7sc in Mr
- R2: inc around (14)
- R3-10: sc around (14)8rnds
F.o for the first leg.
Do not F.o for the second leg but sc in any st of leg 1 (this is the first sc of R 11). From there we will start making the body.
- R11: 14sc, sc in the ch, 14sc, sc in the ch (30)
- R12: (4sc, inc)x6 (36)
Stuff legs.
- R13-16: sc around (36)4rnds
- R17: (7sc, dec)x4 (32)
- R18: (6sc, dec)x4 (28)
- R19: sc around (28)
Stuff.
- R20: (2sc, dec)x7 (21)
- R21: (sc, dec)x7 (14)
Add some more stuffing. Slst F.o leaving a long tail to attach the head.

Assembly Instructions
Now it’s time to bring your daisy doll to life by putting all the pieces together:
- Attach the head to the body using the tail you left on the body. The stitches of the last rows of both parts match each other, so it should be easy to connect them securely.
- Sew the arms between the body and the head on each side of the plushie, positioning them under the petals for the most natural look.
- Add finishing touches by embroidering some blush on the cheeks to make your plushie even cuter. You can use pink embroidery thread or yarn in a coordinating color.
Frequently Asked Questions
The finished size depends on your yarn weight and hook size. Using the recommended fuzzy yarn with a 6mm hook will create a doll approximately 6-8 inches tall. Using thinner yarn and a smaller hook will result in a smaller plushie.
Absolutely! While fuzzy or faux yarn gives the doll a soft, cuddly texture, you can use any yarn type you prefer. Standard acrylic or cotton yarn will create a different look but will still result in an adorable daisy doll. Just adjust your hook size accordingly.
Add the safety eyes between rounds 3 and 4 of the head, positioning them opposite each other. This timing is important because you need to insert them before the opening becomes too small, but the exact placement may vary slightly depending on your eye size.
Yes! You are allowed to sell finished plushies made from this pattern. However, you cannot sell, distribute, or modify the pattern itself. When selling your creations, it’s courteous to credit the original designer.
Start Crafting Your Daisy Doll Today
Congratulations on completing your daisy doll pattern! This charming project is perfect for crocheters of all skill levels who want to create something truly special. The combination of soft textures, cheerful colors, and that adorable flower face makes this amigurumi a wonderful addition to any plushie collection.
Whether you’re making this for yourself, as a heartfelt gift, or to start a small handmade business, each daisy doll you create will have its own unique personality. Don’t be afraid to experiment with different color combinations and yarn types to make your creation truly one-of-a-kind.
Ready to start your next crochet project? Gather your materials, follow the pattern step by step, and watch your adorable daisy doll come to life. Happy crocheting!

Remember it later!
Planning to try this soon? Pin it for a quick find later!