Table of contents
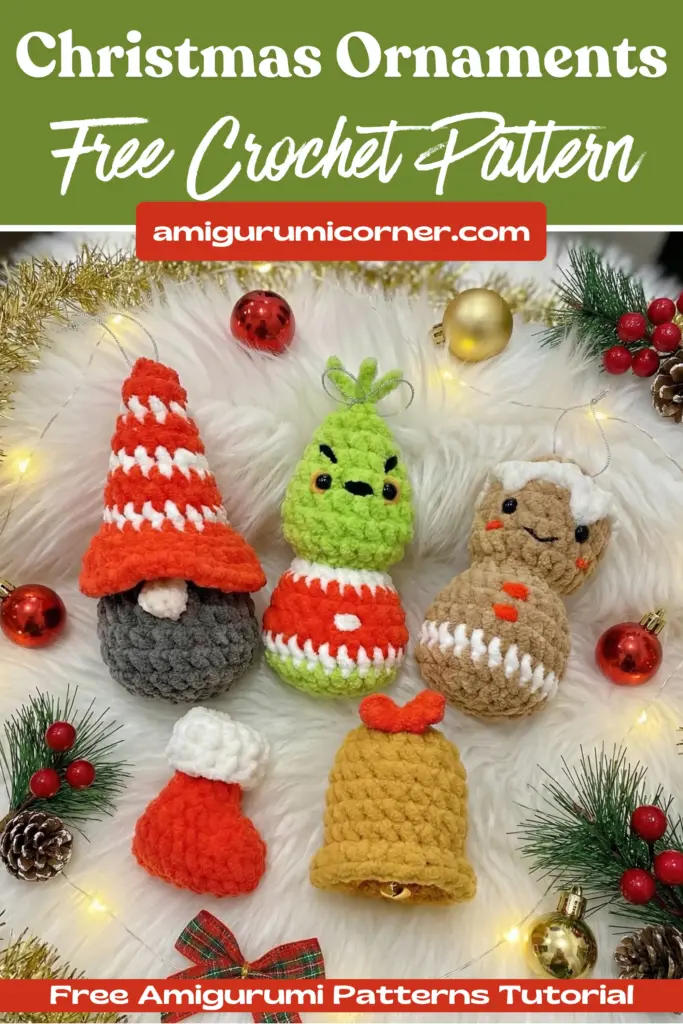
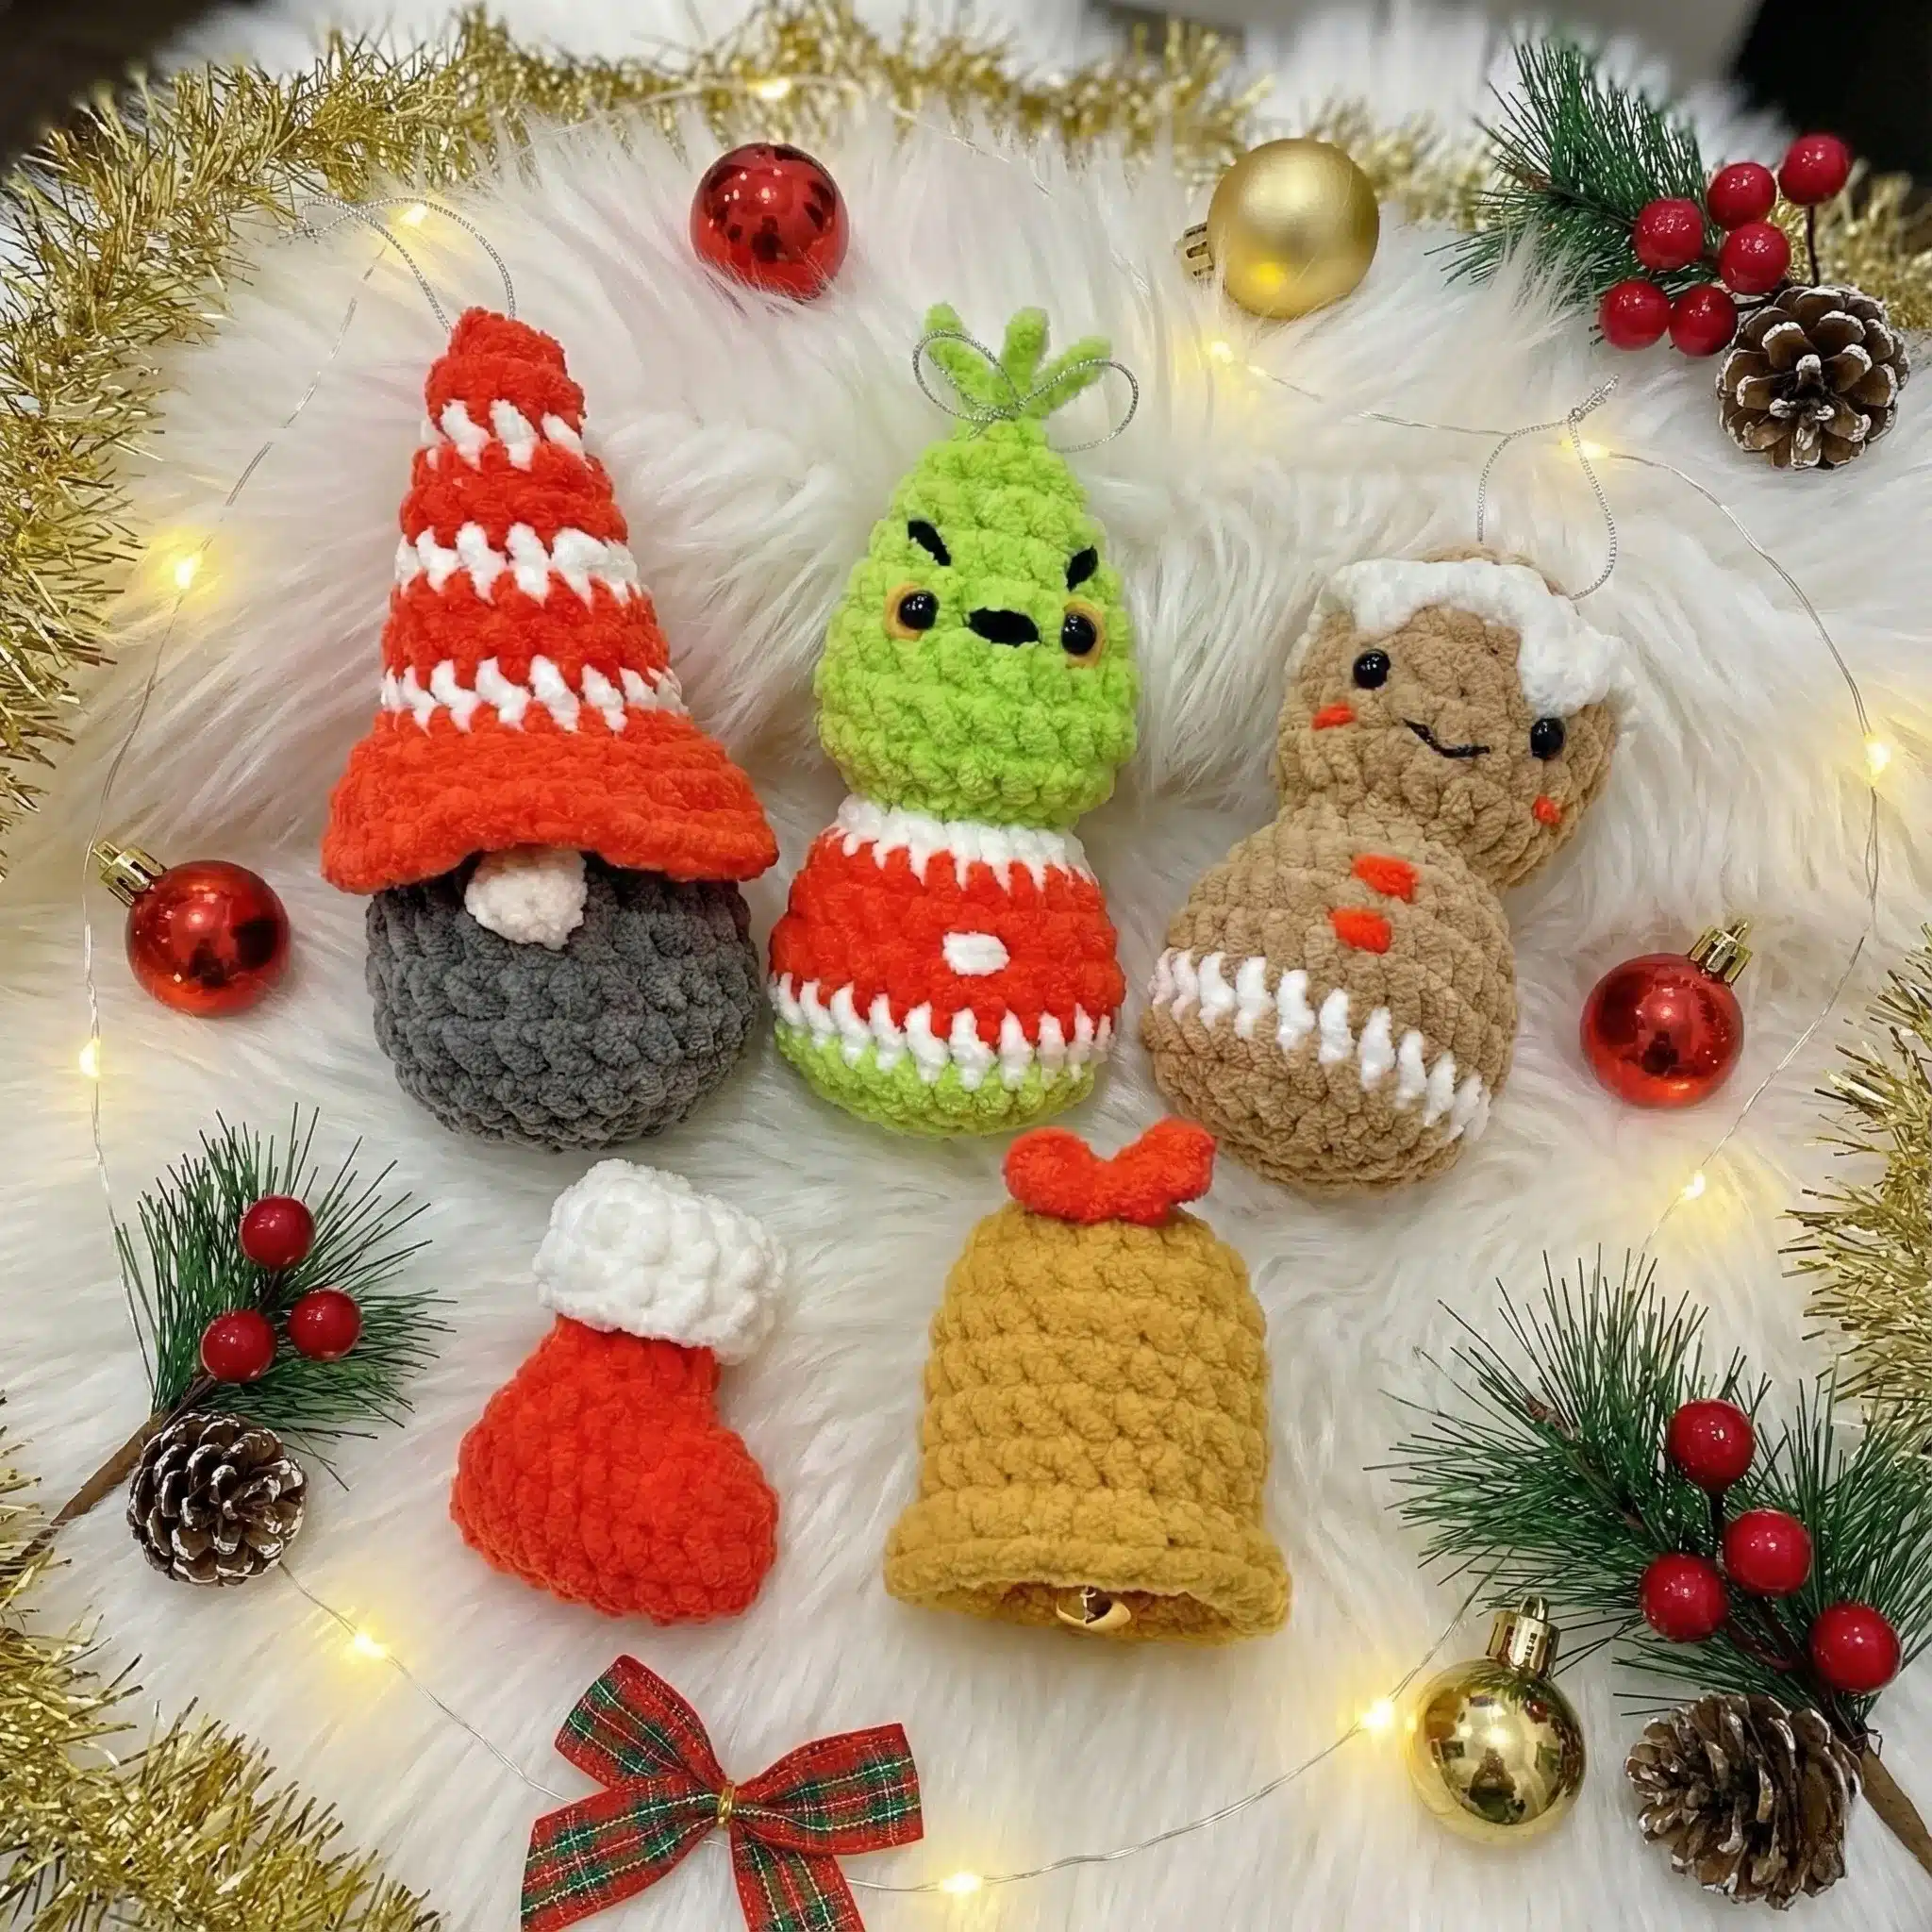
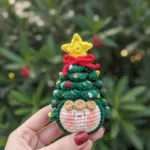
The holiday season is the perfect time to add a personal touch to your decorations, and what better way to do that than by creating your own charming crochet Christmas ornaments? These delightful miniature characters—including a whimsical Grinch, a sweet Gingerbread Man, a cozy Gnome, and a festive Bell—measure approximately 10cm (3.9 inches) high and make perfect tree decorations, gift toppers, or thoughtful handmade presents.
Remember it later!
Planning to try this soon? Pin it for a quick find later!
What You’ll Need to Get Started
Essential Materials
Before you begin your crochet journey, gather these supplies:
- Chunky yarn (size 4-5mm): Popular choices include Himalaya Velvet or Himalaya Dolphin Baby for that soft, cuddly texture
- 4mm crochet hook: The perfect size for working with chunky yarn
- 6mm toy safety eyes: These add personality and charm to your ornaments
- Toy stuffing (fiberfill): For giving your creations shape and dimension
- Yarn needle: Essential for sewing and weaving in ends
- Stitch markers: To keep track of your rounds
- Scissors: For trimming yarn tails
- Embroidery thread or yarn: In various colors for adding facial features and details
Key Techniques to Master

To achieve professional-looking results, familiarize yourself with these special techniques:
- Invisible decrease stitches: Creates seamless shaping
- Color changing: For creating striped patterns and details
- Bobble stitch: Adds texture and dimension
- X stitch technique: For single crochet variations
- Working in front loop only (FLO) and back loop only (BLO): Creates texture and structure
Pro tip: Keep your stitches close together to prevent stuffing from showing through gaps in your finished piece.
Understanding the Pattern Abbreviations
Here’s your quick reference guide to common crochet terms used throughout:
- MR: Magic ring
- st(s): Stitch(es)
- slst: Slip stitch
- ch: Chain stitch
- sc: Single crochet stitch
- dc: Double crochet stitch
- hdc: Half double crochet stitch
- inc: Increase (2 single crochet stitches into the same stitch)
- dec: Decrease (crochet together 2 single crochet stitches with 1 stitch)
- bo4: Bobble stitch (4 double crochet into one stitch)
- BLO: Work stitch through back loop only
- FLO: Work stitch through front loop only
- rnd(s): Round(s)
- […]: Number of stitches at the end of each round
- (…) x …: Repeat instructions specified number of times
Creating Your Grinch Ornament

The Signature Hair Detail
One of the most distinctive features of this ornament is the Grinch’s wild hair. Start by cutting several small pieces of green yarn, each about 8 to 9cm long. Gather these pieces together and tie them in a knot at the center—this bundle will become the iconic messy hair.
Head and Body Construction
Starting with green yarn:
- Begin with 6 single crochet stitches in a magic ring, placing the hair bundle in the middle before pulling tight
- Round 2: Work 6 increases (12 stitches)
- Round 3: Work 12 single crochet stitches
- Round 4: Single crochet, increase, then repeat (2 single crochet, increase) three times, ending with single crochet (16 stitches)
- Round 5: Repeat (3 single crochet, increase) four times (20 stitches)
- Rounds 6-8: Work 20 single crochet stitches each round
- Round 9: Work 10 decreases (10 stitches)
At this point, stuff the head firmly with fiberfill.
Switch to white yarn for the clothing:
- Round 10: Work increases in front loops only (20 stitches)
- Rounds 11-13: Continue building the body with increases and single crochet
- Alternate between white and green yarn for the striped effect
- Rounds 14-15: Create the color transitions
- Round 16: Work decreases to shape the bottom
- Stuff the body firmly with fiberfill
- Round 17: Final decrease round (8 stitches)
Finish by weaving the yarn tail through the front loops of remaining stitches and pulling tight to close.
Adding Character Details
- Insert 6mm safety eyes between rounds 5 and 6, spacing them 4 stitches apart
- Embroider the distinctive large nose with black yarn
- Add eyebrows with black yarn for that signature grumpy expression
- Create eye details with yellow yarn
- Embroider white buttons down the front of the body
Crafting Your Gingerbread Man

Body Construction
Start with white yarn for the head:
- Begin with 8 single crochet in a magic ring
- Round 2: Work 8 increases (16 stitches)
- Round 3: Repeat (3 single crochet, increase) four times (20 stitches)
Switch to brown yarn:
- Round 4: Work 20 single crochet through back loops only
- Rounds 5-7: Continue with 20 single crochet stitches
- Round 8: Work 10 decreases and stuff the head firmly
- Round 9: Work increases in front loops only for the body transition
- Continue rounds 10-14 alternating between brown and white for the striped cookie effect
- Round 15: Begin decreasing to shape the bottom
- Round 16: Final decreases (8 stitches)
The Frosting Detail
The gingerbread man features adorable white “frosting” details:
Working in the front loop only stitches of Round 3, attach white yarn and create decorative scallops by working chains and slip stitches in a pattern. This creates the appearance of icing drizzled across the top of the cookie.
Finishing Touches
- Insert 6mm safety eyes between rounds 5 and 6, 4 stitches apart
- Embroider rosy cheeks with red yarn
- Add red buttons down the front
- Create a smiling mouth with black embroidery thread
Making Your Cozy Gnome

The Striped Hat and Body
This adorable gnome features a distinctive striped design.
Start with red yarn:
- Begin with 6 single crochet in a magic ring
- Alternate between red and white yarn every few rounds to create stripes
- Gradually increase to shape the conical hat
- Round 11: Work through back loops only before switching to gray yarn
- Round 13: Add a special touch by creating a cream-colored bobble stitch for the nose
- Continue with body construction, stuffing firmly
The Distinctive Hat Brim
Working in the front loop only stitches of Round 11, create a curved brim:
- Attach red yarn and chain 1
- Work increases to create fullness at the front
- Continue for 3 rounds to create depth
The Charming Sock Detail
Create a miniature striped sock as an accessory:
Start with red yarn and chain 7:
- Work around both sides of the foundation chain
- Shape the foot and heel with strategic increases and decreases
- Switch to white yarn for the cuff
- Work final rounds and fold the hem inside out for a finished look
Creating Your Festive Bell
Bell Body
Start with yellow yarn:
- Begin with 8 single crochet in a magic ring
- Round 2: Work 8 increases (16 stitches)
- Round 3: Continue with pattern of increases
- Rounds 4-8: Work even to create the bell shape
- Round 9: Work decreases through back loops only
- Round 10: Final decreases and stuff firmly
The Sound Bow
Working in the front loop only stitches of Round 9, create a decorative ruffle by working half double crochet stitches all around.
The Decorative Bow
Create a charming red bow for the top:
- Start with a magic ring
- Work chains, double crochet, and slip stitches to create bow loops
- Tighten the magic ring to cinch the center
- Attach to the top of the bell
Final Assembly
For an authentic touch, sew a small rattle or bead inside the bottom of the bell before closing completely.
Pro Tips for Perfect Results
Achieving Professional-Looking Ornaments
- Tension is key: Maintain consistent tension throughout your work to ensure even stitches
- Stuff gradually: Add small amounts of fiberfill as you go rather than trying to stuff everything at the end
- Use invisible decreases: This technique creates seamless shaping without visible gaps
- Weave ends carefully: Take time to secure all yarn tails properly so they don’t work loose over time
- Color changes: Change colors on the last yarn over of the previous stitch for clean transitions
Customization Ideas
Once you’ve mastered the basic patterns, try these variations:
- Experiment with different color combinations
- Add glitter yarn for extra sparkle
- Attach loops or ribbons for hanging
- Create matching sets for a coordinated tree
- Scale up the pattern with thicker yarn for larger decorations
- Add scent by incorporating essential oils into the stuffing
Caring for Your Handmade Ornaments
To keep your crochet Christmas ornaments looking beautiful year after year:
- Store in a cool, dry place away from direct sunlight
- Use tissue paper to prevent crushing or flattening
- Spot clean with a damp cloth if needed
- Avoid exposing to moisture or humidity
- Keep away from pets who might see them as toys
Making Them Your Own
These Christmas Crochet Ornaments patterns are perfect for personalization. Consider these creative additions:
- Embroider names or dates to commemorate special years
- Add tiny accessories like scarves or mittens
- Experiment with different facial expressions
- Create family sets with variations in size
- Use special occasion yarn for anniversary or milestone years
The Joy of Handmade Decorations
Creating your own Christmas Crochet Ornaments offers benefits beyond the finished product. The meditative nature of crochet provides a peaceful respite during the busy holiday season. Each stitch represents time and care, making these ornaments meaningful keepsakes that can be treasured for generations.
Whether you’re an experienced crocheter or just starting your fiber arts journey, these patterns offer an achievable project that yields delightful results. The small size means quick completion times, making them perfect for gift-giving or creating entire collections for your own tree.

Conclusion
These charming Christmas crochet ornaments combine classic holiday characters with accessible techniques, making them perfect for crafters of all skill levels. With clear instructions, helpful techniques, and room for creative expression, you’ll create adorable decorations that add warmth and personality to your holiday celebrations.
The compact size, quick working time, and endearing designs make these ornaments ideal for last-minute gifts, craft fair items, or personal collection building. Each piece tells a story through its handcrafted details, from the Grinch’s wild hair to the Gingerbread Man’s sweet smile, the Gnome’s cozy attire, and the Bell’s festive bow.
So gather your materials, choose your favorite character, and start creating holiday magic one stitch at a time. Your handmade ornaments will bring joy not only during their creation but for many Christmas seasons to come. Happy crocheting, and may your holidays be filled with the warmth and creativity that comes from making something beautiful with your own hands!

Remember it later!
Planning to try this soon? Pin it for a quick find later!