Table of contents
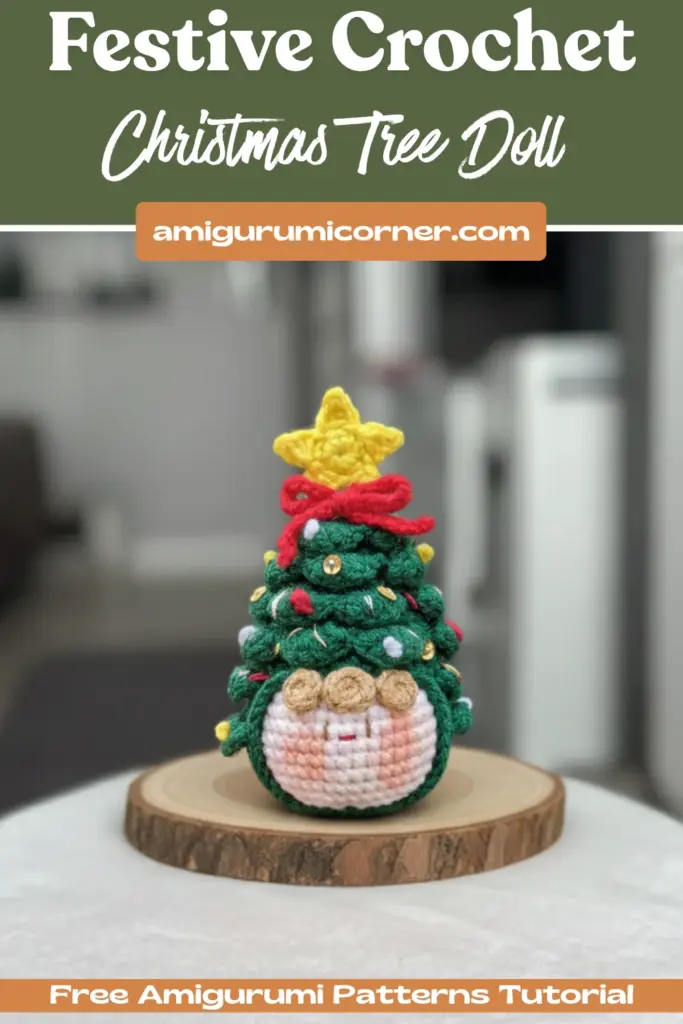
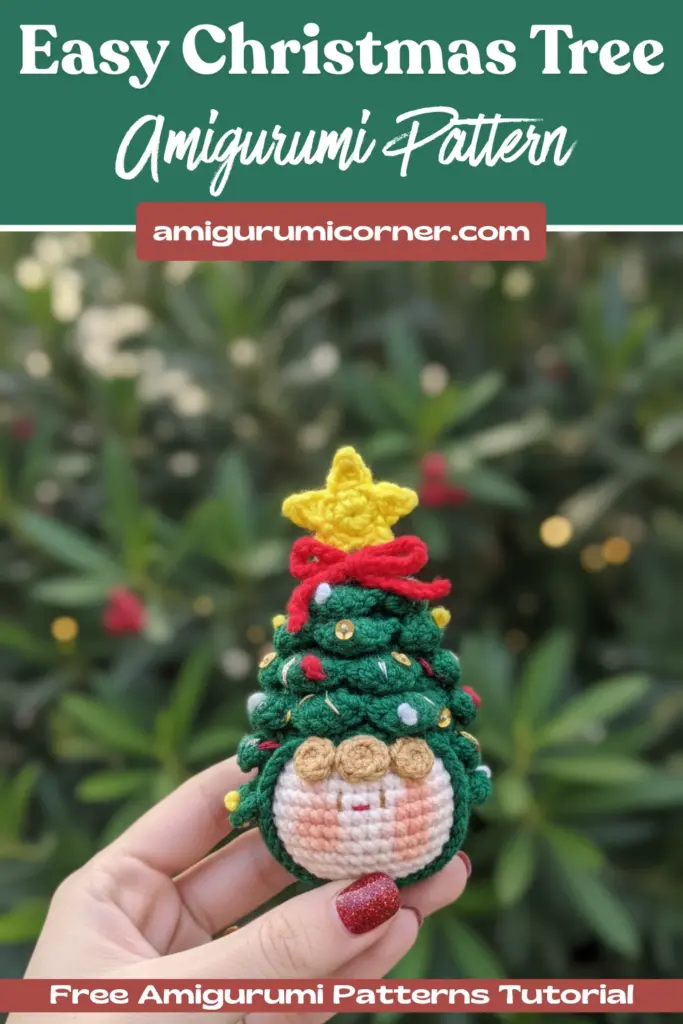
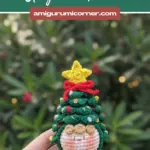
Looking to add some handmade charm to your holiday decorations? A festive Christmas Tree Doll is the perfect project for anyone seeking a meaningful, personalized gift or a delightful seasonal decoration. This beginner-friendly crochet project brings together creativity and holiday cheer in one delightful package. Complete with a charming green tree body and a cheerful yellow star perched on top, this little doll captures the magic of the season in miniature form. Whether you’re an experienced crocheter or just picking up the hook for the first time, this step-by-step guide will walk you through creating your very own festive friend.
Remember it later!
Planning to try this soon? Pin it for a quick find later!
Essential Materials and Tools
Before diving into your project, gather these supplies to ensure you have everything needed for success.
Yarn and Hook Requirements
- Crochet Hook: Use a C/2.50 mm hook or whichever size feels most comfortable for your crocheting style
- Yarn Weight: Sport weight yarn (also labeled as weight 2)
- Yarn Quantity: You’ll need approximately 1.05 ounces or 30 grams of yarn
- Yarn Length: About 131 yards or 120 meters
Additional Supplies
Beyond yarn and hook, gather these helpful items:
- Fiberfill stuffing for creating dimension in your pieces
- A pair of sharp scissors for clean yarn cuts
- A stitch marker to keep track of your rounds
- A sewing needle for assembling the various components together
Understanding Crochet Abbreviations
Familiarizing yourself with standard crochet terminology will make following the christmas tree doll pattern much easier. Here’s a quick reference guide:
- MR: Magic Ring – a technique for starting projects in the round
- Rnd: Round – one complete circle of stitching
- SC: Single Crochet – the most basic crochet stitch
- HDC: Half Double Crochet – a medium-height stitch
- DC: Double Crochet – a taller stitch option
- INC: Increase – working two stitches into one stitch to add width
- DC INC: Double Crochet Increase – two double crochets in the same stitch
- DEC: Decrease – combining stitches to reduce width
- CH: Chain – the foundation stitch for most projects
- ST/STS: Stitch or Stitches
- SL ST: Slip Stitch – a joining technique
- SK: Skip – passing over a stitch without working into it
- FLO: Front Loops Only – working through only the front loop
- BLO: Back Loops Only – working through only the back loop
- FO: Fasten Off – securing your yarn at the end

Constructing the Head
The head forms the foundation of your doll, creating a perfectly shaped sphere that will support the tree covering.
Using nude-colored yarn, begin your work:
- Round 1: Create 6 single crochets in a magic ring (6 total stitches)
- Round 2: Double each stitch with increases (12 stitches)
- Round 3: Work increases every other stitch using the pattern increase, single crochet (18 stitches)
- Round 4: Follow the pattern of 2 single crochets, then increase, repeated around (24 stitches)
- Round 5: Continue with 3 single crochets, then increase (30 stitches)
- Round 6: Work 2 single crochets, increase, 2 single crochets in pattern (36 stitches)
- Round 7: Increase after every 5 stitches (42 stitches)
- Rounds 8-14: Work 42 single crochets for seven consecutive rounds (maintaining 42 stitches)
- Round 15: Begin decreasing with 5 single crochets, then decrease pattern (36 stitches)
- Round 16: Work 2 single crochets, decrease, 2 single crochets (30 stitches)
- Round 17: Continue with 3 single crochets, then decrease (24 stitches)
- Round 18: Work 2 single crochets, then decrease (18 stitches)
- Round 19: Alternate decrease and single crochet (12 stitches)
- Round 20: Decrease six times to close the sphere (6 stitches)
Before finishing, stuff your head firmly with fiberfill to create a nice, rounded shape. Then fasten off your yarn securely.
Creating the Head Covering
The head covering forms the signature tree shape with its green color. This section requires careful attention to texture work.
Using green yarn throughout:
- Round 1: Make 6 single crochets in a magic ring (6 stitches)
- Round 2: Work 6 increases (12 stitches)
- Round 3: Single crochet in all 12 stitches
- Round 4: Increase every other stitch (18 stitches)
- Round 5: Working in back loops only, single crochet all 18 stitches
- Round 6: Increase every third stitch (24 stitches)
- Round 7: Single crochet all 24 stitches
- Round 8: Increase every third stitch (30 stitches)
- Round 9: Single crochet all 30 stitches
- Round 10: Increase every fifth stitch (36 stitches)
- Round 11: Working in back loops only, single crochet all 36 stitches
- Round 12: Increase every fifth stitch (42 stitches)
- Round 13: Single crochet all 42 stitches
- Round 14: Working in back loops only, single crochet all 42 stitches
- Round 15: Single crochet all 42 stitches
- Round 16: Single crochet 32 stitches, skip 10 stitches, chain 1, then turn your work
- Round 17: Working in back loops only, single crochet 32, chain 1, turn
- Rounds 18-19: Single crochet 32, chain 1, turn (repeat both rounds)
- Round 20: Working in back loops only, single crochet 32, chain 1, turn
- Rounds 21-24: Single crochet 32, chain 1, turn (repeat all four rounds)
- Round 25: Single crochet 32, chain 10
- Round 26-30: Continue decreasing in the established patterns until you reach 6 stitches
- Round 31: Decrease six times to close
Fasten off when complete.
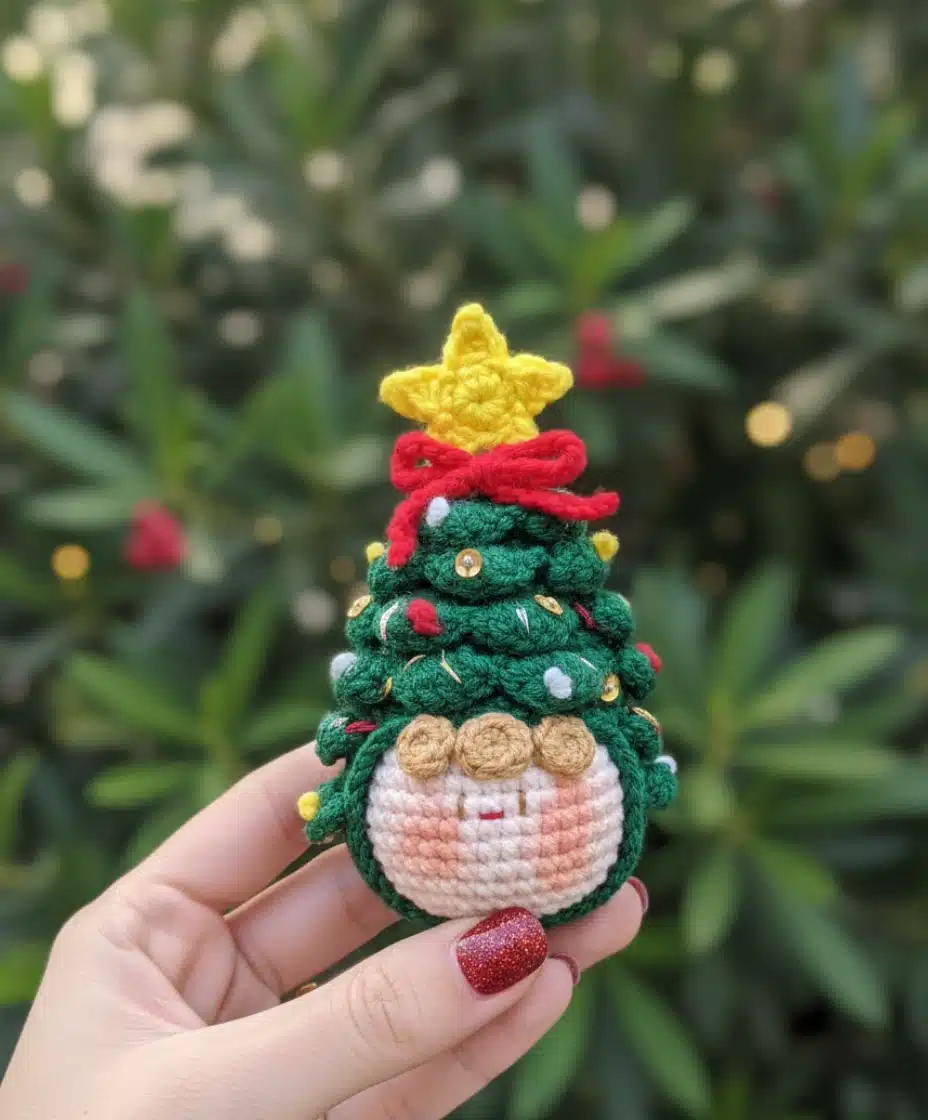
Adding Tree Leaves
The leaves create the feathery, decorative texture typical of Christmas trees.
Using green yarn, work on the front loops of the head covering:
- Work in this pattern around the entire piece: single crochet, skip one stitch, work five half double crochets into the same stitch, slip stitch. Repeat this pattern all the way around the rounds.
Pro Tip: All five half double crochets are worked into that single stitch to create a fuller, more prominent leaf appearance.

Crafting the Yellow Star
The star serves as the crowning touch for your christmas tree doll.
Using yellow yarn:
- Round 1: Make 10 single crochets in a magic ring
- Round 2: Create the five points using this pattern: chain 4, start in the second chain from your hook, work a slip stitch, single crochet, and half double crochet, skip one stitch, slip stitch. Repeat this five times around.
Leave a long tail of yarn after cutting—you’ll use this for sewing the star securely to the top of your tree.
Creating Facial Details with Bangs
The bangs add character and personality to your Christmas tree doll.
Small Bangs (Make Two)
Using brown yarn:
- Round 1: Make 6 single crochets in a magic ring
- Cut the yarn, leaving a long tail for sewing these pieces to the face
Large Bang
Using brown yarn:
- Round 1: Make 8 single crochets in a magic ring
- Cut the yarn, leaving a long tail for attachment
Adding the Red Rope Detail
The red rope completes the festive look with a classic holiday color.
Using red yarn, simply chain 40 stitches. This creates a rope-like accent that can be positioned around the tree for added holiday charm.
Final Assembly and Finishing Touches
Now that you’ve crafted all the individual components, it’s time to bring everything together. Attach the head covering to the head base, secure the leaves in place, position the star on top of your tree, attach the bang pieces to create facial features, and wrap the red rope around your creation as desired.
This charming Christmas tree doll combines simple crochet techniques with creative design to produce a delightful holiday decoration or thoughtful handmade gift. Whether you display it proudly on your mantelpiece or gift it to someone special, this project captures the warmth and joy of the season in a cozy, handmade package. Perfect for beginners and experienced crafters alike, this festive doll is sure to become a holiday favorite!
Remember it later!
Planning to try this soon? Pin it for a quick find later!