Table of contents
- What You’ll Need to Get Started
- Understanding the Pattern Abbreviations
- Creating the Arms
- Building the Body and Legs
- Crafting the Head
- Adding the Fairy Dress
- Creating the Ears and Tail
- Designing the Fairy Wings
- Creating the Flower Hairband
- Final Assembly and Details
- Bringing Your Fairy Cat to Life
- Tips for Success
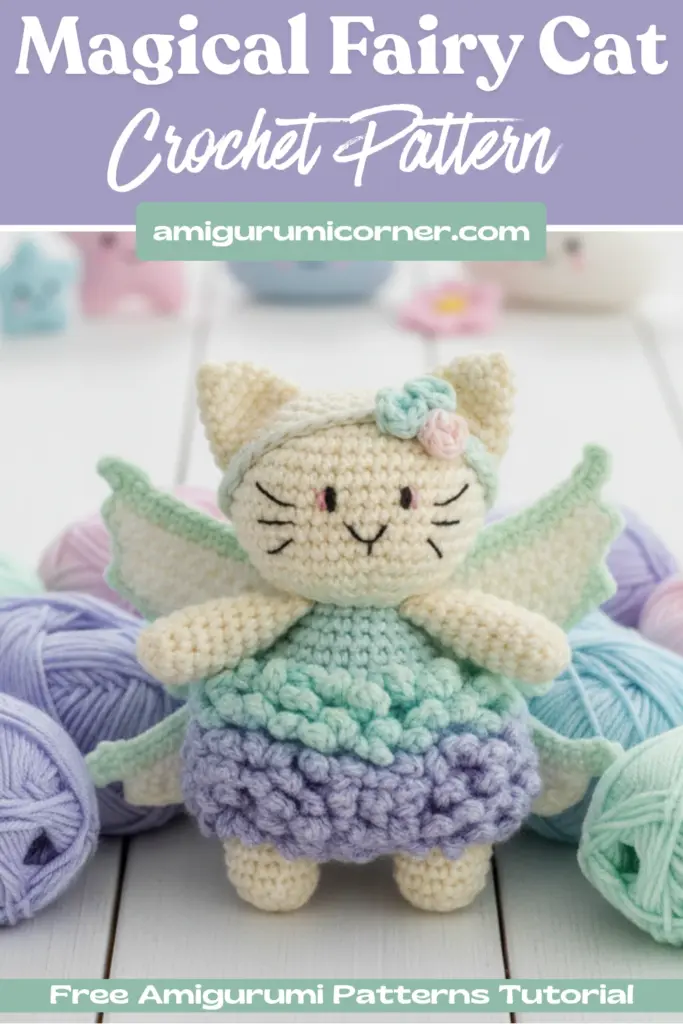
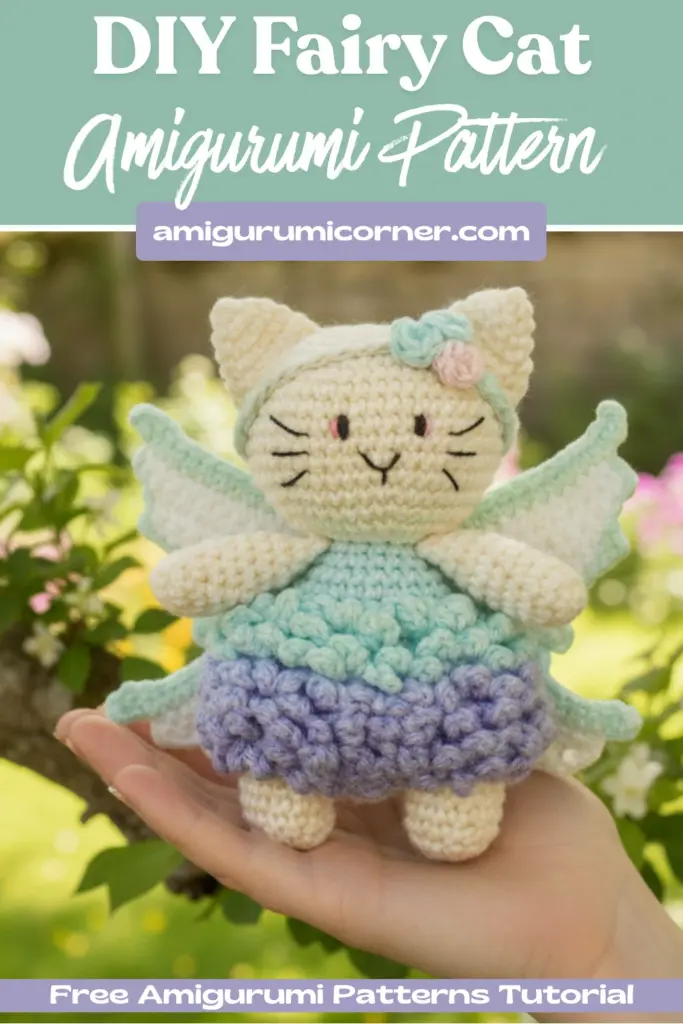
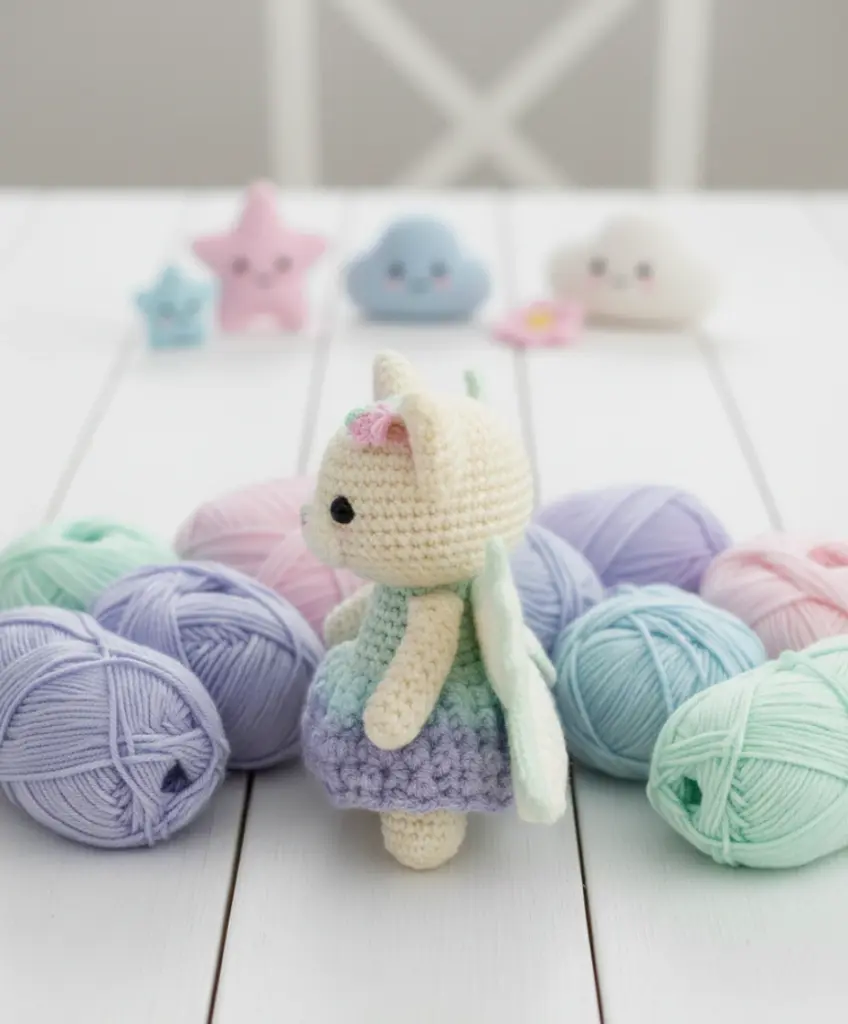
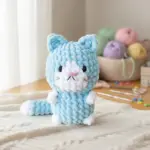
Looking for the perfect Halloween-inspired crochet project that combines cuteness with creativity? This enchanting Fairy Cat Amigurumi is part of a delightful Halloween Cats in Costume collection that will capture your heart. Whether you’re an intermediate crocheter looking for your next project or simply love whimsical amigurumi, this pattern delivers a charming finished piece that stands approximately 11 cm (4.3 inches) tall.
Remember it later!
Planning to try this soon? Pin it for a quick find later!

What You’ll Need to Get Started
Before diving into this magical fairy cat amigurumi project, gather these essential materials:
Yarn Requirements:
- Sport weight cotton yarn in Cream/Off-White
- Mint Green (top of dress, wings)
- Lavender/Purple (ruffled bottom of dress)
- Pink (flower on headband)
Tools and Supplies:
- 2mm crochet hook
- Black and white embroidery thread for facial features
- Sewing needle
- Hypoallergenic polyester stuffing
- Scissors
Understanding the Pattern Abbreviations
Familiarize yourself with these common crochet terms before starting:
- Ch: Chain
- Sl: Slip Stitch
- Sc: Single Crochet
- Bl: Back Loop
- Fl: Front Loop
- Inc: Increase
- Dec: Decrease
- Rnd: Round
- St: Stitch
Creating the Arms
Begin your fairy cat with the arms, working in Cream/Off-White yarn:
- Start with 6 single crochet stitches in a magic ring
- Round 2: (2sc, 1inc) repeat 2 times for a total of 8 stitches
- Rounds 3-9: Work 8 single crochet stitches
- Add a small amount of stuffing before proceeding
- Round 10: Work 6 single crochet stitches, crocheting the sides together to close the arm
Make two identical arms and set them aside for later attachment.
Building the Body and Legs
The body construction begins with the legs:
Legs:
- Using Cream/Off-White yarn, create 6sc in a magic ring
- Round 2: Work 6 increases for 12 total stitches
- Rounds 3-7: Work 12 single crochet stitches
Create two legs, but on the second leg, switch to your lightest pink shade and chain 3 instead of fastening off. This color transition marks the beginning of the cat’s body.
Body Construction:
- Round 8: Work 30 single crochet stitches
- Rounds 9-14: Work in back loops only for 30 stitches
- Round 15: (3sc, 1dec) repeat 6 times for 24 stitches
- Rounds 16-17: Work 24 single crochet stitches
- Add stuffing before continuing
- Round 18: (2sc, 1dec) repeat 6 times for 18 stitches
Attaching the Arms:
Round 19 is where the magic happens—you’ll attach both arms while working: 5sc, attach first arm with 4sc, work 4sc across the body, attach second arm with 4sc, then 1sc to complete the round.
Crafting the Head
Switch to Cream/Off-White yarn and work in back loops only for round 20, creating a slip stitch round that forms a distinct neck edge.
Head Shaping:
- Round 21: Working in the front loops from round 19, increase strategically to reach 30 stitches
- Continue increasing through rounds 22-24, reaching a maximum of 48 stitches
- Rounds 25-31: Maintain 48 stitches
- Begin decreasing from round 32 onwards
- Complete stuffing before closing at round 37

Adding the Fairy Dress
The dress features three charming tiers in different Lavender/Purple shades:
Starting with the darkest Lavender/Purple, attach yarn to the remaining front loops from round 9. Chain 6 and join with a slip stitch to the next front loop, repeating around rounds 9 and 10. Repeat this process with progressively lighter Lavender/Purple shades for rounds 11-12 and 13-14, creating a beautiful layered effect.
Creating the Ears and Tail
Ears:
Work in Cream/Off-White yarn, starting with 4sc in a magic ring and gradually increasing to 14 stitches over 6 rounds. Make two identical ears.
Tail:
Create a simple tube in Cream/Off-White yarn (6sc in a magic ring, working 6sc for 18 rounds), then close by crocheting the sides together. Embroider Cream/Off-White straight lines for decorative detail.
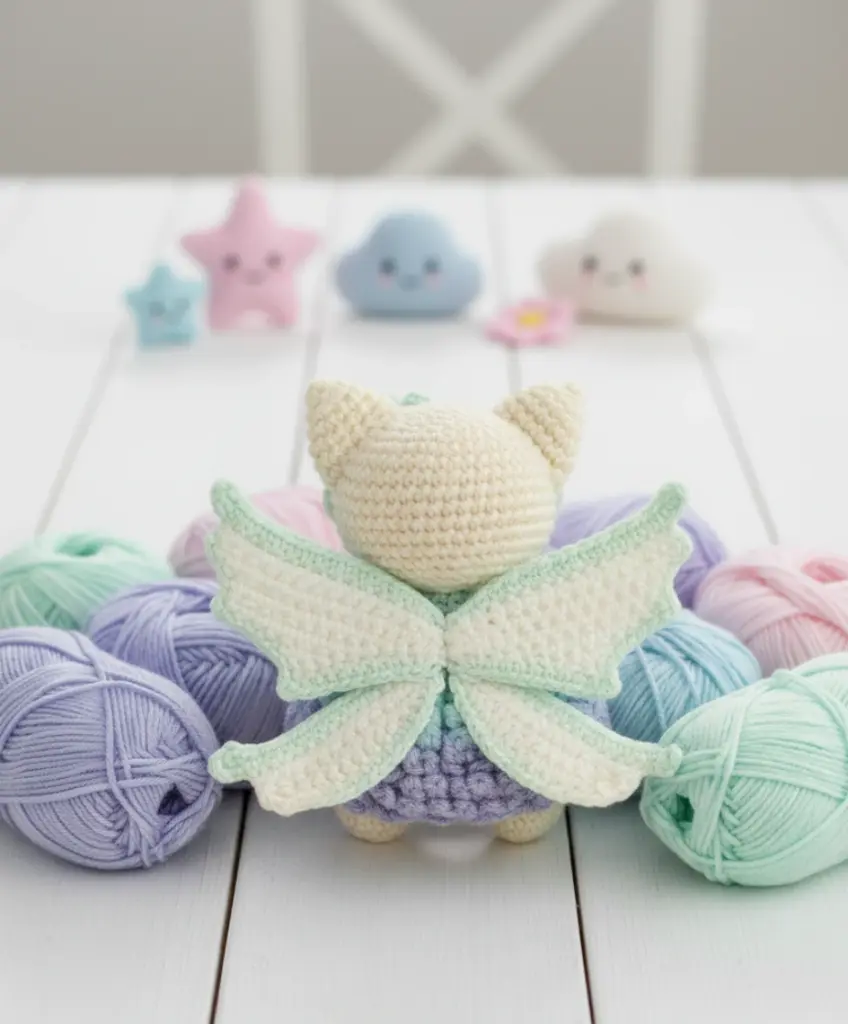
Designing the Fairy Wings
The wings consist of two parts per side: a larger wing and a smaller wing.
Large Wing:
Using light blue yarn, chain 8 and work in rows, incorporating color changes to dark blue in later rows. The wing gradually increases in size through strategic placement of increases.
Small Wing:
Follow a similar pattern but stop at row 3, creating a smaller companion piece.
Assembly:
Sew the last 7 stitches of the big wing to the middle 7 stitches of the smaller wing. Create mirror images for both sides, and consider blocking for a professional finish.
Creating the Flower Hairband
Chain 40 in light pink yarn for the headband base. Then create three small flowers in varying pink shades by working 6sc in a magic ring and joining with a slip stitch.
Final Assembly and Details
Face Embroidery:
Using black thread, embroider eyes on round 27 with 4 stitches between them. Add three whiskers extending from each eye and a small nose/mouth centered below. Optional light pink accents can be added to the outer corners of each eye.
Attachment Order:
- Pin and sew ears between rounds 34-35, extending down 5 rounds
- Position and attach wings to the back of the body
- Sew the tail to the center back
- Attach the headband to the head
- Sew the three flowers onto the headband, positioned slightly to one side
Bringing Your Fairy Cat to Life
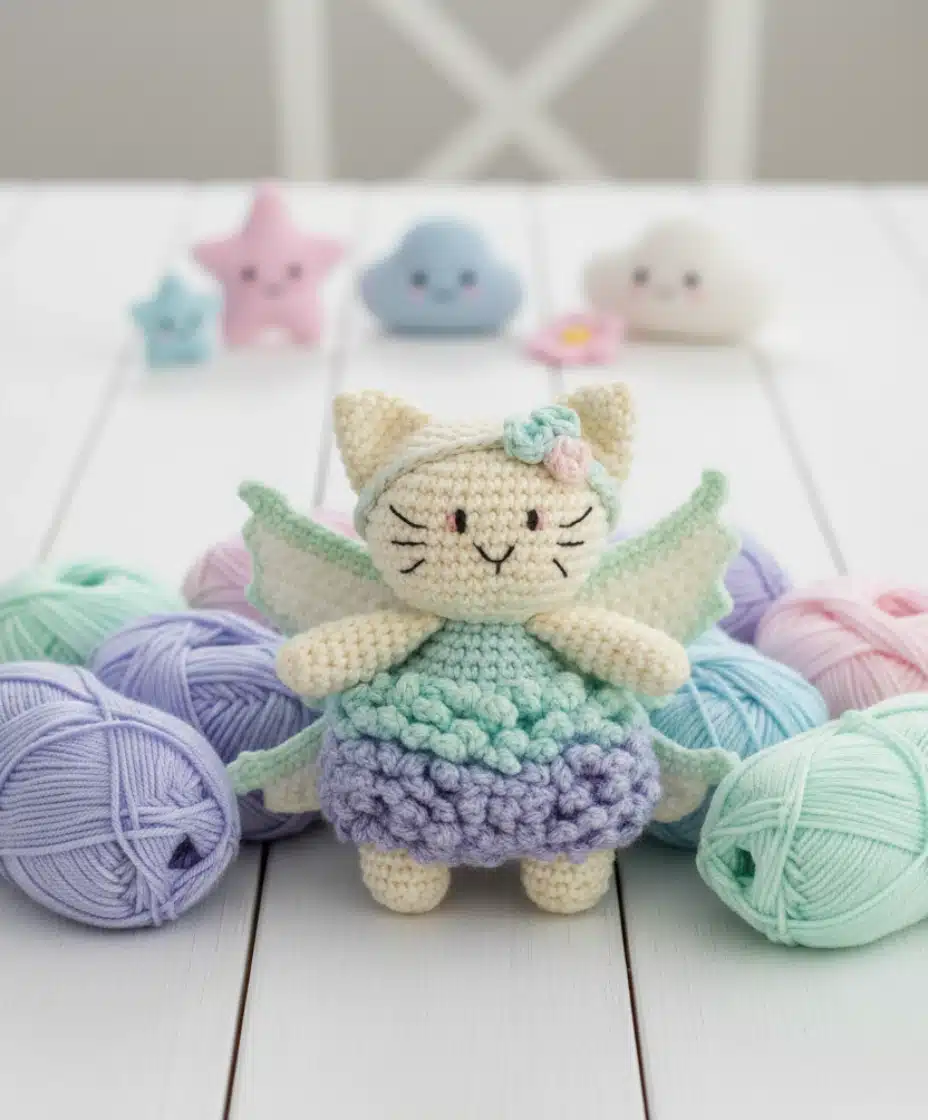
This enchanting fairy cat combines classic amigurumi techniques with creative costume elements, resulting in a unique piece that showcases your crochet skills. The layered dress, delicate wings, and charming facial features come together to create a toy that’s perfect for display, gifting, or adding to your handmade collection.
The pattern allows for personal interpretation—feel free to experiment with different color combinations or add your own special touches. The finished fairy cat makes an excellent Halloween decoration or a whimsical addition to any season.
Tips for Success
- Take your time with the wing construction, as the shaping requires attention to detail
- Use pins liberally during assembly to ensure proper placement before sewing
- Maintain consistent tension throughout for a professional finish
- Don’t skip the stuffing checkpoints—proper stuffing distribution creates better shape
- Consider blocking the wings for a crisp, polished appearance
Your magical fairy cat amigurumi awaits! With patience and attention to detail, you’ll create a charming companion that showcases the beautiful combination of traditional crochet techniques and imaginative costume design.
You’ll Love Also This
Remember it later!
Planning to try this soon? Pin it for a quick find later!