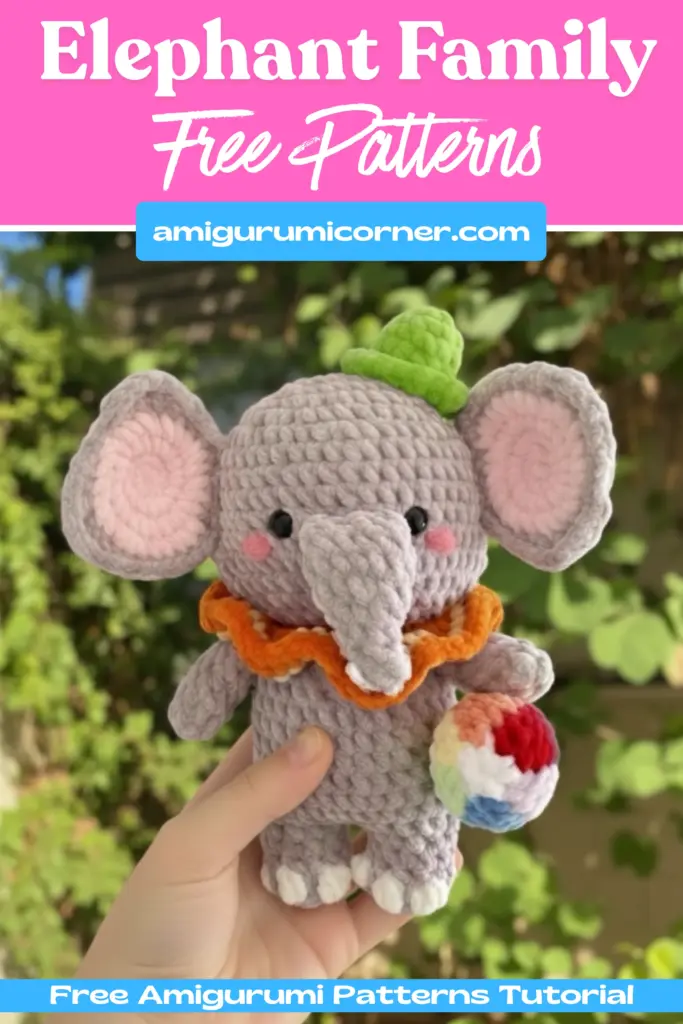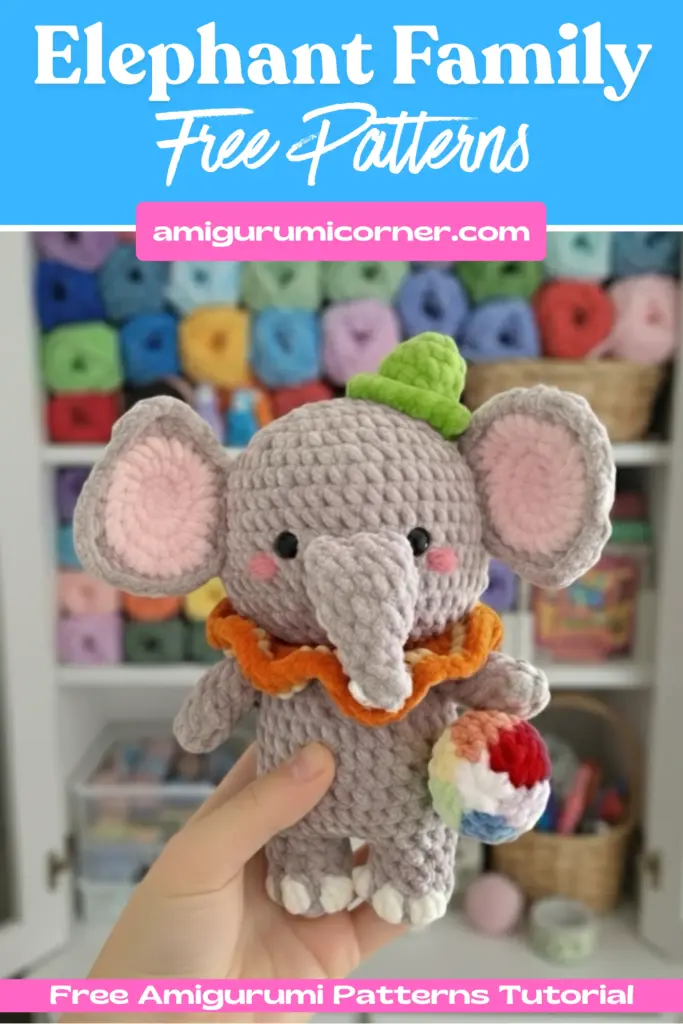
Are you ready to embark on a heartwarming crochet journey? This comprehensive guide will walk you through creating an absolutely charming elephant family, complete with beach accessories and a tiny mouse companion. Whether you’re an experienced crocheter or looking for your next adorable project, this pattern promises hours of creative enjoyment and a finished product that’s sure to bring smiles.
Table of contents
- What You’ll Need to Get Started
- Understanding the Basics
- Crafting the Elephant Head
- Crafting Adorable Elephant Ears
- Building the Elephant Body
- Adding Character with Arms and Tail
- Dumbo-Inspired Accessories
- Creating Timothy Mouse
- Beach Day Accessories
- Finishing Touches
- Care and Customization
- The Joy of Creating
- Final Thoughts
What You’ll Need to Get Started
Essential Materials
Before diving into this delightful project, gather these supplies:
- Crochet Hook: 4mm
- Yarn: Himalaya Dolphin Baby yarn (less than one skein per color needed)
- Alternative brands include Yarn Art and Premier Parfait
- Safety Eyes: 12mm for elephants, 9mm for mouse
- Additional Tools: Stitch marker, scissors, fabric glue, fiberfill stuffing, tapestry needle
Pro Tip: Want to customize the size? Simply use a larger yarn and hook for bigger elephants, or smaller materials for miniature versions.
Color Palette
This pattern uses a beautiful range of colors including:
- Cream, White, Dark Gray, Light Gray
- Green, Blue, Purple, Brown, Black
- Pink, Red, Orange, Yellow
Understanding the Basics
Key Crochet Abbreviations
Familiarize yourself with these essential terms:
- Mr: Magic ring
- Sc: Single crochet
- Inc: Increase
- Dec: Decrease (invisible decrease)
- BLO/FLO: Back loop only/Front loop only
- BB: Bobble stitch
- Hdc: Half double crochet
- DC: Double crochet

Remember it later!
Planning to try this soon? Pin it for a quick find later!
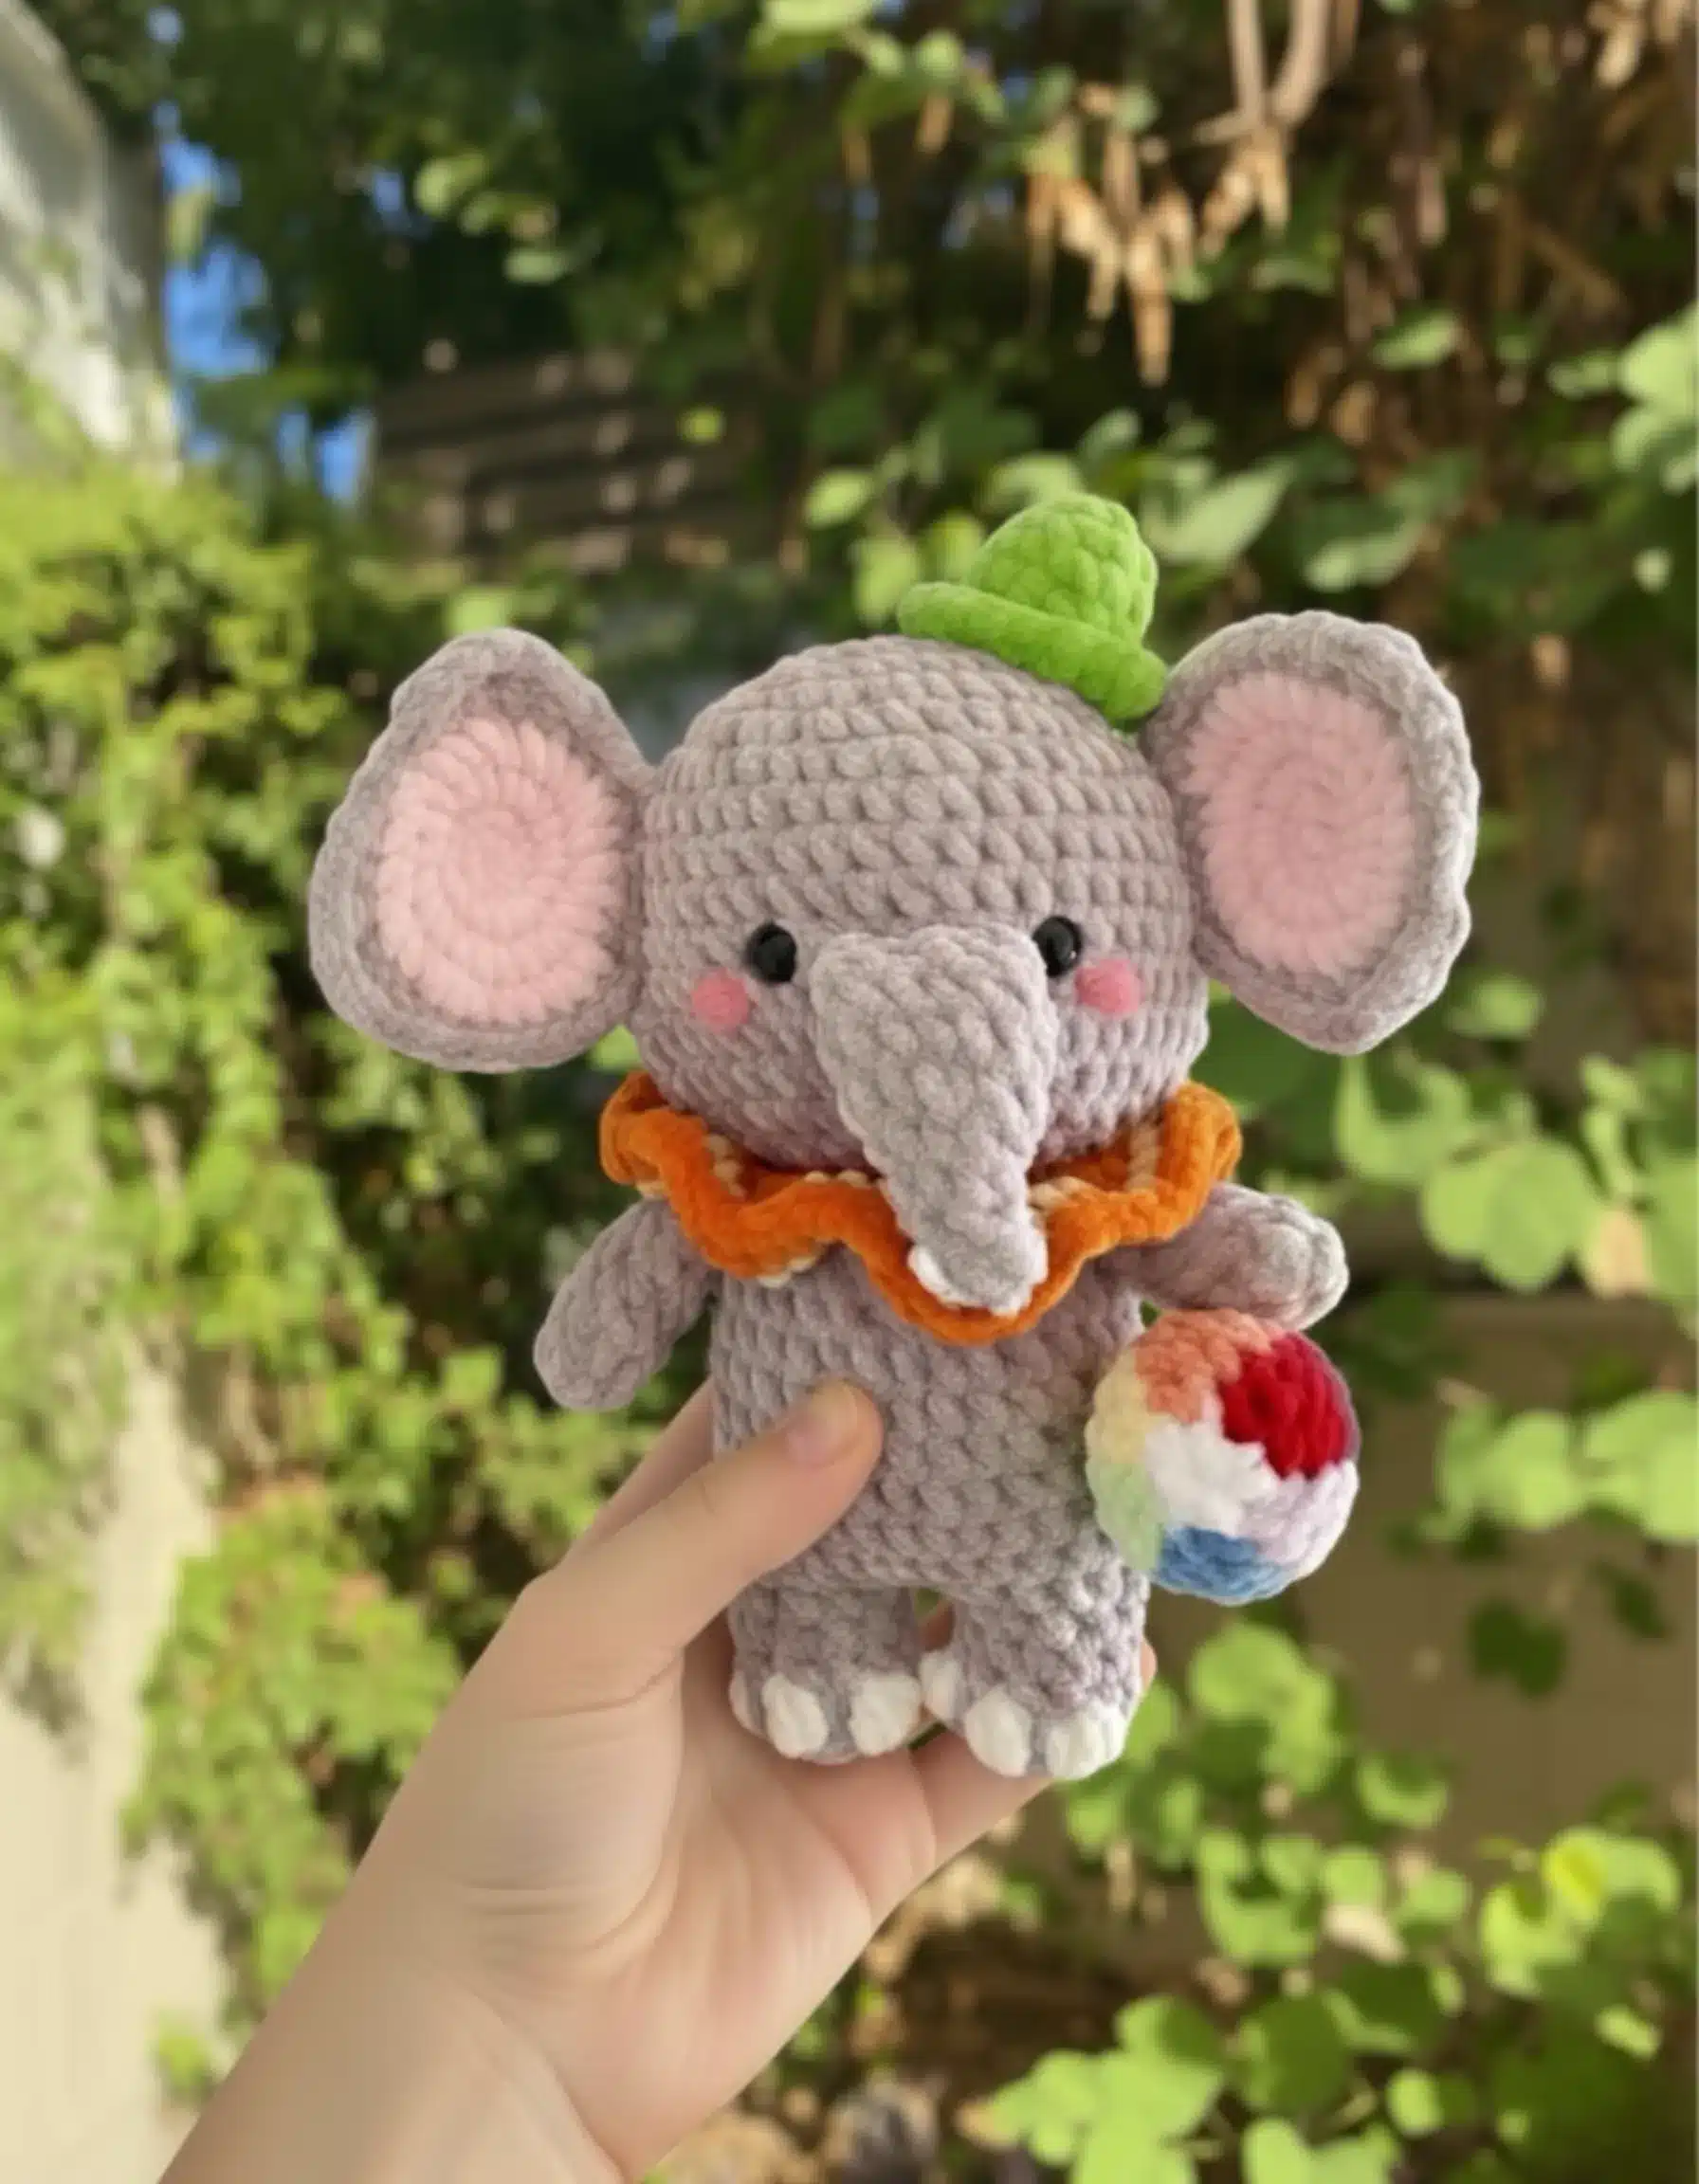
Crafting the Elephant Head
The head is where your elephant’s personality truly comes alive.
Step-by-Step Head Construction
Start with a magic ring of 8 single crochets and gradually increase to 48 stitches by round 12. The pattern includes strategic increases that create the elephant’s characteristic rounded head shape.
Critical Shaping Tips:
- Insert 12mm safety eyes between rounds 10-11, spacing them 6 stitches apart
- Stuff the head generously for that chubby, huggable appearance
- Add pink cheeks by sewing with pink thread beside the eyes for an extra-cute touch
Creating the Trunk
The trunk is surprisingly simple, starting with just 4 stitches and gradually expanding to 12. Work through 9 rounds, leaving it unstuffed for a natural drape. Attach it between rounds 10-11, centered between the eyes.
Crafting Adorable Elephant Ears
Standard Elephant Ears
Create each ear using two pieces: a pink inner ear and gray outer ear. This dual-layer technique adds depth and realism.
Construction Process:
- Crochet the pink inner ear (7 to 28 stitches)
- Create the gray outer ear with strategic increases
- Layer the inner ear on the outer ear
- Join pieces together by crocheting through both layers
- Attach between rounds 7-10 of the head
Smaller Ears for the Pink Elephant
For variety, create smaller ears using white for the inner ear and pink for the outer, following a similar dual-layer technique.
Building the Elephant Body
Leg Construction
Begin with the legs, incorporating adorable cream-colored bobble stitches for realistic elephant feet.
Two-Leg Assembly:
- Create the first leg (6 to 12 stitches)
- Make a second matching leg
- Join legs with 2 chain stitches
- Continue working in the round to form the body
Body Shaping
Work from 28 stitches up to 32, then gradually decrease to 18 for the neck. The strategic decreases create a natural, rounded elephant shape.
Stuffing Advice: Generously stuff the body for a plump, cuddly finish. The pattern emphasizes stuffing “a lot” for best results.
Adding Character with Arms and Tail
Simple Arms
Each arm starts with a magic ring of 4 stitches, increases to 8, then maintains that count for 5 rounds. Add minimal stuffing and attach between rounds 16-17.
Charming Tail
Create a simple 5-single-crochet tail by chaining 6 and working back along the chain. Attach it to round 9 on the back of the body.
Dumbo-Inspired Accessories
Yellow Circus Hat
Transform your elephant into Dumbo with this adorable hat:
- Start with 8 stitches in a magic ring
- Increase to 16 stitches
- Create an upturned brim using front loop only technique
- Attach to the right side of the head near the ear
Red Collar
Add circus flair with a decorative collar:
- Work into the front loops of round 17
- Use increases and strategic stitch placement
- Add yellow and red rows for color variation
Creating Timothy Mouse
No Dumbo family is complete without his faithful mouse companion!
Mouse Construction
This tiny friend features:
- Cream and brown color changes for clothing detail
- 9mm safety eyes
- Yellow yarn accents for the shirt
- Brown worsted-weight yarn for facial features
Mouse’s Red Hat
Top off Timothy with his signature hat using red yarn and cream bobble stitches for texture.
Beach Day Accessories
Colorful Beach Ball
Create a rainbow beach ball by working with multiple colors:
- Start in white
- Change colors every round: red, orange, yellow, green, blue, purple
- Work 6 rounds total for a perfectly spherical shape
Life Buoy
Craft a classic red and white life preserver:
- Create a tube of 6 stitches worked for 18 rounds
- Alternate between white and red every 3 rounds
- Connect the ends to form a ring
Duck Swimming Float
Build a whimsical duck float:
- Create a long tube (approximately 40 rounds)
- Form into a circle
- Add a yellow duck head with orange beak
- Insert 9mm safety eyes
Watermelon Bag
Add summer fun with a tiny watermelon:
- Work in red with cream and green accents
- Create a carrying strap with red yarn
- Perfect size for your elephant to hold
Finishing Touches
Tini Purple Bow
Add feminine charm with a delicate bow:
- Chain 3 and work multiple stitches into the first chain
- Create bow loops with double crochets
- Glue or sew to the elephant’s head
Assembly Tips
Important Guidelines:
- Read through the entire pattern before starting
- Stuff as you go for proper shaping
- Use stitch markers to track your place
- Shape components while stuffing for best results
- Sew pieces securely with matching yarn colors

Care and Customization
Making It Your Own
Don’t be afraid to personalize your elephant family:
- Experiment with different color combinations
- Adjust sizing by changing hook and yarn weight
- Add unique accessories or clothing
- Create gender variations with different accessories
Display and Care
Once completed, your elephant family makes wonderful:
- Nursery decor
- Gifts for baby showers
- Collectible amigurumi displays
- Comforting toys for children (ensure eyes are securely attached)
The Joy of Creating
Crocheting this elephant family offers more than just a finished product. It’s a meditative, creative process that allows you to craft something truly special with your own hands. Each stitch brings these adorable characters to life, creating heirloom-quality pieces that can be treasured for years.
The pattern’s creator designed these elephants during a difficult time, finding solace and purpose in crochet. By following this pattern, you’re not just making toys—you’re participating in a tradition of healing through creativity.
Final Thoughts
This comprehensive elephant family pattern offers something for crocheters of all skill levels. While beginners might find some techniques challenging, the detailed instructions and clear round-by-round guidance make it achievable with patience and practice.
Remember to take breaks, stretch, and enjoy the process. The joy is in the journey as much as the destination. When you finally complete your elephant family, you’ll have a collection of charming characters that showcase your skill and dedication to the craft.
Whether you’re creating these elephants for yourself, as gifts, or to sell your handmade creations, you’ll end up with adorable amigurumi that brings joy to everyone who sees them. Happy crocheting!

Remember it later!
Planning to try this soon? Pin it for a quick find later!