Table of contents
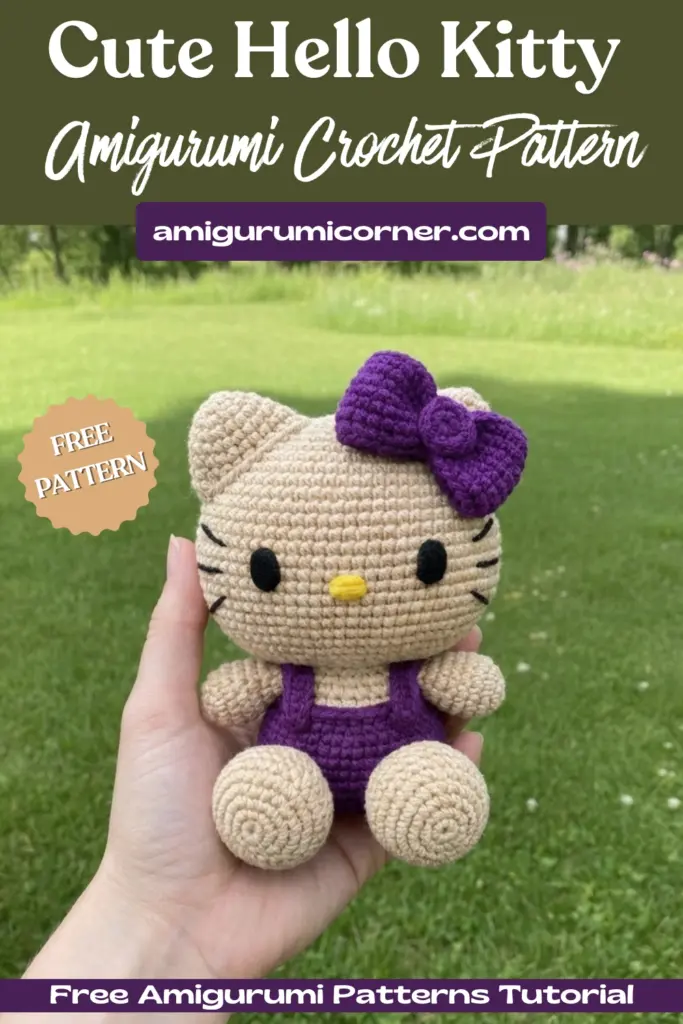
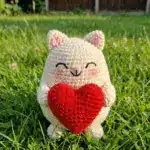
Have you ever wanted to bring that iconic character to life with your own two hands? There’s something magical about transforming simple yarn and a hook into a recognizable, huggable friend. This Hello Kitty amigurumi pattern offers exactly that a chance to create a charming 15 cm tall figure that captures the beloved character’s sweetness and appeal.
Whether you’re looking for a heartfelt handmade gift or a delightful addition to your own amigurumi collection, this pattern guides you through every step with clear instructions and helpful details. Moreover, the combination of classic white, cheerful red, and soft pink creates that instantly recognizable look, while thoughtful construction techniques ensure your finished piece will be sturdy enough for gentle play or proud display. Best of all, the pattern is designed to work up smoothly, with each section building naturally into the next. As a result, you’ll find the entire process both enjoyable and rewarding from start to finish.
Remember it later!
Planning to try this soon? Pin it for a quick find later!

What You’ll Need
Before you begin, gather these supplies:
- Crochet hook 2.0mm
- Yarns 2 mm thick in white, red, pink and black colors
- Wool needle
- Silicone stuffing
- Black and yellow felt
- Scissors, stitch marker, pins and liquid silicone
Stitch Abbreviations Used
- MR: Magic Ring
- Ch: chain
- sc: single crochet
- dec: decrease
- inc: increase
- sl st: slip stitch
- hdc: half double crochet
- dc: double crochet
- BLO: Back Loop Only
- FLO: Front Loop Only
Finished Size
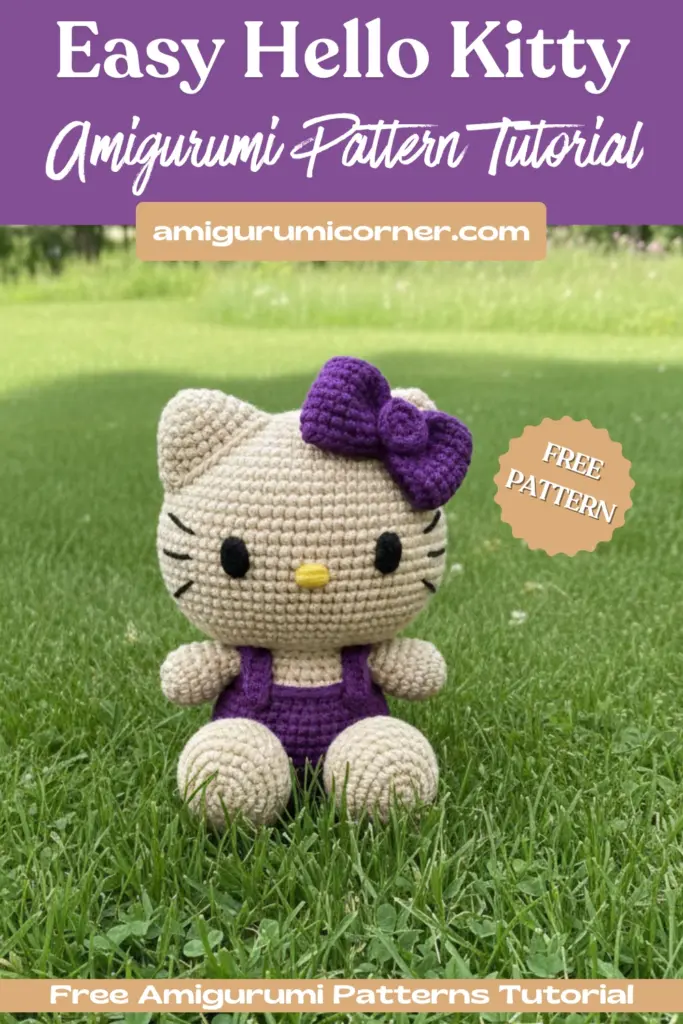
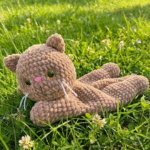
Hello Kitty is approximately 15 cm high and 12 cm wide. Keep in mind that your result may vary according to the materials you use and the tension with which you crochet. A variation of 1 or 2 cms is possible even crocheting with the same hook size and yarn thickness that’s perfectly normal and part of what makes your creation uniquely yours!
Pattern Notes
This Hello Kitty Amigurumi Pattern is crocheted in a spiral. Additionally, it is recommended to crochet the single crochet in X-shape, but if you prefer to crochet in V-shape, the difference won’t be much. Furthermore, you’ll find plenty of tutorials online explaining the changes between these two techniques if you’d like to explore them. Ultimately, either method will produce beautiful results for your finished piece.
The indications in parentheses must be repeated as many times as mentioned outside, and the final parenthesis indicates the number of stitches remaining at the end of each round. If you see the + sign between two stitches, it means that they must be done together in the same space.
Creating Your Hello Kitty Amigurumi Pattern
Head
In white, make 14 chains, start from the second chain from the hook and crochet on both sides.
- 1 inc, 11 sc, 2 inc, 11 sc, 1 inc (30)
- 2 inc, 11 sc, 4 inc, 11 sc, 2 inc (38)
- 2 sc, 1 inc, 13 sc, 1 inc, 4 sc, 1 inc, 13 sc, 1 inc, 2 sc (42)
- (6 sc, 1 inc) 6 times (48)
- 2 inc, 20 sc, 3 inc, 22 sc, 1 inc (54)
- (8 sc, 1 inc) 6 times (60)
- 2 inc, 26 sc, 3 inc, 28 sc, 1 inc (66)
- (10 sc, 1 inc) 6 times (72)
9-18. 72 sc - (10 sc, 1 dec) 6 times (66)
- 2 dec, 28 sc, 3 dec, 26 sc, 1 dec (60)
- (8 sc, 1 dec) 6 times (54)
- 2 dec, 22 sc, 3 dec, 20 sc, 1 dec (48)
- 48 sc
- (6 sc, 1 dec) 6 times (42)
- (5 sc, 1 dec) 6 times (36)
- (4 sc, 1 dec) 6 times (30) Stuff
- (3 sc, 1 dec) 6 times (24)
- (2 sc, 1 dec) 6 times (18)
- (1 sc, 1 dec) 6 times (12)
- 6 dec (6). Fasten off and close.
The initial part of the head will be the one that will go down and will be sewn to the body.
Ears
Make two, in white.
- 6 sc MR
- 6 inc (12)
- (1 sc, 1 inc) 6 times (18)
- (5 sc, 1 inc) 3 times (21)
- (6 sc, 1 inc) 3 times (24)
- (5 sc, 1 inc) 4 times (28)
- (1 inc, 13 sc) 2 times (30). Fasten and leave yarn to sew to the head.
Sew them by stuffing them a little just enough to give them gentle shape without making them too stiff.

Facial Features
The eyes are two ovals in black felt, and for the nose an oval in yellow. Specifically, the eyes measure 13 mm high by 10 mm wide and the nose 11 mm wide by 8 mm high. However, as the size of the head can vary according to many factors, I recommend calculating your own measurements according to the size of the head you made. Additionally, using a reference image will help you make it as close as possible. In this way, you can ensure the proportions match your unique creation perfectly.
Body
In red, make 14 chains, start from the second chain from the crochet and crochet on both sides.
- 1 inc, 11 sc, 2 inc, 11 sc, 1 inc (30)
- 2 inc, 11 sc, 4 inc, 11 sc, 2 inc (38)
- (2 inc, 17 sc) 2 times (42)
4-9. 42 sc - (5 sc, 1 dec) 6 times (36) change to pink
- in BLO (4 sc, 1 dec) 6 times (30)
- (3 sc, 1 dec) 6 times (24)
- 24 sc
- (4 sc, 1 dec) 4 times (20). Fasten off and leave a tail to sew to the head.
Hook the red yarn into the free loops of round 11 and make sc in the whole round to hide the color change this creates a neat, professional-looking transition.
Stuff the body and sew it to the head. Remember that the beginning of the head is the one that will be sewn down. Counting from round 1 of the head upwards, the eyes will be glued from round 13 onwards, with 11 stitches visible between them.
The nose will be glued between the eyes, slightly downward. The whiskers will go in the direction of each eye, 3 or 4 stitches back, with a width of 4 stitches each whisker.
Arms
Make two, in white.
- 6 sc MR
- 6 inc (12)
- (1 sc, 1 inc) 6 times (18)
4-5. 18 sc. Change to pink. - (4 sc, 1 dec) 3 times (15)
- (3 sc, 1 dec) 3 times (12)
- (1 sc, 1 dec) 4 times (8) Stuff the white part only.
Flatten and make 4 sc through the 8 available stitches. Fasten off and leave a tail to sew to the body.
Sew the arms two rounds under the head seam.
Suspenders
Make two, in red. Make 17 chains and start from the third chain from the crochet hook.
- 15 hdc. Fasten off and cut.
Glue with silicone on the shoulders these charming little details really bring the whole look together!
Legs
Make two, in white.
- 6 sc MR
- 6 inc (12)
- (1 sc, 1 inc) 6 times (18)
- (2 sc, 1 inc) 6 times (24)
- (3 sc, 1 inc) 6 times (30)
6-9. 30 sc - (3 sc, 1 dec) 6 times (24)
- (2 sc, 1 dec) 6 times (18)
- (1 sc, 1 dec) 6 times (12)
Fasten off and leave a tail to sew to the body. Stuff and sew the legs to the body at the bottom so that she can sit down.
Tail
In white.
- 6 sc MR
- 6 inc (12)
- (1 sc, 1 inc) 6 times (18)
4-6. 18 sc - (1 sc, 1 dec) 6 times (12)
- (1 sc, 1 dec) 4 times (8)
Fasten off and leave a tail to sew to the body. Stuff and sew in such a way that it serves as a support for Hello Kitty to sit on clever construction makes all the difference!
Bow
In red, make 38 chains. Work in a circle and not in a spiral. Close in the first chain with a sl st, pick up a chain and from that same stitch, make the first round of 38 sc. Continue in circles.
- 2-7. 38 sc. Fasten off and leave a long tail.
Make several turns around the center with the yarn, pressing hard to mark the center. Fasten. Shape the bow and glue to the head.
To cover the center, make a magic ring of 6 sc, then 6 increases, close with invisible closure and glue to the bow. Ultimately, this signature bow is what truly completes the Hello Kitty Amigurumi look! As a result, your finished piece will have that iconic touch that makes Hello Kitty instantly recognizable. Furthermore, this final detail brings everything together beautifully.

Frequently Asked Questions
Yes, but your finished size will change. The pattern uses 2mm yarn with a 2.0mm hook for a 15cm figure. Thicker yarn makes a bigger Hello Kitty, thinner yarn makes a smaller one. Match your hook size to your yarn weight.
When changing from red to pink in round 11, work in back loops only. Then go back and crochet into the free front loops with red yarn. This creates a seamless, professional-looking transition.
Use liquid silicone for a strong bond. Pin pieces first to position them correctly (eyes from round 13 with 11 stitches between, nose slightly below center), then glue when you’re happy with the placement.
No. Stuff the head and body firmly, ears lightly, arms only in the white hand part, and legs and tail moderately. Position the tail to help Hello Kitty sit upright.
Bringing It All Together
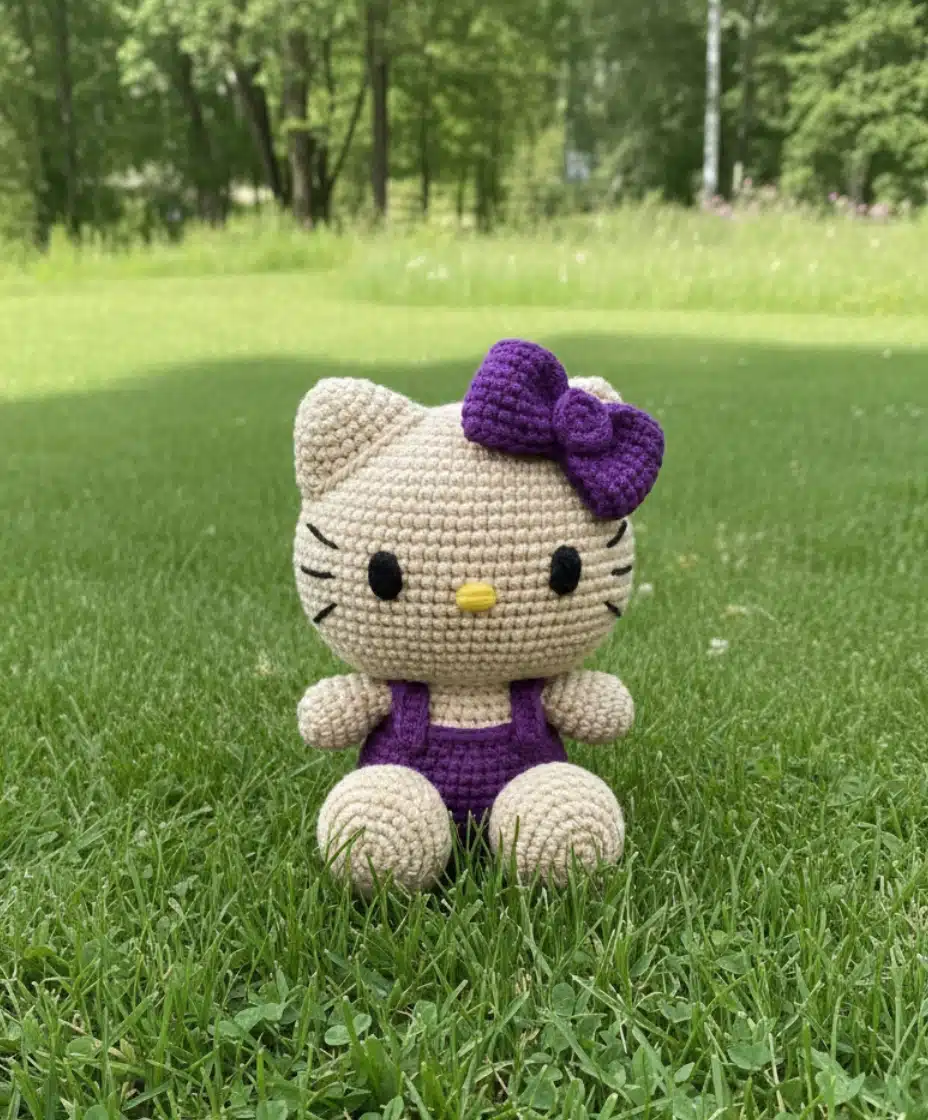
You’ve just created something truly special a handcrafted Hello Kitty Amigurumi Pattern that carries the warmth and care of every stitch you made. The combination of techniques you’ve mastered here, from working in the round to seamless color changes, will serve you well in countless future amigurumi projects. Take a moment to appreciate all those details: the perfectly positioned bow, the sweet facial features, those adorable little suspenders.
This finished piece makes a wonderful gift for Hello Kitty Amigurumi fans of all ages, or it can become a treasured part of your own collection. Either way, you’ve transformed simple materials into something that brings joy and that’s the real magic of crochet. Moreover, each stitch represents your dedication and creativity. Therefore, we can’t wait to see your creation! In the end, you’ll have a handmade treasure to cherish for years to come.
Remember it later!
Planning to try this soon? Pin it for a quick find later!