Table of contents
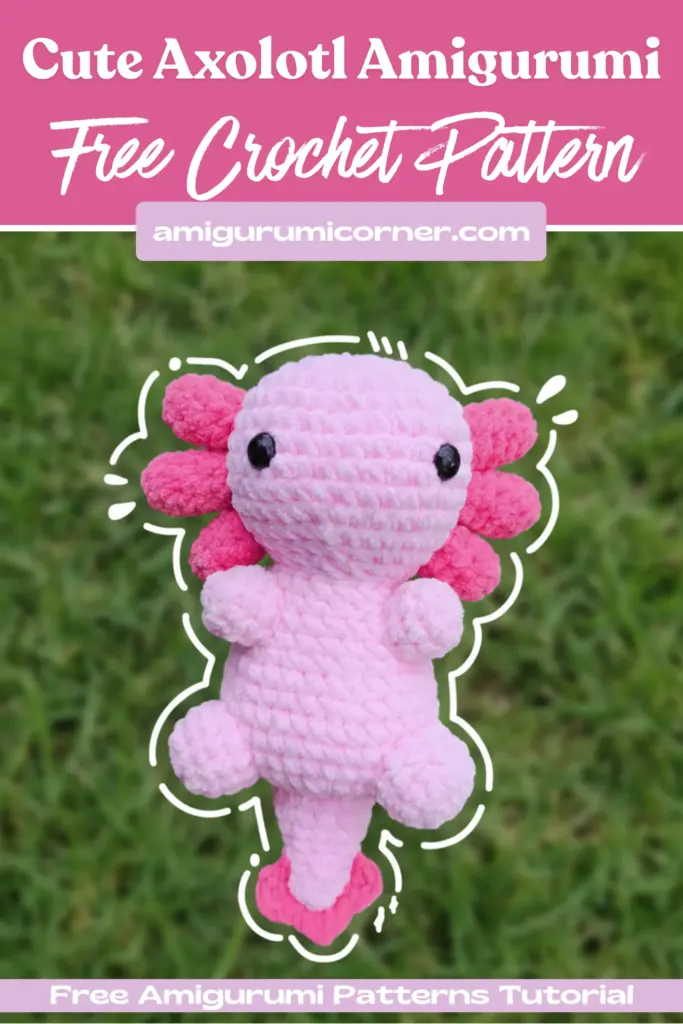
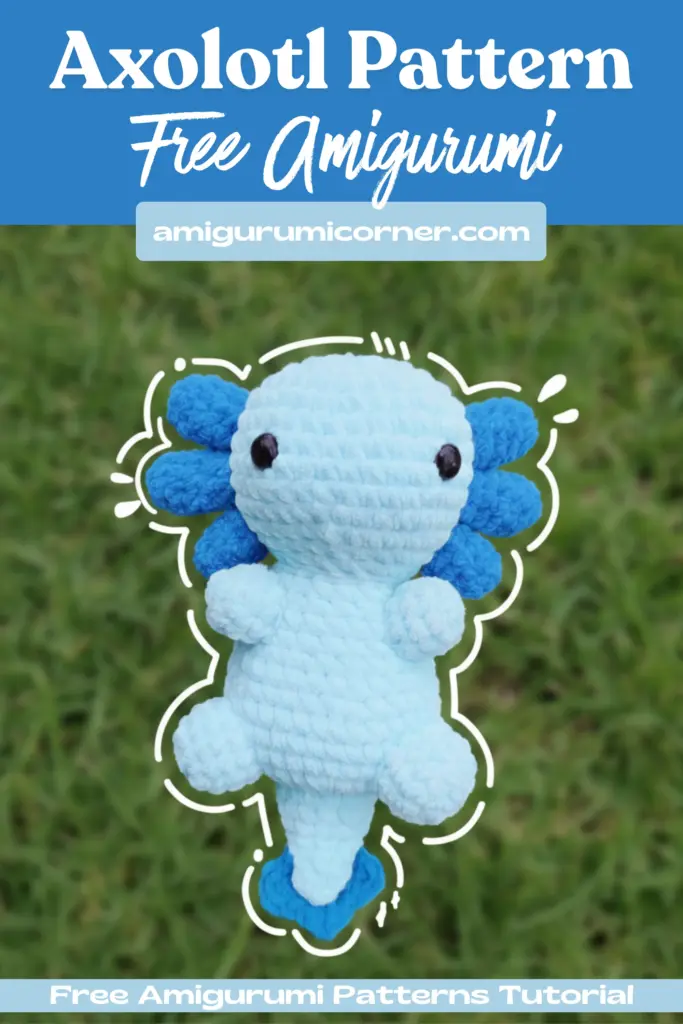
If you’re looking for a fun and rewarding crochet project, this adorable axolotl is the perfect choice! Whether you’re crafting a cuddly companion or scaling up with chunky yarn to create a cozy pillow, this charming creature is sure to bring smiles. While the pattern itself is beginner-friendly, do note that there are several pieces to assemble, so set aside some time for sewing everything together.
What You’ll Need

Remember it later!
Planning to try this soon? Pin it for a quick find later!
Materials
- Yarn in two colors (Himalaya Dolphin Baby or Premier Parfait Chunky work beautifully)
- 4mm crochet hook
- Filling material (polyester fiberfill)
- Safety eyes (12mm)
- Tapestry needle
- Scissors
- Stitch marker
Terminology Quick Reference
- R – Round
- st – Stitch
- MR – Magic ring
- ch – Chain
- sc – Single crochet
- hdc – Half double crochet
- sl st – Slip stitch
- inc – Increase
- dec – Decrease
- FO – Fasten off
Important Notes Before You Begin
This pattern is worked in continuous rounds, so you’ll want to use a stitch marker to keep track of where each round begins and ends. Simply move the marker up as you complete each round.
Creating the Axolotl
The Head (Using Your First Color)
Start with a magic ring and work the following rounds:
- R1: MR 6sc (6 stitches)
- R2: inc x6 (12 stitches)
- R3: (1 sc, inc) x6 (18 stitches)
- R4: (2 sc, inc) x6 (24 stitches)
- R5: (3 sc, inc) x6 (30 stitches)
- R6: (4 sc, inc) x6 (36 stitches)
- R7: (5 sc, inc) x6 (42 stitches)
- R8-12: sc around (42 stitches) – work 5 rows even
- R13: (5 sc, dec) x6 (36 stitches)
- R14: (4 sc, dec) x6 (30 stitches)
- R15: (3 sc, dec) x6 (24 stitches)
- R16: (2 sc, dec) x6 (18 stitches)
Fasten off and weave in the end. Before closing completely, position your safety eyes between rows 10 and 11, spacing them 7 stitches apart.

The Body (Using Your First Color)
- R1: MR 6 sc (6 stitches)
- R2: inc x6 (12 stitches)
- R3: (1 sc, inc) x6 (18 stitches)
- R4: (2 sc, inc) x6 (24 stitches)
- R5: (3 sc, inc) x6 (30 stitches)
- R6-10: sc around (30 stitches) – work 5 rows even
- R11: (3 sc, dec) x6 (24 stitches)
- R12: sc around (24 stitches)
- R13: (2 sc, dec) x6 (18 stitches)
Fasten off, leaving a long tail for sewing. Attach the head to the body securely.
Arms (Make 2 with Your First Color)
- R1: MR 8sc (8 stitches)
- R2-3: sc around (8 stitches) – work 2 rows even
Fasten off with a long tail and sew the arms to the body.
Legs (Make 2 with Your First Color)
- R1: MR 6sc (6 stitches)
- R2: inc x6 (12 stitches)
- R3: sc around (12 stitches)
Fasten off with a long tail and attach the legs to the body.
The Tail (Using Your First Color)
- R1: MR 4 sc (4 stitches)
- R2: inc x4 (8 stitches)
- R3: sc around (8 stitches)
- R4: (3 sc, inc) x2 (10 stitches)
- R5-6: sc around (10 stitches) – work 2 rows even
- R7: (4 sc, inc) x2 (12 stitches)
- R8-10: sc around (12 stitches) – work 3 rows even
Fasten off with a long tail and sew the tail to the back of the body.
Tail Grills (Using Your Second Color)
- R1: Chain 8
- R2: Starting from the second chain from hook: (3 hdc in 1 stitch, sl st) x3, then 3 hdc in the last stitch
Fasten off with a long tail and attach these decorative grills to the tail.

Head Grills (Make 6 with Your Second Color)
- R1: MR 6sc (6 stitches)
- R2: (2 sc, inc) x2 (8 stitches)
- R3-4: sc around (8 stitches) – work 2 rows even
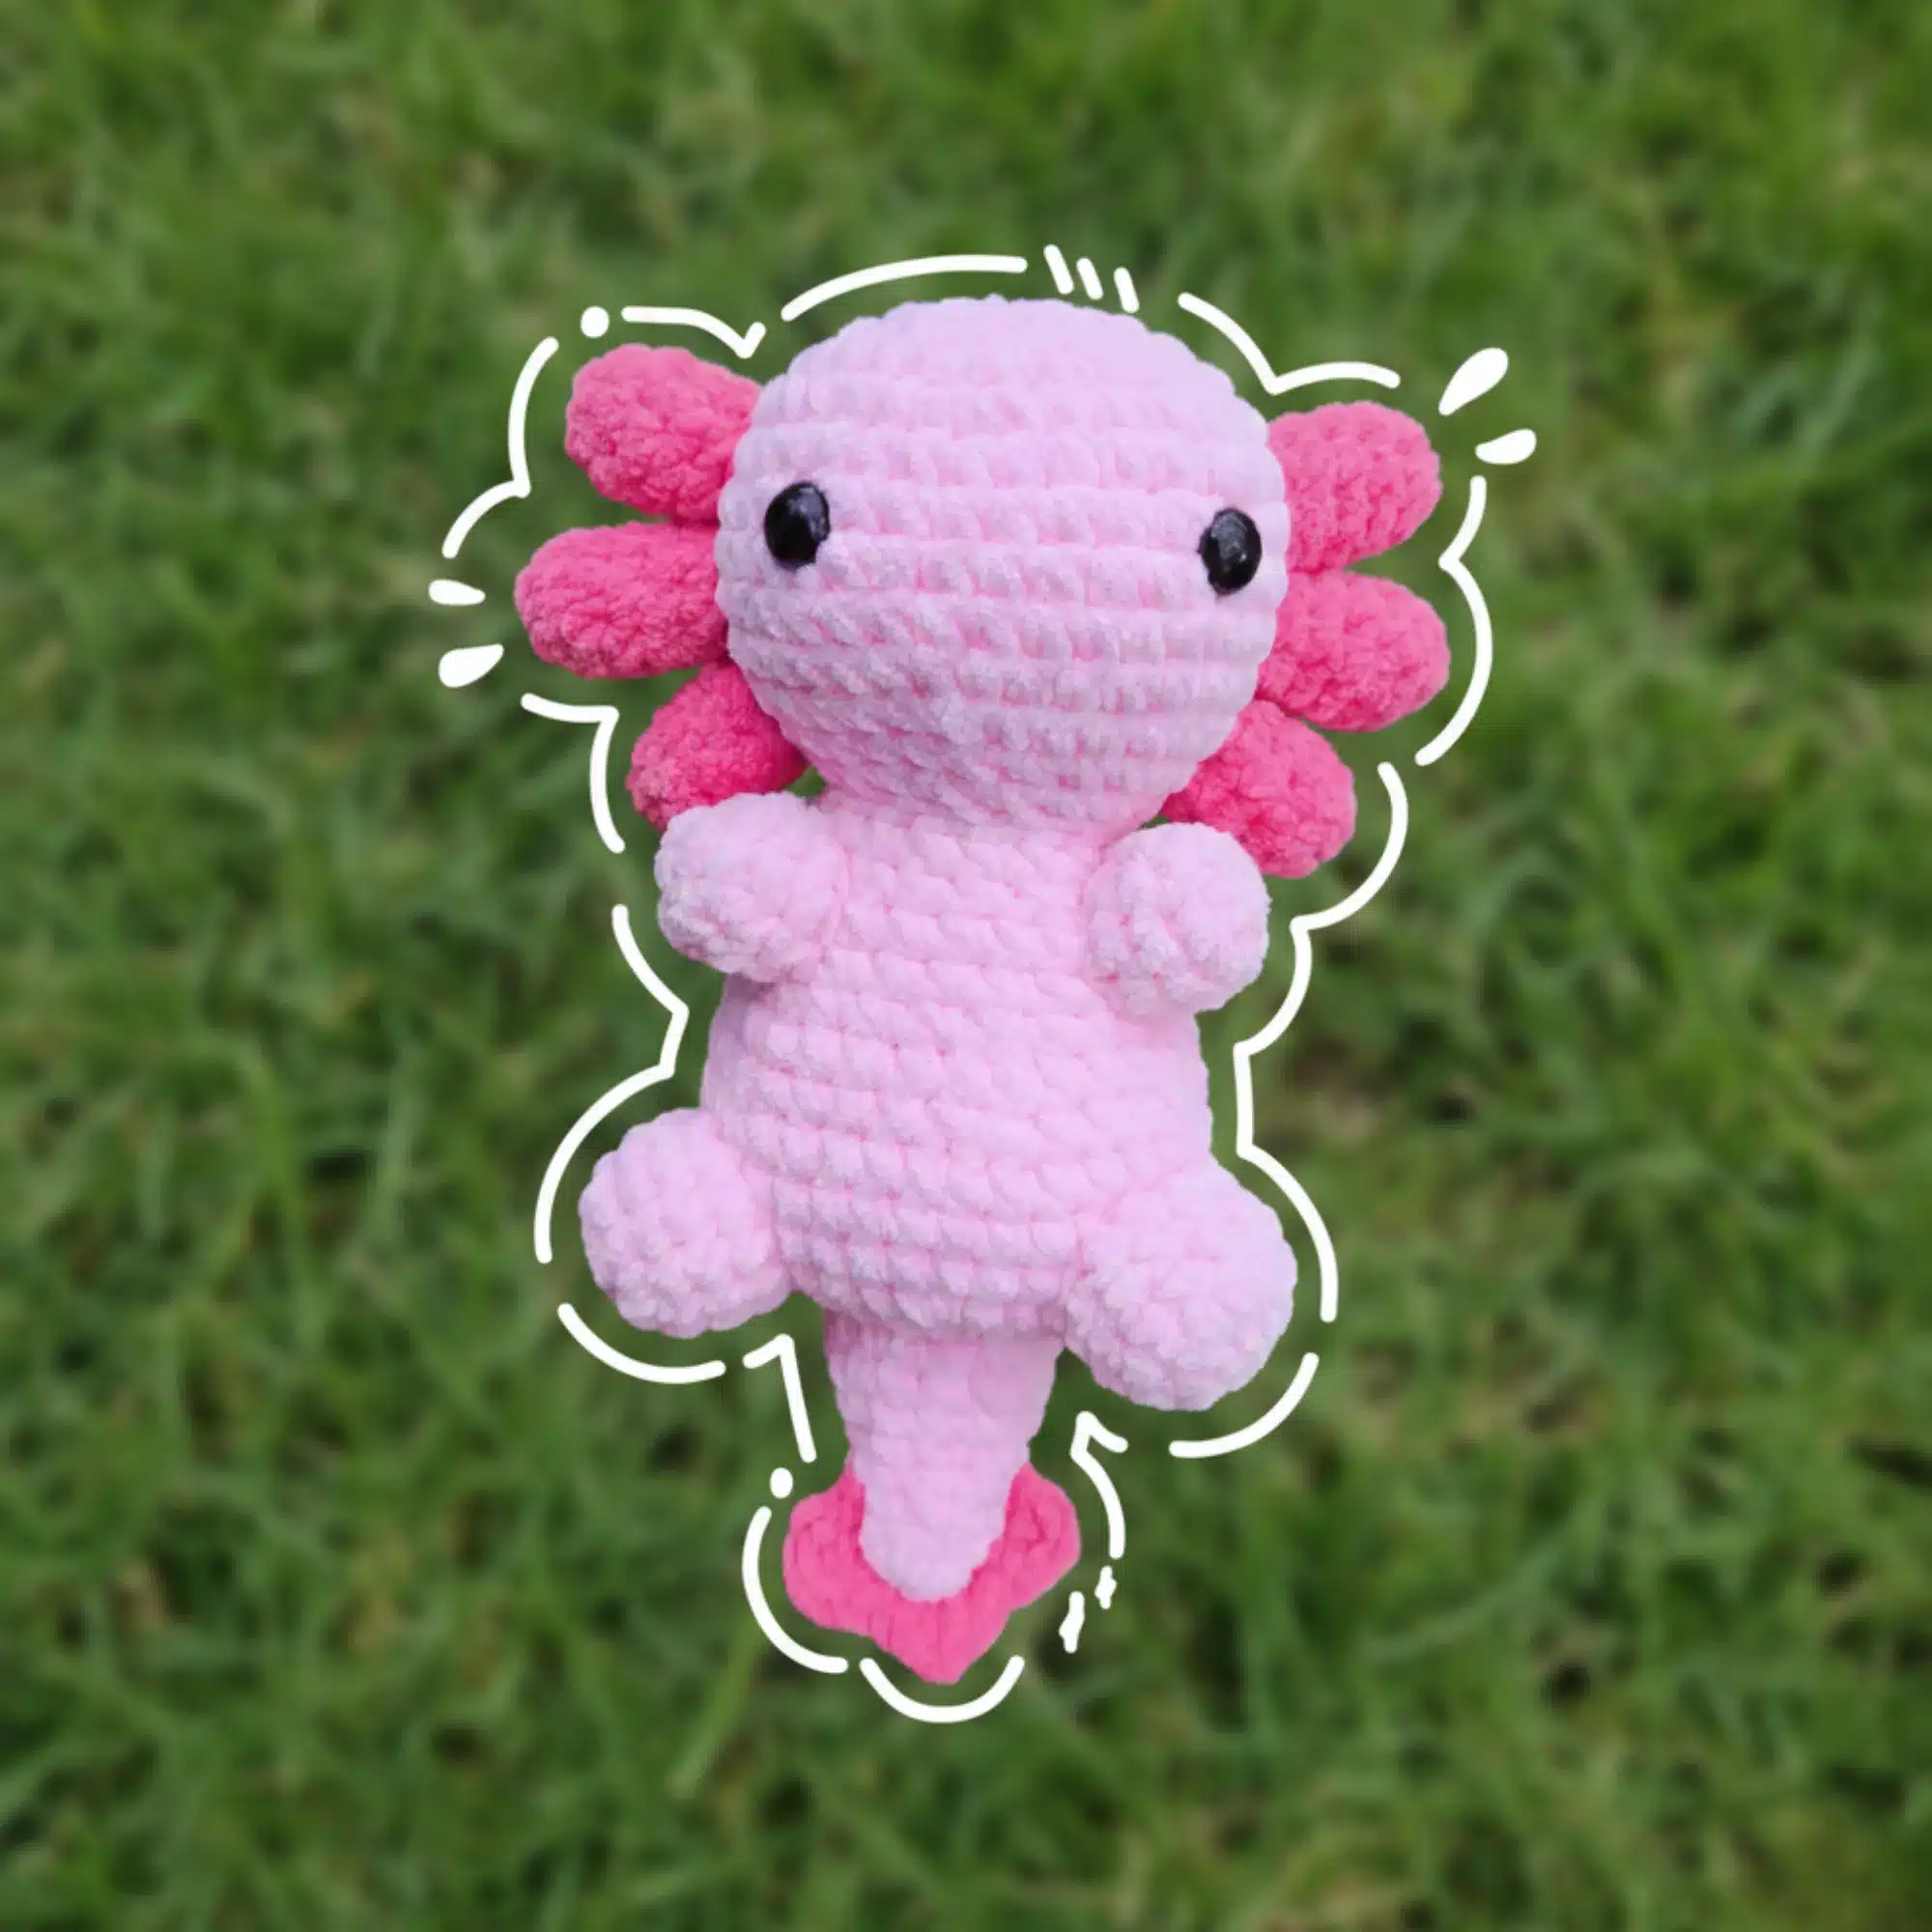
Fasten off with long tails and sew three grills on each side of the head to create those distinctive axolotl frills.
Assembly Tips
Take your time when sewing all the pieces together. Use your tapestry needle and the long tails you’ve left on each piece to secure everything firmly. Stuff the body and head with fiberfill before closing them completely to give your axolotl a nice, plump shape.
You Did It!
Congratulations on completing your adorable crochet axolotl! This delightful project showcases your creativity and crochet skills. Whether it becomes a cherished toy, a decorative pillow, or a thoughtful handmade gift, your axolotl is sure to be loved.
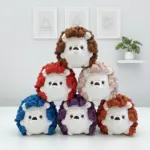
Remember, practice makes perfect, and each project you complete helps you grow as a crocheter. Don’t be afraid to experiment with different colors or yarn weights to create your own unique variations. Happy crocheting!

Remember it later!
Planning to try this soon? Pin it for a quick find later!