Table of contents
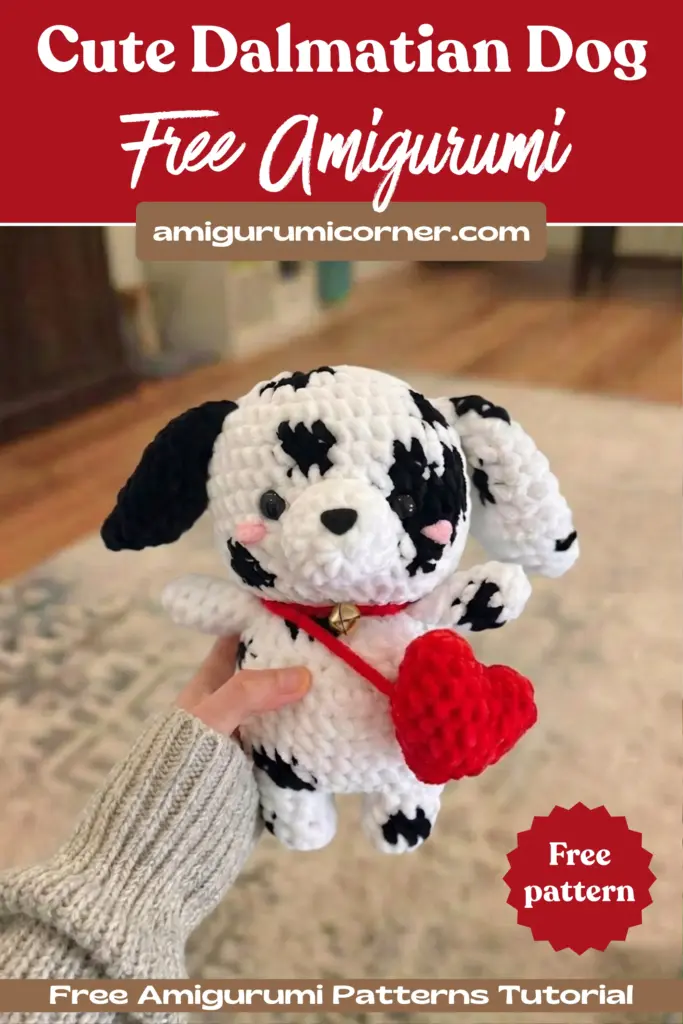
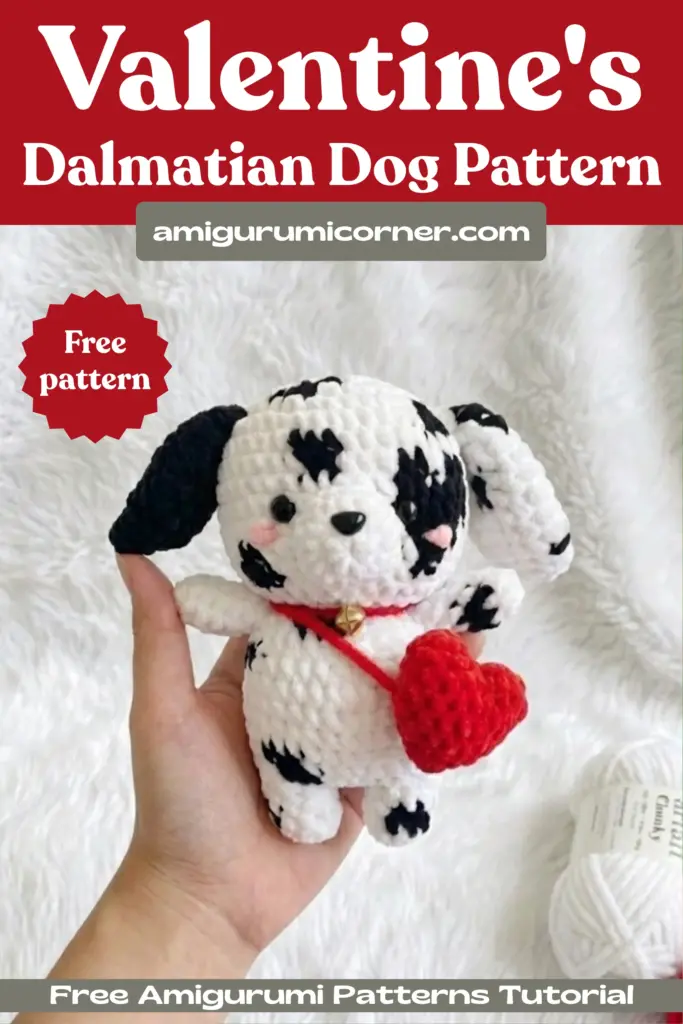
Looking for a fun and rewarding crochet project that combines cuteness with creativity? This detailed Dalmatian dog amigurumi pattern is perfect for intermediate crocheters who want to create an adorable spotted pup with a charming personality. Whether you’re making it as a gift or adding to your amigurumi collection, this pattern will guide you through every step of creating your very own cuddly Dalmatian.
Deisgned by crochet_bynawi
Understanding the Pattern Abbreviations
Before diving into the pattern, familiarize yourself with these common crochet abbreviations:
- Mr – magic ring or make ch 2 and sc into the first ch
- Sc – single crochet
- Inc – increase
- Dec – decrease (invisible decrease)
- **(…)n* – repeat stitches in brackets n times
- Slst – slip stitch
- Ch – chain
- Hdc – half double crochet
- Dc – double crochet
- Trc – treble crochet
- BLO – back loop only
- FLO – front loop only
- BB – bobble stitch
- Color – change the color (for example: black 2sc, white 3sc means crochet 2sc in black and 3sc in white)

Materials You’ll Need
To create your Dalmatian amigurumi, gather these supplies:
- Crochet hook – 4mm
- Yarn – Himalaya Dolphin Baby (less than 1 skein per color needed). Alternative brands include Yarn Art, Premier Parfait (most similar available in the US), or other similar plush yarns depending on your location
- Stitch marker
- Scissors
- Fiberfill stuffing
- Safety eyes (12mm) or felt for eyes
- Tapestry needle
- Optional: Pink yarn for cheeks, plastic safety nose or black felt
- Red yarn for the heart bag accessory
Pro Tip: Use bigger yarn and hook to make a larger Dalmatian, or smaller yarn and hook for a miniature version!
Important Tips Before Starting
Read through the entire pattern before beginning your project. This will help you understand the construction process and color changes. Remember to:
- Stuff the head and body generously to achieve that adorable chubby appearance
- Shape the pieces as you stuff them for the best results
- Use a stitch marker to track your rounds
- Don’t be afraid to adjust stuffing as you go
Pattern Instructions
Head – White
- Row 1: Mr 8sc (8)
- Row 2: 8inc (16)
- Row 3: (sc, inc)*3, black sc, inc, white (sc, inc)*4 (24)
- Row 4: (3sc, inc)*2, black 3sc, white inc, (3sc, inc)*3 (30)
- Row 5: 2sc, inc, (4sc, inc)*3, sc, black 2sc, white sc, inc, 4sc, inc, 2sc (36)
- Row 6: (5sc, inc)*3, 5sc, black inc, sc, white 4sc, inc, 5sc, inc (42)
- Row 7: 18sc, black 3sc, white 21sc (42)
- Row 8: 19sc, black 2sc, white 3sc, black 2sc, white sc, black 2sc, white 13sc (42)
- Row 9-10: 24sc, black 6sc, white 12sc (42)
- Row 11: 25sc, black 4sc, white 13sc (42)
- Row 12: 15sc, black 2sc, white 9sc, black 2sc, white 14sc (42)
- Row 13: (5sc, dec)*2, sc, black 3sc, white, sc, dec, (5sc, dec)*3 (36)
- Row 14: 2sc, dec, (4sc, dec)*5, 2sc (30)
- Row 15: (3sc, dec)*6 (24)
- Row 16: (2sc, dec)*6 (18)
Fasten off and cut the yarn.
Eye Placement: Insert 12mm safety eyes between rows 10-11, spacing them 6 stitches apart. Stuff the head fully and generously for that perfect rounded shape.
Adding Pinky Cheeks: Using pink yarn and a tapestry needle, embroider small circles or French knots beside each eye for adorable rosy cheeks.
Nose – White
- Row 1: Mr 8sc (8)
- Row 2: 8inc (16)
- Row 3: 16sc (16)
Stuff the nose lightly with fiberfill. Fasten off and leave a long tail for sewing onto rows 10-13 of the head. Insert a plastic safety nose between rows 1-2, or cut a nose shape from black felt and glue it on.
Body – White
We’ll start by creating the legs separately, then join them together.
First Leg:
- Row 1: Mr 5sc (5)
- Row 2: 5inc (10)
- Row 3: 5sc, black 3sc, white 2sc (10)
- Row 4: 6sc, black 2sc, white 2sc (10)
Fasten off and cut the yarn.

Second Leg:
- Row 1: Mr 5sc (5)
- Row 2: 5inc (10)
- Row 3: 3sc, black 2sc, white 5sc (10)
- Row 4: 4sc, black 3sc, white 3sc (10)
Continue by making ch 3 and joining to the first leg (refer to video tutorials if you need help with this technique).
Joining and Continuing the Body:
Row 5: 10sc (first leg) + 3sc (first side of the chains) + 10sc (second leg) + 3sc (other side of the chains) (26)
- Row 6: (3sc, inc)*6, 2sc (32)
- Row 7: 16sc, black 3sc, white 13sc (32)
- Row 8: 4sc, black 2sc, white 11sc, black 3sc, white 12sc (32)
- Row 9-10: 32sc (32)
- Row 11: 9sc, black 2sc, white 21sc (32)
- Row 12: 8sc, black 4sc, white 10sc, black sc, white 9sc (32)
- Row 13: 14sc, dec, 5sc, black 3sc, white 6sc, dec (30)
- Row 14: 30sc (30)
- Row 15: (3sc, dec)*3, black 3sc, white dec, (3sc, dec)*2 (24)
- Row 16: (2sc, dec)*3, black 2sc, dec, white (2sc, dec)*2 (18)
Fasten off and leave a long tail for sewing to the head. Stuff the body generously to match the chubby head.
Arms (Make 2) – White
Make one arm with spots and one in all black or all white for variety.
- Row 1: Mr 4sc (4)
- Row 2: 4inc (8)
- Row 3: 2sc, black 3sc, white 3sc (8)
- Row 4: 3sc, black 2sc, white 3sc (8)
- Row 5-7: 8sc (8)
Stuff lightly with fiberfill. Fasten off and leave a long tail for sewing between rows 15-16 of the body.
Ear 1 – Black
- Row 1: Mr 5sc (5)
- Row 2: 5inc (10)
- Row 3: (Sc, inc)*5 (15)
- Row 4: (2sc, inc)*5 (20)
- Row 5-9: 20sc (20)
- Row 10: (3sc, dec)*4 (16)
- Row 11: (6sc, dec)*2 (14)
- Row 12: (5sc, dec)*2 (12)
Fasten off and leave a long tail. Sew the ear between rows 5-6 of the head. Do not stuff the ear.
Ear 2 – White
- Row 1: mr 5sc (5)
- Row 2: 5inc (10)
- Row 3: Sc, inc, black sc, inc, white (sc, inc)*3 (15)
- Row 4: (2sc, inc)*4, black 2sc, inc (20)
- Row 5: White 17sc, black 3sc (20)
- Row 6: White 20sc (20)
- Row 7: 10sc, black 2sc, white 8sc (20)
- Row 8: 10sc, black 3sc, white 7sc (20)
- Row 9: 20sc (20)
- Row 10: 3sc, dec, black 3sc, white dec, (3sc, dec)*2 (16)
- Row 11: 5sc, black sc, dec, white 6sc, dec (14)
- Row 12: (5sc, dec)*2 (12)
Fasten off and leave a long tail. Sew the ear between rows 5-6 of the head. Do not stuff the ear.
Tail – Black
- Row 1: mr 6sc (6)
- Row 2-3: 6sc (6)
- Row 4-6: White 6sc (6)
- Row 7: 3sc, black 2sc, white sc (6)
- Row 8-10: 6sc (6)
Fasten off and leave a long tail for sewing onto rows 8-9 at the back of the body.
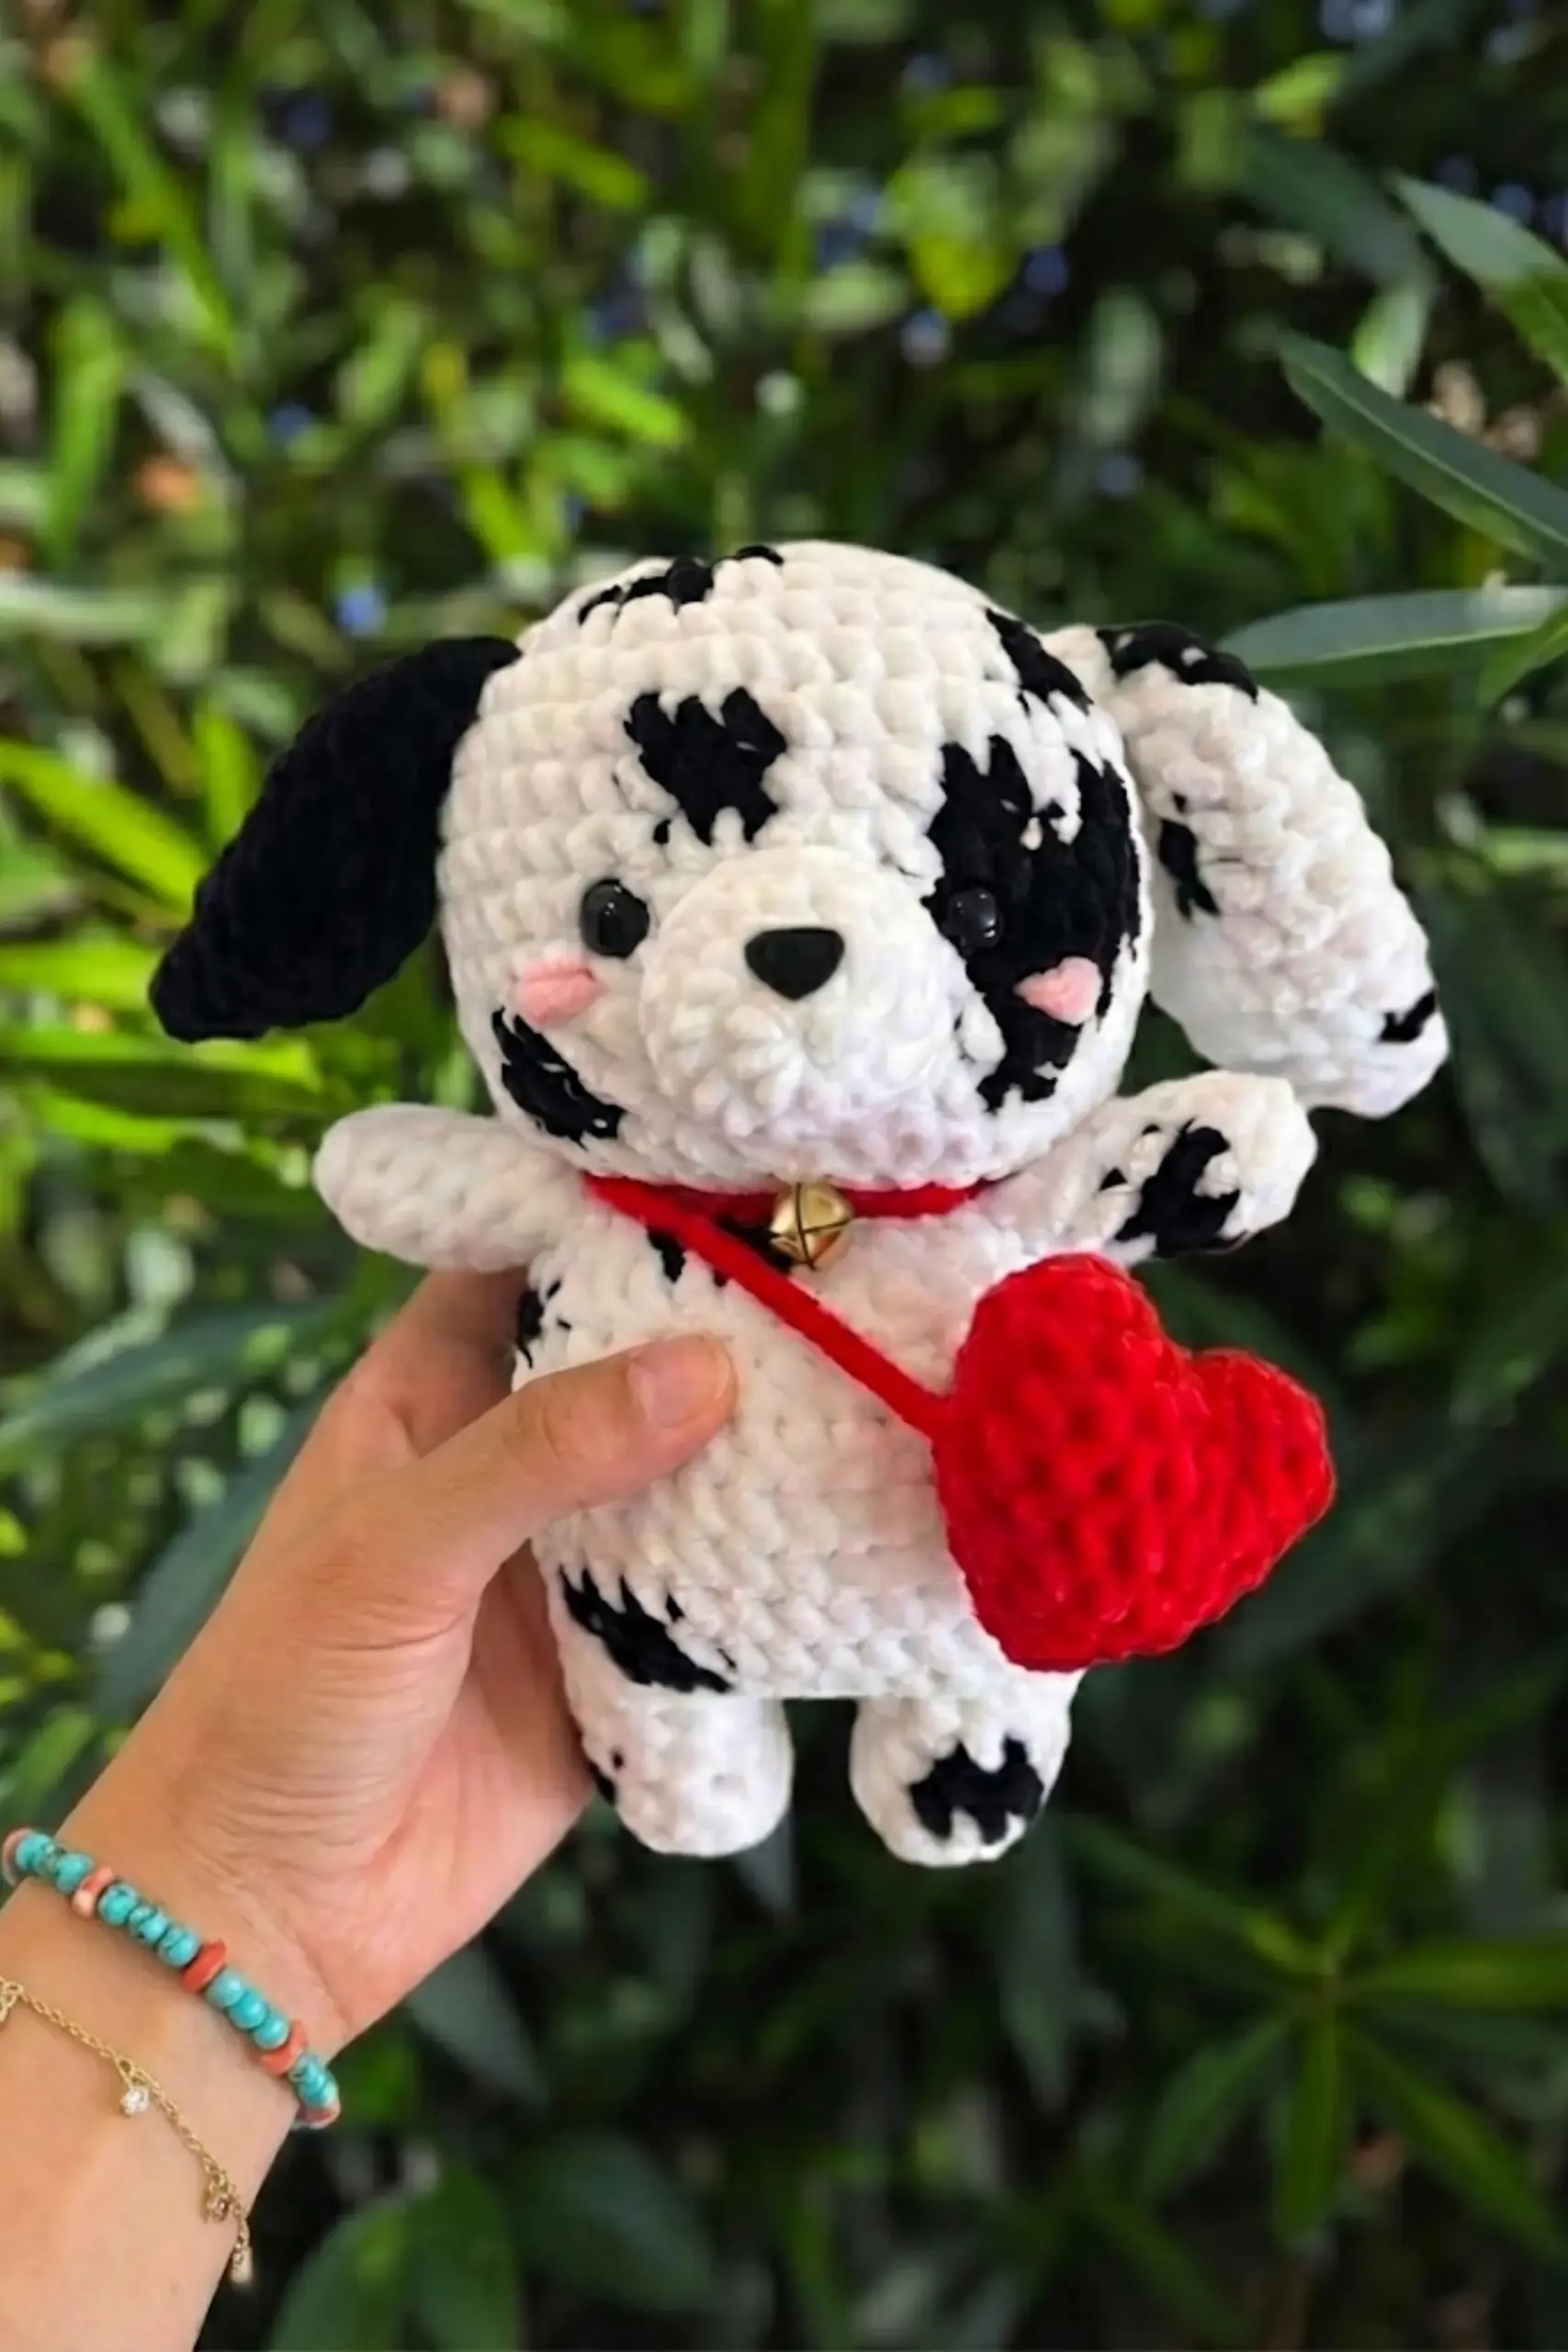
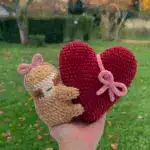
Heart Bag – Red
This adorable accessory adds extra charm to your Dalmatian!
First Piece of the Heart:
- Row 1: Mr 6sc (6)
- Row 2: (Sc, inc)*3 (9)
Fasten off and cut the yarn. Make one more identical piece.
Joining and Completing the Heart:
- Row 3: Join the second piece with the first piece: 9sc + 9sc (18)
- Row 4: 18sc (18)
- Row 5: (4sc, dec)*3 (15)
- Row 6: (3sc, dec)*3 (12)
- Row 7: (2sc, dec)*3 (9)
- Row 8: (Sc, dec)*3 (6)
Weave in the remaining yarn. Stuff the heart lightly as you crochet. Use a long strand of red yarn to create a strap and attach the heart bag to your Dalmatian.

Assembly Instructions
Now it’s time to bring your Dalmatian to life!
- Attach the nose to the center front of the head between rows 10-13
- Sew the head to the body, making sure it’s centered and secure
- Position the ears between rows 5-6 of the head (one black, one spotted)
- Attach the arms to the sides of the body between rows 15-16
- Sew the tail to the back of the body on rows 8-9
- Add the heart bag by draping the strap across the body
Finishing Touches
- Check all seams and reinforce any weak spots
- Trim any excess yarn ends
- Gently brush the plush yarn if needed to hide stitches
- Add any additional spots with black yarn if desired
Frequently Asked Questions
Using a 4mm hook and Himalaya Dolphin Baby yarn, your Dalmatian will be approximately 8-10 inches tall. You can make it larger by using a bigger hook and bulkier yarn, or smaller by using a smaller hook and thinner yarn.
Yes! While the pattern calls for Himalaya Dolphin Baby, you can use any plush or velvet yarn such as Yarn Art Dolce, Premier Parfait, or Bernat Velvet. Just make sure to adjust your hook size accordingly to maintain proper tension.
When the pattern indicates a color change, simply drop the working yarn and pick up the new color. Carry the unused color along the inside of your work, catching it with your stitches to keep it secure. The color changes create the authentic Dalmatian spot pattern.
No, the ears should not be stuffed as this allows them to drape naturally. The tail can be stuffed very lightly or left unstuffed depending on your preference. The head, body, and nose should be stuffed generously for the best shape.
Conclusion
Congratulations on completing your adorable Dalmatian amigurumi! This charming spotted pup makes a wonderful gift for dog lovers, a delightful nursery decoration, or a special addition to any amigurumi collection. The combination of white and black yarn creates those distinctive Dalmatian spots, while the heart bag adds an extra touch of sweetness.
Remember, each handmade creation is unique, and small variations in tension or yarn can give your Dalmatian its own special personality. Don’t be afraid to customize your pup with different spot placements or accessories to make it truly one-of-a-kind.
We’d love to see your finished Dalmatian! Share your creation and inspire other crocheters in the amigurumi community. Happy crocheting, and enjoy your new spotted companion!
Remember it later!
Planning to try this soon? Pin it for a quick find later!