Table of contents
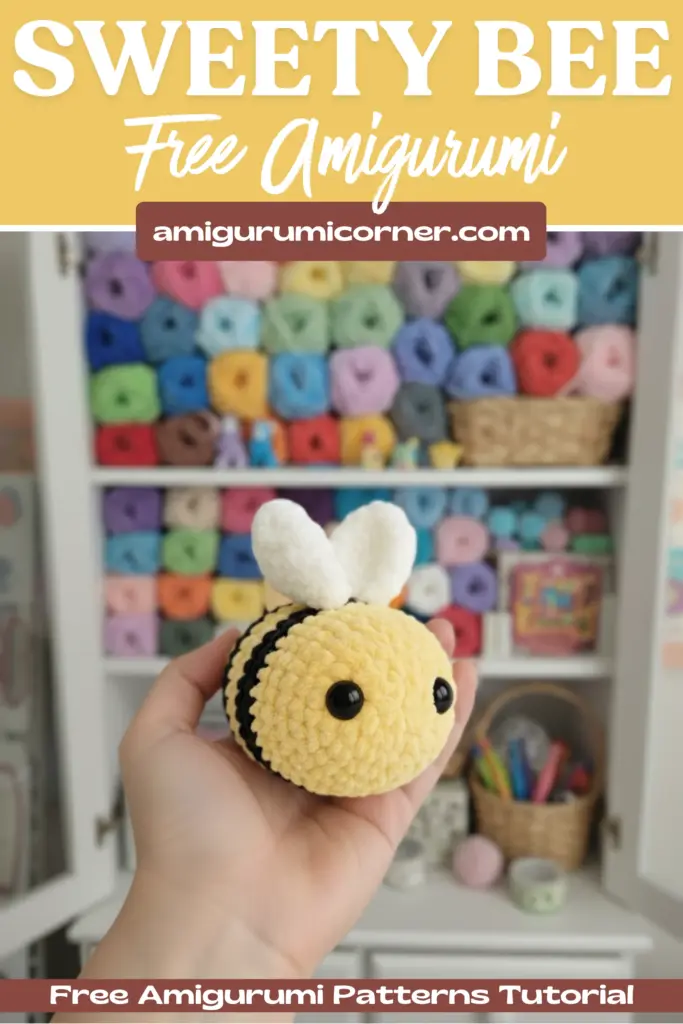
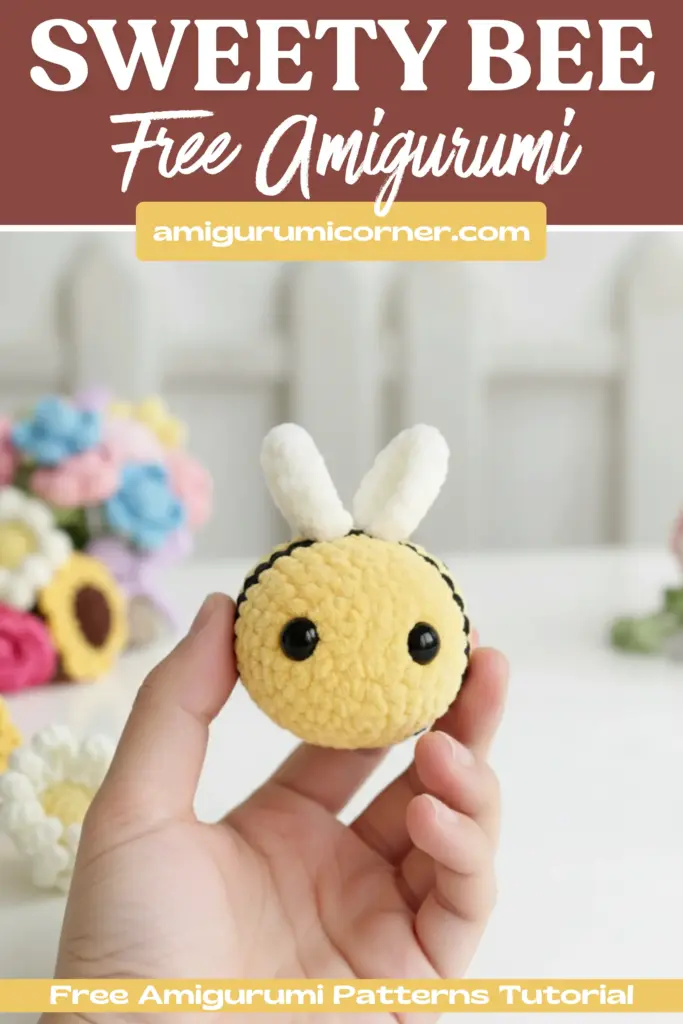
Welcome to the wonderful world of amigurumi! If you’re looking for a sweet and charming crochet project, this delightful bee amigurumi is the perfect choice. Whether you’re a seasoned crocheter or just starting your amigurumi journey, this friendly little bee will bring joy to your crafting sessions and make an adorable gift or decoration.
Remember it later!
Planning to try this soon? Pin it for a quick find later!
What You’ll Need
Before we dive into the pattern, let’s gather all the materials you’ll need to bring this sweet bee to life.

Yarn Requirements
For this project, you’ll need Chenille Velvet yarn in three colors:
- Yellow – for the bee’s signature stripes
- Black – for contrasting stripes
- White – for the delicate wings
Additional Supplies
- 4.5 mm crochet hook (or adjust to match your yarn weight)
- Two safety eyes, 0.47 inches or 12mm in diameter
- Polyester fiberfill or similar stuffing material
- Tapestry needle for finishing
Understanding the Pattern Abbreviations
Familiarize yourself with these common crochet terms before you begin:
- mr – magic ring
- ch – chain
- sc – single crochet
- ss – slip stitch
- inc – increase
- dec – decrease
- dc – double crochet
Crafting the Body
The body is worked in continuous rounds, creating the classic striped appearance of a bee. Begin with yellow yarn to establish the foundation.
Foundation and Base Rounds
Start with 6 single crochets in a magic ring. Gradually increase over the next several rounds to create the rounded bee body:
- Round 2 expands to 12 stitches with 6 increases
- Continue increasing in each round, distributing increases evenly
- By Round 6, you’ll have 36 stitches
Creating the Striped Pattern
Maintain 36 stitches for Rounds 7-10 with yellow yarn. This is where the bee’s personality begins to emerge.
Switch to black yarn for Rounds 11-14, maintaining the same stitch count. Then return to yellow for Rounds 15-18, creating those distinctive bee stripes.
Eye Placement
Between rounds 5 and 6, position the safety eyes with approximately 9 single crochets of space between them. This placement gives your bee a friendly, welcoming expression.

Shaping and Finishing the Body
Complete the final black stripe for Rounds 19-20, then begin decreasing:
- Round 21: Decrease to 30 stitches
- Round 22: Decrease to 24 stitches
- Begin stuffing the body at this point
- Round 23: Decrease to 18 stitches
- Round 24: Decrease to 12 stitches
- Round 25: Final decrease to 6 stitches
Stuff the body firmly and use a tapestry needle to close the remaining stitches securely.
Creating the Wings
The wings add an enchanting finishing touch to your bee. Make two identical wings using white yarn.
Wing Construction
- Round 1: Begin with 6 single crochets in a magic ring
- Round 2: Increase to 12 stitches with 6 increases
- Round 3: Work to 18 stitches
- Round 4: Complete with 24 stitches
Pro Tip: If you’d like larger wings, add an additional round with increases evenly distributed (work 3 single crochets followed by 1 increase around).
Assembly and Final Touches
Once you’ve completed the body and both wings, attach the wings to the back of the bee’s body using your tapestry needle and matching yarn. Position them symmetrically for the best appearance. Weave in all loose ends securely.

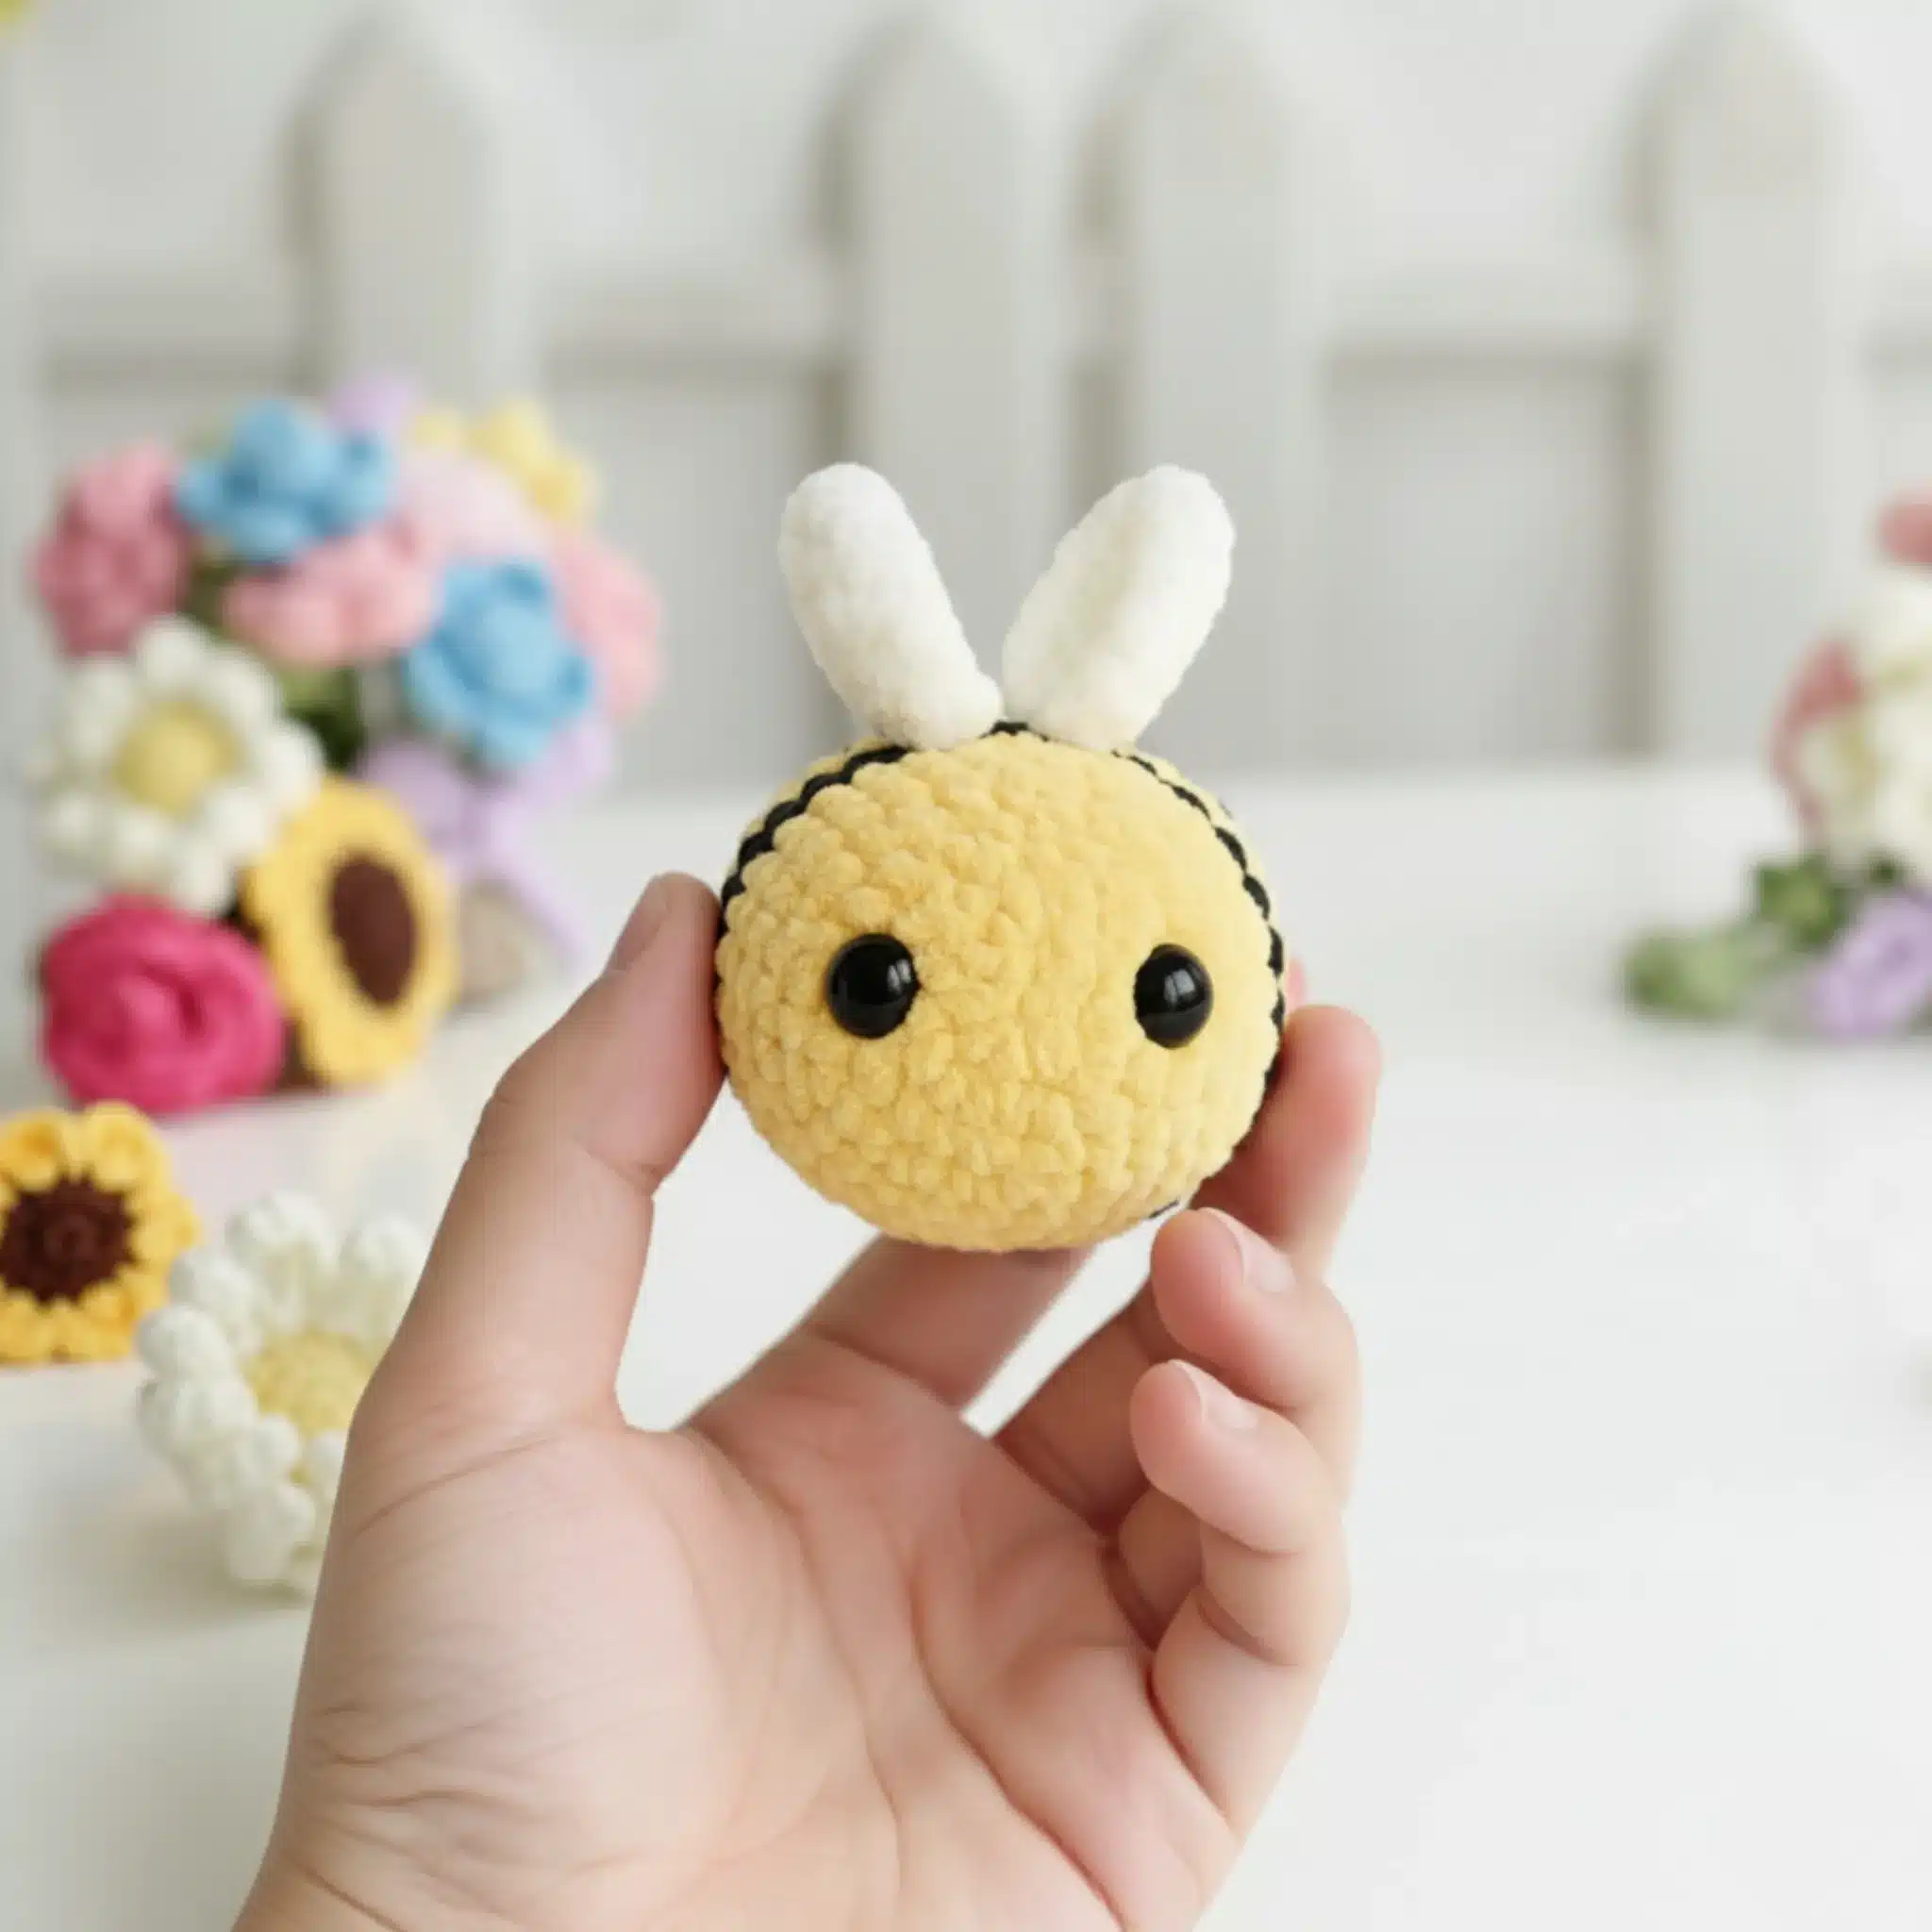
Your Finished Creation
Congratulations on completing your sweet bee amigurumi! This charming little creature makes a wonderful handmade gift, a delightful addition to a nursery, or a cheerful companion for crochet enthusiasts of all ages.
The beauty of this pattern lies in its simplicity and the satisfaction of watching your bee come to life with each round. The combination of soft chenille yarn and the classic bee color scheme creates a huggable, visually appealing finished product that showcases your crochet skills.
Whether you choose to make one bee or create an entire buzzing collection, each one you craft will be uniquely yours. Happy crocheting, and may your stitches be as sweet as honey!

Remember it later!
Planning to try this soon? Pin it for a quick find later!