Table of contents
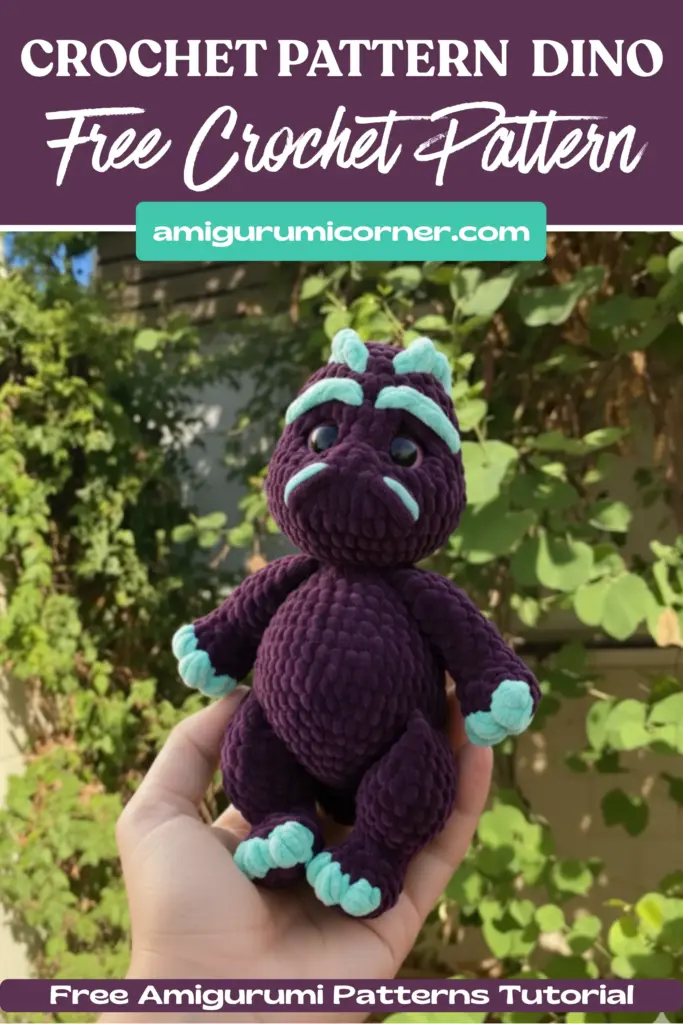
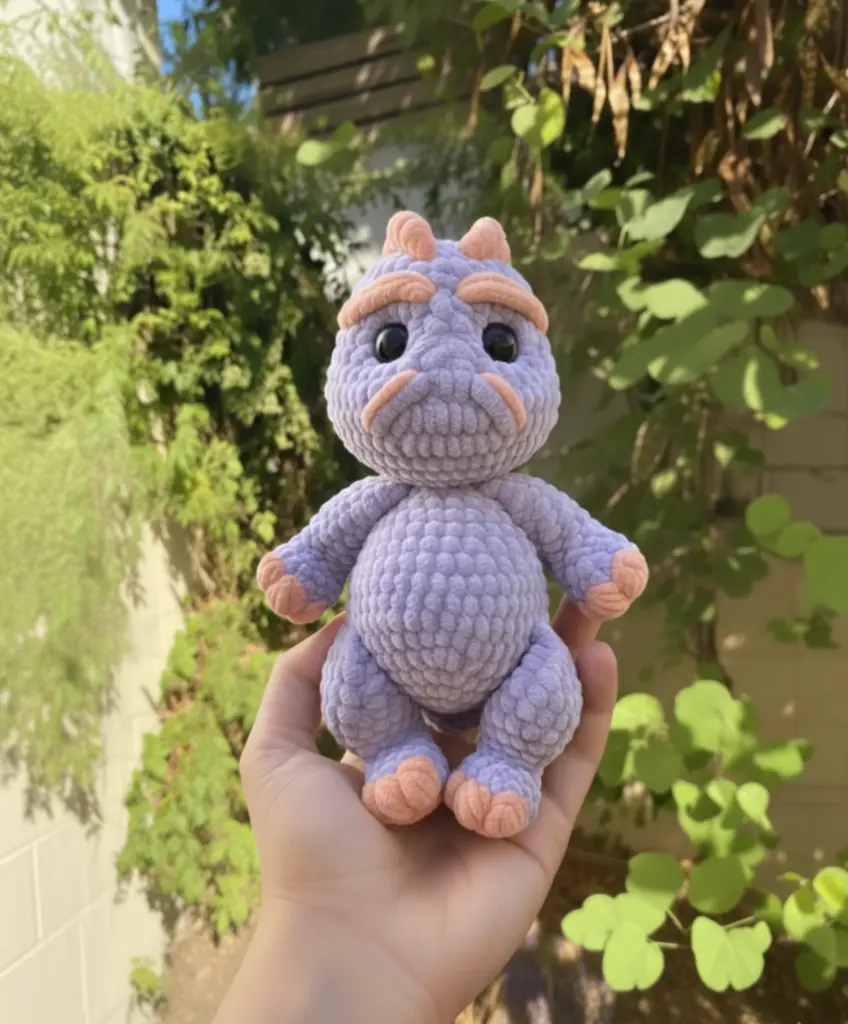
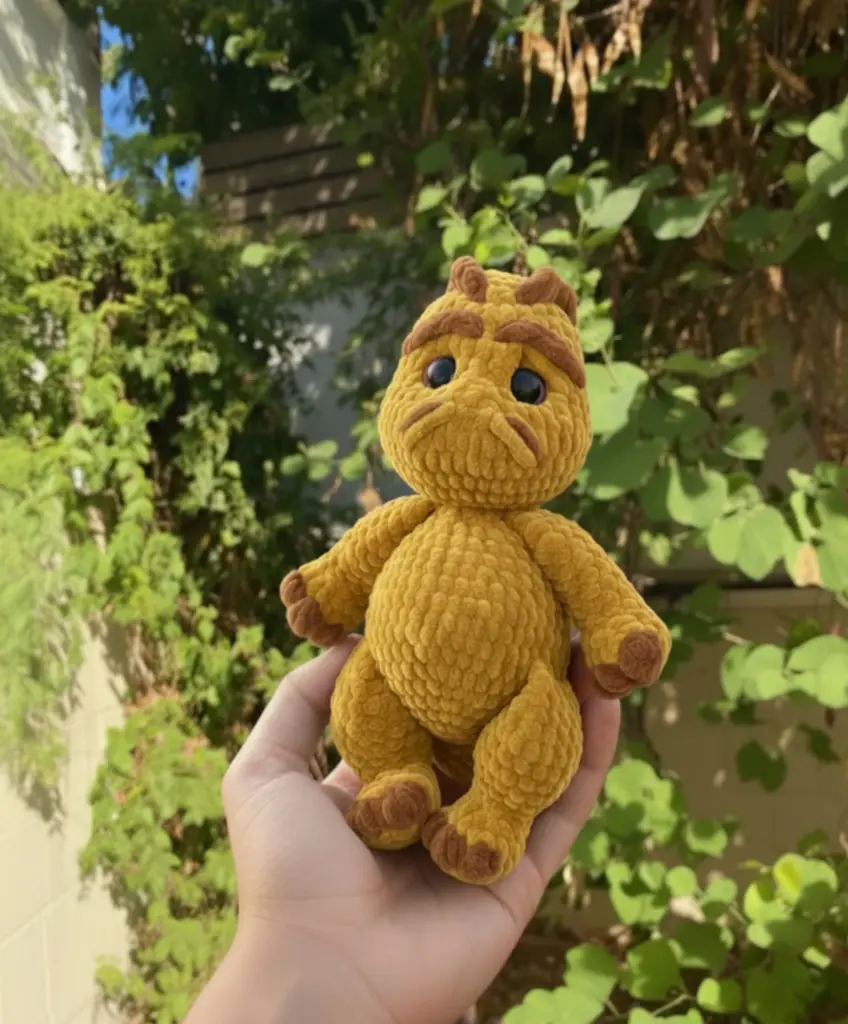
Looking for a fun and rewarding crochet project? This charming plush crochet pattern dinosaur is perfect for crafters of all skill levels who want to create an adorable handmade toy. With its sweet expression, textured details, and huggable design, this dino makes a wonderful gift or companion for children and dinosaur enthusiasts alike.
Remember it later!
Planning to try this soon? Pin it for a quick find later!
What You’ll Need
Materials
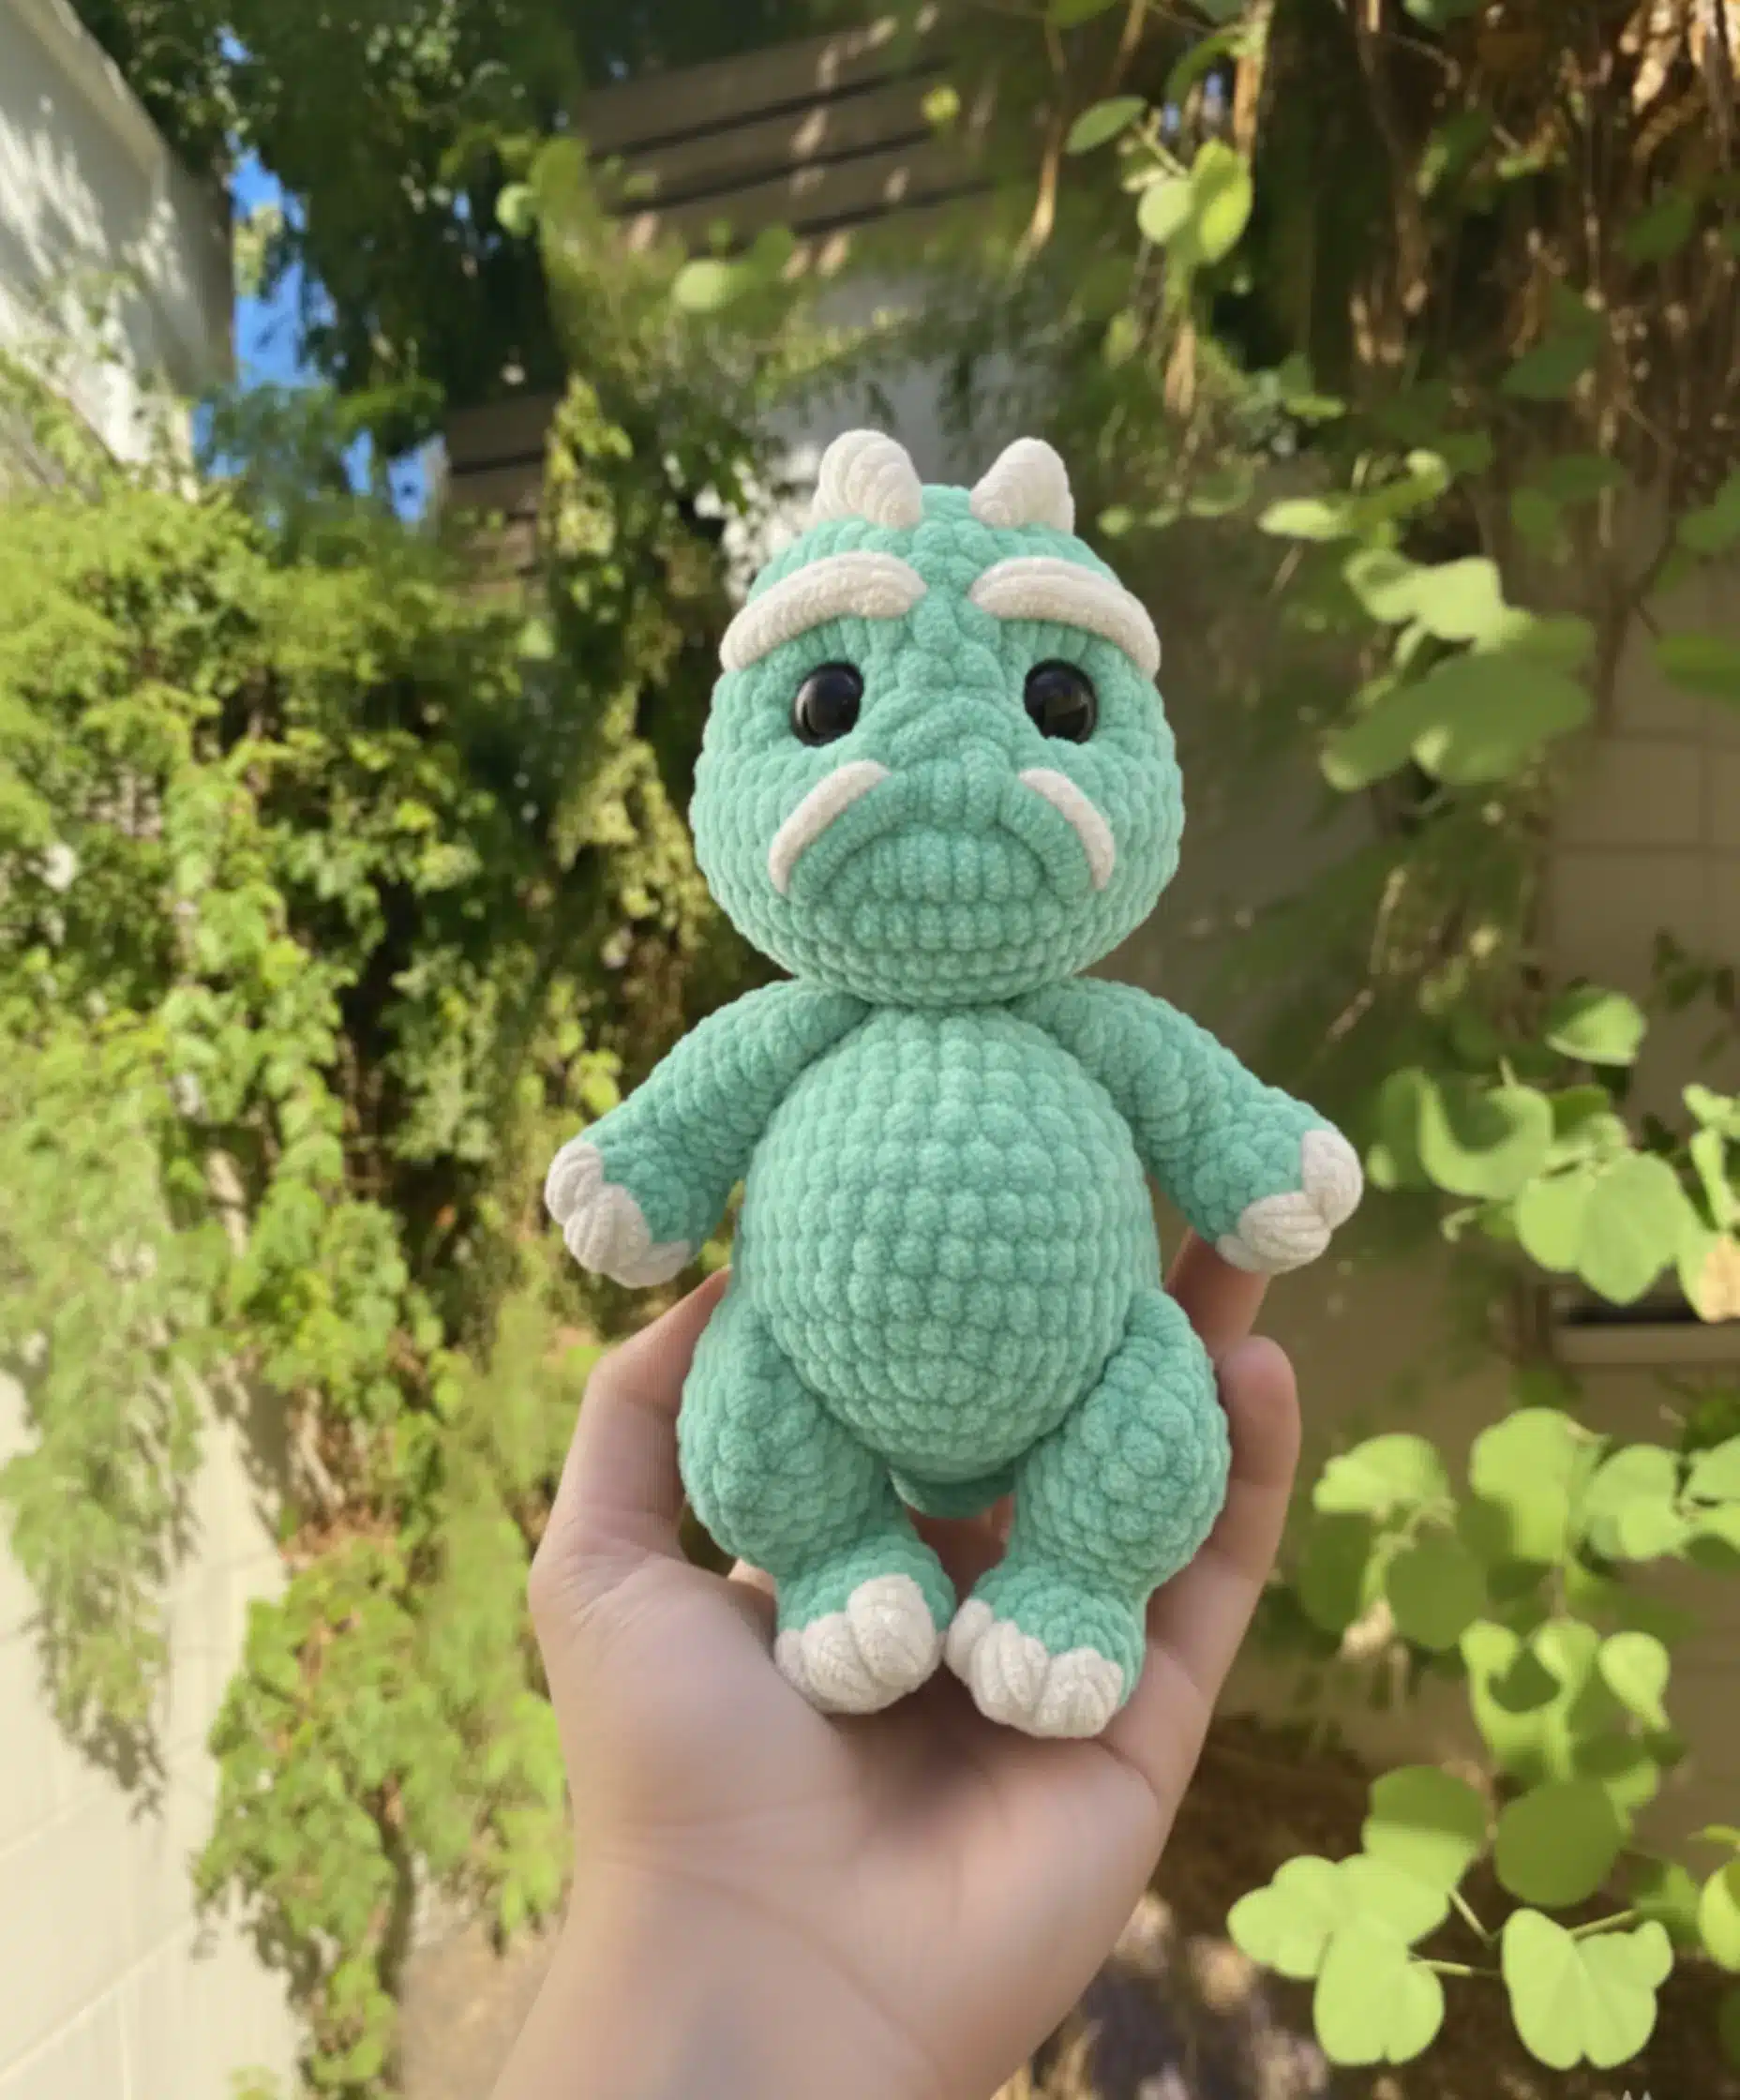
- Plush yarn: Himalaya Dolphin Baby or similar bulky/chunky yarn in green and orange (or your preferred colors)
- Safety eyes: 18mm
- Crochet hook: 4mm
- Yarn needle
- Scissors
- Polyfill stuffing
- Stitch marker
- Contrasting thread (for marking)
Abbreviations Used
- MR – Magic Ring
- ch – Chain
- st – Stitch
- sl st – Slip stitch
- sc – Single crochet
- dec – Decrease
- inc – Increase (2 sc in one stitch)
- DC – Double crochet
- DCincr – Double crochet increase (2 DC in one stitch)
- HDC – Half double crochet
- BBL – Bobble stitch (4 double crochet bobble stitch)
- cc – Color change
- FO – Fasten off
Important Notes Before You Start
This pattern is worked in continuous rounds, meaning you won’t be joining at the end of each round. Use a stitch marker to keep track of your place. Feel free to use any yarn weight and colors you prefer, adjusting your hook size accordingly.

Step-by-Step Instructions
Legs (Make 2)
Start with green yarn:
R1: 8 sc in a MR
R2: 8 inc (16)
R3: Color change row – 5 sc in green, (BBL in orange, sc in green) 3 times, 5 sc in green (16)
R4: 16 sc around (16)
R5: 6 sc, 2 dec, 6 sc (14)
R6: 5 sc, 2 dec, 5 sc (12)
R7: 12 sc around (12)
Begin stuffing lightly.
R8: inc, 5 sc, inc, 5 sc (14) – Make sure increases align with the middle claw
R9: (2 sc, inc) 4 times, 2 sc (18)
R10: 5 sc, inc, 8 sc, inc, 3 sc (20) – Increases should be on the sides of the leg
R11-R13: 20 sc around (20) for 3 rounds
R14: (3 sc, dec) 4 times (16)
R15: dec, 7 sc, dec, 5 sc (14)
R16: (dec, 5 sc) 2 times (12)
Finish stuffing. Make 1-2 sc depending on tension, fold in half, and crochet 6 sc through both sides. Cut yarn and fasten off.
Arms (Make 2)
Start with green yarn:
R1: 7 sc in a MR
R2: 7 inc (14)
R3: Color change row – 4 sc in green, (BBL in orange, sc in green) 3 times, 4 sc in green (14)
R4: 14 sc around (14)
R5: 4 sc, 3 dec, 4 sc (11)
R6: 11 sc around (11)
R7: 5 sc, inc, 5 sc (12)
Begin stuffing lightly.
R8-R12: 12 sc around (12) for 5 rounds
R13: dec, 4 sc, dec, 4 sc (10)
Stuff lightly up to R11. Make 1-2 sc depending on tension, fold in half, and crochet 5 sc through both sides. Cut yarn and fasten off.
Tail
Start with green yarn and use a contrasting thread as a marker on the side:
R1: 6 sc in a MR
R2: 6 sc around (6)
R3: (sc, inc) 3 times (9)
R4-R5: 9 sc around (9) for 2 rounds
R6: inc, 4 sc, inc, 3 sc (11)
R7: 11 sc around (11)
Offset stitches by making 1 sc before starting next row.
R8: inc, 4 sc, inc, 5 sc (13)
R9: 13 sc around (13)
R10: inc, 12 sc (14)
R11: 14 sc around (14)
R12: (inc, 6 sc) 2 times (16)
R13-R14: 16 sc around (16) for 2 rounds
R15: (inc, 7 sc) 2 times (18)
R16-R21: 18 sc around (18) for 6 rounds
Fold tail in half, ensuring increases from R10, R12, and R15 are on the sides. Make only 9 sc in R22, then sl st. Cut yarn and fasten off. Leave tail open and unstuffed.

Body and Head
Start with green yarn:
R1: 6 sc in a MR
R2: 6 inc (12)
R3: (sc, inc) 6 times (18)
R4: (2 sc, inc) 6 times (24)
R5: (3 sc, inc) 6 times (30)
R6: (4 sc, inc) 6 times (36)
Position the tail as shown in pattern photos.
R7: (inc, 8 sc) 3 times, inc, 4 sc, 4 sc together with tail (40)
R8: 5 sc together with tail, 4 sc, 6 sc together with 1st leg, 12 sc, 6 sc together with 2nd leg, 3 sc, 4 sc together with tail (40)
R9: 5 sc together with tail, 35 sc (40)
R10-R11: 40 sc around (40) for 2 rounds
R12: (8 sc, dec) 4 times (36)
R13: (4 sc, dec) 6 times (30)
R14-R15: 30 sc around (30) for 2 rounds
R16: (3 sc, dec) 6 times (24)
R17: (2 sc, dec) 6 times (18)
Begin stuffing.
R18: 4 sc, 5 sc together with 1st arm, 4 sc, 5 sc together with 2nd arm (18)
R19: (sc, dec) 6 times (12)
R20: 12 inc (24)
Move marker to middle of head and make necessary adjustments (approximately 4 sc).
R21: (sc, inc) 12 times (36)
R22: (5 sc, inc) 6 times (42)
R23: 17 sc, inc, 6 sc, inc, 17 sc (44)
R24-R25: 44 sc around (44) for 2 rounds
R26: 10 sc, (dec, sc) 8 times, 10 sc (36)
R27: 36 sc around (36)
R28: (4 sc, dec) 6 times (30)
R29-R31: 30 sc around (30) for 3 rounds
Place safety eyes between R27 and R28, approximately 3-4 visible stitches apart. Continue stuffing.
R32: (3 sc, dec) 6 times (24)
R33: 24 sc around (24)
R34: (2 sc, dec) 6 times (18)
R35: (sc, dec) 6 times (12)
R36: 6 dec
Finish stuffing and close hole.
Decorative Details
Head Decoration
Place markers from R27 onwards as shown in pattern photos. Pull up yarn, make a slip stitch, then make 6 loose slip stitches in the direction indicated. Repeat on the other side.
Crest/Spikes
Place markers from R32 onwards. Pull up yarn and make a slip stitch. Next: (3 HDC in one stitch, DCincr in next stitch) 4 times, sl st. Repeat this combination until R19 (approximately 4 times). Make slip stitch at the end, cut yarn, and hide ends.
Finishing Touches
- Make nostrils between R24 and R26 using yarn
- Optional: Add eyelashes with black acrylic yarn for extra character
Tips for Success
- Maintain consistent tension throughout your project for even shaping
- Stuff firmly but not too tightly to avoid distorting the shape
- Pay attention to stitch placement when attaching limbs and tail for proper positioning
- Use stitch markers generously to keep track of important placement points
- Don’t rush the assembly – proper attachment of parts makes a huge difference in the final appearance

Customization Ideas
This crochet pattern dinosaur pattern is wonderfully versatile! Consider these variations:
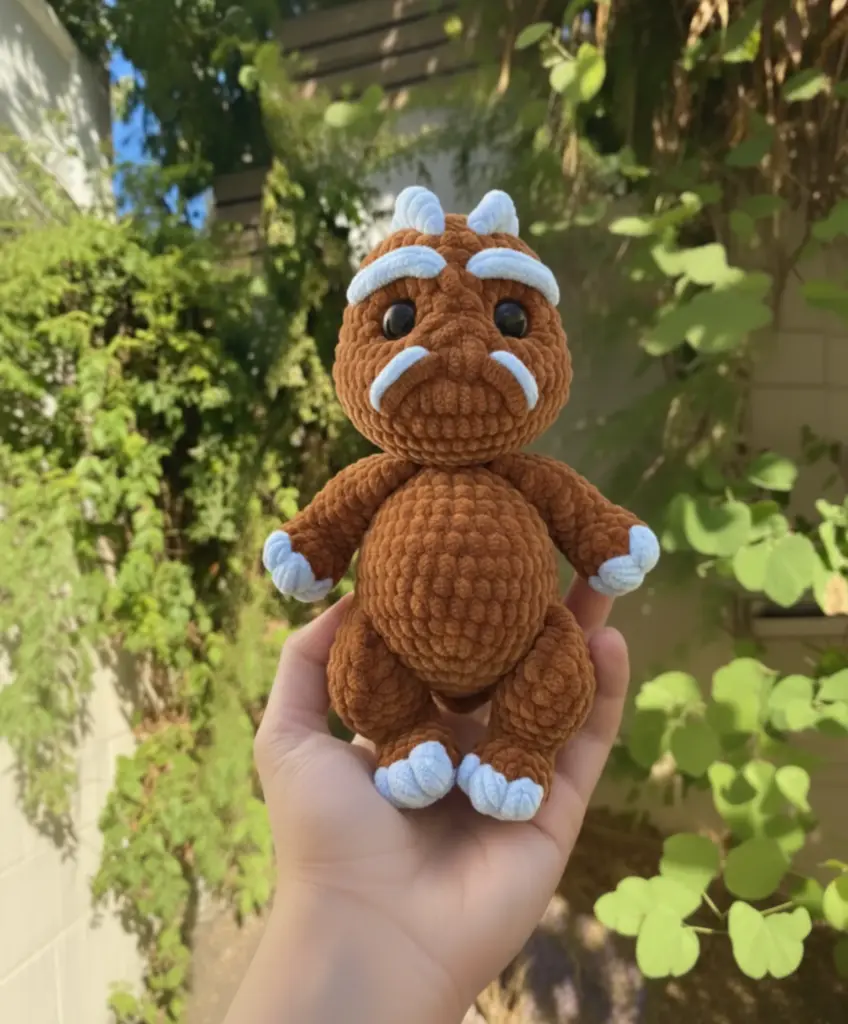
- Color schemes: Try blue and purple for a fantasy dino, or earth tones for a realistic look
- Eye placement: Adjust eye position for different expressions
- Yarn weight: Use different yarn weights for larger or smaller dinosaurs
- Embellishments: Add spots, stripes, or other markings with embroidery
Your Dinosaur is Ready!
Congratulations on completing your adorable plush Crochet Pattern Dinosaur! This handmade creation is sure to bring joy whether you’re keeping it for yourself or gifting it to someone special. The combination of soft plush yarn and charming details creates a cuddly companion that’s perfect for imaginative play or display.
Remember, handmade items made from this pattern can be sold, making this an excellent project for craft businesses or fundraising efforts. Each dinosaur you create will have its own unique personality, making every one special.
Happy crocheting, and enjoy your prehistoric friend!

Remember it later!
Planning to try this soon? Pin it for a quick find later!