Table of contents
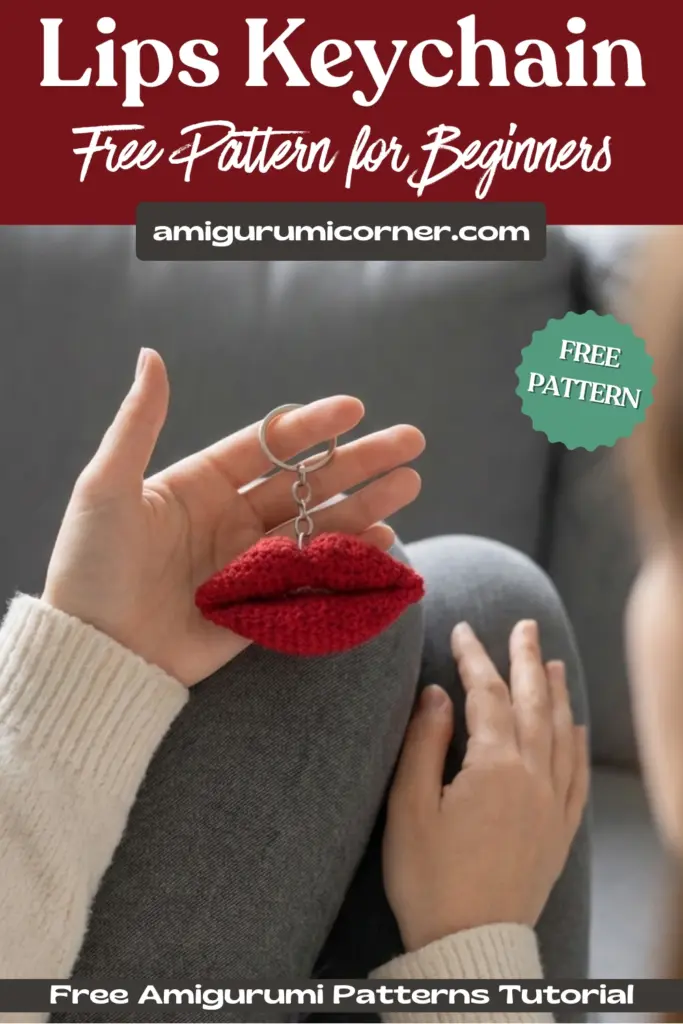
Searching for a playful, fast crochet project that doubles as a charming gift or trendy accessory? This lips crochet keychain pattern is just what you’re after! Featuring a bold red shade and adorable design, this amigurumi-style keychain brings character to your keys, bags, or backpacks. Whether you’re a beginner practicing simple stitches or an experienced crocheter craving a quick project, this pattern is perfect for you today.
Why You’ll Love This Lips Keychain Pattern
This adorable crochet lips keychain pattern works up quickly and requires minimal materials. The pattern uses simple single crochet stitches and basic increases and decreases, making it accessible even for those new to amigurumi. The result is a charming, three-dimensional accessory that’s both practical and eye-catching. Plus, it’s small enough to finish in just a couple of hours, making it ideal for last-minute gifts or craft fair items.
Remember it later!
Planning to try this soon? Pin it for a quick find later!

Materials Needed
To create your lips keychain, gather these simple supplies:
- Crochet hook: 2.5 mm
- Yarn: YarnArt Jeans in red (1 skein, 50g) – or any worsted weight cotton yarn in your preferred color
- Keychain ring: Standard size
- Yarn needle: For weaving in ends
- Stuffing: Small amount of polyester fiberfill
- Scissors
Pattern Notes and Abbreviations
- sc = single crochet
- inc = increase (2 sc in same stitch)
- dec = decrease (single crochet 2 stitches together)
- [ ] = total stitch count for that round
- Work in continuous rounds unless otherwise specified
- Use a stitch marker to track the beginning of each round
Pattern Instructions
Bottom Lip
- Rnd 1: 3 sc in a magic ring [3]
- Rnd 2: 3 inc [6]
- Rnd 3: 6 sc [6]
- Rnd 4: (2 sc, inc) x 2 [8]
- Rnd 5: 8 sc [8]
- Rnd 6: (3 sc, inc) x 2 [10]
- Rnd 7: 10 sc [10]
- Rnd 8: (4 sc, inc) x 2 [12]
- Rnd 9: 12 sc [12]
- Rnd 10: (5 sc, inc) x 2 [14]
- Rnd 11-12: 14 sc [14]
- Rnd 13: (5 sc, dec) x 2 [12]
- Rnd 14: 12 sc [12]
- Rnd 15: (4 sc, dec) x 2 [10]
- Rnd 16: 10 sc [10]
- Rnd 17: (3 sc, dec) x 2 [8]
- Rnd 18: 8 sc [8]
- Rnd 19: (2 sc, dec) x 2 [6]
- Rnd 20: 6 sc [6]
- Rnd 21: 3 dec [3]
Top Lip
- Rnd 1: 3 sc in a magic ring [3]
- Rnd 2: 3 inc [6]
- Rnd 3: 6 sc [6]
- Rnd 4: (2 sc, inc) x 2 [8]
- Rnd 5: 8 sc [8]
- Rnd 6: (3 sc, inc) x 2 [10]
- Rnd 7: 10 sc [10]
- Rnd 8: (4 sc, inc) x 2 [12]
- Rnd 9: 12 sc [12]
- Rnd 10: (5 sc, inc) x 2 [14]
- Rnd 11: 2 sc, 5 dec, 2 sc [9]
- Rnd 12: 2 sc, dec, 1 sc, dec, 2 sc [7]
- Rnd 13: 2 sc, inc, 1 sc, inc, 2 sc [9]
- Rnd 14: 2 sc, 5 inc, 2 sc [14]
- Rnd 15: (5 sc, dec) x 2 [12]
- Rnd 16: 12 sc [12]
- Rnd 17: (4 sc, dec) x 2 [10]
- Rnd 18: (3 sc, dec) x 2 [8]
- Rnd 19: 8 sc [8]
- Rnd 20: (2 sc, dec) x 2 [6]
- Rnd 21: 6 sc [6]
- Rnd 22: 3 dec [3]
Assembly Tips
Once you’ve completed both the top and bottom lip pieces, it’s time to bring them together:
Stuff lightly: Before closing, add a small amount of fiberfill to each lip piece. Don’t overstuff – you want them to be slightly plump but not too firm.
Close the openings: Use your yarn needle to weave through the remaining stitches and pull tight to close each piece.
Join the lips: Position the top and bottom lips together, aligning them naturally. Use your yarn needle and matching yarn to whip stitch them together along the center seam.
Attach the keychain ring: Before fully closing, insert the keychain ring between the lips at the side. Secure it firmly with additional stitches.
Weave in ends: Carefully weave in all loose ends and trim excess yarn.

Frequently Asked Questions
Yes, you can use different yarn weights, but you’ll need to adjust your hook size accordingly. Using thicker yarn will create a larger keychain, while thinner yarn will make a smaller one. Just make sure your stitches are tight enough to prevent stuffing from showing through.
The distinctive cupid’s bow shape is created in Rounds 11-14 of the top lip pattern. The decreases in Rounds 11-12 create the dip in the center, while the increases in Rounds 13-14 form the curves on either side. Follow these rounds carefully for the characteristic lip shape.
Use small amounts of polyester fiberfill and stuff as you go, especially in the bottom lip. Don’t overstuff – the lips should be slightly plump but maintain their shape. Use a chopstick or crochet hook end to push stuffing into corners gently.
Absolutely! While classic red is popular for lips, you can make this keychain in any color you prefer. Pink, coral, burgundy, or even fun colors like purple or blue work great. You could also add a glossy finish by brushing on a thin layer of clear nail polish or gloss medium once complete.
Conclusion
This lips crochet keychain pattern is a delightful project that combines simplicity with style. Perfect for personal use or as handmade gifts, these charming keychains work up quickly and always bring a smile. The pattern’s straightforward construction makes it ideal for practicing your amigurumi skills while creating something truly functional and fun.
Ready to create your own adorable lips keychain? Gather your materials and get started today! Don’t forget to share your finished projects and experiment with different colors and embellishments. Happy crocheting!


Remember it later!
Planning to try this soon? Pin it for a quick find later!