Table of contents
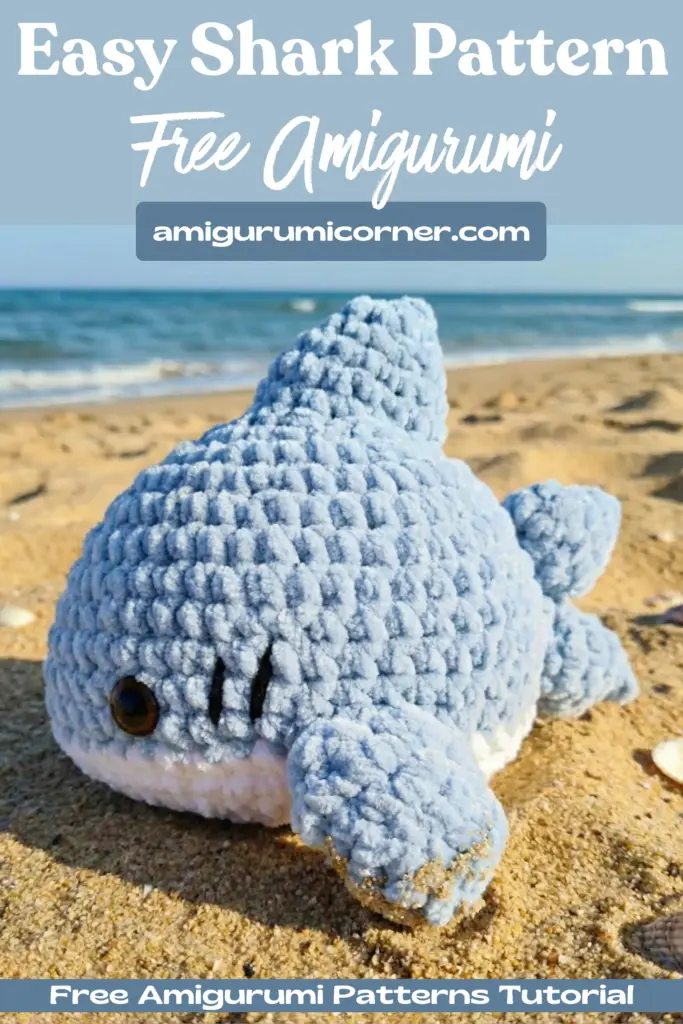
Are you ready to create an adorable underwater friend? Learning to crochet cute shark amigurumi is easier than you think! Whether you’re a beginner or experienced crocheter, this comprehensive guide will teach you how to crochet cute shark amigurumi with simple steps and clear instructions. By following this pattern, you’ll create an irresistibly cute shark with a white belly, pointed fins, and charming details that make it perfect for gifts or personal collection.
Designer: abplushies
Essential Materials for Your Shark Project

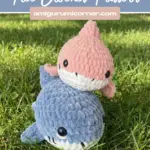
Remember it later!
Planning to try this soon? Pin it for a quick find later!
Before you start to crochet cute shark amigurumi, gather these supplies:
Yarn and Tools:
- Any yarn of your choice (used Alize Vulluto plush yarn)
- 5.5mm crochet hook
- Two yarn colors: light blue for the body and white for the tummy
- 20mm safety eyes
- Thin black yarn for details
- Sewing needle and scissors
- Fiberfill for stuffing
Pattern Credit: This adorable pattern is created by @abplushies on Instagram. The finished shark can be posted on social media, but please tag the original designer!
Key Crochet Abbreviations
Understanding these abbreviations is crucial when you crochet cute shark amigurumi:
- sc: Single crochet
- inc: Increase
- dec: Decrease
- mr: Magic ring
- R: Round
Creating the Shark Body in Blue
The shark body forms the foundation for your project. Follow these rounds carefully to crochet cute shark amigurumi with perfect proportions.
Rounds 1-9 (Building the Base):
- R1: 6 sc in magic ring
- R2: inc x6 (12 stitches)
- R3: (1sc, inc) x6 (18 stitches)
- R4: (2sc, inc) x6 (24 stitches)
- R5: (3sc, inc) x6 (30 stitches)
- R6: 13sc, (inc) x3, 11sc, (inc) x3 (36 stitches)
- R7: 15sc, (inc) x3, 15sc, (inc) x3 (42 stitches)
- R8: 16sc, (inc) x3, 23sc (45 stitches)
- R9: 21sc, (inc) x3, 24sc (48 stitches)
- R10-R12: sc round x3 (48 stitches)
Switching to White for the Tummy:
- R13: sc round (48 stitches)
- R14: (2sc, dec) x16 (32 stitches)
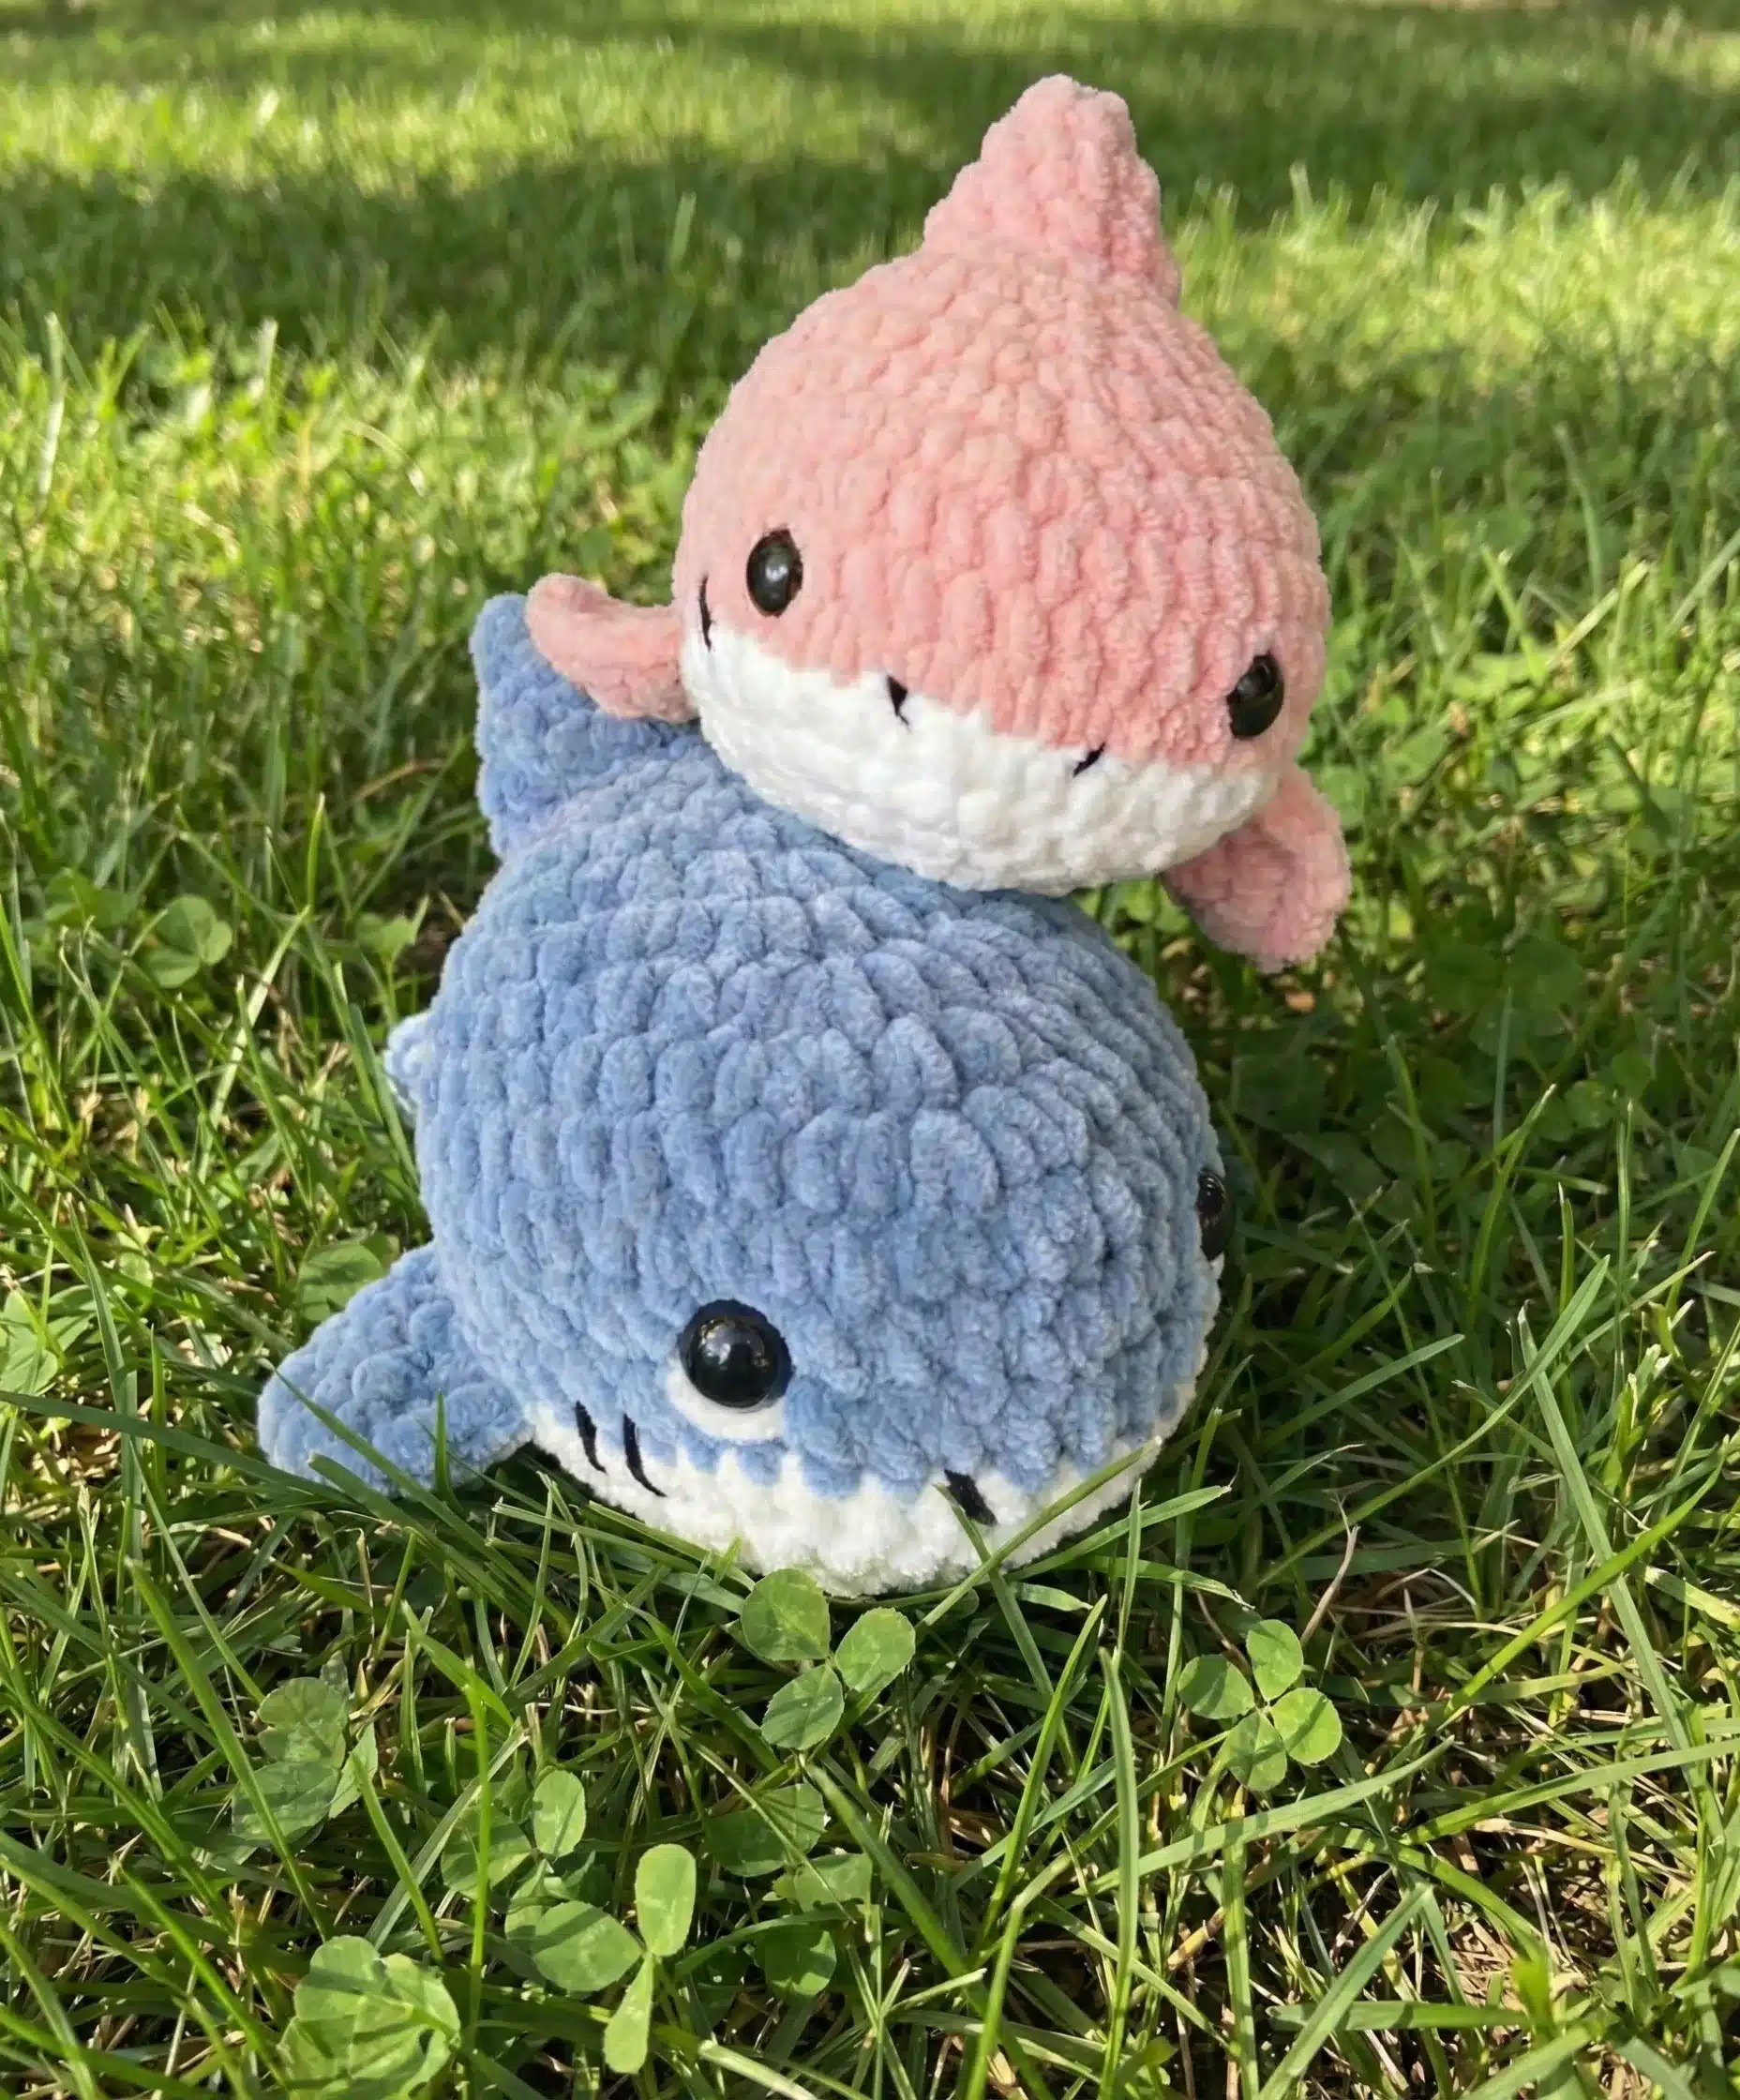
Important: Add your safety eyes between rounds 11 and 12, placing them 10 stitches apart on the pointed side where the shark’s head is. This placement gives your shark its characteristic cute expression.
Finishing the Body:
- R15: (sc, dec) x10, 2sc (22 stitches)
- R16: (dec) x11 (11 stitches)
Stuff the body firmly with fiberfill. Finish off and leave a long tail for sewing the hole closed.
Creating the Dorsal Fin

The dorsal fin is what makes your shark recognizable. Here’s how to crochet cute shark amigurumi fins with the perfect shape:
Dorsal Fin Construction:
- R1: 3 sc in magic ring
- R2: (inc) x3 (6 stitches)
- R3: (sc, inc) x3 (9 stitches)
- R4: (2sc, inc) x3 (12 stitches)
- R5: (3sc, inc) x3 (15 stitches)
- R5: sc round (15 stitches)
Finish off and leave a long tail for sewing. When attaching, place the dorsal fin in the middle on top of the shark. Move it one round lower toward the back so it looks more pointy. Sew it securely to the body.
Crafting the Side Fins
These half-moon shaped fins add dimension to your shark design.
Side Fins Construction:
- R1: 5 sc in magic ring
- R2: (inc) x5 (10 stitches)
- R3: (sc, inc) x5 (15 stitches)
- R4: (2sc, inc) x5 (20 stitches)
Fold in half to create a half-moon shape and sew the outer edges together. Leave a long tail for sewing. When attaching, sew both side fins in the middle of the blue and white color split, 4 stitches away from the eye. Position the seamed side facing backward for a natural appearance.
Making the Tail Fins
Create two identical tail fins to complete your shark’s aquatic features.
Tail Fins Construction (Make 2):
- R1: 3 sc in magic ring
- R2: (inc) x3 (6 stitches)
- R3: (sc, inc) x3 (9 stitches)
- R4-R5: sc round (9 stitches)
Finish off and leave a long tail for sewing. Position both tail fins at the back of the shark, one on top of each other, just above the white belly area. Sew them tightly together against the body.
Assembly and Final Details

Now comes the fun part—bringing your shark to life!
Attaching All the Fins: When you crochet cute shark amigurumi, proper fin placement makes all the difference. Follow these placement guidelines:
- Dorsal Fin: Center on top, moved one round back for a pointy appearance
- Side Fins: Middle of the body, 4 stitches from the eye, seamed side facing back
- Tail Fins: Both stacked at the back, just above the white area
Adding Details: Using thin black yarn, sew gill details 2 stitches away from the eye. Create a second gill one stitch longer and one stitch away from the first. Repeat this on both sides of the shark for authentic gill lines. Optionally, sew tiny nostrils on the front of the shark’s snout for extra cuteness.
Finishing Your Adorable Creation
Once you crochet cute shark amigurumi and complete assembly, your charming underwater friend is ready! This beginner-friendly project teaches essential amigurumi techniques including increasing, decreasing, color changes, and proper stuffing.
The finished shark makes an excellent handmade gift for ocean lovers, children, or anyone who appreciates cute crochet creatures. Use it as a stuffed toy, desk companion, or nursery decoration. With its friendly expression and soft texture, this shark is sure to become a beloved treasure.
Pro Tips for Success: When you crochet cute shark amigurumi, maintain consistent tension throughout for even stitches. Stuff firmly but gently to maintain the shark’s adorable shape. Don’t skip adding safety eyes—they transform your shark from a simple stuffed toy into an endearing character with personality.
Start your shark project today and discover how rewarding it is to crochet cute shark amigurumi. This pattern provides the perfect introduction to amigurumi crafting while creating something truly special you’ll be proud to display or gift!

Remember it later!
Planning to try this soon? Pin it for a quick find later!