Table of contents
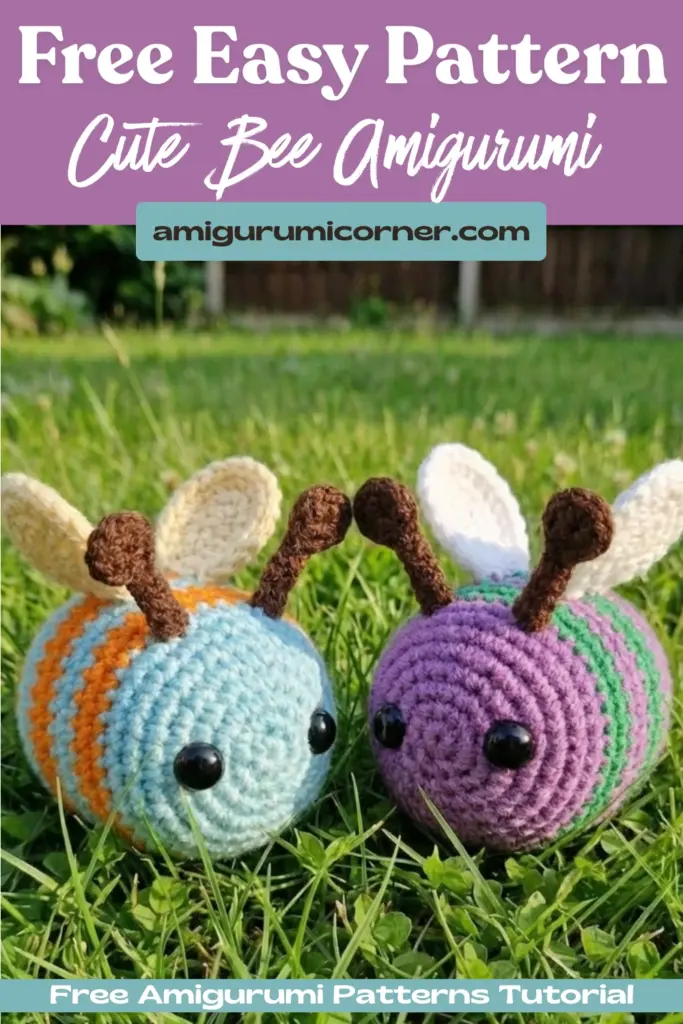
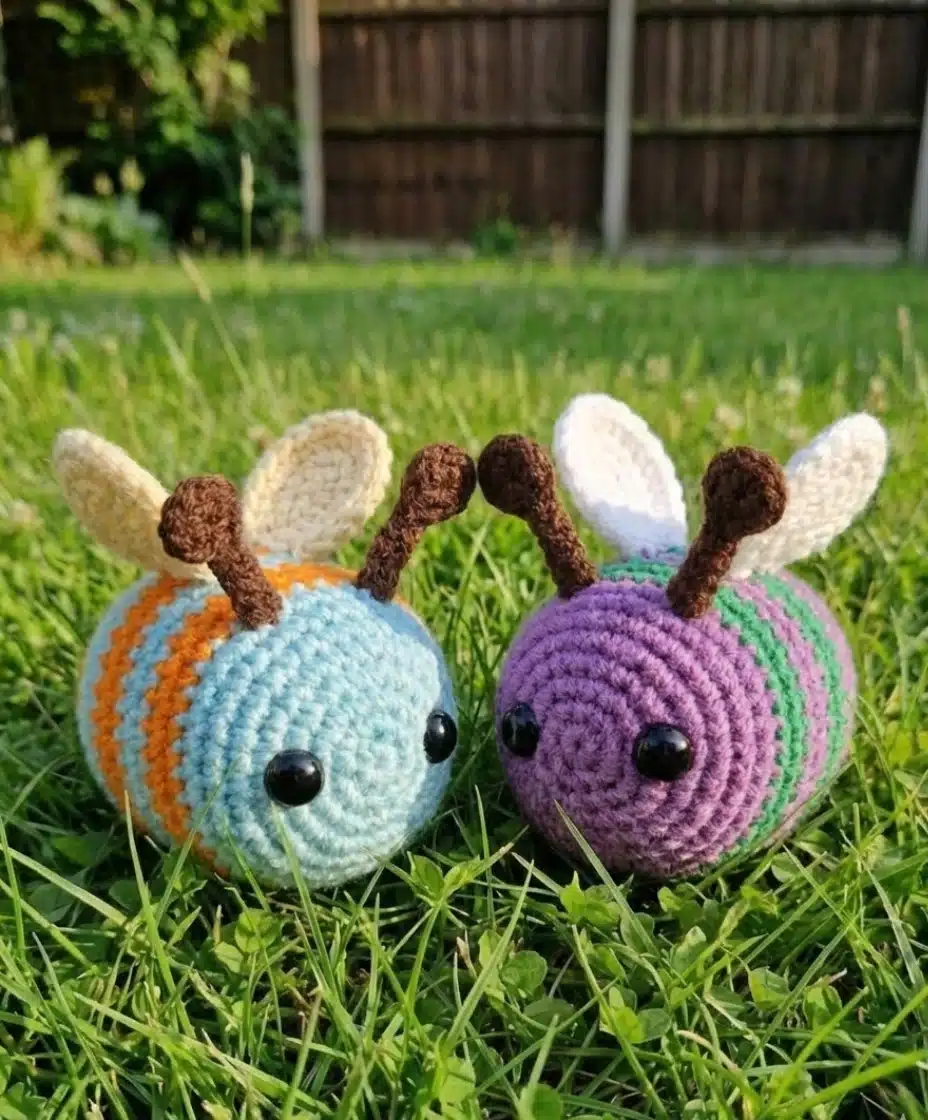
Creating your own adorable crochet bee is a delightful project that brings joy to crafters of all skill levels. This charming little creature, with its classic Soft Orange and brown stripes and delicate wings, makes for a perfect handmade gift or a sweet addition to your home décor collection.
Remember it later!
Planning to try this soon? Pin it for a quick find later!
What You’ll Need to Get Started
Before diving into this crochet bee pattern crochet project, gather all the necessary materials and tools to ensure a smooth crafting experience.

Essential Materials
Yarn Requirements:
- YarnArt Jeans yarn (50g/160m) in three colors:
- Light Sky Blue (main body color)
- Soft Orange (stripe detail)
- Brown (stripe and accent details)
- You’ll need approximately 3g of each color, making this an economical project
Note: Colors are customizable. You can use any yarn colors you prefer—this pattern works perfectly with different color combinations.
Tools and Notions:
- 1.75mm (US size 0) crochet hook
- 6mm black safety eyes
- Brown sewing thread for attaching wings and antennae
- Sewing needle and yarn needle
- Polyester fiberfill stuffing
- Scissors
- Stitch markers for tracking rounds
Important Note: Feel free to substitute different yarn weights and corresponding hook sizes – this will simply create a larger or smaller finished bee.
Understanding the Pattern Basics
This crochet bee pattern uses standard crochet abbreviations and techniques. You’ll work primarily in single crochet stitches, creating the bee’s body in a continuous spiral. The design incorporates color changes to achieve the classic bee stripe pattern.
Key Abbreviations
- MR – Magic ring
- SC – Single crochet
- INC – Increase (2 SC in same stitch)
- DEC – Decrease
- RND – Round
- SL ST – Slip stitch
- CH – Chain
Crafting the Bee’s Body and Head
The bee’s body and head are worked as one continuous piece, starting from the bottom and working upward in a spiral pattern with Light Sky Blue yarn.
Creating the Foundation
- RND 1: 6 SC in MR (6)
- RND 2: 6 INC (12)
- RND 3: <1 SC, 1 INC> × 6 (18)
- RND 4: <2 SC, 1 INC> × 6 (24)
- RND 5: <3 SC, 1 INC> × 6 (30)
Adding the Bee Stripes
Switch to brown yarn for the first stripe:
- RNDs 6, 7: 30 SC (30)
Change to Soft Orange yarn for the next stripe:
- RNDs 8, 9: 30 SC (30)
Important: After completing round 9, position and secure the 6mm black safety eyes before continuing.
Shaping and Finishing the Head
Switch back to Light Sky Blue yarn:
- RND 10: <3 SC, 1 DEC> × 6 (24)
- RND 11: <2 SC, 1 DEC> × 6 (18)
- RND 12: 18 SC (18)
At this point, stuff the bee firmly with polyester fiberfill.
- RND 13: <1 SC, 1 DEC> × 6 (12)
Cut the yarn, leaving a tail. Fasten off and insert the yarn end into a needle. Pass it over the front loops of the remaining 12 stitches and pull the hole closed. Fix the yarn and hide the end inside the body.

Adding the Finishing Touches
Crafting Delicate Antennae (Make 2)
Using brown yarn:
- Create 7 SC in MR and pull the hole closed
- CH 7
- Starting from the second loop from the hook, crochet 6 SL ST on the chain’s back
- Work 1 SL ST into the first SC of the magic ring
- Cut the yarn, leaving a tail, lengthen the loop on the hook and pull out the free end
- Insert yarn ends into the needle and hide them under the loops on the wrong side
Attachment: Sew the antennae to the bee’s head on round 5, spacing them 2 stitches apart.
Creating Graceful Wings (Make 2)
Using Cream / Off-White yarn:
- RND 1: CH 6, then crochet from the second loop from the hook 5 SC on the chain’s back, 5 SC on the other side of the chain (10)
- Continue crocheting in a spiral:
- RND 2: 1 INC, 3 SC, 3 INC, 3 SC (14)
- Switch to brown yarn:
- RND 3: 2 INC, 4 SC, 4 INC, 4 SC (20), 1 SL ST
Cut the yarn, leaving a tail, and fasten off. Insert yarn ends into the needle and hide them under the loops on the wrong side.
Attachment: Sew the completed wings to the bee’s back using brown sewing thread for a secure and neat finish.
Final Assembly and Care Tips
Once all components are complete, take time to:
- Secure all yarn ends properly to prevent unraveling
- Position wings and antennae symmetrically for the best appearance
- Check that safety eyes are firmly attached
- Give your bee a gentle shape adjustment if needed
Frequently Asked Questions
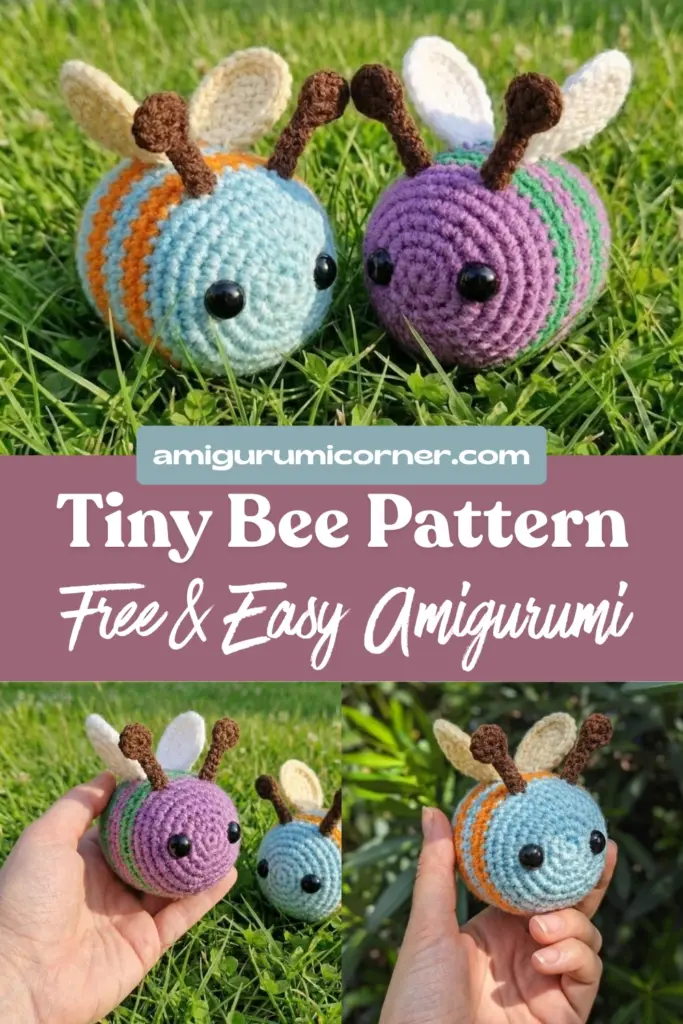
Using the recommended 1.75mm hook and YarnArt Jeans yarn, your bee will be approximately 6-7cm tall. Using thicker yarn and a larger hook will create a bigger bee, while thinner yarn will make a smaller one.
Absolutely! While this pattern creates a classic Soft Orange and brown striped bee, you can experiment with any color combinations you like. Try pastel colors for a softer look or bright colors for a more playful version.
Work with consistent tension throughout your project and avoid stretching the fabric as you crochet. If you notice gaps, you can use a smaller hook size or try crocheting through both loops more tightly.
This pattern is ideal for adventurous beginners who have mastered basic stitches like single crochet, increases, and decreases. The spiral construction and simple shaping make it a great first amigurumi project.
Conclusion
This charming bee crochet pattern offers both beginning and experienced crocheters the opportunity to create something truly special. The combination of simple stitches, strategic color changes, and thoughtful details results in an irresistibly cute finished product. Whether you’re making this bee as a gift for a loved one or adding it to your own collection, you’ll find that this project brings both relaxation during the crafting process and joy in the final result.
Remember that crochet is as much about the journey as the destination – take your time, enjoy each stitch, and don’t hesitate to reach out to the crochet community if you need guidance along the way. Happy crocheting!
Remember it later!
Planning to try this soon? Pin it for a quick find later!