Table of contents
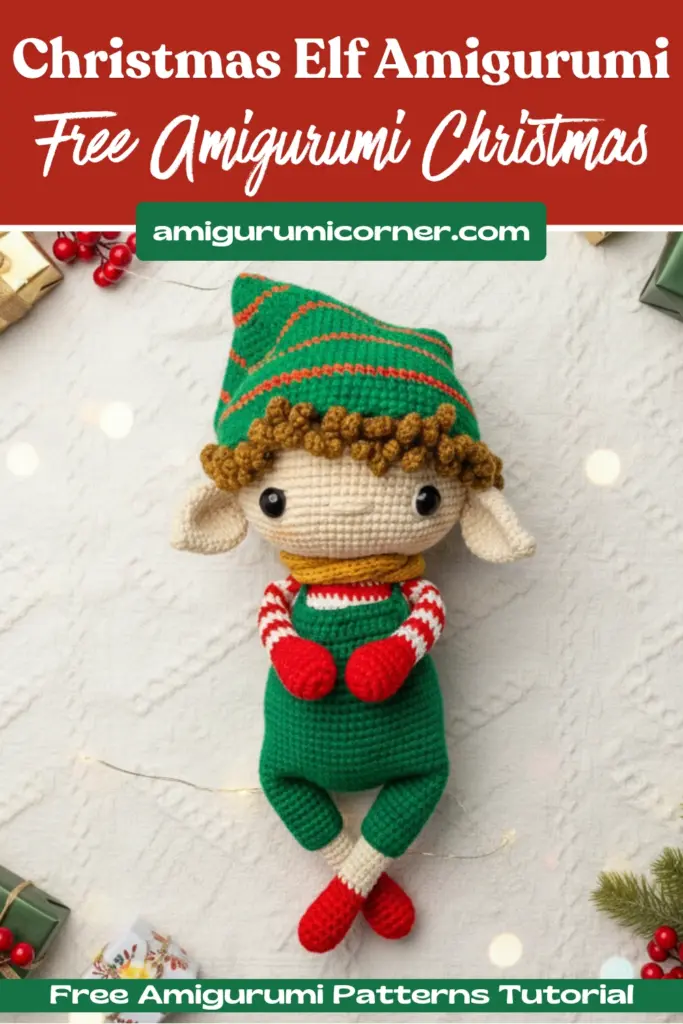
The holiday season brings joy, warmth, and the perfect opportunity to craft something special. If you’re looking for a charming decoration or a heartfelt handmade gift, this Christmas elf doll amigurumi pattern is exactly what you need. This delightful project combines festive spirit with the art of crochet, resulting in a whimsical elf that will bring smiles to faces of all ages.
Why You’ll Love This Amigurumi Elf Pattern
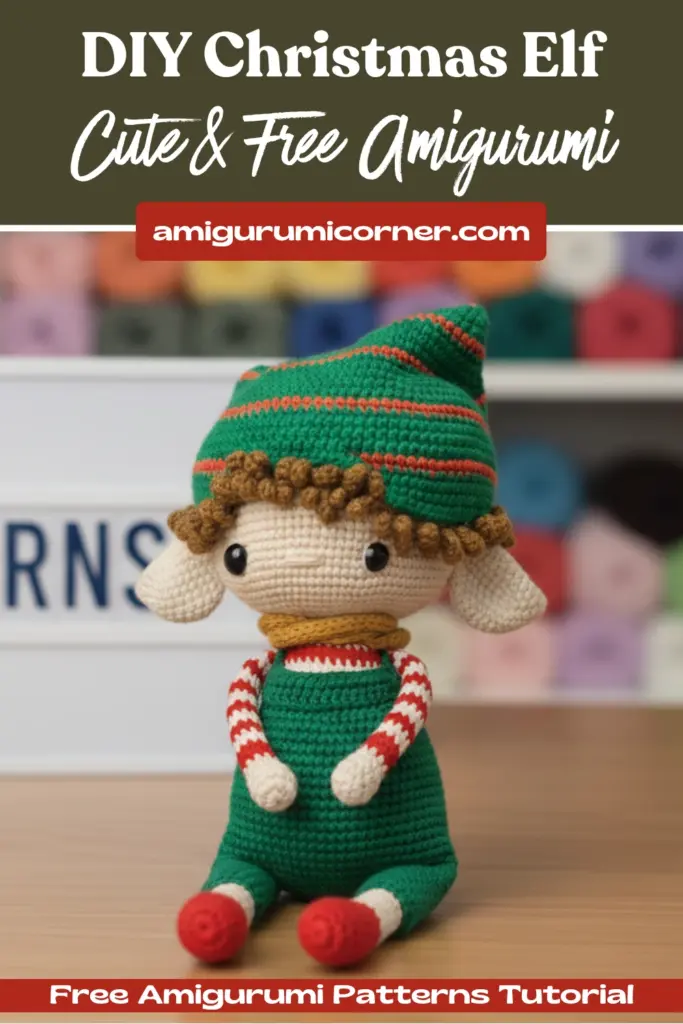
This medium-difficulty pattern is perfect for crocheters who have mastered basic techniques and are ready to tackle a more detailed project. The beauty of this design lies in its versatility – you can customize thread colors to match your personal style or holiday décor. The traditional red and white striped body gives this elf its classic Christmas charm, while the green jumpsuit and hat add that festive touch we all love.
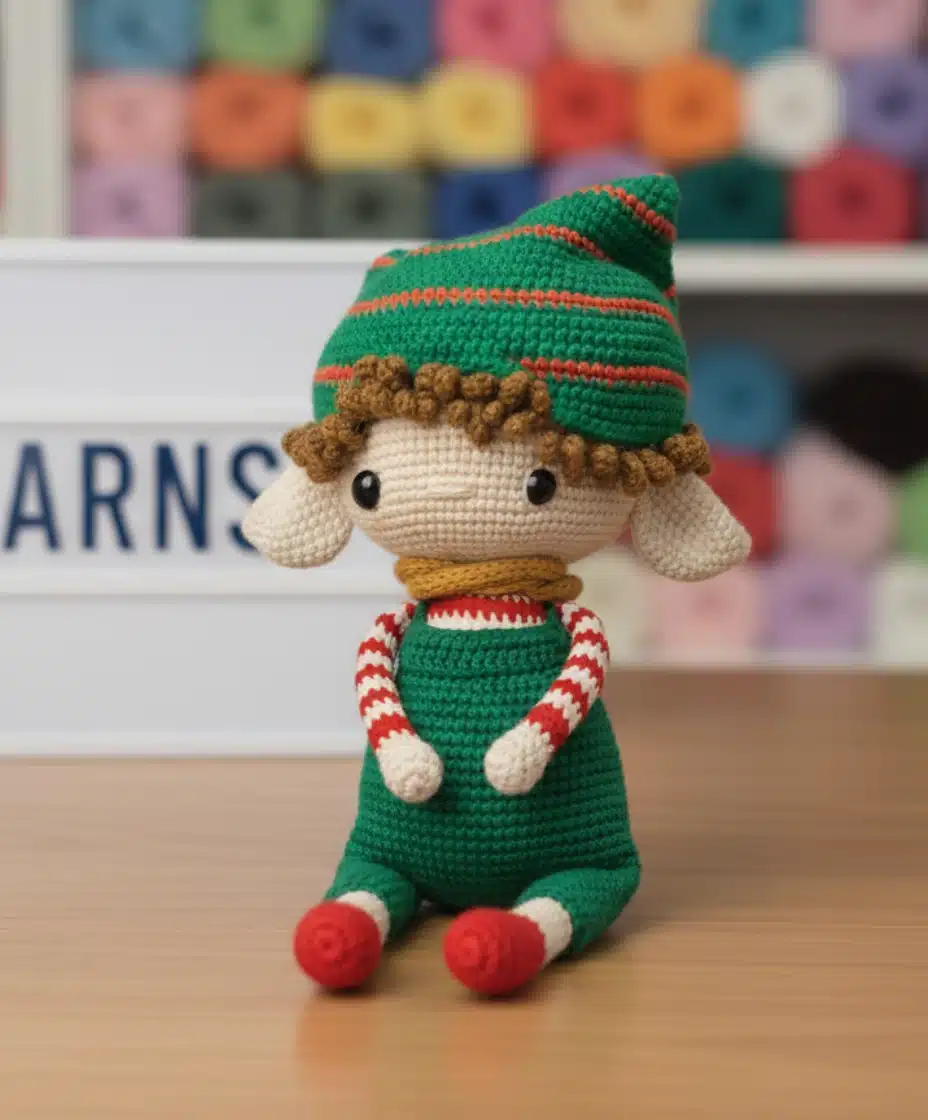
What makes this Christmas Elf Amigurumi special is the attention to detail. From the carefully crafted hair made with brown yarn to the customizable accessories, every element comes together to create a truly unique piece. You can even make the scarf in different colors to personalize your elf further.
Remember it later!
Planning to try this soon? Pin it for a quick find later!

Materials You’ll Need To Make Christmas Elf Amigurumi
Before diving into this festive project, gather these essential supplies:
Yarn Requirements:
- Green yarn for the jumpsuit and hat
- Beige yarn for the skin tone
- Red yarn for the striped body
- Brown yarn for the hair
- White yarn for the striped details
- Mustard yellow yarn for the scarf
Additional Supplies:
- 1.5mm crochet hook
- 12mm safety eyes
- Polyester fiberfill stuffing
- Yarn needle for assembly
- Stitch markers
Understanding the Pattern Structure
This Christmas Elf Amigurumi is constructed in several separate pieces that are later assembled. The main components include:
Body and Head: These pieces are crocheted together as one continuous unit, starting from the bottom and working upward. The pattern creates a festive striped effect by alternating between red and white yarn.
Hair: The brown hair is worked separately and features adorable loops that give your elf character and charm.
Extremities: The arms and legs are crafted individually and sewn onto the completed body, allowing for positioning adjustments.
Clothing: The green jumpsuit and matching hat are separate pieces that dress up your elf in true holiday style.
Step-by-Step Construction Guide
Creating the Body and Head
Begin your elf with a magic ring in red yarn. The body gradually increases from 6 stitches to 60 stitches over the first ten rounds, creating a rounded base. The characteristic red and white stripes are achieved by carefully changing colors while working rows 18 through 37.
At row 37, you’ll transition to the flesh-colored beige yarn for the head. Pay special attention to row 38, where you’ll work into the back loops only – this creates a defined neck area. The head expands to 84 stitches and maintains this count for 15 rows before beginning the decreasing rounds that shape the top.
Pro tip: Position the safety eyes between rows 49 and 50, spacing them 18 stitches apart for proper facial proportions. Don’t forget to embroider a small nose for extra character!
Crafting the Signature Hair
The hair piece starts similarly to the head, beginning with a magic ring that increases to 84 stitches. After that, you’ll work 12 straight rounds to form the base. Once the foundation is complete, you can create the distinctive looped hair by chaining 7, working 6 single crochets back down the chain, and attaching it to the edge. Finally, repeat this process 42 times around the border to achieve a full, playful hairstyle.
Shaping the Ears
These small but important details add realism to your elf. Each ear begins with 6 stitches and increases to 24 stitches over seven rounds. After working four straight rounds, you’ll decrease back down, fold the ear, and prepare it for sewing onto the head.
Assembling the Arms
The hands feature a charming detail – a small bump created with double crochets that gives texture to the palm area. Note that the right and left hands have the bump positioned differently, so follow the pattern carefully. The striped sleeves mirror the body’s festive design.
Constructing the Legs
The legs are straightforward tubes worked in red, then beige, then back to red. They’re folded flat at the top and worked together across 5 stitches to create a stable base for sewing.
Sewing the Green Overalls
This piece begins with a chain of 66 stitches joined in a circle. After working 18 rounds straight, you’ll divide the piece into sections for the legs and torso. The front bib is worked in turning rows with chain edges for the straps.
Finishing with the Festive Hat
The hat spirals upward from a magic ring, alternating between green and red stripes. It increases gradually to fit your elf’s head perfectly, ending at 102 stitches for a nice drape.

Assembly Tips for Professional Results
Once all pieces are complete, assembly is key to achieving a polished look:
Secure the hair: Align the hair piece on the head, ensuring even coverage before stitching firmly in place.
Position the ears: Place them symmetrically on the sides of the head, slightly angled for a natural look.
Attach the limbs: Pin the arms and legs in position before sewing to ensure balanced placement.
Dress your elf: Slip on the overalls and hat, adjusting as needed for the perfect fit.
Add finishing touches: Create a scarf in your chosen color and add any additional embellishments you desire.
Customization Ideas
The beauty of amigurumi is the endless possibilities for personalization:
- Color variations: Try a blue and silver color scheme for a winter wonderland theme, or traditional green and red for classic Christmas vibes.
- Accessories: Add bells to the hat, create a tiny gift for the elf to hold, or craft miniature boots.
- Expression changes: Experiment with eye placement and embroidered features to give each elf a unique personality.
- Size adjustments: Use thicker or thinner yarn with an appropriately sized hook to create elves of different scales.
Final Thoughts
This Christmas elf doll amigurumi pattern offers the perfect blend of challenge and creativity. Whether you’re making it as a festive decoration for your home, a heartfelt gift for a loved one, or even starting a collection of holiday characters, the result will still be a cherished handmade treasure. Moreover, the added details give it a delightful charm that keeps the experience enjoyable from start to finish.
The medium difficulty level makes this an excellent project for expanding your amigurumi skills, especially since it allows you to learn while crafting something truly special for the holiday season. As you progress, take your time with each component, enjoy the meditative rhythm of crochet, and ultimately watch as your festive elf comes to life stitch by stitch.
Happy crocheting, and may your holidays be filled with the joy of creating!
Remember it later!
Planning to try this soon? Pin it for a quick find later!