Table of contents
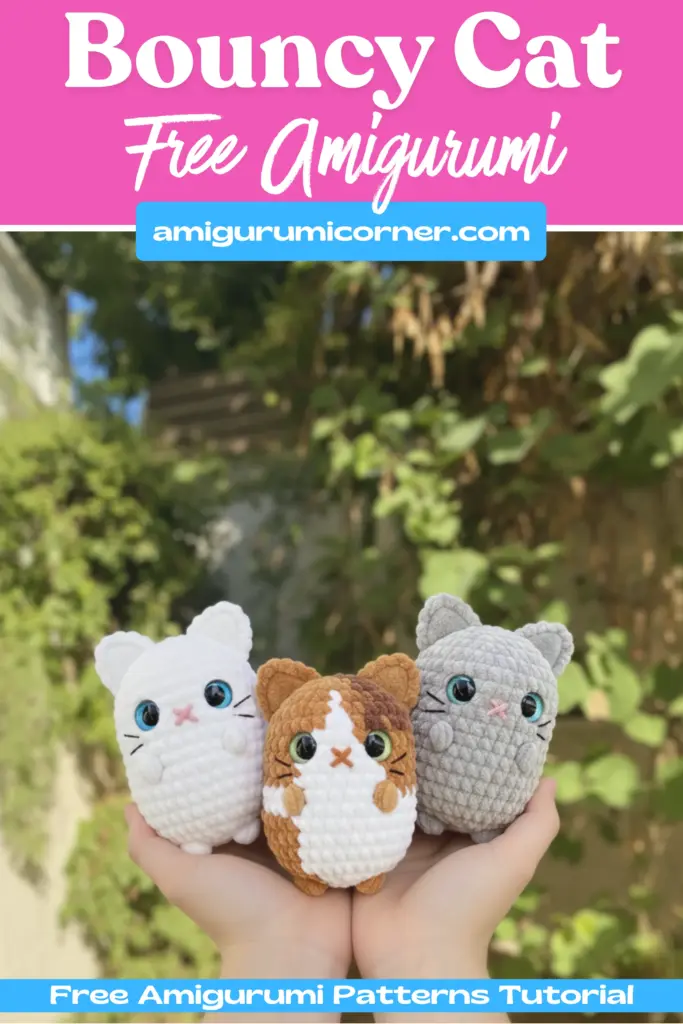
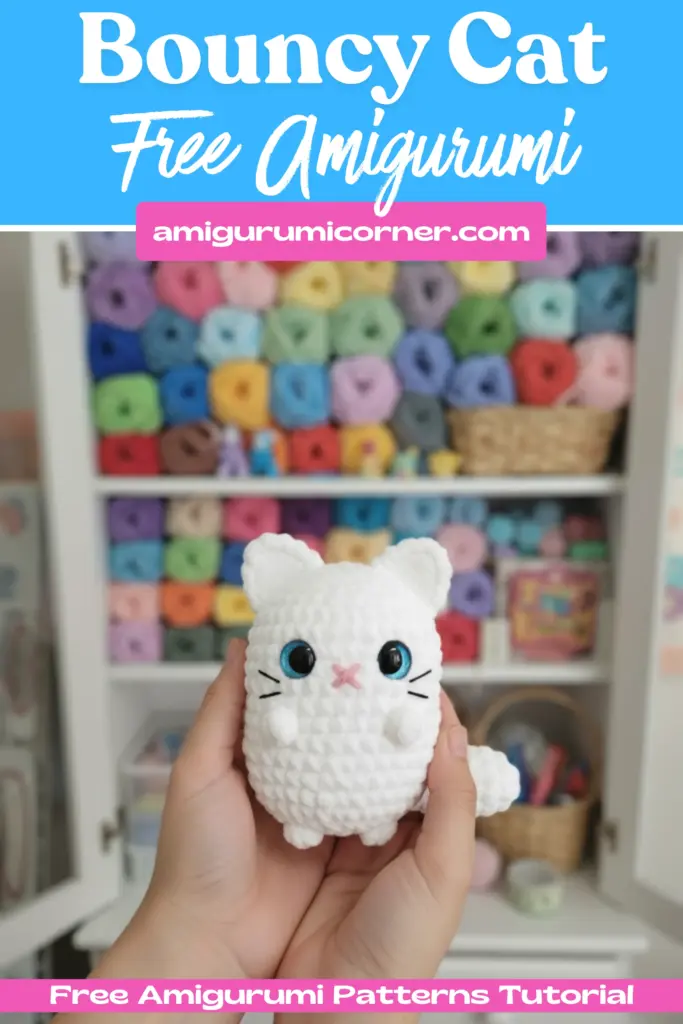
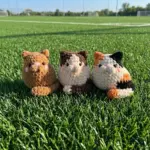
Are you ready to create the cutest little feline friend? This comprehensive guide will walk you through making an adorable bouncy cat amigurumi that stands approximately 5.9 inches (15 cm) tall. Perfect for both gifting and keeping as your own cuddly companion, this pattern combines soft textures with charming details that bring this kitty to life.
Remember it later!
Planning to try this soon? Pin it for a quick find later!
What You’ll Need
Before we dive into the pattern, let’s gather all the essential materials:
Yarn Requirements
- Chunky Chenille yarn in Gray (main body color)
- Chunky Chenille yarn in White (for accents and paws)
- Velvet Chenille yarn in Light Pink (for the heart accessory)
- Pink cotton yarn (thinner weight for embroidering the nose)
- White cotton yarn (thinner weight for whiskers)
Other Supplies
- 5mm crochet hook (or size that matches your yarn)
- 2.5mm crochet hook (for the heart detail)
- Two safety eyes, 20mm (0.78 inches)
- Polyester fiberfill or your preferred stuffing material
- Tapestry needle for sewing
- Stitch marker or contrasting scrap yarn
- Pins for positioning stripes

Essential Techniques and Abbreviations
This pattern uses continuous spiral rounds without joining, so you’ll need to mark the beginning of each round with a stitch marker. Here are the key abbreviations you’ll encounter:
- mr, sc n – magic ring with n single crochet stitches
- sc – single crochet
- inc – increase (two single crochets in one stitch)
- dec – decrease (invisible decrease method)
- BO – bobble stitch
- hdc – half double crochet
- dc – double crochet
- tr – triple crochet
- sl st – slip stitch
- ch – chain stitch
Creating the Head and Body
The head and body are worked as one continuous piece, giving your cat a cohesive, bouncy appearance.
Starting with Gray Yarn
Begin with a magic ring and work your way up through increasing rounds:
Rounds 1-7: Build the foundation
- Round 1: 6 sc in magic ring (6)
- Round 2: 6 inc (12)
- Round 3: Alternate sc and inc six times (18)
- Continue this increasing pattern through Round 7 (42)
Rounds 8-13: Work even at 42 stitches to create the main body shape
Adding White Accents
Here’s where your cat gets its distinctive markings:
Round 14: Incorporate your first white bobble stitch – 37 gray sc, white BO, 4 gray sc
Round 15: Add another white accent – 3 sc, white BO, 38 sc
Rounds 16-19: Continue with 42 sc
Shaping and Finishing
Rounds 20-22: Begin decreasing while adding final white bobble accents
Before proceeding with Round 21, insert the safety eyes between rounds 10-11, spacing them 6 stitches apart.
Rounds 23-25: Complete the decreasing rounds
- Stuff the body firmly with fiberfill as you work
- Close the final 6 stitches by threading yarn through and pulling tight
- Secure with a knot and weave in the end
Crafting the Ears
Make two identical ears using gray yarn:
Round 1: 6 sc in magic ring (6)
Round 2: Alternate sc and inc (9)
Round 3: Work pattern to 12 stitches
Round 4: Final increase to 15 stitches
Close with a slip stitch and leave a long tail for sewing. Don’t stuff the ears – they should remain flat and floppy.
Position the ears starting from Round 2 of the head, leaving moderate space between them for a natural look.

Making the Tail
The tail combines white and gray for a charming two-tone effect:
White Section (Rounds 1-3)
Start with white yarn and work increases to 18 stitches
Gray Section (Rounds 4-16)
Switch to gray yarn and gradually decrease from 18 to 6 stitches. Stuff the tip firmly but leave the rest lightly stuffed for flexibility.
Fold the tail in half and single crochet through both layers to close. Sew it perpendicular to the body’s center back between rounds 19-23, allowing it to swing from side to side.
Adding the Details
Embroidering the Nose
Using doubled pink cotton yarn, create a small triangle nose. Enter from the side of the head and follow a basic triangle pattern, securing with a knot on the inside.
Creating the Whiskers
With doubled white cotton yarn, embroider three whiskers on each side of the face, entering and exiting from the side of the body to hide knots.
Adding Fur Stripes
Using white chunky chenille yarn (doubled), add decorative stripes to the body. Pin the desired positions first – spacing them three rounds apart creates a balanced look. Embroider each stripe and secure ends internally.
Creating the Heart Accessory
Using light pink yarn and a 2.5mm hook:
- Start with a magic ring and chain 3
- Work 3 treble crochet
- Add 4 double crochet
- Chain 2 for the center point
- Mirror with 4 double crochet
- Work 3 treble crochet
- Chain 3 and slip stitch to complete
For an authentic patch appearance, add decorative surface stitches in a contrasting color around the heart’s edge.
Tips for Success
Tension Matters: Keep your stitches consistent throughout. Chenille yarn can be stretchy, so maintain even tension to prevent gaps where stuffing might show through.
Eye Placement: Take time positioning the safety eyes before securing them. They’re the key to your cat’s personality!
Stuffing Technique: Stuff firmly but don’t overfill. The toy should feel soft and huggable while maintaining its shape.
Color Changes: When working bobble stitches in a different color, complete the final yarn-over of the previous stitch with your new color for seamless transitions.

Final Thoughts
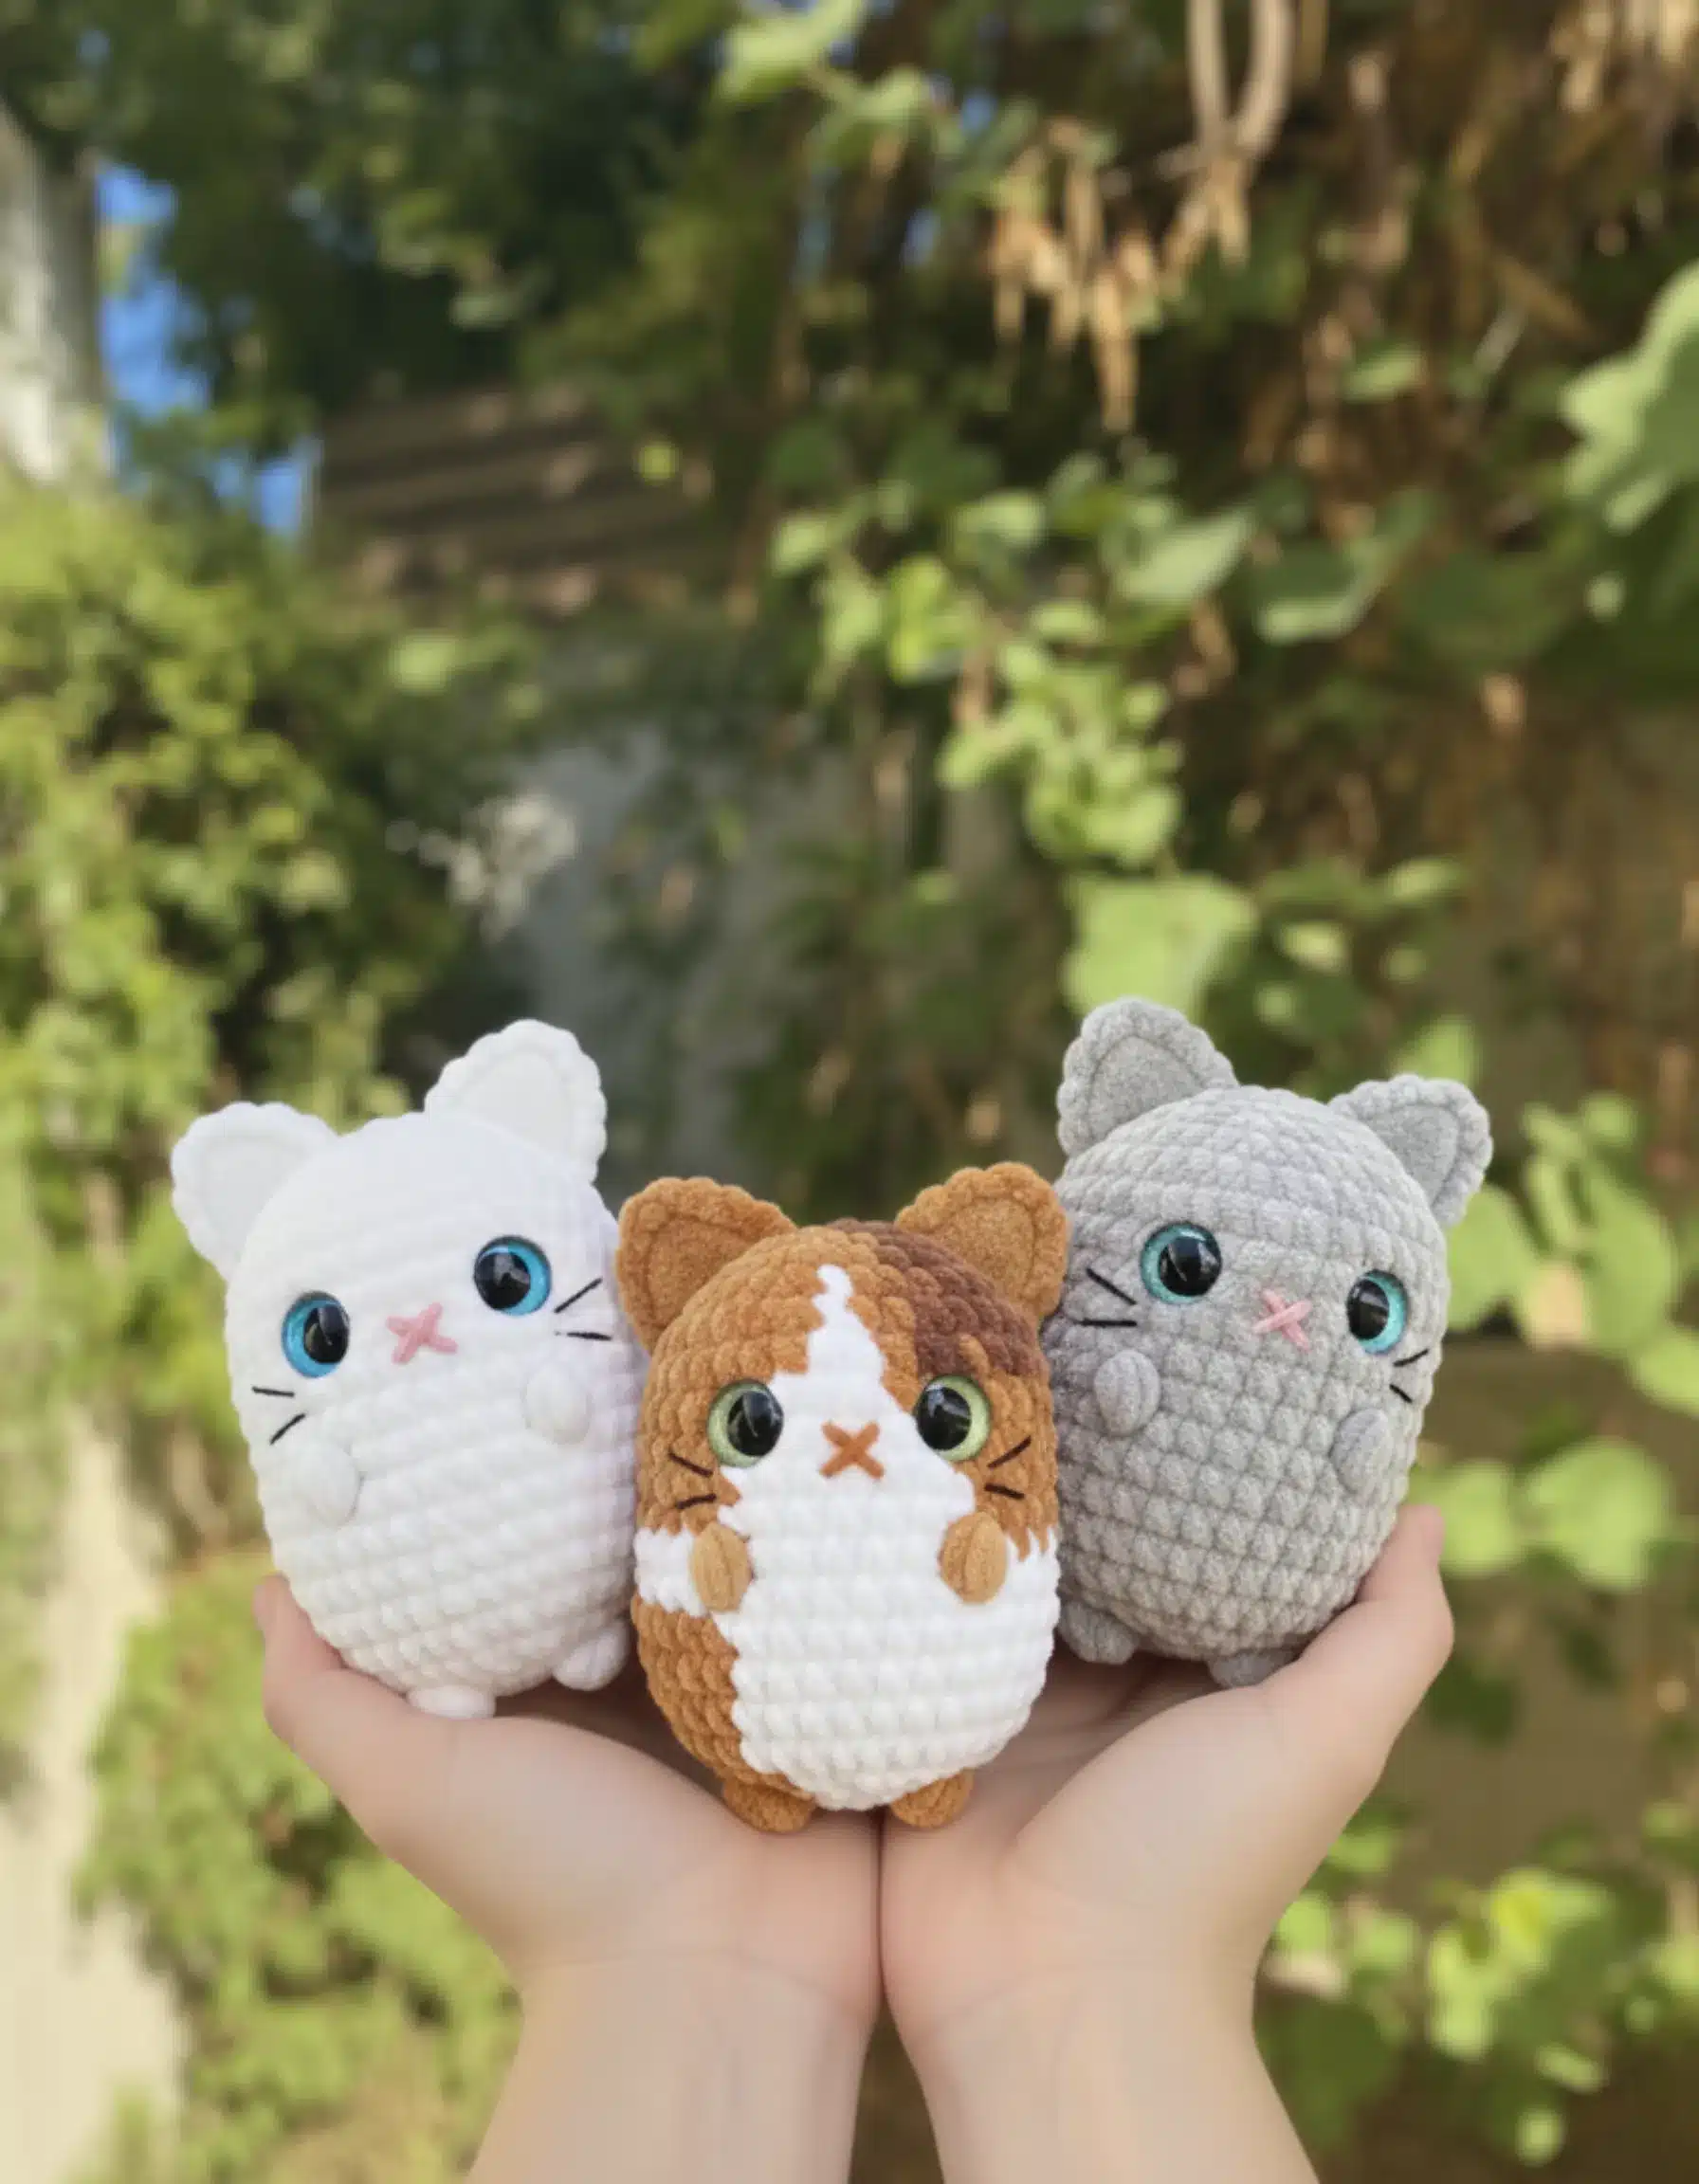
Congratulations on completing your bouncy cat! This delightful amigurumi combines simple techniques with charming details to create a truly special handmade treasure. The soft chenille yarn gives it an irresistibly cuddly texture, while the embroidered features add personality and charm.
Whether you’re keeping this little feline friend for yourself or gifting it to someone special, you’ve created something made with love and care. The beauty of amigurumi is that each creation has its own unique character – your cat will be one-of-a-kind.
Happy crocheting, and enjoy your adorable new bouncy cat companion!
Remember it later!
Planning to try this soon? Pin it for a quick find later!