Table of contents
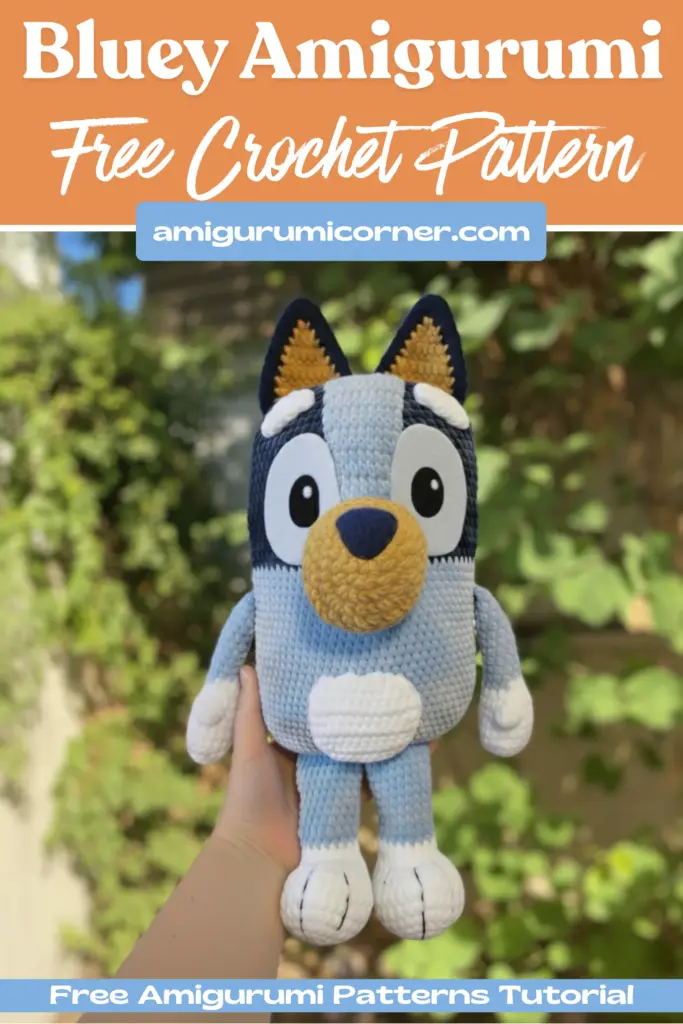
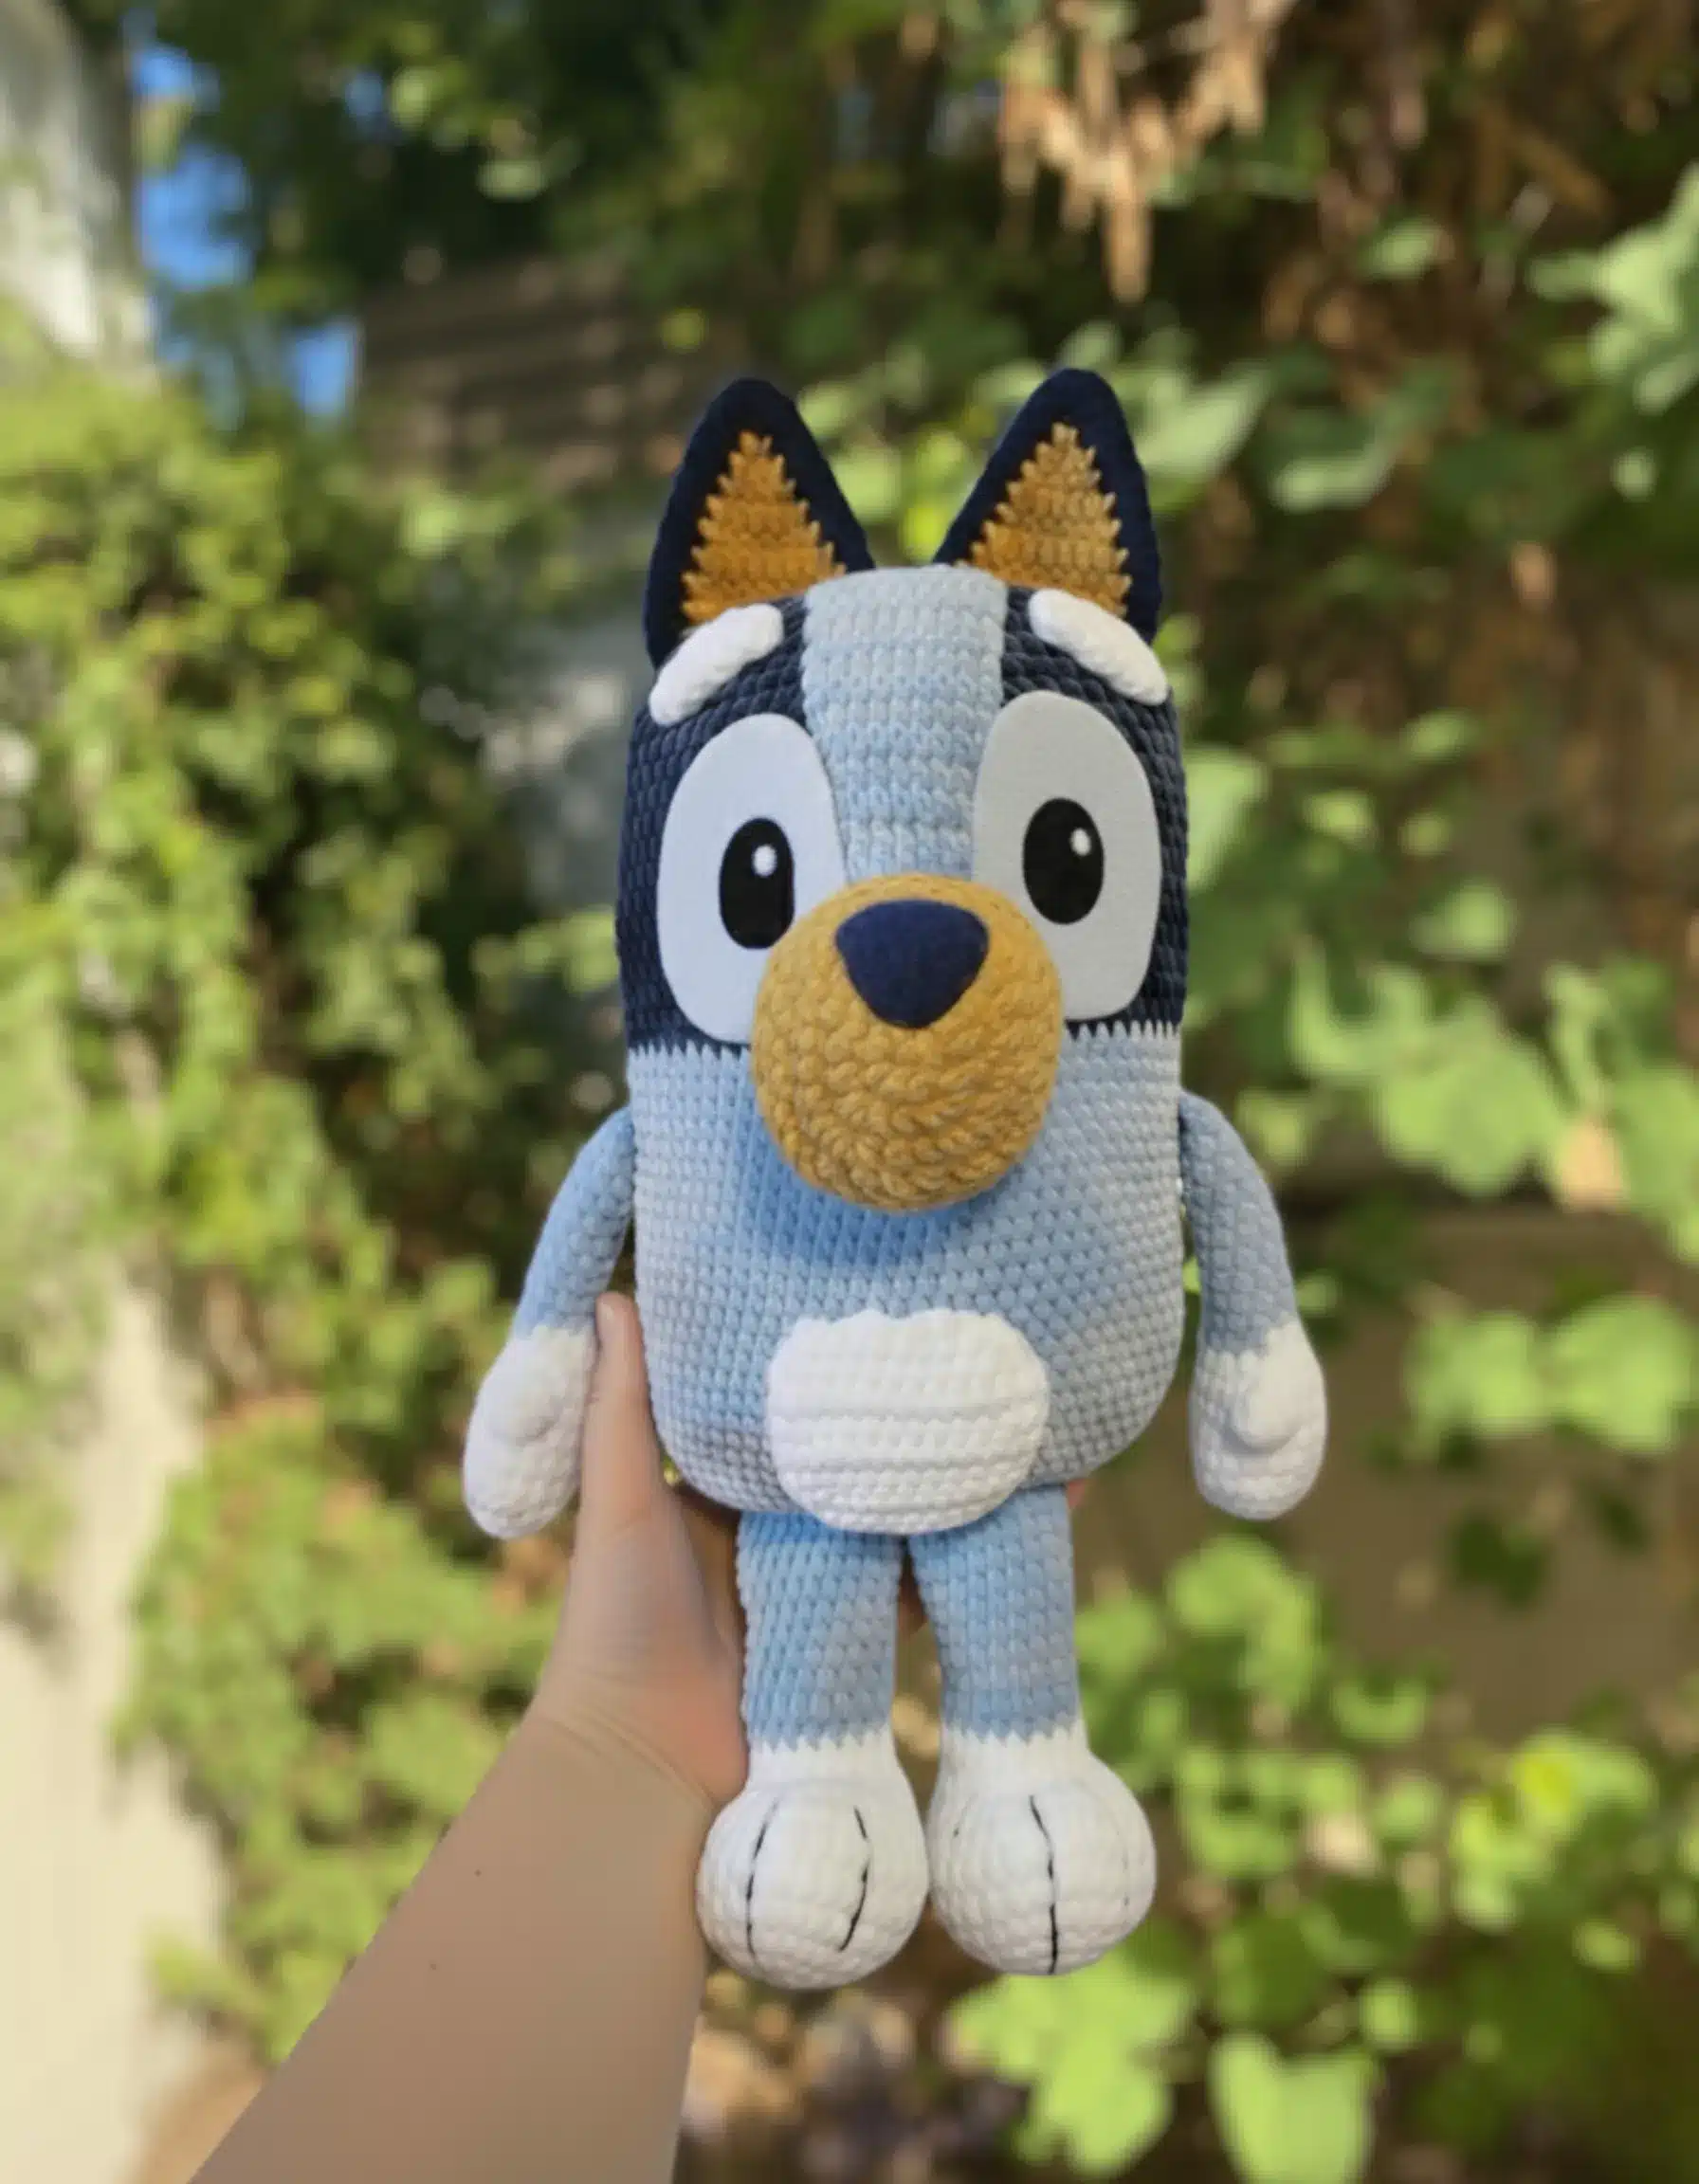
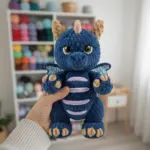
If you’ve been searching for the perfect amigurumi project that combines cuddly texture with charming design, this Blue Puppy pattern is exactly what you need. Standing at an impressive 16.14 inches tall, this lovable companion is crafted using soft velvet yarn that creates an irresistibly huggable finish. Whether you’re an experienced crocheter or looking to expand your amigurumi skills, this detailed pattern will guide you through every step of creating your own plush puppy friend.

What Makes This Pattern Special
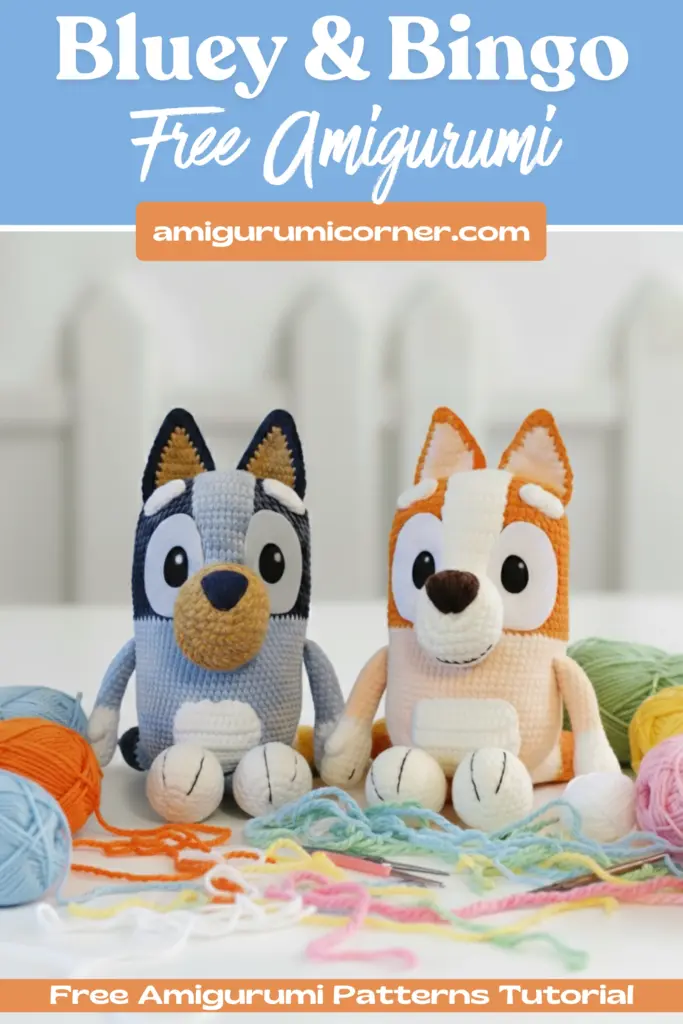
This amigurumi puppy pattern offers incredible versatility with two color variations to choose from. The classic Blue Puppy features a striking combination of white, dark blue, blue, yellow, and black yarns, while the Orange Puppy alternative uses a warm palette of beige, orange, peach, and brown. Both versions create an equally adorable finished product that’s sure to become a treasured handmade gift or personal keepsake.
Materials You’ll Need
Yarn Selection
The key to achieving that signature soft, plush texture lies in your yarn choice. This pattern works beautifully with chunky velvet yarn. Melissa velvet yarn is recommended, but you can achieve excellent results with chenille alternatives like Himalaya Dolphin Baby or Parfait Chunky.
For the Blue Puppy:
- White yarn
- Dark blue yarn
- Blue yarn (one full ball)
- Yellow yarn
- Black yarn
For the Orange Puppy:
- Beige yarn
- Orange yarn (one full ball)
- Peach or yellow yarn
- Brown yarn for embroidering the nose
Additional Supplies
- 5mm crochet hook
- Black finer line for sewing fingers on Blue Puppy, or brown for Orange Puppy
- Felt in white and black for eyes (optional)
- Blunt tapestry needle for assembly
- Polyester fiberfill for stuffing
Essential Crochet Abbreviations
Before diving into the pattern, familiarize yourself with these standard crochet terms:
- ch = chain
- sc = single crochet
- dc = double crochet
- hdc = half double crochet
- sl st = slip stitch
- inc = increase
- dec = decrease
- MR = Magic Ring
- Bs = bubble stitch
- Triple increase = 3 sc in the same stitch
Important Note: When working with chains and turning, always begin from the second chain from the hook.

Remember it later!
Planning to try this soon? Pin it for a quick find later!
Step-by-Step Construction Guide
Creating the Ears (Make 4 Pieces)
The adorable floppy ears are created by making two pieces in dark blue (or orange) and two in yellow (or peach), then joining them together.
Rows 1-9:
- Chain 2, turn
- 1 increase, chain, turn (2 stitches)
- 2 increases, chain, turn (4 stitches)
- Increase, 2 single crochet, increase, chain, turn (6 stitches)
- 6 single crochet, chain, turn (6 stitches)
- Increase, 4 single crochet, increase, chain, turn (8 stitches)
7-8. 8 single crochet, chain, turn (8 stitches) - 8 single crochet (fasten off only the yellow or peach pieces)
Joining the pieces:
Place the dark blue (or orange) and yellow (or peach) pieces together and crochet around: 8 single crochet, 3 single crochet in the same stitch, 8 single crochet. Leave a long tail for sewing to the top of the head.
Crafting the Nose
The nose begins with yellow (or beige) yarn and creates a rounded, three-dimensional shape.
- 7 single crochet in Magic Ring
- 7 increases (14 stitches)
- 2 single crochet, (2 increases, 2 single crochet) twice, 2 increases, 2 single crochet (20 stitches)
- 2 single crochet, (2 increases, 5 single crochet) twice, 2 increases, 2 single crochet (26 stitches)
- (8 single crochet, increase) twice, 8 single crochet (28 stitches)
6-8. 28 single crochet
Leave thread for sewing and stuff lightly with fiberfill.
Making the Head Spot
This distinctive marking gives your puppy character and personality. Start with blue (or beige) yarn.
- Chain 7, turn
2-4. 6 half double crochet, chain, turn - Increase, 4 half double crochet, increase, chain, turn
6-13. 8 half double crochet, chain, turn - 8 half double crochet
Fasten off and leave thread for sewing. For easier attachment, consider working single crochet all around the edge of this piece.
Creating Eyebrows (Make 2)
These small details add expression to your puppy’s face. Start with white (or beige) yarn.
- Chain 6
- Increase, 3 single crochet, 3 single crochet in same stitch, 4 single crochet
Fasten off and leave thread for sewing.
Adding Body Spots
For Blue Puppy: Create three circles of varying sizes using dark blue yarn for the back of the puppy.
Small spot (make 2):
- 6 single crochet in Magic Ring
- 6 increases (12 stitches)
Medium spot (make 1):
- 6 single crochet in Magic Ring
- 6 increases (12 stitches)
- (1 single crochet, increase) 6 times (18 stitches)
For Orange Puppy: Create one oval spot to place on the back right above the tail.
- Chain 9
- Increase, 6 single crochet, 4 single crochet in the same stitch, 6 single crochet, increase (20 stitches)
- 2 increases, 6 single crochet, 4 increases, 6 single crochet, 2 increases (28 stitches)
Forming the Belly
Start with white (or beige) yarn to create this charming detail.
- Chain 12, turn
- 11 single crochet, chain, turn
- Increase, 9 single crochet, increase, chain, turn
4-8. 13 single crochet, chain, turn
9-10. 3 single crochet, 3 half double crochet, 1 double crochet, 3 half double crochet, 3 single crochet, chain
Fasten off and leave thread for sewing. Adding single crochet around the entire piece makes attachment easier.

Building the Tail
Start with dark blue (or beige) yarn.
- 6 single crochet in Magic Ring
- 6 increases (12 stitches)
- (2 single crochet, increase) 4 times (16 stitches)
- 16 single crochet
- (6 single crochet, decrease) twice (14 stitches)
- (5 single crochet, decrease) twice (12 stitches)
Change to blue (or peach) yarn:
7. 12 single crochet
8. Decrease, 4 single crochet, decrease, 4 single crochet (10 stitches)
9-17. 10 single crochet
Fold in half and crochet 5 single crochet to close.
Constructing Arms and Hands (Make 2)
Start with white (or beige) yarn for the paws.
- 6 single crochet in Magic Ring
- 6 increases (12 stitches)
- (1 single crochet, increase) 6 times (18 stitches)
4-7. 18 single crochet - 1 bubble stitch, 17 single crochet (18 stitches)
- (1 single crochet, decrease) 6 times (12 stitches)
10-11. 12 single crochet
Change to blue (or peach) yarn:
12-18. 12 single crochet
Fill with fiberfill, fold arms in half, and crochet 6 single crochet to close.
Making Optional Felt Eyes (Make 2)
White eye base (make 2):
- Chain 8, turn
- Increase, 5 single crochet, 4 single crochet in the same stitch, 5 single crochet, increase (18 stitches)
- 2 increases, 5 single crochet, 4 increases, 5 single crochet, 2 increases (26 stitches)
- 26 single crochet
Black pupil (make 2):
- Chain 3, turn
- Increase, 4 single crochet in the same stitch, increase
Fasten off and leave thread for sewing, or cut eyes from felt using a printed pattern.
Creating the Legs (Make 2)
Start with white (or beige) yarn, working in an oval shape on both sides of the chain.
- Chain 6, turn
- Increase, 3 single crochet, 4 single crochet in the same stitch, 3 single crochet, increase (14 stitches)
- Increase, 4 single crochet, 4 increases, 4 single crochet, increase (20 stitches)
- 1 single crochet, increase, 4 single crochet, (1 single crochet, increase) 4 times, 4 single crochet, 1 single crochet, increase (26 stitches)
5-7. 26 single crochet - 4 single crochet, (1 single crochet, decrease) 6 times, 4 single crochet (20 stitches)
- 8 single crochet, 2 decreases, 8 single crochet (18 stitches)
- (4 single crochet, decrease) 3 times (15 stitches)
- 15 single crochet
Change to blue (or peach) yarn:
12-20. 15 single crochet
Fill with fiberfill, fold leg in half, and crochet 7 single crochet to close.
Assembling the Body
Start with blue (or peach) yarn, working in an oval shape on both sides of the chain.
- Chain 15, turn
- Increase, 12 single crochet, 4 single crochet in the same stitch, 12 single crochet, increase (32 stitches)
Attaching the legs (row 3):
3. 2 increases, 7 single crochet with first leg, 7 single crochet with second leg, 4 increases, 10 single crochet, 2 increases (40 stitches)
4. (1 single crochet, increase) twice, 12 single crochet, (1 single crochet, increase) 4 times, 12 single crochet, (1 single crochet, increase) twice (48 stitches)
5. (2 single crochet, increase) twice, 12 single crochet, (2 single crochet, increase) 4 times, 12 single crochet, (2 single crochet, increase) twice (56 stitches)
6. (3 single crochet, increase) twice, 12 single crochet, (3 single crochet, increase) 4 times, 12 single crochet, (3 single crochet, increase) twice (64 stitches)
7-10. 64 single crochet
Attaching the tail (row 11):
11. 48 single crochet, position tail behind legs in center and crochet 5 single crochet, 12 single crochet
12-21. 64 single crochet
Attaching the arms (row 22):
22. 2 single crochet, 6 single crochet with first arm, 25 single crochet, 6 single crochet with second arm, 26 single crochet
23-24. 64 single crochet
Change to dark blue (or orange) yarn and begin stuffing with fiberfill:
25-40. 64 single crochet
Decreasing for neck:
41. (3 single crochet, decrease) 4 times, 12 single crochet, (3 single crochet, decrease) 4 times, 12 single crochet (56 stitches)
42. (2 single crochet, decrease) 4 times, 12 single crochet, (2 single crochet, decrease) 4 times, 12 single crochet (48 stitches)
43. (1 single crochet, decrease) 4 times, 12 single crochet, (1 single crochet, decrease) 4 times, 12 single crochet (40 stitches)
44. 4 decreases, 12 single crochet, 4 decreases, 12 single crochet (32 stitches)
45. 2 decreases, 12 single crochet, 2 decreases, 12 single crochet (28 stitches)
Fasten off, leaving a long tail for attaching the head.

Final Assembly Instructions
Now comes the exciting part—bringing all your carefully crafted pieces together to create your finished puppy!
Attach the head spot: Center this piece from the color change on the body up to the top of the head, ensuring it’s positioned symmetrically. Pin in place before sewing for best results.
Secure the nose: Position the top of the yellow (or beige) nose 4 rows above where the dark blue (or orange) yarn begins on the body. This placement ensures proper facial proportions.
Sew on the belly: Attach the belly piece two rows above the nose, creating a natural flow between facial features and body.
Embroider nose details: Using black yarn (or brown for the orange puppy), embroider the top of the nose to create realistic definition.
Add finger details: With black finer line (or brown), create finger details on the paws—two lines on the arms and three lines on the feet.
Attach ears and spots: Sew the ears to the top of the head, positioning them slightly to the sides for that classic puppy look. Attach the spots to the back of the body as desired.
Create the eyes: Either sew on your crocheted eye pieces, or print an eye pattern from online resources and cut felt to the appropriate size. Position eyes above the nose for the most expressive look.
Tips for Success
Maintain consistent tension: Velvet yarn can be tricky to work with due to its texture. Keep your tension even throughout for a polished finish.
Stuff gradually: Add small amounts of fiberfill as you work rather than waiting until the end. This prevents lumps and ensures even distribution.
Pin before sewing: When attaching features, use pins to position pieces before permanently sewing them in place. This allows you to adjust placement for the best appearance.
Weave in ends securely: Velvet yarn can be slippery, so take extra care when weaving in ends to prevent them from working loose over time.
Customization Ideas
Once you’ve mastered the basic pattern, consider these creative variations:
Size adjustments: Use different yarn weights and hook sizes to create puppies in various sizes, from tiny keychain versions to large floor cushion companions.
Color combinations: Experiment with different color palettes to create unique puppies. Consider adding stripes, multiple spots, or gradient effects.
Accessorize: Add a collar with a small button or bead, create a tiny bandana, or craft miniature accessories like a ball or bone.
Facial expressions: Adjust eye placement and add embroidered details like eyelashes or different mouth shapes to give your puppy distinct personality.
Conclusion
Creating this Blue Puppy amigurumi is more than just following a pattern—it’s about bringing a charming, cuddly companion to life with your own hands. The combination of soft velvet yarn and thoughtful design details results in a finished piece that’s both visually appealing and irresistibly touchable. Whether you’re crafting this adorable puppy as a gift for a loved one or adding it to your own collection, the satisfaction of completing this project is truly rewarding.
Take your time with each component, enjoy the meditative rhythm of crochet, and watch as your puppy takes shape row by row. The detailed instructions provided ensure that crafters of various skill levels can successfully complete this project and create something truly special. Happy crocheting, and may your Blue Puppy bring joy to everyone who meets them!
Remember it later!
Planning to try this soon? Pin it for a quick find later!