Table of contents
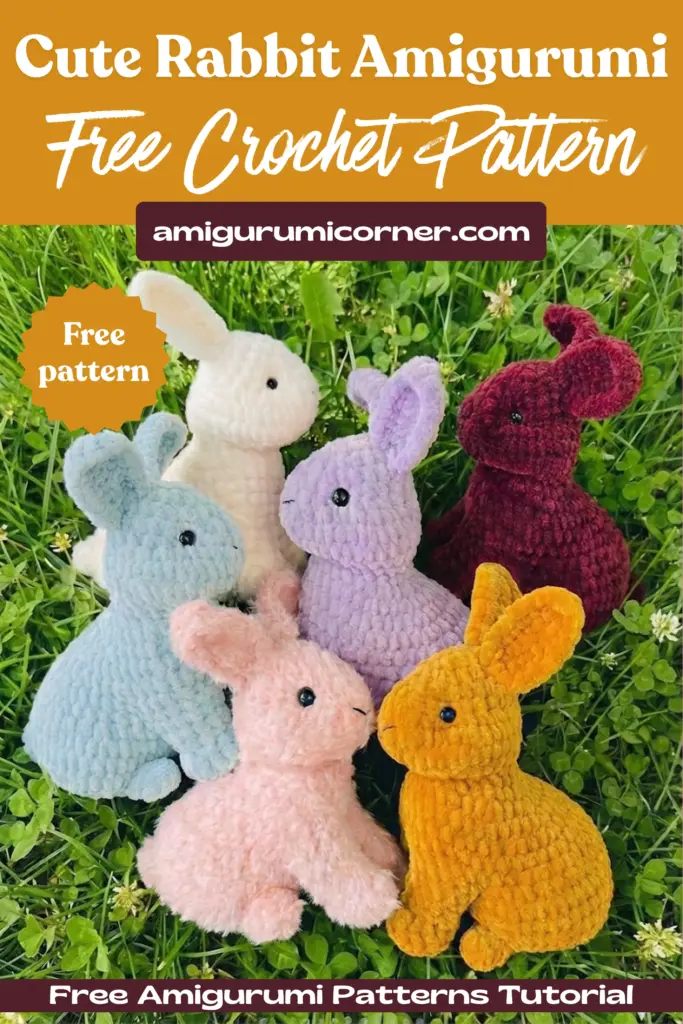
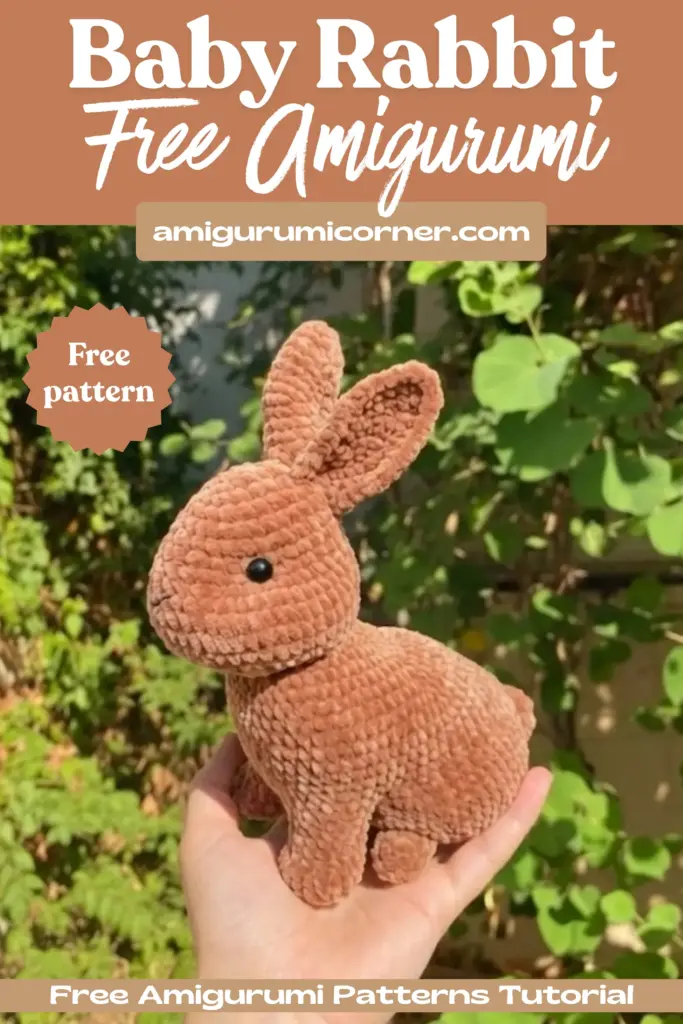
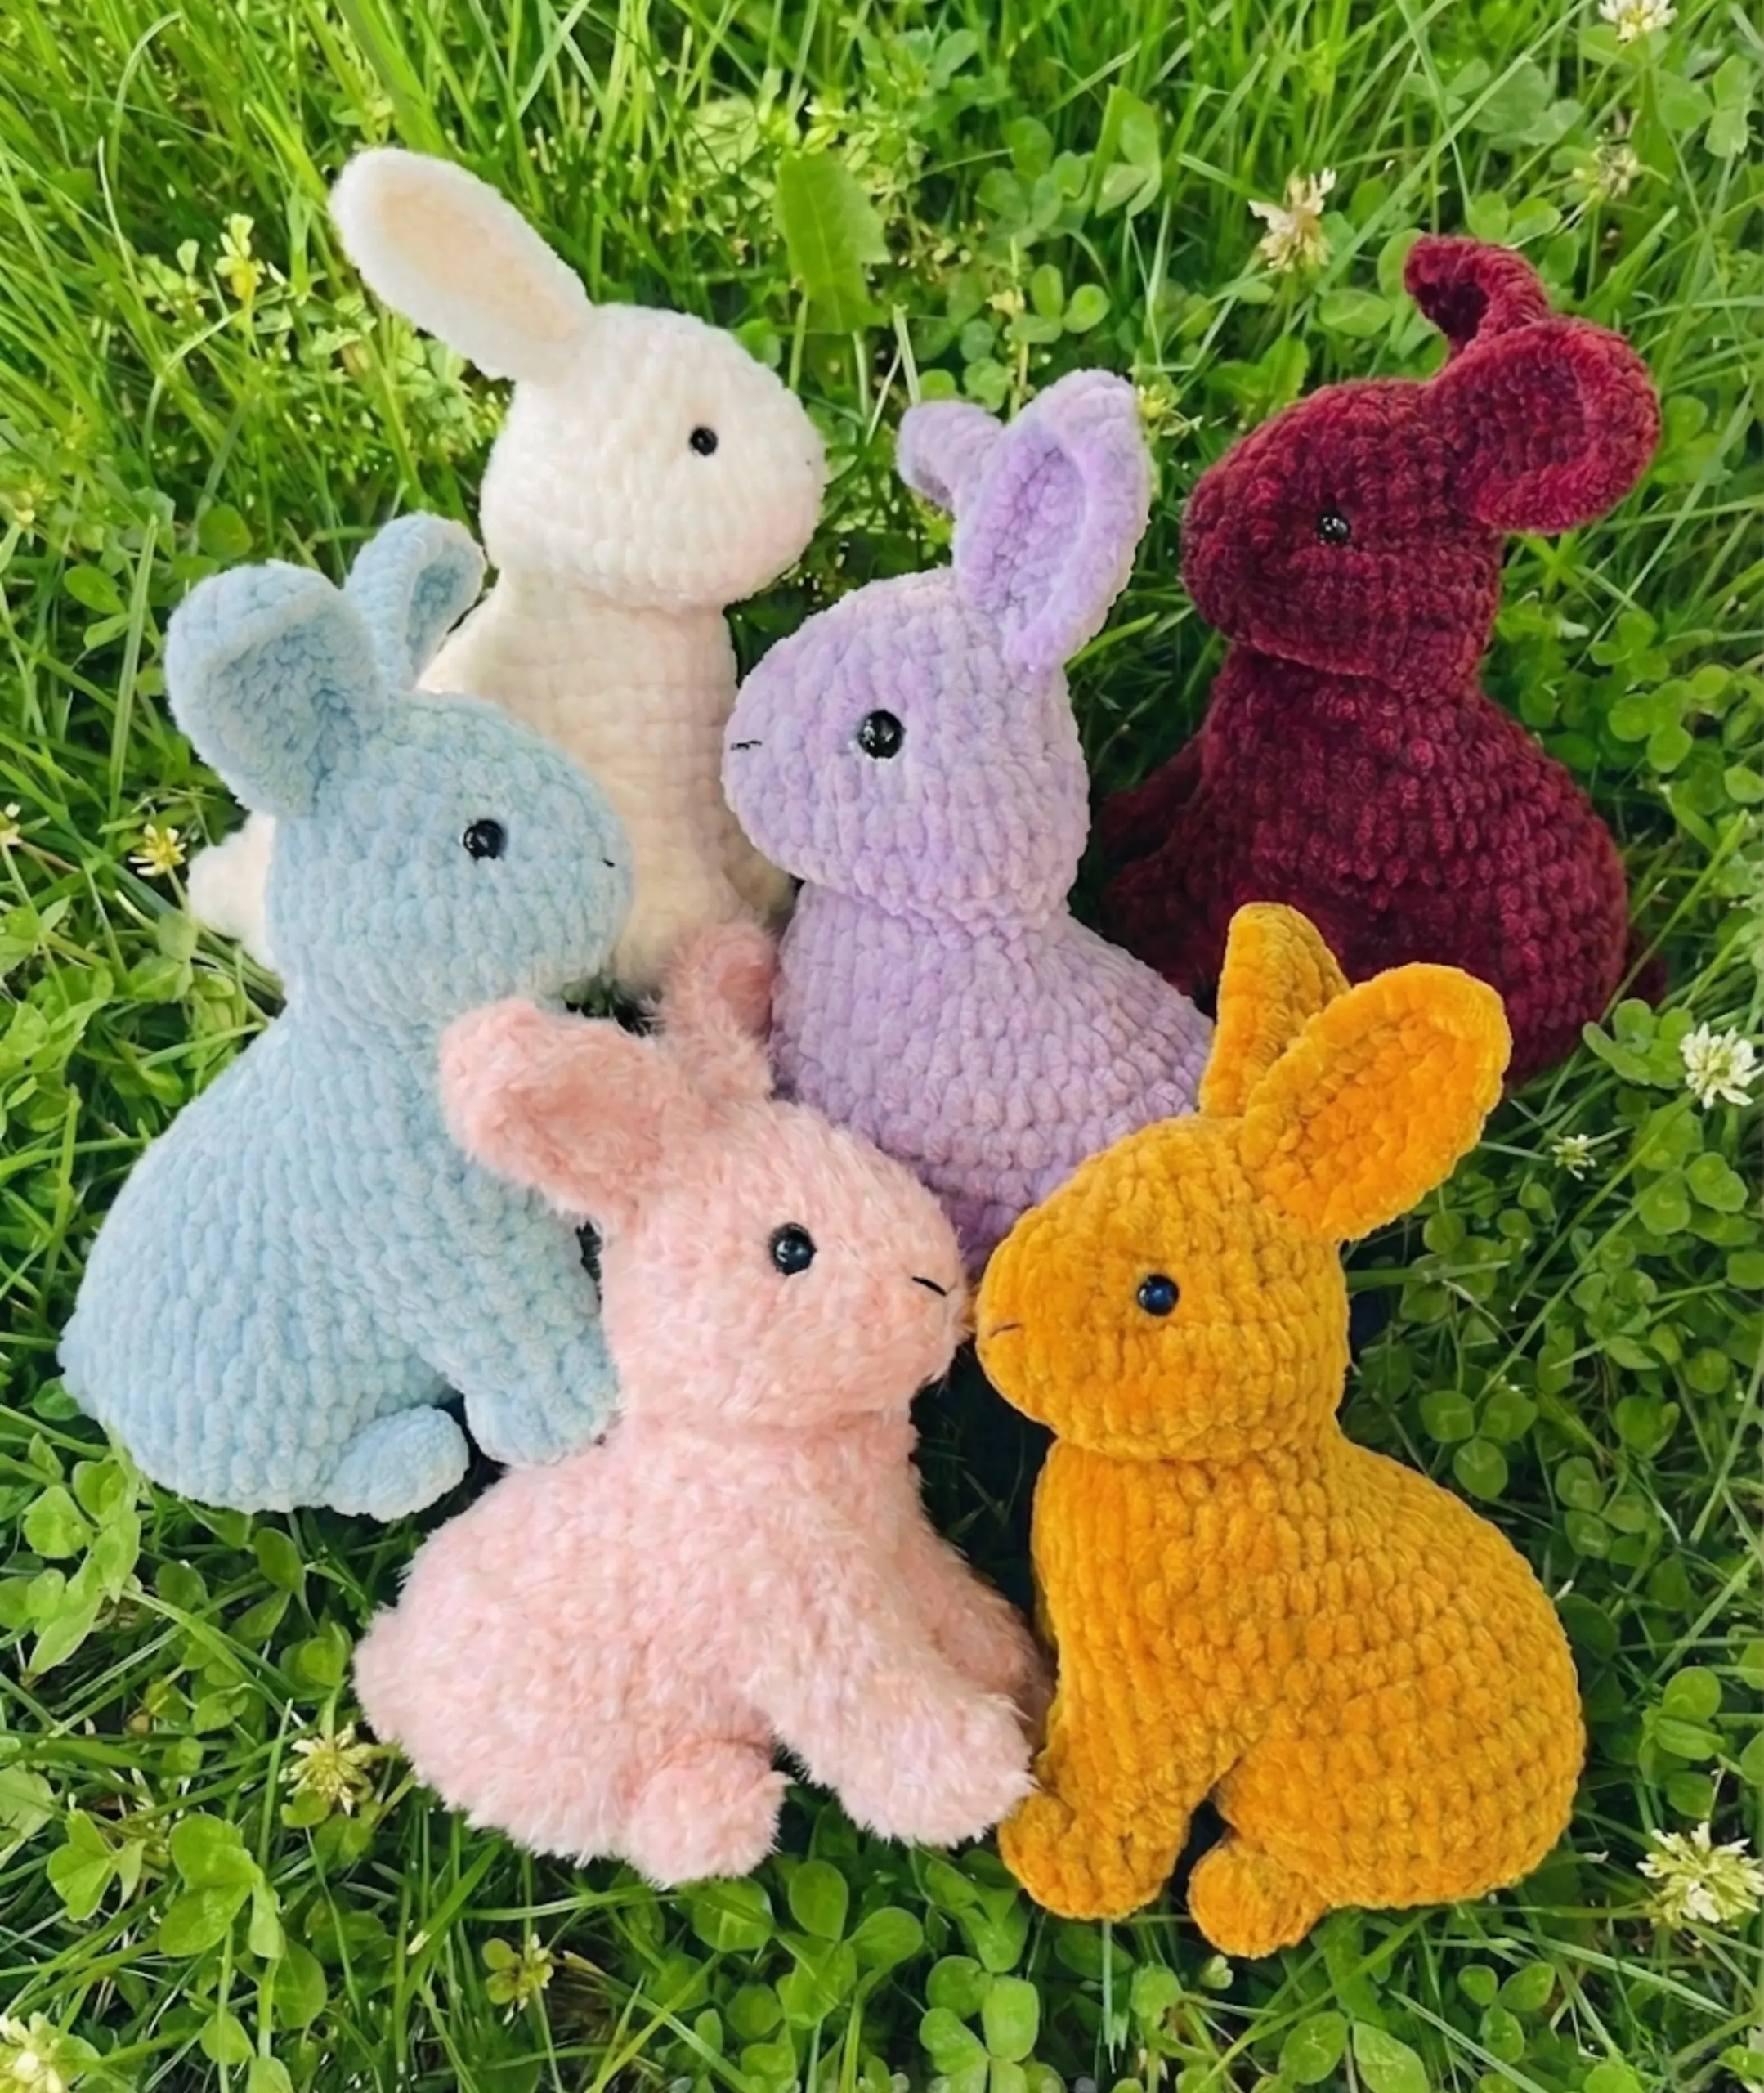
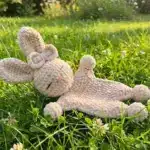
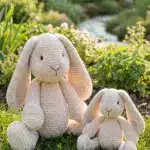
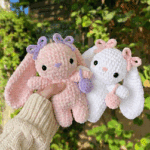
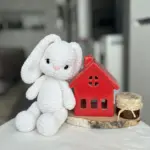
Are you ready to create the sweetest little companion? This baby rabbit crochet pattern is perfect for crafters of all skill levels who want to make an irresistibly cute amigurumi toy. Standing at just 13 cm tall (17 cm with ears), this charming bunny works up quickly and makes a wonderful gift for babies, children, or anyone who loves handmade treasures. Whether you choose soft velvet yarn for a plush finish or faux fur yarn for a fluffy look, you’ll love how this pattern comes together!
Designer: mania_patterns
Materials You’ll Need
For the Plush Velvet Rabbit:
- Yarn: Super Bulky/Super Chunky velvet yarn (Wolans Bunny Baby No. 28, Himalaya Dolphin Baby, or Yarn Art Dolce) – approximately 0.5 skein
- Hook: 3.5 mm crochet hook
- Eyes: 6 mm round black safety eyes or loop buttons for sewing
- Stuffing: 10 g fiberfill
For the Fluffy Faux Fur Rabbit:
- Yarn: Super Bulky/Super Chunky faux fur yarn (Himalaya Koala No. 730) – approximately 0.6 skein
- Hook: 3.5 mm crochet hook
- Eyes: 10 mm round black safety eyes or loop buttons for sewing (larger eyes work better with fluffy yarn)
- Stuffing: 10 g fiberfill

Additional Tools Required:
- Stitch markers (or pins/contrasting thread)
- Scissors
- Safety pins for fixing and sewing pieces
- Velcro brush or slicker (for combing faux fur yarn)
Important Notes About Yarn Selection
This versatile pattern can be adapted for different yarn types:
- Sport weight/4ply yarn (Gazzal Baby Cotton or Yarn Art JEANS): Crochet with the right side out, following the velvet yarn instructions
- Yarn requiring combing (NAKO Paris, Kamtex Cotton Grass): Follow the faux fur yarn instructions and comb pieces before assembly
- Color choices: Natural shades work beautifully, but feel free to experiment with your favorite colors
Abbreviations Guide
- ch – chain
- MR – magic ring
- sc – single crochet
- inc – increase (2 sc in one stitch)
- dec – decrease (2 sc together)
- sl st – slip stitch
- (sc, inc) х N – repeat instruction in brackets N times
- dc – double crochet
- dcinc – double crochet increase (2dc in one stitch)
Essential Crocheting Tips
Before you begin, keep these important techniques in mind:
Spiral Crocheting: This pattern uses spiral rounds without slip stitch joins at the end of each round. The crocheting will naturally shift to the side based on your tension and technique.
Velvet vs. Faux Fur Technique:
- Velvet yarn: Crochet with the right side facing out, working clockwise
- Faux fur yarn: Crochet with the wrong side facing out (for a fluffier result), working counterclockwise from the inside
Marker Placement: If your crochet density differs from the pattern, adjust marker placement to ensure proper alignment of increases, decreases, and foreleg holes.
Head & Body Instructions
The head and body are crocheted as one continuous piece, starting from the head.
Starting Chain:
Ch5
- Round 1: Start in the second chain from the hook: 3 sc, 3 sc in the last chain, 3 sc, 3 sc in the first chain (there is no chain left for them, crochet through the remaining loop after turning in the opposite direction) (12)
- Round 2: 3 sc, 3 inc, 3 sc, 3 inc (18)
- Round 3: 4 sc, 4 inc, 10 sc (22)
Important Note for Faux Fur Yarn: When working with faux fur yarn, crochet with the wrong side out for maximum fluffiness. After a few rounds, turn the work inside out so you’re crocheting counterclockwise from the inside.
- Round 4: 6 sc, inc, 2 sc, inc, 12 sc (24)
Mark stitch 5 and 15 to insert safety eyes later.
- Round 5: 24 sc (24)
- Round 6: 5 inc, 8 sc, 5 inc, 6 sc (34)
If using safety eyes, insert them in the marked stitches now.
- Rounds 7-8: 34 sc (2 rounds) (34)
- Round 9: 4 sc, 10 dec, 7 sc, dec, 1 sc (23)
- Round 10: 4 sc, 5 dec, 6 sc, dec, 1 sc (17)
Stuff with fiberfill.
- Round 11: 13 sc, 4 inc (21)
The increases should go along the back. Adjust marker placement if needed to ensure proper positioning.
- Round 12: inc, 3 sc, (inc, 1 sc) х 3, 3 sc, (inc, 1 sc) х 4 (29)
- Round 13: inc, 16 sc, (inc, 2 sc) х 4 (34)
- Round 14: inc, 23 sc, (inc, 3 sc) х 2, inc, 1 sc (38)
- Round 15: 26 sc, (inc, 4 sc) х 2, inc, 1 sc (41)
- Round 16: 29 sc, (inc, 3 sc) х 3 (44)
- Round 17: 6 sc, (dec, 3 sc) х 3, 23 sc (41)
- Round 18: (Crocheting holes for forelegs)
3 sc, sl st, ch5, skip 7 stitches on the body, sl st into the next stitch, ch5, skip 7 stitches on the body, sl st into the next stitch, 5 inc, 14 sc, 2 inc (44)
If the stitch between the legs is not centered, adjust by moving the round marker and crocheting extra stitches at the beginning or dissolving stitches from the previous round.
- Round 19: 3 inc, 1 sc, 5 sc on the chain, 1 sc into the central stitch on the body, 5 sc on the chain, 29 sc (47)
- Round 20: 11 sc, 2 dec, 32 sc (45)
- Round 21: 45 sc (45)
- Round 22: 11 sc, dec, 32 sc (44)
- Round 23: 3 dec, 5 sc, dec, 4 sc, 5 dec, 13 sc, 2 dec (33)
- Round 24: (dec, 4 sc) х 5, dec, 1 sc (27)
- Stuff with fiberfill.
- Round 25: (3 sc, dec) х 5, 2 sc (22)
- Round 26: (dec, 2 sc) х 5, dec (16)
- Round 27: 8 dec (8)
Cut the yarn, leaving a long tail for sewing. Tighten the hole and bring the yarn tail to the foreleg hole to fix it later.

Forelegs Instructions
Important: The starting point differs for velvet and faux fur yarn to maintain proper side orientation.
- For Velvet Yarn: Begin with the right foreleg. Hold the toy upside down and attach yarn to the first stitch on the right side. Crochet clockwise from the next stitch.
- For Faux Fur Yarn: Begin with the left foreleg. Hold the toy bottom down and attach yarn to the first stitch on the right side. Crochet counterclockwise from the next stitch.
- Round 1: 7 sc along the front side of the foreleg, 5 sc along the back part of the foreleg (work on the chain, use a smaller hook if needed) (12)
Critical Tip: To avoid holes when connecting the top and bottom of the foreleg, insert the hook into the corner to catch 3 loops, then crochet them together. This doesn’t count as a decrease.
- Round 2: 12 sc (12)
- Round 3: (4 sc, dec) х 2 (10)
- Round 4: 10 sc (10)
- Round 5: 1 sc, 4 dcinc, 5 sc (14)
Stuff the foreleg properly at this point to prevent legs from moving to the sides.
- Round 6: 7 dec (7)
Cut the yarn, tighten the hole, and bring the yarn tail to the second hole to fix it later.
Second Foreleg: Hold the toy in the same position as the first leg. Attach yarn to the side stitch between the right and left forelegs. Follow the same round instructions, maintaining the appropriate direction (clockwise for plush, counterclockwise for fluffy).
Ears (Make 2)
Ch8
Round 1: Start in the second chain from the hook: 6 sc, 3 sc in the last chain, (lay the yarn tail from the beginning along the row), 6 sc, 3 sc in the first chain (there is no chain left for them, crochet through the remaining loop after turning in the opposite direction) (18)
- Round 2: inc, 2 sc, inc, 3 sc, 3 sc in one stitch, 3 sc, inc, 2 sc, inc, sl st (22)
Do not crochet 2 stitches to the end. Cut the yarn, leaving a long tail for sewing. If there’s a yarn tail from the beginning, bring it to the opposite corner by sewing through the ear.
Tail
- Round 1: 6 sc in MR (6)
- Round 2: 6 sc (6)
- Round 3: 5 sc, sl st (6)
Cut the yarn, leaving a long tail for sewing.
Hind Legs (Make 2)
- Round 1: 6 sc in MR (6)
- Round 2: 5 sc, sl st (6)
Cut the yarn, leaving a long tail for sewing.
Assembly Instructions
Eyes and Face Details
Secure the eyes: Make a tightening for safety eyes. If using loop eyes, sew them while doing the tightening.
Embroider the nose: Mark points with pins:
- Upper pins: between rounds 5-6
- Middle pin: one round lower
- Lower pin: two rounds below the middle
Embroider the nose using these markers as guides.
Attaching the Ears
Fix the ears with pins, positioning them obliquely:
- Upper part of ear: in round 1 (one stitch closer in front)
- Lower part of ear: in round 3 (slightly behind)
Sew the ears securely, then bring the thread ends into one stitch, tie them together, and hide inside the head.

Attaching Hind Legs and Tail
Hind Legs: Position the legs so they serve as additional support for the rabbit to stand steadily. The lower part should be sewn to round 21, and the upper part to round 22. Test stability before final sewing.
Tail: Fix with pins:
- Lower part: to round 26
- Upper part: to round 24
Sew securely in place.
Special Instructions for Combed Yarn
If you’re using yarn that requires combing (like Kamtex Cotton Grass or similar):
- Crochet all pieces with the wrong side out
- Before assembly, comb each piece thoroughly using a Velcro brush or slicker
- This process takes time but creates a beautifully fluffy finish
- Pay special attention to the forelegs, working methodically to achieve even fluffiness
Frequently Asked Questions
For the recommended Super Bulky/Super Chunky yarns (velvet or faux fur), use a 3.5 mm hook. If you substitute with Sport weight/4ply yarn like Gazzal Baby Cotton or Yarn Art JEANS, you can use a smaller 2.5-3.0 mm hook to maintain proper tension and achieve a similar finished size.
Crocheting in spiral rounds naturally causes shifting based on your individual tension and technique. If the foreleg holes aren’t centered, adjust your round marker before Round 18. You can either crochet extra stitches at the beginning of the round or dissolve a few stitches from the previous round to realign the holes properly.
When connecting the top and bottom of the foreleg in Round 1, insert your hook into the corner to catch 3 loops instead of the usual 2. Crochet these 3 loops together as one stitch. This creates a seamless connection without leaving a gap, though it doesn’t count as a decrease since the stitch count remains the same.
Yes, safety eyes work well with faux fur yarn, but use larger 10 mm eyes instead of the 6 mm size recommended for velvet yarn. Smaller eyes tend to disappear behind the fluffy fibers. Insert the eyes between Rounds 5-6 where marked, and push aside the fur fibers to ensure the eyes are visible and properly positioned.
Conclusion
Congratulations on completing your adorable baby rabbit! This versatile pattern allows you to create unique bunnies using different yarn types and techniques, each with its own special charm. Whether you’ve made a soft velvet companion or a fluffy faux fur friend, your handmade rabbit is sure to bring joy to anyone who receives it. Don’t forget to experiment with different colors and yarn weights to create your own variations. Happy crocheting, and may your stitches always be even and your projects always delightful!
Remember it later!
Planning to try this soon? Pin it for a quick find later!